You just unboxed your new Vitapur unit and want to know how to install a Vitapur water dispenser without calling a plumber. Most models feature quick-connect fittings that allow for fast DIY setup in your kitchen or office.
This guide walks you through mounting under-sink filters, connecting reverse osmosis tanks, and setting up top or bottom load dispensers. You will learn specific steps to ensure leak-free operation and great-tasting water immediately.
Identify Your Vitapur Dispenser Model Type
Installation steps vary significantly based on whether you have a countertop unit, an under-sink filter, or a whole-home system. Identifying your specific model ensures you gather the right tools and follow the correct path.
Top-Load vs Bottom-Load Configurations
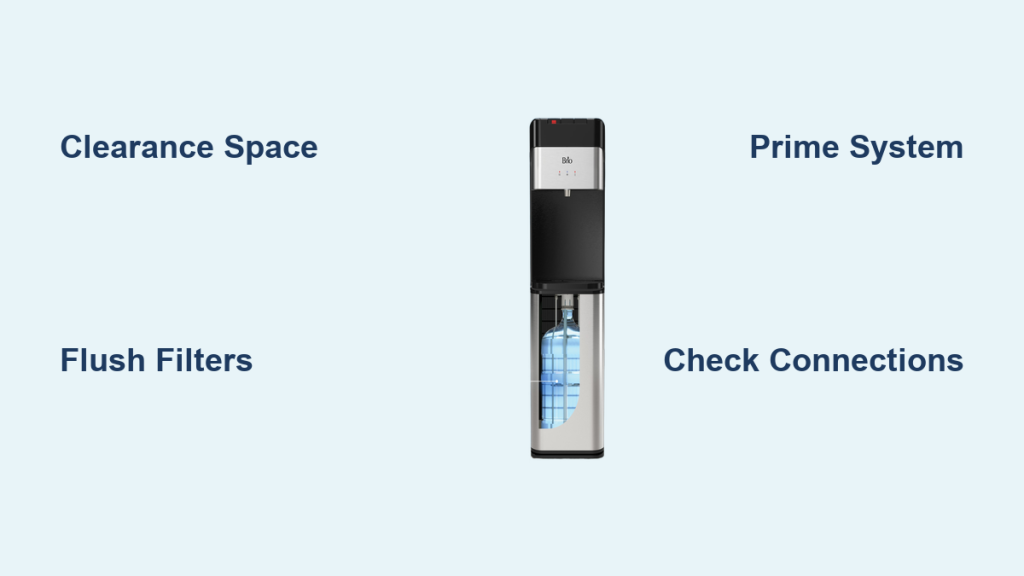
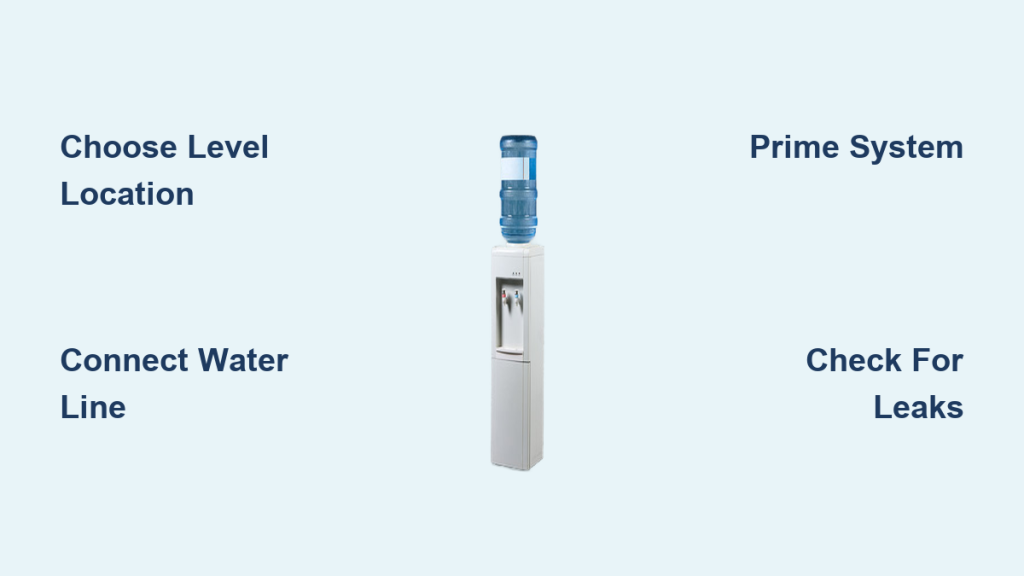
Top-load dispensers require you to place a 3- or 5-gallon bottle directly on top of the unit. These are simple to set up but need overhead clearance. Bottom-load models hide the heavy bottle inside a cabinet to reduce back strain and offer a sleeker profile.
Under-Sink and Reverse Osmosis Units
Under-sink systems like the PUN1FS provide filtered water through a dedicated faucet. Reverse osmosis models include a storage tank and require connection to a drain line. These units stay hidden while delivering high-quality filtration.
Prepare Your Installation Workspace
A clean and accessible area makes the installation process smoother and safer. Proper preparation prevents damage to your countertops or cabinetry during the setup.
Clear Space Under Sink for Filters
Remove all cleaning supplies and items from beneath your sink. You need at least 12 inches of vertical clearance for storage tanks found in reverse osmosis systems. Confirm you have access to the cold water supply line.
Countertop Placement Requirements
Place your dispenser near a standard electrical outlet if it heats or cools water. Maintain 6 inches of clearance around ventilation areas to prevent the unit from overheating. Avoid direct sunlight which can degrade plastic components over time.
Gather Essential Tools
While many connections are tool-free, having a few items ready helps. You may need an adjustable wrench for faucet mounting or a drill if creating a new faucet hole. A bucket and measuring tape are also useful for catching drips and checking dimensions.
Install Under-Sink Filtration Systems

Models like the Vitapur Single Stage or Dual Stage systems use a compact racking system designed for easy DIY installation. These units typically take 15 to 30 minutes to install without professional plumbing skills.
Mount the Filter Rack Securely
Attach the included rack to the side or back wall of your under-sink cabinet. Use the provided screws to ensure the housing stays stable during filter changes. Position it so you can easily reach the filters for replacement every six months.
Install the Dedicated Chrome Faucet
Drill a 7/16-inch hole in your sink or countertop if an unused hole is not available. Insert the chrome faucet from above and secure it from below with the mounting nut and washer. Tighten firmly with a wrench to prevent movement.
Connect Color-Coded Quick-Connect Tubing
Push the color-coded tubes firmly into their corresponding ports until they click. Blue tubing connects to the cold water inlet while red carries filtered water to your faucet. Give each tube a gentle tug to confirm it is locked in place.
Insert Sediment and Carbon Filters
Place the polypropylene sediment filter in the first stage to catch dirt and rust. Insert the carbon block filter in the second stage to reduce chlorine and improve taste. Hand-tighten the filter housings only to avoid cracking the plastic.
Flush the System Before Drinking
Turn on the water supply and let the dedicated faucet run for 5 to 10 minutes. This step flushes air and carbon fines from the new filters. Discard the first few gallons of water to ensure your first drink is clean.
Set Up Reverse Osmosis Water Systems
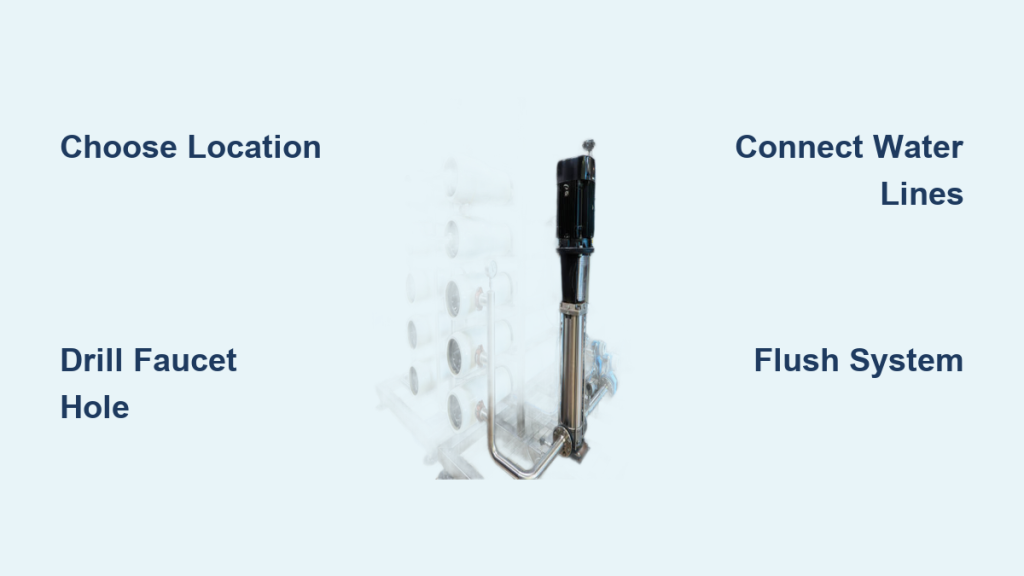
The three-stage reverse osmosis system includes a storage tank and requires careful connection of feed, drain, and product lines. Expect this installation to take between 45 and 60 minutes.
Position and Pre-Charge Storage Tank
Place the pressurized tank under your sink or in a nearby cabinet. Check the air pressure with a tire gauge and adjust to 7 or 8 psi if necessary. This ensures the tank fills and dispenses water correctly.
Connect Feed Drain and Product Lines
Connect the feed line from your water supply to the RO unit inlet. Route the drain line to your waste pipe using the included saddle valve if needed. Attach the product line from the unit to the storage tank and then to the faucet.
Power On and Test for Leaks
Allow the system to fill the tank completely which may take 2 to 4 hours. Open the faucet to check flow rate and inspect all connections for leaks. Note that these systems typically waste 3 to 4 gallons for every gallon produced.
Configure Top-Load Dispenser Filtration

You can upgrade standard top-load dispensers like the GWF8 model with an internal filtration system. This patented design integrates directly into the water path without requiring tools.
Verify Dispenser Compatibility
Ensure your dispenser accepts the standard 10.2 by 10.2 by 15.4-inch filtration unit. This system fits most standard top-load dispensers from Vitapur and other major brands. Check your model number against the compatibility list in your manual.
Assemble and Insert Filter Cartridge
Open the top compartment and remove the existing reservoir cap or tube assembly. Attach the filtration cartridge inline between the bottle neck and the dispenser inlet. Slide the NSF 42-certified filter into the housing until it clicks securely.
Run Initial Prime Cycle
Place a full 5-gallon bottle on top of the dispenser. Dispense 2 to 3 cups of water to prime the new filter and remove air. Your water taste will improve immediately after this initial flush.
Operate Bottom-Load Water Dispensers

Bottom-load models conceal the water bottle in a lower cabinet for a cleaner look. This design eliminates the need to lift heavy bottles over your head.
Load the Water Bottle Correctly
Open the front access door and slide the 5-gallon bottle into the chamber upside down. Push gently until the internal spike punctures the seal and water begins to flow. Close the door securely to complete the connection.
Plug In and Adjust Temperature
Connect the unit to a grounded 120V outlet and wait for the LED indicator to light. Allow 15 to 30 minutes for the water to reach your desired cold temperature. Use the adjustable thermostat to set your preferred chill level.
Activate Hot Water Safely
Press and hold the child safety lock before pressing the hot water button. Wait 5 to 10 minutes for the heating element to bring water to temperature. Always supervise children when the hot water feature is active.
Maintain System Performance and Hygiene

Regular maintenance extends the life of your dispenser and ensures safe drinking water. Follow the recommended schedules for filter changes and cleaning.
Replace Filters on Schedule
Change standard carbon and sediment filters every 6 months or after 500 gallons. Replace pitcher filters every 2 months and reverse osmosis membranes every 2 to 3 years. Mark your calendar to maintain optimal filtration performance.
Clean Dispenser Quarterly
Use the Vitapur Cleaning Kit to sanitize your unit every three months. Pour the solution into the reservoir, run it through the taps, and scrub internal surfaces with the included brush. Rinse thoroughly with fresh water before using again.
Troubleshoot Common Installation Issues
Minor issues often have simple solutions you can fix without technical support. Check these common problem areas if your system is not performing as expected.
Resolve No Water Flow Problems
Check if the water bottle is empty or improperly seated in the chamber. For under-sink models, ensure the shutoff valve is fully open. Reinsert the bottle or open the valve to restore flow.
Fix Slow Flow Rates
A clogged or old filter is the most likely cause of reduced water pressure. Replace the sediment or carbon block filter if it has been more than 6 months. Check tubing under the sink for any kinks restricting flow.
Stop Leaking Connections
Inspect all quick-connect joints and faucet seals for moisture. Disconnect and reseat the tubing by pushing firmly until you hear a click. Replace worn O-rings if the leak persists after reseating.
Frequently Asked Questions About Vitapur Installation
How long does it take to install a Vitapur water dispenser?
Most single-stage under-sink systems take 15 to 30 minutes to install. Reverse osmosis models with storage tanks typically require 45 to 60 minutes for complete setup.
Do I need special tools to install these filtration systems?
No special plumbing tools are required for most models due to quick-connect fittings. You may need a drill only if you must create a new hole for the dedicated faucet.
How often should I replace the filters in my Vitapur system?
Standard carbon and sediment filters need replacement every 6 months. Pitcher filters require changing every 2 months while reverse osmosis membranes last 2 to 3 years.
Is the water from the reverse osmosis system safe to drink immediately?
You must flush the system for 5 to 10 minutes before drinking. This removes carbon fines and air from the new filters to ensure water quality.
What does the child safety lock do on the dispenser?
The lock prevents accidental dispensing of hot water which could cause scalding. You must press and hold the lock button while pressing the hot water tap.
Key Takeaways for Installing Your Vitapur Water Dispenser
Installing your Vitapur water dispenser is a straightforward DIY project that saves money and provides clean water quickly. Remember to identify your model type, use the color-coded quick-connect tubing correctly, and flush new filters before drinking.
Regular maintenance including quarterly cleaning and timely filter replacements keeps your system running efficiently. Follow these steps to enjoy fresh, filtered water from your new Vitapur dispenser today.