You just unboxed your new unit, but the lack of clear instructions leaves you wondering how to install Primo water dispenser models correctly. Different units require specific steps, and using the wrong method on a portable pump or bottom-load machine can cause leaks or damage.
This guide details the exact setup for bottom-load, top-load portable, and countertop dispensers using official protocols. You will learn to master reverse-thread collars, align jugs properly, and wait the correct time for hot and cold water readiness.
Identify Your Specific Primo Dispenser Model
Installation steps vary drastically depending on whether you own a bottom-load unit, a portable pump, or a countertop model. Checking your model number on the back or bottom label prevents costly setup errors before you begin.
Recognize Bottom-Load Unit Requirements
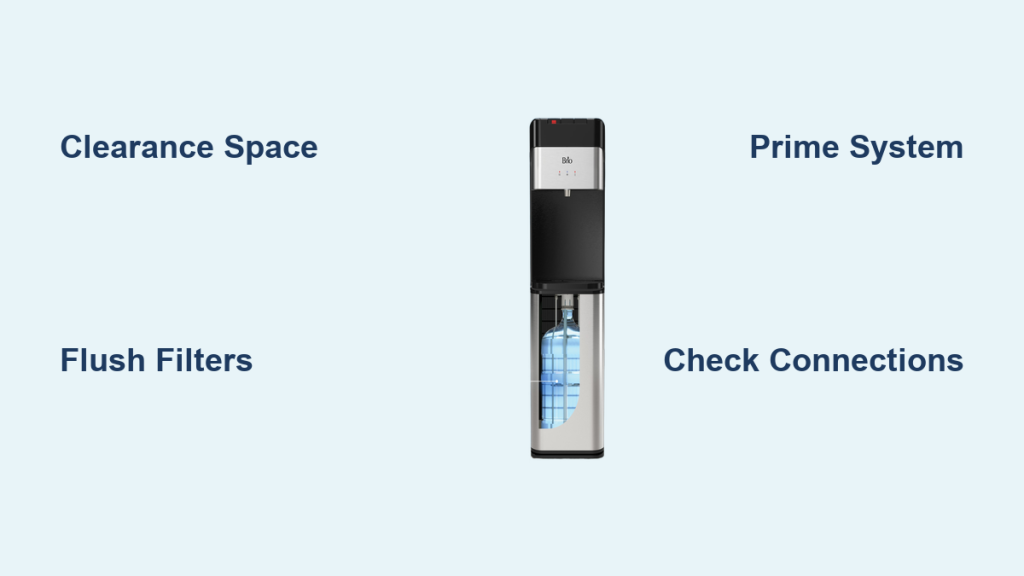
Bottom-load models like the 601256 or 601118 feature a base reservoir where the jug slides in horizontally. These units eliminate heavy lifting and require a flat surface with rear access for jug insertion.
Distinguish Portable Pump Features
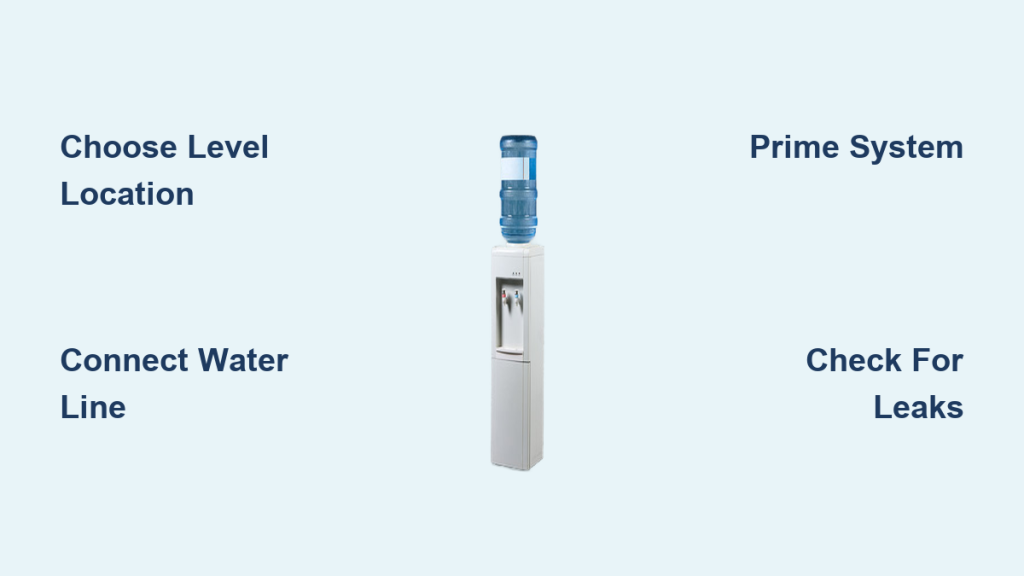
The Model 900179 is a manual portable pump designed to screw directly onto standard 5-gallon jugs. This specific unit uses a unique reverse-thread locking collar that confuses many first-time users.
Check Countertop Specifications
Countertop versions such as Models 900114 and 900196 often rely on manual pouring or simple pump attachments for smaller containers. These lightweight units need a stable, dry surface away from direct heat sources.
Prepare Bottom-Load Dispenser Placement
Proper positioning ensures stability and allows easy access for swapping out empty water jugs without strain. You must place the unit on a level floor near a standard electrical outlet to begin the installation process.
Select a Stable Location
Choose a spot in your kitchen or office that remains flat and sturdy under the weight of a full water system. Avoid carpeted areas or wobbly countertops that could cause the unit to tilt or vibrate during operation.
Ensure Adequate Clearance
Leave at least two to three inches of space behind the dispenser for ventilation and jug insertion. This clearance allows you to slide new jugs into the base compartment smoothly without hitting a wall.
Verify Power Access
Confirm that your chosen location is within reach of a working electrical outlet to power the heating and cooling elements. Do not use extension cords, as direct connection ensures safe and consistent performance.
Execute Bottom-Load Jug Installation

Sliding the heavy jug into the base requires proper alignment to engage the internal pump mechanism effectively. Follow these steps to ensure a secure seal and prevent airlocks in the system.
Align Jug with Base Opening
Remove the protective cap from your five-gallon Primo or Hinckley Springs jug and line up the neck with the base compartment. Push the jug straight back until it seats fully against the internal coupling mechanism.
Listen for Engagement Resistance
You should feel distinct resistance when the jug locks into place, indicating the seal has engaged correctly. Do not force the jug if it does not slide smoothly, as this suggests misalignment or an obstruction.
Activate Power Controls
Plug the unit into the wall and flip the power switch to turn on both hot and cold functions. Indicator lights will begin blinking immediately to signal that the internal system is filling with water.
Monitor Temperature Readiness Indicators

Patience is key during the initial startup phase, as the system needs time to condition the water to your selected temperatures. Ignoring these wait times can result in lukewarm output or unnecessary strain on the compressor.
Interpret Blinking Light Signals
A blinking light means the dispenser is actively filling its internal chamber or heating and cooling the water. This is a normal part of the initialization process, and you should not attempt to dispense water yet.
Wait for Hot Water Cycle
The hot water function requires 15 to 20 minutes to reach its optimal heating temperature safely. Attempting to use the hot tap before this cycle completes may yield water that is not fully heated.
Allow Cold Water Conditioning
The cold water function takes approximately 60 minutes to become fully chilled and ready for dispensing. Wait until the indicator light becomes solid or stops blinking to confirm the water has reached the target temperature.
Attach Portable Dispenser Model 900179
The portable Model 900179 turns any standard five-gallon jug into a convenient fountain, but it uses a confusing reverse-thread mechanism. Understanding this unique threading is the most critical step for a successful and leak-free installation.
Loosen Collar Using Reverse Logic
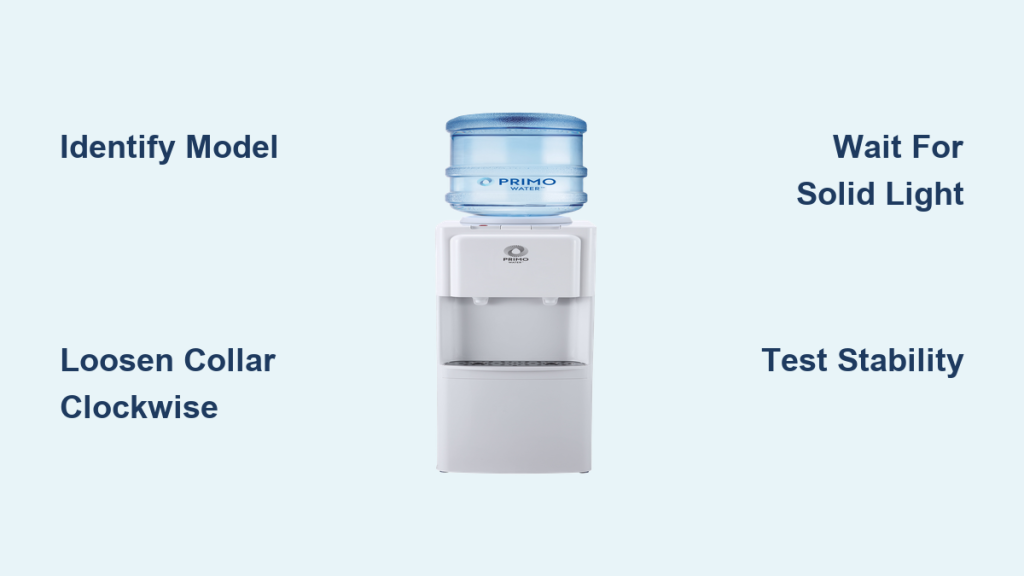
View the unit from the bottom and rotate the locking collar clockwise to loosen the internal clamp. This direction feels counterintuitive because standard screws loosen counter-clockwise, but this model operates oppositely.
Press Unit Until It Snaps
Place the open collar over the jug neck and push down firmly until you hear a distinct snap. This sound confirms the internal lock has engaged with the rim of the jug securely.
Tighten Collar Counter-Clockwise
Once snapped into place, rotate the collar counter-clockwise from the bottom view to lock it tightly. Ensure the unit feels rigid and does not wobble before releasing your grip on the handle.
Test Stability Before Use
Gently lift the entire jug by the dispenser handle to verify the connection holds the full 40 pounds of water. If the unit slips or detaches, repeat the loosening, snapping, and tightening process immediately.
Configure Countertop Dispenser Units
Countertop models offer flexibility for smaller spaces and typically involve simpler manual or battery-operated mechanisms. These units are ideal for desks or areas where a full-sized dispenser cannot fit.
Position on Dry Surface
Set the unit on a dry, flat countertop away from stoves or other heat sources that could affect performance. Ensure the surface can support the weight of the unit plus any attached water source.
Attach or Fill Water Source
For manual models, fill the reservoir from a pitcher, while pump-style units attach directly to compatible bottles. Some rechargeable models like the 601244 support direct bottle mounting with specific locking clips.
Prime the Pump System
Turn on the unit and press the dispense button for a few seconds to prime the internal tube. If no water flows immediately, check that the tube is submerged and free of airlocks.
Utilize Temperature and Safety Controls
Modern Primo dispensers include safety features and multiple temperature options to suit different beverage needs. Understanding these controls helps you get the most out of your new machine safely.
Engage Hot Water Safety Lock
The hot water lever requires a press-and-hold action for one to two seconds to prevent accidental burns. This safety feature is essential in homes with children or pets to avoid scalding incidents.
Select Cool or Super-Chilled Options
Many models offer a cool setting for room-temperature water and a super-chilled function for ice-cold drinks. The super-chilled mode activates a compressor that may produce a soft humming sound during operation.
Observe Operational Noise Levels
Expect a quiet hum when the cooling compressor is active, which is normal for refrigerated water dispensers. If the noise becomes loud or grinding, check that the unit is level and not touching a wall.
Maintain Water Quality Standards
Using the correct water source is vital for the longevity of your dispenser and the health of your family. Primo systems are designed to work best with reverse osmosis purified water.
Use Compatible Five-Gallon Jugs
Only use standard five-gallon Primo or Hinckley Springs jugs to ensure the neck design matches your dispenser. Off-brand jugs may have different dimensions that cause leaks or improper sealing.
Benefit from Reverse Osmosis Filtration
Primo water undergoes reverse osmosis filtration to remove contaminants like lead, mercury, and PFAS chemicals. Standard charcoal filters cannot remove PFAS, making this filtration method critical for health safety.
Refill at Certified Stations
Utilize Primo refill stations at grocery stores to fill your jugs with purified water safely. Use the automated button on these stations to fill slowly and avoid overflowing your container.
Troubleshoot Common Installation Issues

Even with careful setup, you might encounter minor issues like leaks or failure to dispense. These common problems usually have simple fixes related to alignment or threading.
Fix Dispenser Not Snapping onto Jug
If the portable unit won’t lock, ensure you are loosening the collar clockwise from the bottom view before pressing down. Re-attempt the installation by pressing firmly until the distinct snap confirms engagement.
Resolve Persistent Blinking Lights
If the light blinks endlessly, the jug may not be fully inserted in bottom-load models or an airlock exists. Pull the jug out and reinsert it firmly or check that the pump tube is submerged in portable units.
Stop Leaks at Connection Points
Water leaking from the connection usually means the collar is loose or the jug neck is damaged. Reinstall the unit ensuring a tight seal and replace the jug if the neck appears cracked or warped.
Frequently Asked Questions About Primo Water Dispenser Installation
How long does it take for Primo water to get cold?
The cold water function requires approximately 60 minutes to fully chill the water after initial power-up. You should wait until the indicator light stops blinking before expecting ice-cold output.
Why won’t my portable Primo dispenser screw onto the jug?
The Model 900179 uses a reverse-thread collar, so you must turn it clockwise from the bottom to loosen it. If you try to tighten it using standard righty-tighty logic, it will not engage properly.
Can I use any brand of water jug with my Primo dispenser?
You should only use standard five-gallon Primo or Hinckley Springs jugs to ensure a proper fit. Non-standard jug necks may not seal correctly, leading to leaks or pump failure.
What does a blinking light mean on my Primo dispenser?
A blinking light indicates the system is filling, heating, or cooling the water and is not yet ready for use. Wait for the light to become solid before dispensing to ensure correct temperature.
How do I know if my portable dispenser is locked on tight?
Gently lift the full jug by the dispenser handle to test if the connection holds the 40-pound weight. If the unit stays attached without slipping, the reverse-thread collar is secured correctly.
Key Takeaways for Installing Your Primo Water Dispenser
Successful installation depends on identifying your specific model type and following the unique steps for bottom-load or portable units. Always respect the reverse-thread mechanism on portable pumps and allow adequate time for temperature conditioning.
Proper alignment and patience during setup prevent leaks and ensure your dispenser operates efficiently for years. Verify your model number, check for the audible snap on portable units, and wait for the solid light before your first drink.