Knowing how to connect a water dispenser correctly ensures safe operation and prevents costly water damage. Whether you have a bottled unit or a plumbed-in system, proper installation requires specific steps for power, water lines, and initial testing.
This guide details every phase from selecting a location to calibrating temperatures for perfect results. You will learn to avoid common leaks, prime your system effectively, and maintain clean water flow for years.
Choose the Right Installation Location
Selecting the proper spot prevents structural stress and ensures efficient cooling performance. A bad location can lead to algae growth or electrical hazards if not planned carefully.
Level Surface and Clearance Needs
Place your unit on a level, stable surface to prevent internal component stress. Avoid soft flooring like wood or carpet where leaks could cause warping. Maintain at least 4 inches of space behind the machine for ventilation and line access. Keep the area away from high-traffic zones to reduce accidental bumps.
Power and Water Source Access
Ensure a grounded electrical outlet is within 6 feet of the unit. Never use an extension cord for continuous appliance power. For bottleless models, confirm a potable water line is within 200 feet. If your unit uses reverse osmosis, a nearby drain is mandatory for wastewater disposal.
Ideal Environments for Use
These systems perform best in offices, schools, hospitals, or busy homes. Choose a spot that avoids direct sunlight to protect plastic components. Heat sources can degrade parts and encourage algae growth in internal reservoirs.
Gather Tools and Inspect the Unit
Preparation prevents delays and ensures a safe installation process. Having the right equipment ready makes the job faster and cleaner.
Essential Tools for Installation
Assemble these items before starting your work:
* Adjustable wrench and screwdrivers (Phillips and flat-head)
* Utility knife and tubing cutter for bottleless models
* Teflon tape, compression fittings, and food-grade tubing
* Bucket, towels, gloves, and eye protection
* Pressure gauge for verifying supply on plumbed units
Unbox and Check for Damage
Inspect the external packaging for dents or signs of water exposure. Open the box and verify that panels are crack-free and all parts are present. Check that model and serial numbers match your purchase order exactly. Clean the exterior with mild soap and report any issues immediately to preserve warranty rights.
Install a Top-Load Bottled Dispenser

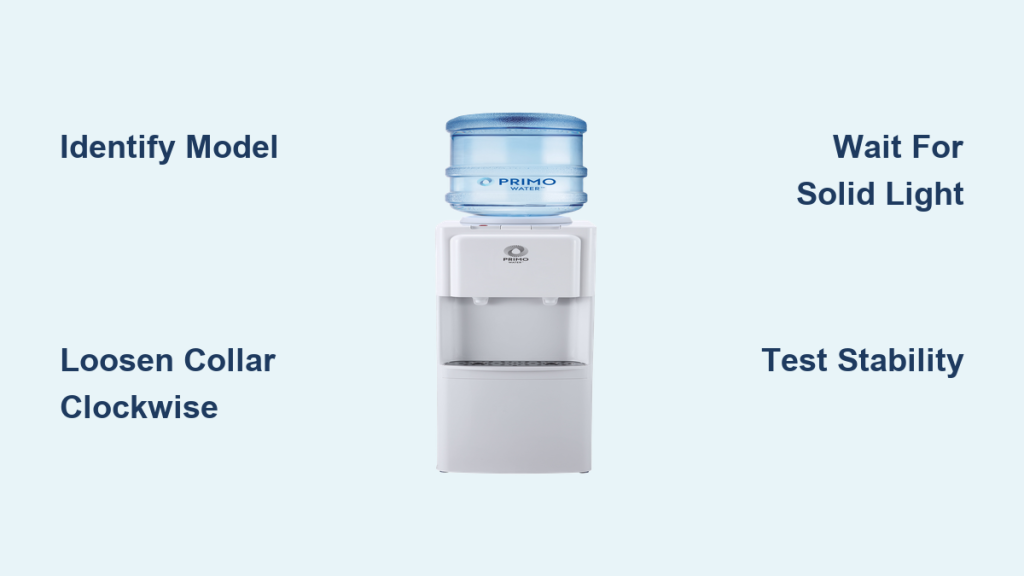
Top-load units require lifting heavy bottles, so safety and hygiene are paramount during this process. Follow these steps to ensure a secure fit and proper water flow.
Prepare the Water Bottle
Wipe the top of your new 3- or 5-gallon bottle with a clean cloth. Confirm the seal is intact and shows no signs of tampering. Peel off the cap label or remove the plastic cover completely. Inspect the neck for cracks and never use a damaged bottle.
Mount the Bottle Correctly
Use two people or a lifting aid to invert the bottle safely. Align it directly over the reservoir opening on top of the dispenser. Lower it firmly until the internal probe punctures the seal securely. You will hear bubbling as water fills the hot and cold tanks.
Prime and Test the System
Dispense short bursts from both taps to clear air from the lines. Watch closely for leaks around the neck seal area. Once flow is steady, run 1 quart of cold water and discard it. Repeat with 1 quart of hot water to flush manufacturing residues.
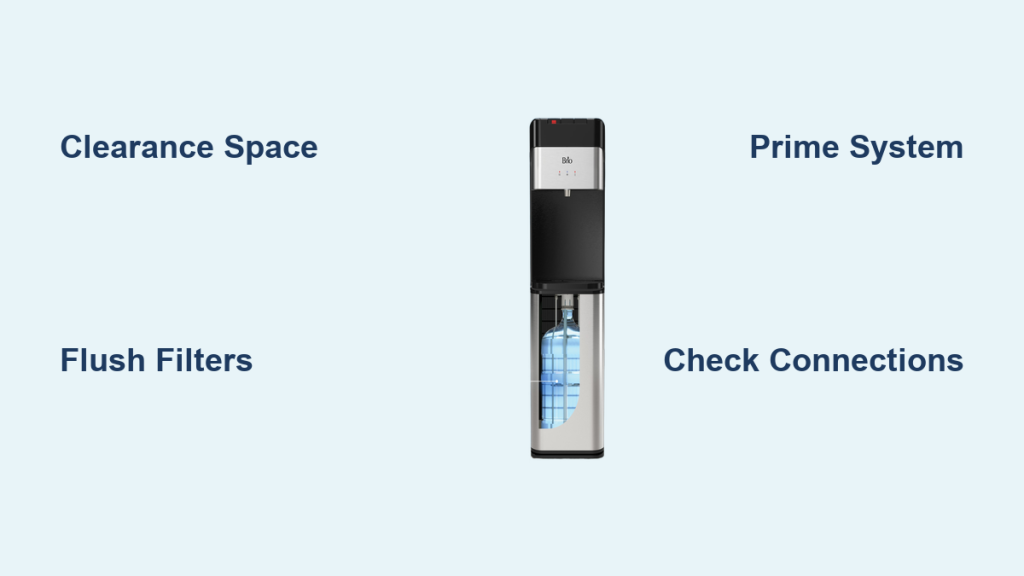
Set Up a Bottom-Load Bottled Dispenser

Bottom-load models reduce lifting strain but require precise tubing alignment inside the cabinet. Proper routing ensures the pump functions without airlocks.
Access the Internal Compartment
Slide open the lower door or lift the access panel gently. Retrieve the bottle adapter and smart flow tubing from internal packaging. Remove the red stopper from the tubing end to prepare for connection.
Connect Bottle to Suction Tube
Place the water bottle upright inside the cabinet space. Insert the adapter into the bottle neck and push down firmly. Ensure the suction tube reaches the bottom of the bottle for full extraction. The connection must be snug with no loose fittings.
Route and Secure the Tubing
Guide the tubing to the pump without creating sharp bends or kinks. Use provided clips or clamps to secure the line in place. Close the compartment door firmly to activate the safety switch on most models.
Connect a Bottleless (Plumbed-In) Dispenser
Plumbed-in units require connecting to your building water supply and often a drain line. This process involves cutting pipes and installing filters correctly.
Assess Plumbing and Electrical
Verify that water pressure is between 20–80 psi before connecting. Ensure a shut-off valve is nearby or install one if missing. Confirm a grounded outlet is within reach and drain access exists for RO models. Turn off the water supply before cutting any lines.
Install and Flush Filters
Most units use two specific filters for purification:
* Left (Port 1): Sediment filter
* Right (Port 2): Carbon block filter
Screw each into its housing by hand without over-tightening. Connect the inlet line to Port 1 and the outlet line to Port 2. Flush each filter for 5 minutes before connecting to the dispenser to remove carbon dust.
Attach Water Line with T-Connector
Cut the existing cold water line under a sink or near the source. Insert a T-connector into the cut section carefully. Attach the dispenser hose to the open end of the connector. Leave excess hose behind the unit for future adjustments and route it to the back panel.
Connect Hose to Dispenser Inlet
Locate the inlet port on the back of the unit clearly. Remove the blue dummy plug by pressing the gray tab or compressing the collar. Push the hose fitting in until it clicks securely into place. Use Teflon tape on threaded fittings to prevent potential leaks.
Hook Up Drain Line (RO Models Only)
Attach a drain saddle or air-gap fitting to a nearby drain pipe. Route the tubing with a downward slope to prevent standing water accumulation. Secure the line with clamps to avoid movement. Test with a flush cycle to ensure no backflow or leaks occur.
Power Up and Set Temperature

Electrical activation completes the setup and allows temperature calibration for your specific needs. Proper settings ensure safe and refreshing water.
Turn On the Unit Safely
Plug the unit into a grounded electrical outlet immediately. Locate the red power switch on the back panel of the dispenser. Press the switch down to turn heating on or leave the circle pressed for hot tank off. Indicator lights should illuminate to show system status.
Calibrate Water Temperature
Find the slotted thermostat screw near the power switch for adjustments. Turn clockwise to lower the temperature for colder water. Allow 2–4 hours for the system to reach full cooling potential. Hot water typically reaches 185–200°F in 15–20 minutes.
Test and Troubleshoot Before Use
Testing identifies issues before regular use begins. Addressing problems early prevents long-term damage to the unit.
Check for Leaks and Flow
Turn on the water supply and let the system pressurize for 5–10 minutes. Dry all connections thoroughly and dispense water briefly to check. Re-tighten any fittings showing moisture immediately. Recheck after 24 hours as connections settle.
Diagnose Common Issues
- No Water Flow: Check if the bottle is empty or the shut-off valve is closed.
- Sputtering Flow: This indicates an airlock; dispense in short bursts to clear it.
- Water Not Cold: Adjust the thermostat clockwise and ensure vents are unobstructed.
- Leaking Connections: Tighten fittings gently and replace worn O-rings or seals.
Maintain Your Dispenser Regularly
Regular maintenance extends the life of your unit and ensures water quality remains high. Neglecting cleaning can lead to bacterial growth.
Weekly Cleaning Routine
- Empty and wash drip tray with mild soap and water
- Sanitize spigots with food-safe disinfectant regularly
- Wipe exterior with a soft, damp cloth to remove dust
Avoid abrasive cleaners that can scratch surfaces permanently.
Replace Filters on Schedule
Change sediment and carbon filters every 6–12 months or after 1,500 gallons. Signs of clogging include reduced flow or off-tastes. Shut off water, relieve pressure, and install new cartridges in the correct orientation. Flush the system for 2–5 minutes and mark the date on the housing.
Deep Clean Every 3–6 Months
Drain all reservoirs completely before starting. Apply diluted bleach (1 tbsp per gallon) or manufacturer-approved sanitizer. Let it sit for 10–15 minutes to kill bacteria effectively. Flush thoroughly until no chemical taste remains. Reassemble and test the unit.
Professional Installation Tips (Bottleless Units)
Complex setups often benefit from expert assistance to ensure code compliance. Professionals handle difficult routing and pressure testing efficiently.
When to Call a Technician
Hire a certified installer for commercial setups or complex residential plumbing. They run tubing behind walls or under floors for a clean look. Technicians install shut-off valves at both ends of the line for safety. They also ensure code compliance regarding air-gaps and drainage.
Benefits of Pro Service
Professional services often include leak detection systems that auto-shutoff. You may receive annual 11-point inspections as part of the package. Digital service tracking via app keeps maintenance records organized. This approach offers warranty protection for complex plumbing work.
Frequently Asked Questions About Connecting a Water Dispenser
How long does it take to connect a water dispenser?
Simple bottled units take under 30 minutes to set up and prime. Plumbed-in models require 1.5 hours or more depending on plumbing complexity. Professional installers typically complete the job in about 90 minutes.
Can I use an extension cord for my water dispenser?
No, you should never use an extension cord for continuous appliance power. The unit requires a grounded electrical outlet within 6 feet for safety. Using an extension cord can cause overheating or circuit tripping.
Why is my new water dispenser not dispensing cold water?
The unit needs 2–4 hours to stabilize cooling after initial setup. Check that the thermostat is turned clockwise for colder settings. Ensure ventilation space behind the unit is not blocked by walls.
How often should I replace filters on a bottleless dispenser?
Replace sediment and carbon filters every 6–12 months or after 1,500 gallons. High-usage environments may require more frequent changes. Watch for reduced flow or taste changes as indicators.
What should I do if my dispenser is leaking at the connection?
Dry the area and tighten the fitting gently with a wrench. Inspect O-rings for wear and replace them if cracked. If leaking persists, check tubing for cracks or improper seating.
Key Takeaways for Connecting Your Water Dispenser
Successful installation depends on choosing a level location, making secure water connections, and flushing the system thoroughly. Whether you select a bottled or bottleless model, following safety protocols prevents leaks and ensures clean water. Regular maintenance like filter changes and deep cleaning keeps your unit running efficiently for years.
Start by gathering your tools and inspecting your specific model requirements today. If you encounter complex plumbing needs, consider hiring a professional to ensure code compliance and peace of mind.