

Does your Whirlpool refrigerator water taste strange or flow slower than usual? Mineral deposits and bacteria often build up inside the dispenser nozzle and lines over time. Learning how to clean Whirlpool water dispenser components properly restores fresh taste and ensures safe drinking water for your family.
This guide walks you through every step of the cleaning process using common household items. You will discover how to flush internal lines, sanitize external surfaces, and replace filters to keep your appliance running perfectly.
Gather Essential Cleaning Supplies for Your Whirlpool Dispenser

You need specific tools to clean your system effectively without causing damage. Using harsh chemicals can ruin internal seals or leave dangerous residues behind. Stick to gentle, natural ingredients that disinfect while protecting your appliance.
Required Tools and Materials
- White distilled vinegar for descaling and disinfecting
- Soft microfiber cloths for wiping surfaces
- Cotton swabs or a small bottle brush for tight spots
- Warm water for mixing solutions
- Mild dish soap for removable parts
- Bucket or large container to catch water
- Funnel for pouring solutions into reservoirs
Avoid bleach, abrasive scrubbers, or strong chemical cleaners. These substances degrade rubber tubing and plastic components inside your refrigerator.
Shut Off Water Supply Before Starting Cleaning
Disconnecting the water source prevents leaks and reduces pressure while you work. This critical safety step protects your kitchen floor and the internal mechanics of the fridge.
Locate and Close the Shut-Off Valve
- Find the water valve under your sink, behind the refrigerator, or in the basement.
- Turn the handle clockwise until it stops to cut off water flow completely.
- Press the dispenser lever briefly to release remaining pressure in the lines.
Pro Tip: Place a piece of tape on the valve handle after closing it. This reminds you that the water is off before you attempt to use the dispenser again.
Remove and Scrub Removable Dispenser Parts
Many Whirlpool models feature detachable drip trays and nozzle covers. Taking these pieces out allows you to reach hidden grime that wiping alone cannot remove.
Step-by-Step Component Cleaning
- Slide the drip tray out from beneath the dispenser area carefully.
- Wash the tray in warm soapy water using a soft cloth or sponge.
- Soak stained parts in vinegar for ten minutes to lift mineral deposits.
- Rinse all components thoroughly with clean water and dry them completely.
- Dip a cotton swab in vinegar to scrub inside the dispenser nozzle opening.
Warning: Never submerge electronic control panels or non-removable plastic housing. Only wash parts designated as water-safe in your manual.
Flush Internal Water Lines with Vinegar Solution
Internal tubing accumulates biofilm and scale that affects water quality. Flushing the system with a vinegar mixture dissolves these deposits and sanitizes the path water travels.
Prepare and Apply the Cleaning Mixture
- Mix equal parts white distilled vinegar and warm water in a container.
- Do not use pure vinegar as it may be too acidic for some seals.
Execute the Flushing Process
- Disconnect the water line at the back of the fridge after shutting off the main valve.
- Place the open end of the line into your bucket to catch discharged water.
- Pour the vinegar solution into the water inlet or reservoir if your model allows access.
- Restore power briefly and run the dispenser for thirty seconds to circulate the mix.
- Let the solution sit inside the lines for five to ten minutes to break down buildup.
- Flush the system with three to four liters of fresh water to remove all vinegar traces.
Note: Some Whirlpool models require a bypass plug to skip the filter during this process. Consult your user manual for specific instructions.
Sanitize Exterior Dispenser Panel and Buttons
Germs from hands and cups gather on the outside of the dispenser daily. Regular sanitizing prevents cross-contamination and keeps your kitchen hygienic.
Wipe Down External Surfaces Safely
- Dampen a microfiber cloth with your vinegar solution or mild soapy water.
- Gently clean around the spout, control buttons, and the surrounding panel area.
- Use a dry cotton swab to clean crevices between buttons and seams.
- Dry the area immediately with a clean cloth to prevent streaks.
Avoid: Spraying liquid directly onto the dispenser face. Moisture can seep behind the panel and damage electronic components.
Replace Water Filter to Ensure Water Quality
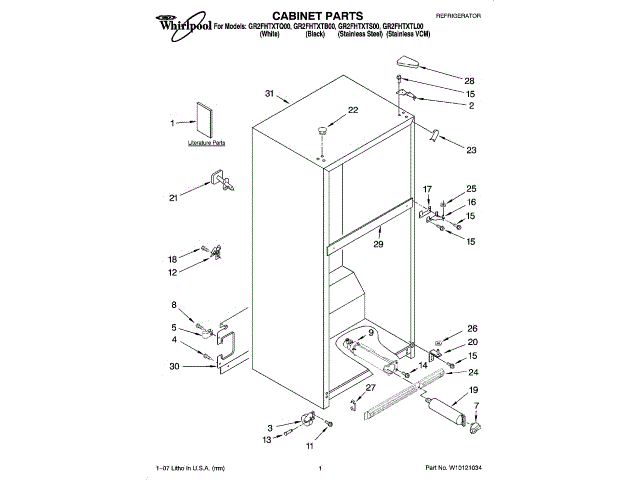
An old filter holds bacteria and reduces flow even after you clean the lines. Replacing it ensures your cleaning efforts result in truly fresh water.
Check Filter Status and Install New Unit
- Check your filter indicator light or recall when you last changed it.
- Replace the filter every six months or after filtering 200 gallons of water.
- Use only genuine Whirlpool filters or certified replacements for your model.
Installation Steps
- Open the filter compartment located inside the refrigerator section.
- Remove the old filter by twisting it counter-clockwise or pulling it straight out.
- Insert the new filter and twist until it locks securely into place.
- Reset the filter indicator light on your control panel to track the next change.
Expert Tip: Run two to three gallons of water through the dispenser after installation. This purges air pockets and removes loose carbon dust from the new filter.
Reconnect Water Supply and Test Functionality
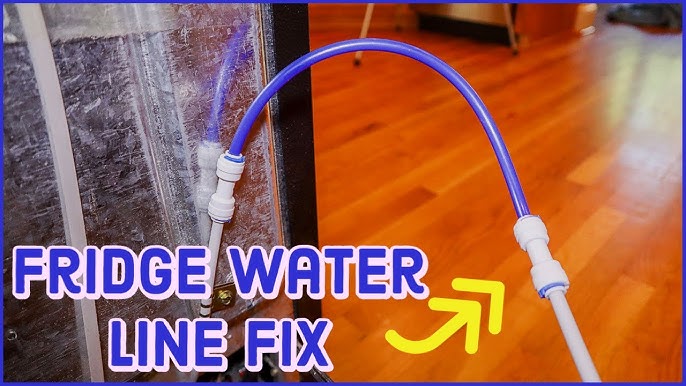
Restoring water flow requires care to ensure no leaks develop at the connection points. Testing confirms your cleaning was successful and the system is ready.
Restore Water and Check for Leaks
- Slowly turn the shut-off valve counter-clockwise to reopen the water supply.
- Inspect all connections behind the fridge for any signs of dripping.
- Wait fifteen minutes for the internal tank to refill before heavy use.
Verify Dispenser Performance
- Press the water lever and observe the flow for consistency.
- Expect some air bubbles initially, which is normal after flushing lines.
- Taste the water to confirm no vinegar odor or strange flavors remain.
If the water still tastes like vinegar, flush several more liters of clean water through the system.
Prevent Future Buildup with Regular Maintenance
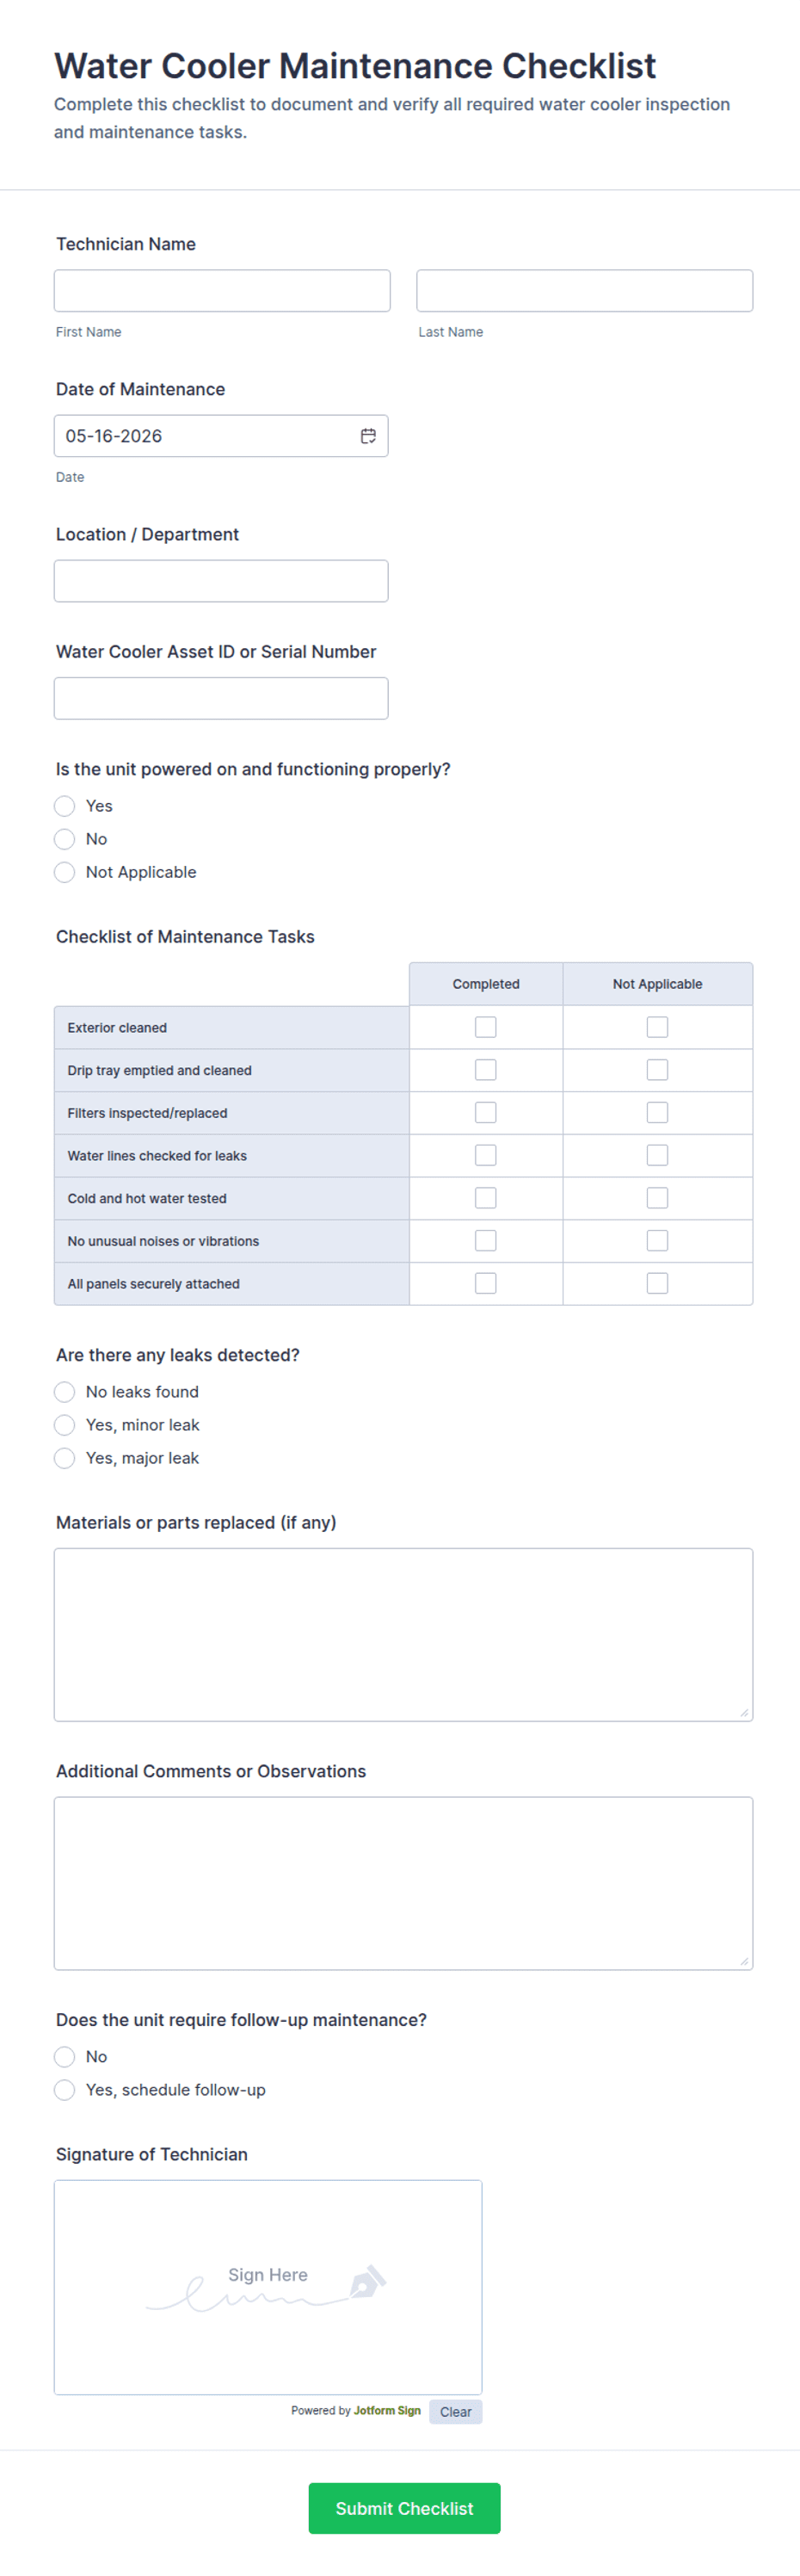
Consistent care prevents major clogs and keeps your water tasting great year-round. A simple routine saves you time and expensive repair calls later.
Monthly Maintenance Schedule
- Wipe the exterior panel weekly with a damp cloth.
- Clean the drip tray every two weeks to prevent mold growth.
- Flush lines with a vinegar solution every three to six months.
- Replace the water filter strictly on the recommended schedule.
Pro Tip: Set a recurring reminder on your phone or calendar to track cleaning dates. Some Whirlpool models also offer app connectivity for maintenance alerts.
Troubleshoot Common Post-Cleaning Issues
Occasional problems may persist immediately after cleaning. Understanding these issues helps you resolve them quickly without panic.
Water Tastes Bad After Cleaning
- Cause: Incomplete flushing left vinegar residue in the lines.
- Fix: Run additional gallons of water through the dispenser until the taste clears.
Slow Water Flow Persists
- Cause: Clogged filter, kinked tubing, or low house water pressure.
- Fix: Replace the filter, check tubing for bends, and ensure the supply valve is fully open.
Leaking From Drip Tray Area
- Cause: Cracked tray, overfilling, or improper seating.
- Fix: Replace damaged trays and ensure the component sits flat and secure.
Frequently Asked Questions About Cleaning Whirlpool Water Dispensers
How often should I clean my Whirlpool water dispenser?
You should perform a deep clean of the internal lines every three to six months. Wipe the exterior and drip tray weekly to prevent surface bacteria and mold growth.
Can I use bleach to clean my water dispenser?
No, never use bleach or harsh chemicals. These substances can damage internal seals and leave toxic residues that are unsafe for drinking water.
Why does my water taste like vinegar after cleaning?
This happens if you did not flush enough clean water through the system. Run several more gallons until the vinegar taste disappears completely.
Do I need to remove the water filter before cleaning?
Some models require a bypass plug to skip the filter during cleaning. Check your specific user manual to see if your model needs this step to avoid damaging the filter.
What causes cloudy water after cleaning?
Cloudy water usually indicates air bubbles trapped in the lines after flushing. This is harmless and typically clears up after dispensing a few cups of water.
Key Takeaways for Maintaining Your Whirlpool Water Dispenser
Cleaning your Whirlpool water dispenser is a simple task that ensures safe and great-tasting water. By flushing lines with vinegar, replacing filters regularly, and wiping down surfaces, you prevent harmful buildup and mechanical issues.
Start your maintenance routine today by gathering your supplies and shutting off the water. Your family deserves fresh water, and your refrigerator will thank you for the care.



