
Does your Whirlpool fridge water dispenser deliver water that tastes odd or flows slowly? Mineral deposits and bacteria often build up inside the nozzle and lines over time.
This guide shows you exactly how to clean Whirlpool fridge water dispenser components using vinegar and simple tools. You will learn to remove grime and restore fresh tasting water in under an hour.
Establish a Weekly Wipe-Down Routine
Regular surface maintenance prevents hard water stains from forming on your appliance. Daily use leaves moisture and fingerprints that attract grime if left unchecked.
Clean the Nozzle and Lever Daily
Wipe the dispenser nozzle and paddle lever with a damp microfiber cloth after every use. Immediate cleaning stops limescale from hardening on the surface. Use a 50/50 vinegar and water mix for stainless steel finishes to avoid streaks.
Scrub the Drip Tray Every Week
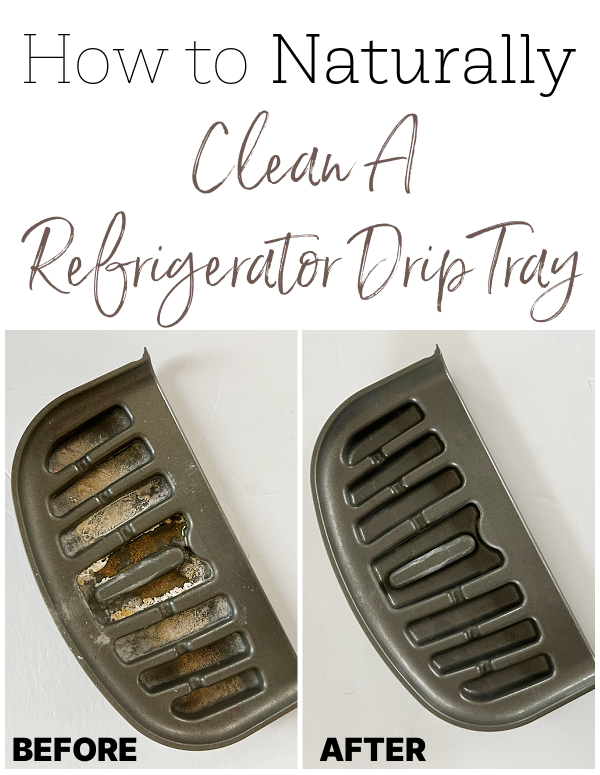
The drip tray collects overflow water and becomes a hotspot for mold growth.
* Wipe the tray weekly with a soapy sponge.
* Rinse thoroughly with clean water.
* Dry the area completely to prevent standing moisture.
Pro Tip: If your model features a removable tray, take it out once a month to clean underneath the housing.
Perform a Deep Clean Every 3 to 6 Months
Internal buildup occurs even with regular wiping. A full deep clean every 3 to 6 months keeps your Whirlpool dispenser flowing smoothly.
Soak the Drip Tray in Vinegar
Mineral deposits stick hard to plastic trays without proper soaking.
1. Gently slide the removable tray out of the housing.
2. Wash it with warm soapy water to remove surface grime.
3. Fill the tray with undiluted white distilled vinegar.
4. Let it soak for 30 to 60 minutes to dissolve deposits.
5. Pour out the vinegar and rinse the tray well.
6. Dry it completely before reinserting.
Use a vinegar-soaked paper towel for non-removable trays. Press it onto stained areas for 30 minutes then wipe dry.
Clear Buildup From the Water Spout
Mineral buildup inside the spout restricts flow and affects water quality.
Remove External Stains Safely
Mix equal parts white vinegar and water in a small bowl. Hold a soaked cloth against stainless steel buildup until it dissolves to avoid scratches. Use a soft toothbrush to gently scrub plastic nozzles. Wrap the spout with vinegar-soaked paper towels for stubborn deposits and secure with a rubber band.
Flush the Spout Interior
Use a pipe cleaner or straw brush dipped in vinegar for internal cleaning. Gently insert the brush into the spout and rotate it to break up deposits. Do not force the brush if you feel resistance. Dispense two full cups of water to flush out any loosened debris.
Sanitize the Dispenser Paddle Thoroughly
The paddle you press every day collects germs and sticky residue from hands.
Wipe Non-Removable Paddles
Wipe the front and sides with a cloth lightly soaked in a water-vinegar solution. Follow with a water-only cloth to remove any cleaning residue. Dry the lever immediately with a clean towel.
Soak Removable Paddles
Gently pull the paddle out of the dispenser housing according to your manual. Soak the part in a vinegar-water solution for 15 to 30 minutes. Rinse under warm water and let it air dry before snapping it back into place.
Clean the Ice Chute and Ice Maker
The ice chute shares the same water line and can harbor mold and dust.
Remove and Empty the Ice Maker
Open the freezer and locate the ice maker assembly. Most Whirlpool models pull straight forward for removal. Empty any existing ice into the sink before starting.
Apply Cleaning Solution to Components
Mix one cup of white vinegar, one cup of water, and one teaspoon of mild dish soap. Spray or wipe this solution inside the ice maker focusing on the underside and moving parts.
Scrub and Dry the Chute
Use a soft brush or cloth to scrub away residue inside the unit. Spray the vinegar mix inside the chute and place a soaked cloth there for a few minutes. Wipe clean with a water-dampened cloth and dry thoroughly. Reinstall the ice maker by sliding it back until it clicks.
Cold Environment Tip: Apply solution to a cloth instead of spraying in freezing temps to avoid instant freezing.
Descale the Internal Water Line

Flushing the internal water line prevents clogs and eliminates bacteria hiding beyond the spout.
Prepare the Refrigerator System
Unplug the refrigerator from the electrical outlet for safety. Turn off the water supply valve usually located under the sink or behind the fridge. Disconnect the water line from the fridge side and place an old towel underneath to catch drips.
Flush the Line With Vinegar
Place a cup of undiluted white vinegar on a high shelf like the top of the fridge. Insert the disconnected water line into the vinegar cup. Briefly turn the water valve on then off to draw vinegar into the line. Let the vinegar sit for 5 to 10 minutes to dissolve internal scale.
Rinse the System Thoroughly
Reconnect the water line and turn the water supply back on. Run water through the dispenser until it is clear and vinegar-free. You must flush 3 to 5 gallons to ensure all vinegar is cleared. Taste test the last few glasses to confirm purity.
Replace the Water Filter Regularly

Cleaning is the perfect time to replace your water filter for best results. Old filters reduce flow and cannot remove contaminants effectively.
Identify Replacement Timing
Replace the filter every 6 months or when the filter indicator light turns red. This schedule ensures optimal performance and water safety.
Install the New Filter
Locate the filter in the bottom grille or upper corner inside the fridge. Twist or press the release button to remove the old filter. Insert the new model-specific filter and turn it until it locks. Run water for 1 to 2 minutes to flush out air and carbon particles.
Reassemble and Test the System
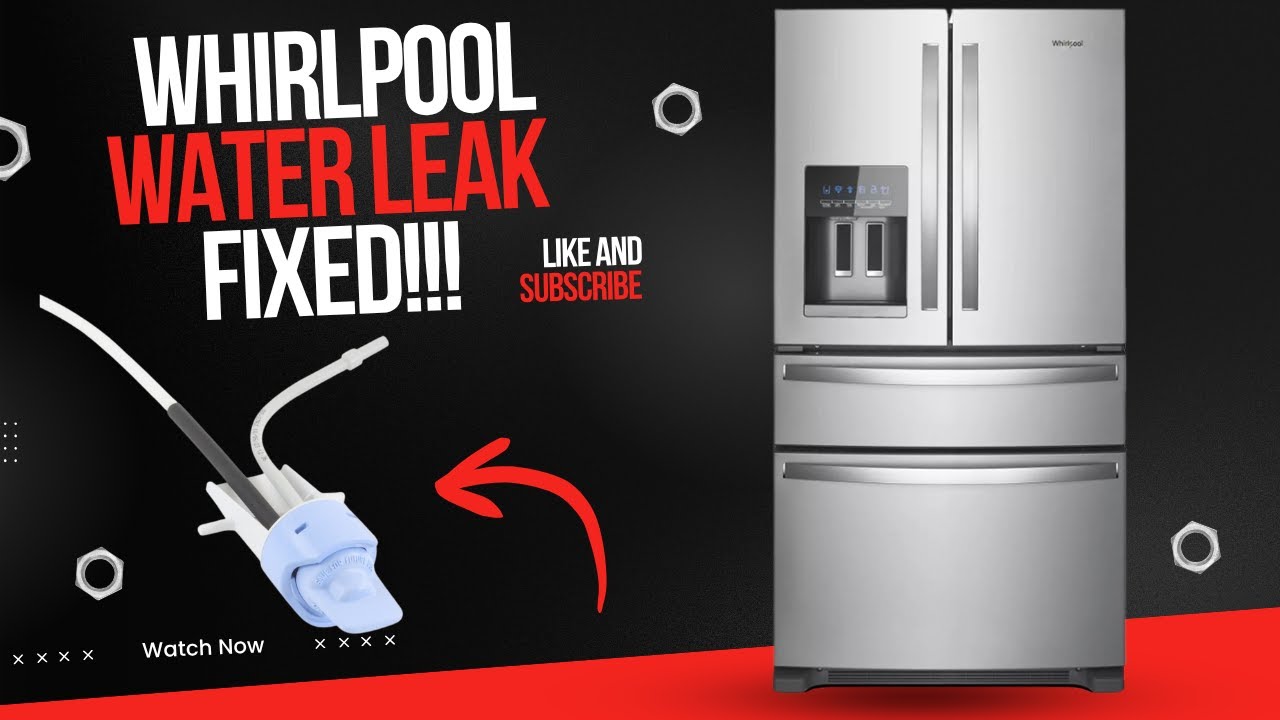
Proper reassembly ensures everything works safely after cleaning.
Reconnect Power and Check Leaks
Plug the fridge back in and unlock the control panel by holding the lock button. Check all connections for leaks especially at the water line. Let the system pressurize for 1 to 2 minutes before use.
Run a Quality Test
Dispense a full glass of water to check clarity and taste. Look for cloudiness or particles in the glass. Ensure the flow is a steady and strong stream. Flush another 1 to 2 gallons if the water still tastes off.
Troubleshoot Common Dispenser Issues
Problems can occur even after cleaning if underlying issues persist.
Fix Orange Tint in Water
An orange tint signals iron in your water supply. Clean the system more often such as every 3 months. Replace the filter regularly and consider a whole-house water softener.
Eliminate Bad Smells or Tastes
Bacteria in stagnant water or an old filter often causes bad odors. Flush 5 gallons through the dispenser immediately. Replace the filter and clean the drip tray and ice chute thoroughly.
Restore Slow Water Flow
A clogged filter is the most common cause of slow flow. Replace the filter and clean the spout with a pipe cleaner. Ensure the water supply valve is fully open.
Resolve No Water or Ice
Check if the water line is kinked or disconnected after cleaning. Verify the supply valve is fully open and wait for air to clear. Ensure the ice maker is properly reinstalled and locked in place.
Prevent Future Buildup Effectively
Smart habits keep your Whirlpool dispenser clean between deep cleans.
Follow a Maintenance Schedule
- Wipe nozzle and tray weekly.
- Replace water filter every 6 months.
- Deep clean spout every 3 to 6 months.
- Descale water line every 6 to 12 months.
- Clean rear coils annually.
Use Distilled Vinegar Only
Avoid bleach or ammonia as they can damage seals. White distilled vinegar is safe and effective for food appliances. Flush 2 to 3 glasses of water after long vacations to clear stagnant water.
Frequently Asked Questions About Cleaning Whirlpool Dispensers
How often should I deep clean my Whirlpool water dispenser?
You should perform a deep clean every 3 to 6 months depending on water hardness. Increase frequency to every 3 months if you have hard water with high mineral content.
Can I use bleach to clean my Whirlpool water dispenser?
No, never use bleach or ammonia on your dispenser. These chemicals can damage internal seals and leave harmful residues. Stick to white distilled vinegar for safe cleaning.
Why does my dispenser water taste like vinegar after cleaning?
This means the system was not flushed thoroughly enough. Run 3 to 5 more gallons of water through the dispenser until the taste disappears completely.
What causes an orange tint in the water from my fridge?
An orange tint indicates iron in your water supply. Increase your cleaning frequency and replace filters regularly to manage iron buildup effectively.
Do I need to replace the water filter when cleaning?
Cleaning is the ideal time to replace the filter. Old filters harbor bacteria and reduce flow efficiency so swapping them every 6 months is recommended.
Key Takeaways for Cleaning Your Whirlpool Fridge Water Dispenser
Regular maintenance ensures your Whirlpool fridge water dispenser provides safe and great-tasting water. Deep clean the spout, tray, and lines every 3 to 6 months using white vinegar to remove mineral buildup. Replace your water filter every 6 months to maintain flow and filtration quality.
Start your cleaning routine today by gathering vinegar and a soft brush. Your health and appliance longevity depend on consistent care.



