
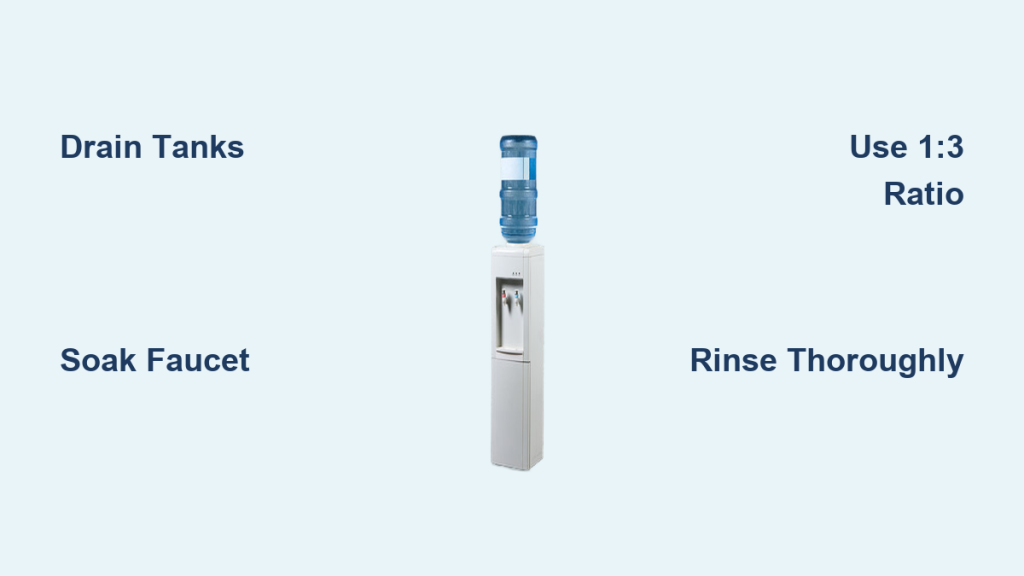
If your water tastes musty or the flow feels slow, it is time to clean water dispenser with vinegar to remove hidden bacteria and limescale. This natural acid dissolves mineral buildup and kills germs without leaving toxic chemical residues behind.
This guide provides a clear, step-by-step process to sanitize your unit, clean the faucet, and flush internal tubes safely. You will learn the exact vinegar ratios, soaking times, and rinsing steps needed for top-load, bottom-load, and point-of-use models.
Why White Vinegar Is the Best Choice for Sanitizing
White distilled vinegar contains about 5% acetic acid, which breaks down calcium deposits and disrupts bacterial cell membranes effectively. Unlike harsh chemicals, this food-safe solution neutralizes alkaline odors rather than masking them with artificial scents. It penetrates internal tubing and reservoirs to kill common pathogens like E. coli and Salmonella without corroding plastic parts. Using vinegar ensures your hydration source remains safe for daily family consumption.
How Acetic Acid Removes Scale and Bacteria
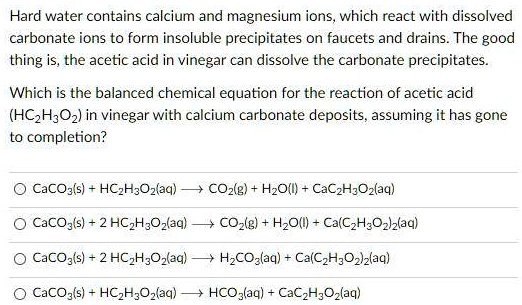
The acidity in vinegar reacts with calcium carbonate to dissolve hard water scale that clogs internal mechanisms. This chemical reaction also strips away biofilm layers where bacteria hide and multiply rapidly. Regular use prevents the formation of thick limescale that can damage heating elements over time.
Safety Benefits Over Chemical Cleaners
Chemical descalers often leave behind residues that require extensive flushing to remove completely. Vinegar offers a non-toxic alternative that is safe for food contact surfaces when rinsed properly. You avoid exposing your household to strong fumes or potential skin irritants found in commercial products.
Essential Supplies for Cleaning Your Dispenser
Gathering the right tools before you start ensures the process goes smoothly without interruptions. You need specific items to reach inside the reservoir and scrub the faucet components effectively.
- White distilled vinegar (1 liter for standard units)
- Clean water for mixing and rinsing
- Large bucket or container for drainage
- Soft sponge or non-abrasive cloth
- Small bottle brush for faucet scrubbing
- Rubber gloves for hand protection
Why You Should Avoid Cleaning Vinegar Concentrates
Standard white vinegar has a 5% acidity level that is safe for most dispenser materials. Cleaning vinegar often contains 6–10% acid, which works faster but risks degrading rubber seals if not rinsed extremely well. Stick to regular distilled vinegar unless you have severe scale issues and can manage extra rinsing cycles.
Step-by-Step Guide to Clean Water Dispenser with Vinegar
Follow this logical sequence to ensure every part of your machine gets sanitized thoroughly. Skipping steps like draining the hot tank can leave contaminated water trapped inside.
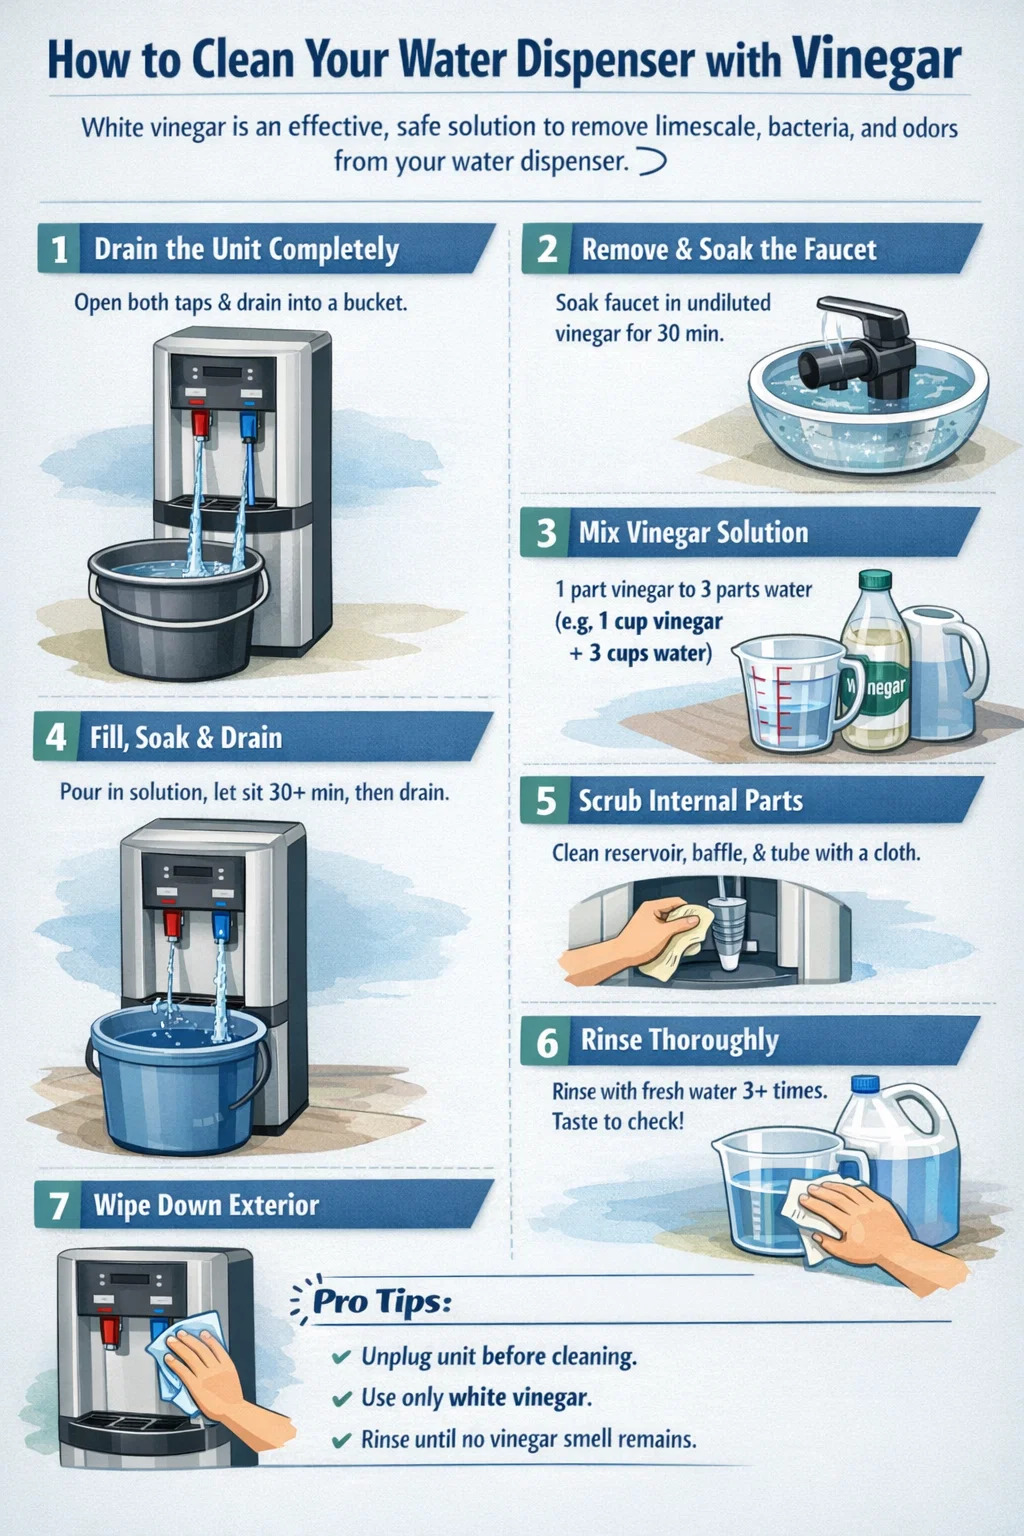
Step 1: Drain All Water from Hot and Cold Tanks
Unplug the unit and remove the water bottle or shut off the main supply line immediately. Open both hot and cold faucets to let all water drain into your bucket until the flow stops. Never attempt to clean a hot reservoir while the water is still warm to avoid thermal shock damage.
Step 2: Remove and Soak the Faucet Components
Most faucets detach with a simple quarter-turn or pull action, so check your manual for specific instructions. Submerge the faucet body and nozzle parts in undiluted white vinegar for at least 30 minutes to loosen crusty deposits. Use a small bottle brush to scrub the inside of the spout while it soaks to remove biofilm.
Step 3: Mix the Correct Vinegar Solution Ratio
Combine 1 part white vinegar with 3 parts clean water to create an effective cleaning solution. For a standard 5-gallon unit, mix approximately 250 ml of vinegar with 750 ml of water. Use a stronger 1:1 ratio only if your unit has heavy scale buildup from months of neglect.
Step 4: Fill Reservoir and Soak Internal Parts
Pour the mixed solution into the empty reservoir and let it sit for 30 to 60 minutes. This dwell time allows the acid to dissolve scale on the baffle plate and reservoir walls. For neglected units, you can extend the soak time up to two hours for better results.
Step 5: Scrub Accessible Internal Surfaces
While the reservoir is empty, wipe down the baffle plate and walls with a vinegar-dampened cloth. Focus on the waterline area where mineral rings and slime often accumulate. Pay special attention to the bottle probe tube on top-load models where bacteria love to grow.
Step 6: Rinse Thoroughly to Remove All Traces
Fill the reservoir with fresh water and drain it completely through both faucets. Repeat this rinsing process at least three times to ensure no vinegar taste remains. Taste the final output, and if you detect any sourness, run one or two more rinse cycles.
Specific Instructions for Different Dispenser Types
Different designs require slight adjustments to the cleaning method to ensure full coverage. Knowing your specific model type helps you avoid missing critical internal components.
Top-Load Bottle Dispensers
These units have an exposed reservoir once you remove the water bottle. Clean the bottle seat and probe tube carefully since they touch the incoming water directly. Allow these areas to air dry completely before placing a new bottle to prevent immediate recontamination.
Bottom-Load Dispensers
Access the reservoir through the top panel or designated cleaning port on these models. Do not pour vinegar directly into the pump system unless your manual explicitly states it is safe. Run the solution through the internal tubing by dispensing it from the top down through the faucet.
Point-of-Use (POU) Models
Shut off the main water supply line before starting any maintenance on POU units. Because these systems have longer internal tubing, you must run four to five full rinse cycles. Replace the sediment pre-filter during this cleaning session for optimal water quality.
Countertop Mini Dispensers
Adjust your solution volume to about 200 ml of vinegar mixed with 600 ml of water for smaller tanks. Soak times can be slightly shorter, around 20 minutes, due to the reduced volume. Remove the lever nozzle if possible to soak it separately for a deep clean.
Recommended Cleaning Frequency Schedule
Cleaning frequency depends on how many people use the dispenser and the hardness of your local water supply. Following a consistent schedule prevents heavy buildup and keeps water tasting fresh.
| Usage Scenario | Recommended Interval |
|---|---|
| 1–3 users (Home) | Every 6–8 weeks |
| 4–6 users (Family) | Every 4–6 weeks |
| Office (10+ people) | Every 3–4 weeks |
| Hard water areas | Every 3–4 weeks |
| After 1+ week idle | Before first use |
Weekly Maintenance Tips
Wipe the water dispenser faucet with a vinegar-dampened cloth once a week. This quick habit reduces bacterial buildup on the most touched part of the machine. It takes less than a minute but significantly improves hygiene between deep cleans.
Common Mistakes That Compromise Cleanliness

Avoiding these frequent errors ensures your cleaning efforts actually work. Many people skip critical steps that leave bacteria behind or damage the unit.
Skipping Faucet Removal Entirely
Wiping the exterior of the faucet does nothing to clean the internal spout channel where biofilm grows. Always remove and soak the faucet components to sanitize the area where your mouth or cup touches. Neglecting this step means the dirtiest part of the dispenser remains contaminated.
Rushing the Rinsing Process
Residual vinegar taste indicates that you did not rinse the system enough. Three full flush cycles are the absolute minimum required to remove all acid traces. Tasting the water before resuing normal operations is the only way to confirm it is ready.
Using Undiluted Vinegar in the Reservoir
Pouring full-strength vinegar directly into the reservoir can degrade rubber seals and gaskets over time. Always dilute the vinegar with water unless you are soaking removable hard plastic parts separately. This precaution protects the longevity of your appliance.
When Vinegar Is Not Enough for Deep Cleaning
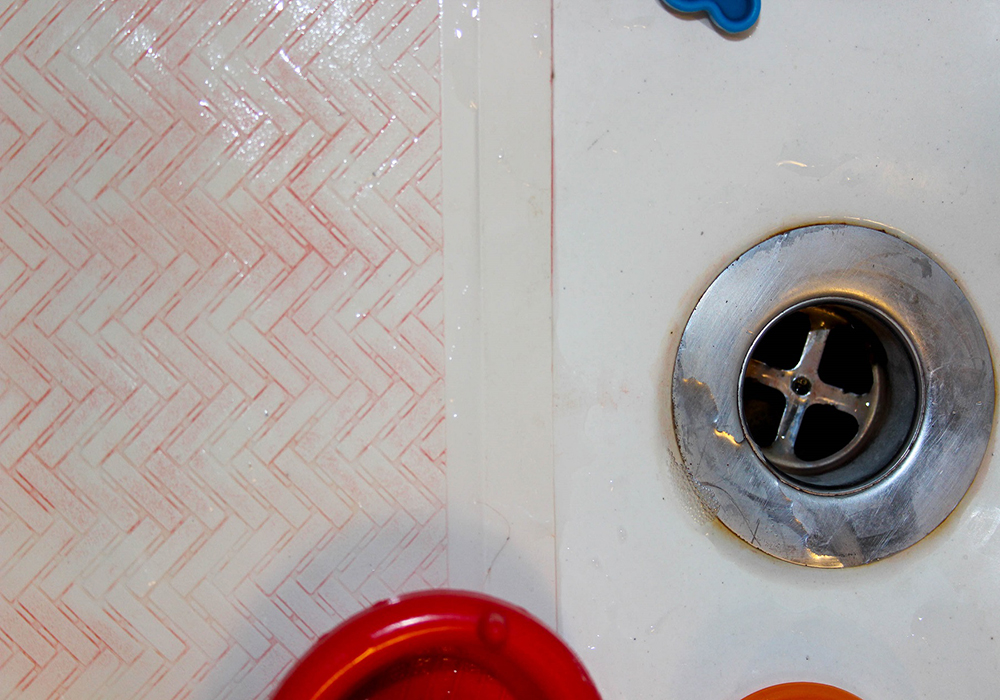
While vinegar handles most routine maintenance, some severe contamination issues require stronger measures. Recognizing these signs helps you choose the right treatment for your specific problem.
Dealing with Pink or Orange Slime
Pink slime indicates the presence of Serratia marcescens, a bacteria that resists vinegar alone. Mix 1 tablespoon of bleach per gallon of water, run it through the system, and soak for 30 minutes. Follow this with a vinegar rinse to neutralize the bleach, then flush with five cycles of clean water.
Removing Heavy Limescale Deposits
If vinegar does not remove thick white crusts, try a citric acid solution instead. Mix 1 tablespoon of food-grade citric acid per liter of water for powerful descaling action. This alternative works well for hard water areas and leaves less odor than vinegar.
Frequently Asked Questions About Cleaning Water Dispensers
How much vinegar do I need for a 5-gallon dispenser?
You only need about 250 ml of vinegar mixed with 750 ml of water for a standard unit. This 1-liter solution is enough to fill the reservoir partially and circulate through all internal paths effectively.
Will my water taste like vinegar after cleaning?
No, not if you rinse the system at least three times with fresh water. If you still taste sourness after three cycles, continue rinsing until the water tastes neutral. Proper rinsing removes all traces of the cleaning solution.
Can I leave the vinegar solution in the dispenser overnight?
Yes, leaving a diluted 1:3 vinegar solution in the reservoir overnight is safe and effective for heavy scale. However, avoid using undiluted vinegar for long soaks as it may harm rubber components. Always rinse thoroughly after an extended soak.
Does vinegar kill Legionella bacteria effectively?
Vinegar has some effect on bacteria, but bleach is recommended if you suspect Legionella contamination. Use a diluted bleach solution for suspected cases and follow manufacturer guidelines for safety. Regular vinegar cleaning helps prevent buildup where bacteria thrive.
Can using vinegar damage my water dispenser?
No, diluted vinegar is safe for plastic, stainless steel, and PVC components when used correctly. Damage usually only occurs if you use undiluted vinegar repeatedly on old rubber seals. Inspect seals annually if your unit is more than five years old.
Key Takeaways for Maintaining a Clean Water Dispenser
Cleaning your water dispenser with vinegar is a simple, cost-effective way to ensure safe and great-tasting water. By following the 1:3 dilution ratio, removing the faucet for soaking, and rinsing thoroughly, you eliminate harmful bacteria and scale. Stick to a regular schedule based on your usage to keep your unit running efficiently.
Start your next cleaning session today by gathering your vinegar and supplies. Your health and the longevity of your appliance depend on consistent maintenance.



