A faulty Brio water dispenser installation often leads to leaks, poor cooling, or pump failure before the unit ever dispenses a drop. Proper setup requires precise clearance, correct filter flushing, and strict adherence to model-specific priming steps.
This guide details exactly how to install bottom load and bottleless Brio units safely. You will learn to avoid common errors like skipped filter flushes or improper drain connections that void warranties.
Select the Correct Location for Your Brio Unit
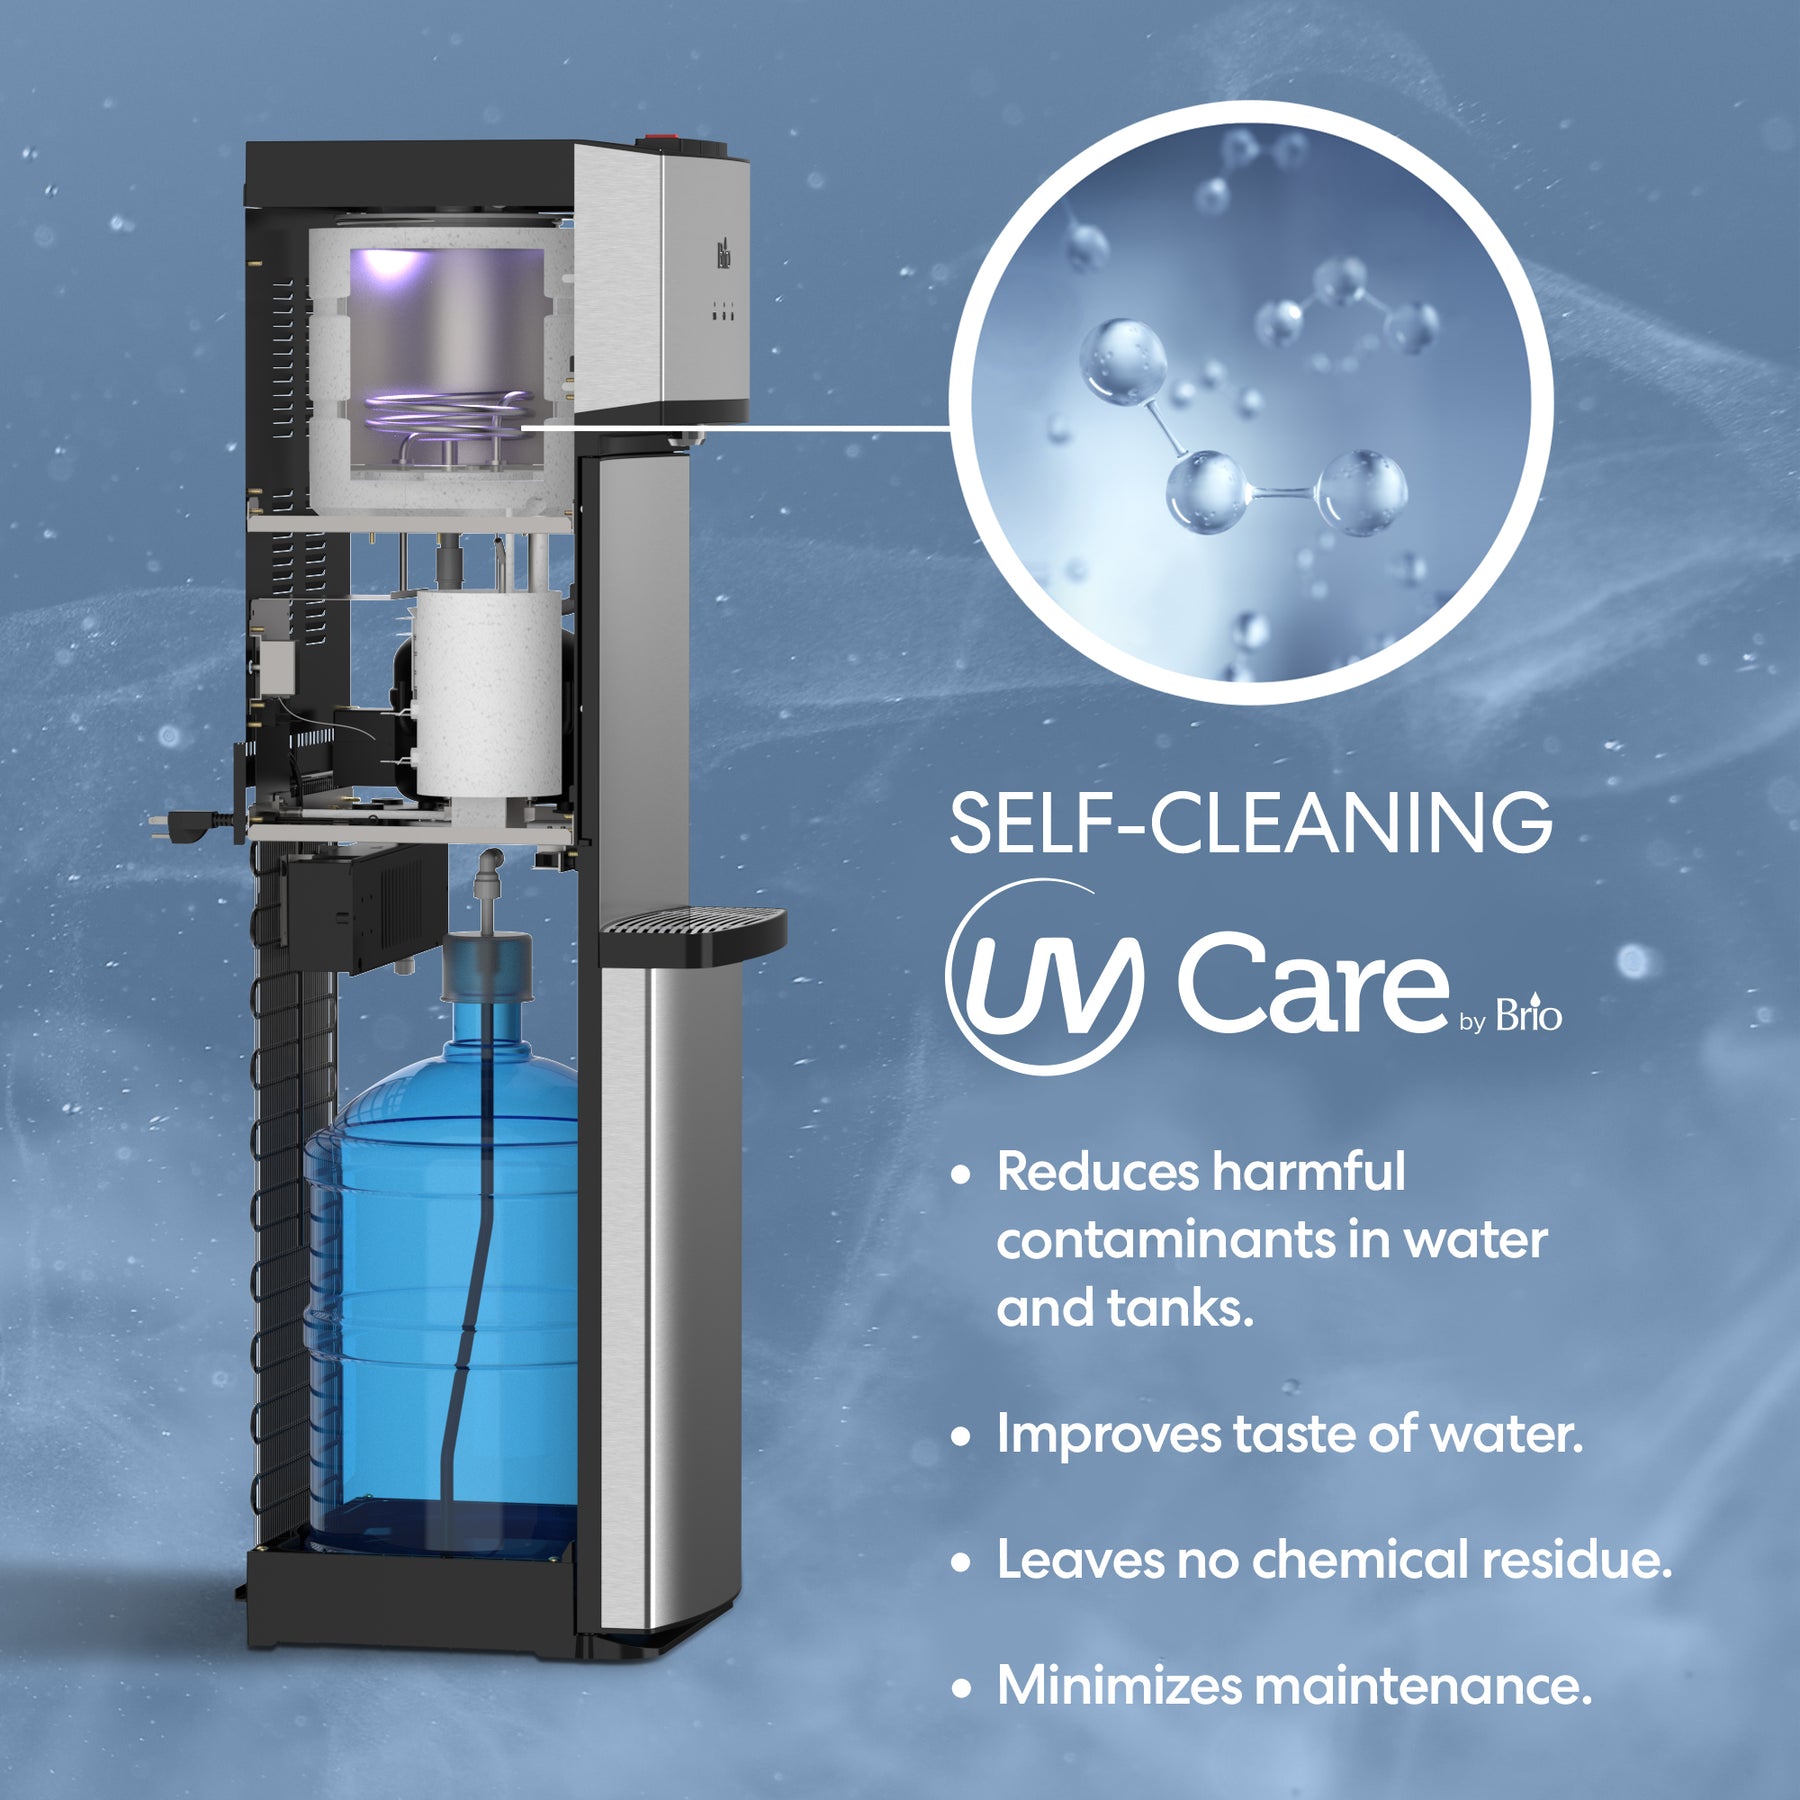
Choosing the right spot prevents overheating and ensures stable operation for years. Your Brio water dispenser installation must start with a flat, hard surface away from direct sunlight to stop algae growth inside internal tanks.
Verify Environmental Clearance Requirements
You must maintain at least 8 inches of space behind and beside the unit. This gap allows the compressor to breathe and prevents the system from overheating during operation. Never push the dispenser flush against a wall or into a tight cabinet corner.
Confirm Utility Access Before Moving
Check your specific model needs before moving the heavy unit into place.
* Bottom Load Models: Require access to a grounded electrical outlet within reach of the power cord.
* Bottleless and RO Models: Need proximity to a cold water supply line and a grounded outlet.
* RO Systems: Specifically require access to a drain line for wastewater disposal.
Assemble Drip Tray and Grid Components
Installing the base components protects your flooring and stabilizes the dispensing area. Locate the drip tray and the stainless steel grid included in your box before connecting any power or water lines.
Slide Base Parts Into Position
Insert the drip tray and grid into the designated slots beneath the dispensing panel. These parts catch accidental spills and provide a non-slip surface for filling cups or large containers. Skipping this step risks water damage to your floor once the system is active.
Execute Bottom Load Brio Water Dispenser Installation

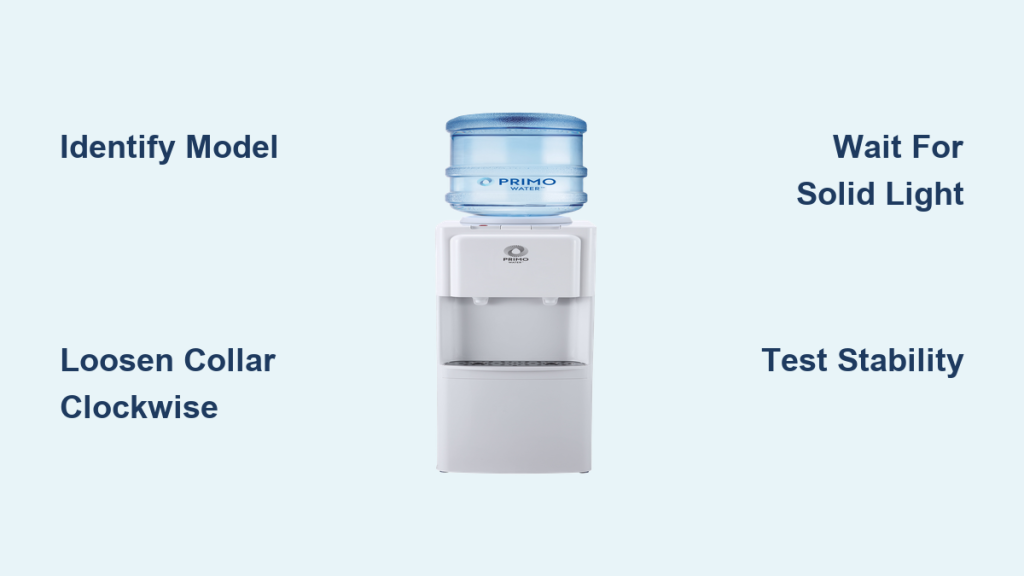
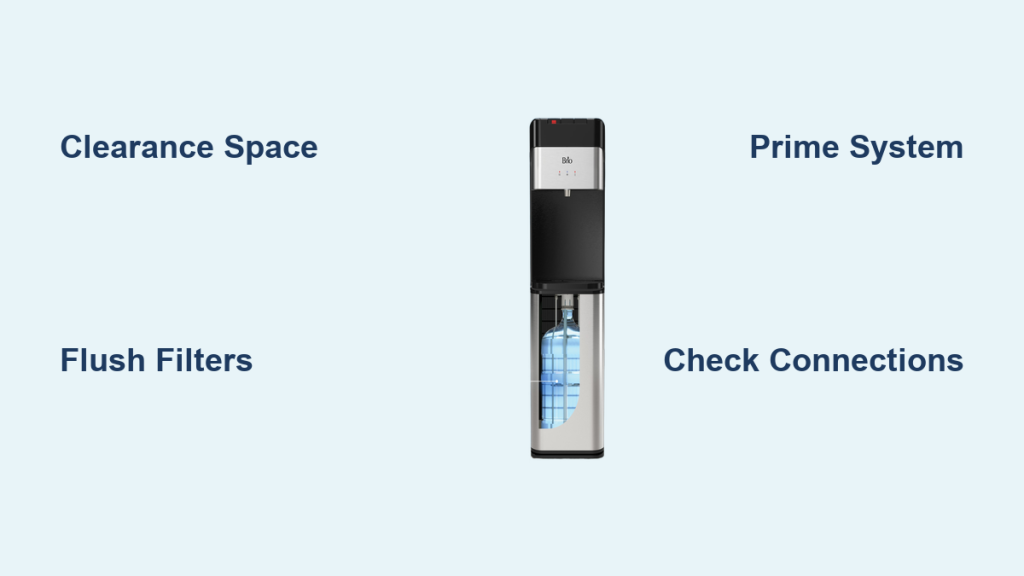
This process applies to the 400 and 500 Series models like the CLBL420V2 and CLBL520SC. These units use an internal pump to draw water from a 5-gallon bottle stored in the bottom cabinet.
Sanitize and Prepare the Water Bottle
Remove the plastic seal from your 5-gallon bottle and wipe the neck thoroughly with a damp cloth. Dust or debris on the cap can enter the system and contaminate your drinking water. Cleanliness here is your first line of defense against bacteria.
Install the Bottle Adapter Correctly
Insert the provided bottle adapter into the bottle neck and screw the original cap over it tightly. You must press down firmly to create a leak-proof seal that maintains proper air pressure. A loose adapter causes the pump to fail or draw air instead of water.
Load the Bottle and Prime the System
Slide the prepared bottle into the bottom cabinet until it locks onto the internal pump probe. Close the cabinet door completely, plug the unit in, and wait 5 minutes for the tanks to pressurize. Do not attempt to dispense water during this critical priming window.
Activate Heating and Cooling Functions
Once the system is primed, you must purge air and enable temperature controls. Place a cup under the hot, room temperature, and cold spouts to clear air pockets from the lines.
Purge Air From Dispensing Lines
Press each button until water flows smoothly without sputtering noises. You can also press the hot and cold buttons simultaneously to speed up this air removal process. Steady flow indicates the lines are full and ready for temperature regulation.
Switch On Temperature Controls
Locate the control panel on the back of the unit to find the red and green switches. Flip the Red Switch to activate heating and the Green Switch to start the cooling compressor. Wait approximately 60 minutes for the water to reach optimal serving temperatures.
Connect Bottleless Models to Water Supply

Installing bottleless units like the Modna 720 requires connecting directly to your building plumbing. Always turn off the main cold water valve before beginning any work on the water lines.
Install the Feed Water Adapter
Wrap plumber’s tape around the threaded ends of the T-shaped feed water adapter to ensure a tight seal. Attach the adapter to your cold water source, connecting the existing line to the top port and the dispenser line to the side quick-connect port.
Avoid Hot Water Line Connections
Never connect your Brio unit to a hot water line. Hot water will destroy carbon and RO filters instantly, voiding your warranty and ruining the system. Only use cold potable water sources for your Brio water dispenser installation.
Test All Plumbing Connections
Turn the water supply back on slowly and inspect every joint for leaks. Gently tug on all quick-connect fittings to ensure they are locked securely in place. If you hear hissing or see dripping, tighten the connection immediately.
Install Drain Line for Reverse Osmosis Units
RO systems produce wastewater that must be directed to a drain via a dedicated line. Select a location on your sink drain pipe, such as a P-trap or a straight vertical section, for the drain saddle.
Mount the Drain Saddle Securely
Drill a hole in the selected drain pipe section and position the drain saddle over it. Tighten the screws firmly to hold the saddle in place, then connect the RO wastewater line to the saddle outlet. Avoid connecting near garbage disposals or dishwasher drains to prevent backflow issues.
Check for Leaks and Proper Flow
Run the system and watch the drain line to ensure wastewater flows freely without backup. A clogged or improperly installed drain line can cause the unit to stop producing water. Tighten all connections if you notice any slow leaking around the saddle.
Flush Filters Before Final Activation

New filters contain carbon fines and manufacturing residues that must be removed before use. Skipping this step in your Brio water dispenser installation leads to clogged systems and poor-tasting water.
Prepare Flushing Tools and Setup
Gather the filter housing, water inlet tube, filter fill tube, and flushing tube. You will flush each filter stage individually before installing them into the main unit housing. This process typically takes 3 to 5 minutes per filter cartridge.
Rinse Each Filter Stage Thoroughly
Twist the filter into the housing, connect the inlet and fill tubes, and direct the flushing tube output to a sink. Turn on the water and let it run until the output is completely clear of black particles. Repeat this for the pre-filter, carbon filter, and RO membrane stages.
Complete Final System Activation
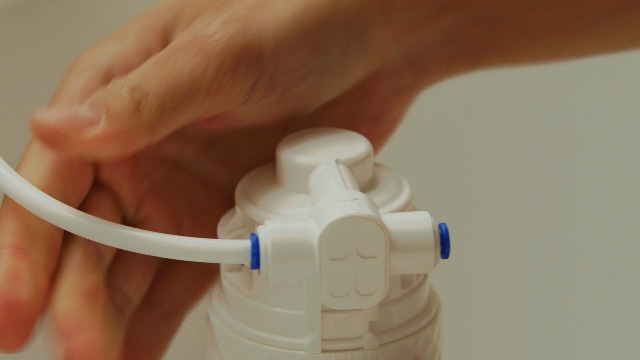
With flushed filters ready and water lines connected, you can now finalize the setup. Open the cabinet door and twist each filter housing into its designated slot at the back of the unit.
Connect Water Line and Power Source
Remove the safety plug from the water inlet tube and insert it into the unit quick-connect fitting until it clicks. Turn on the main water supply, verify there are no leaks, and then plug the unit into a grounded electrical outlet. The pump will activate automatically to fill the reservoirs.
Test Dispensing and Temperature Stability
Dispense water from each spout until the flow is steady and consistent. Switch on the red heating and green cooling controls, then wait one hour before consuming hot or cold water. Your Brio water dispenser installation is now complete and ready for daily use.
Maintain Performance With Regular Filter Changes
Consistent maintenance ensures your water remains clean and the system operates efficiently. Replace your filters every 6 to 8 months depending on your usage volume and local water quality.
Recognize Signs of Filter Fatigue
Watch for reduced water flow, cloudy appearance, or unusual odors as indicators that filters need replacement. Brio offers a subscription service that delivers fresh filters to your door with a 20% discount. Setting a calendar reminder prevents forgotten changes that compromise water quality.
Troubleshoot Common Installation Issues
Even with careful setup, minor issues can occur during the first few hours of operation. Most problems stem from air in the lines or loose connections that are easy to fix.
Resolve No Flow or Sputtering Sounds
If no water comes out, check that the bottle adapter is sealed tightly or the water valve is fully open. Sputtering usually means air remains in the lines, so continue dispensing for another minute or two. Ensure the cabinet door is closed on bottom load models to engage the pump.
Fix Leaks and Overheating Concerns
Inspect all threaded joints and re-apply plumber’s tape if water seeps from connections. If the unit feels hot or stops cooling, verify you have maintained the required 8-inch clearance from walls. Dust buildup on coils can also restrict airflow, so wipe them clean monthly.
Frequently Asked Questions About Brio Water Dispenser Installation
How long should I wait before drinking water after installation?
You must wait 5 minutes for hydraulic priming and about 60 minutes for temperature stabilization. While water flows immediately after priming, it will not be hot or cold until the heating and cooling cycles complete.
Can I install my Brio dispenser on a carpeted floor?
No, the unit must sit on a flat, hard, and stable surface. Carpeting can trap moisture from minor spills and does not provide the stability needed for the internal compressor to function correctly.
What happens if I connect the unit to a hot water line?
Connecting to hot water will permanently damage the filtration system and void your warranty. The filters are designed only for cold potable water and will degrade rapidly if exposed to heat.
Why is black sediment appearing in my new RO system water?
Black particles are carbon fines from new filters that were not flushed properly before installation. Run the flushing procedure for 3 to 5 minutes per filter to clear these residues completely.
How often do I need to replace the filters in my Brio unit?
Standard recommendation is every 6 to 8 months, though heavy usage or poor water quality may require more frequent changes. Subscribe to Brio’s delivery service to receive automatic reminders and a 20% discount on replacements.
Key Takeaways for Successful Brio Water Dispenser Installation
Proper Brio water dispenser installation relies on three critical factors: maintaining 8 inches of clearance, flushing filters thoroughly, and following the correct priming sequence. Neglecting any of these steps can lead to system failure, poor water quality, or voided warranties.
Take your time during the setup process to ensure every connection is tight and every filter is rinsed. Once your unit is running, stick to the recommended maintenance schedule to enjoy clean, temperature-perfect water for years. Start your installation today by clearing a safe space and gathering your tools.