
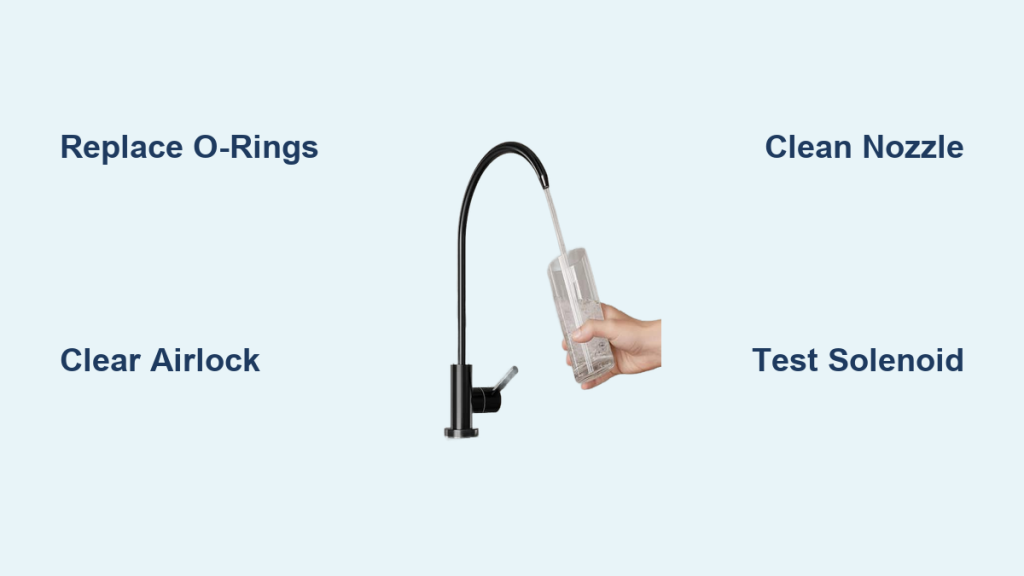
Is your water dispenser faucet leaking, dripping slowly, or refusing to dispense water at all? These common malfunctions often stem from worn seals, airlocks, or mineral buildup that you can resolve at home. Instead of paying for costly service calls, you can restore full function by following a systematic diagnostic and repair process.
This guide details exactly how to fix water dispenser faucet problems ranging from simple O-ring replacements to clearing stubborn blockages. You will learn to identify specific symptoms, safely disassemble the unit, and perform necessary repairs to ensure clean, reliable water flow again.
Identify Specific Faucet Malfunction Symptoms

Diagnosing the exact symptom saves time by pointing directly to the root cause. Your repair strategy depends entirely on whether the unit leaks, fails to flow, or produces a weak stream.
Diagnosing Leaks from the Spout
A steady drip after dispensing usually indicates worn internal components within the valve assembly.
* Worn O-rings: Small rubber rings inside the valve degrade over time and lose their seal.
* Damaged valve seat: Corrosion on the surface where the seal presses prevents a tight closure.
* Loose paddle connector: Water leaking around the lever suggests a loose internal link needing tightening.
Pro Tip: Place a dry towel under the faucet overnight. If it is wet in the morning, you have confirmed a leak.
Troubleshooting No Water Flow
When pressing the paddle yields nothing, the blockage may be mechanical or upstream in the system.
* Airlock in system: Trapped air prevents water flow, often occurring after replacing bottles.
* Stuck solenoid valve: This electric valve controls release and may fail to open even with pressure.
* Clogged filter or nozzle: Mineral buildup or debris can fully block the water path.
* Empty reservoir: Always rule out an empty bottle or shut-off supply before disassembly.
Analyzing Weak or Slow Flow
Reduced output often signals partial blockages rather than total failure.
* Partially clogged filter: Filters restrict flow significantly when overdue for replacement.
* Mineral deposits in nozzle: Hard water areas often see lime buildup at the outlet.
* Kinked tubing: Check hoses behind the unit for bends that restrict water volume.
Execute Safety Protocols Before Disassembly
Water and electricity create significant hazards, so you must isolate power before touching internal components. Following strict safety steps prevents electrical shocks and water damage during the repair.
Unplug the Unit Completely
Always disconnect power from the outlet before removing any panels or hoses.
* Locate the power cord and pull the plug from the wall socket.
* For units displaying error codes like E4, leave the unit unplugged for 10 minutes to reset the control board.
* Ensure your hands are dry before handling any electrical connections or internal parts.
Drain Residual Water Safely
Minimize spills during disassembly by draining remaining water from the internal tanks.
* Open both hot and cold taps to drain water into a bowl or towel.
* Place a small container under hose connections to catch drips when disconnecting lines.
* Remove the water bottle for top-load units or shut off the supply for mains-fed models.
Replace Worn Seals and O-Rings Effectively
Replacing degraded seals is the most common solution for stopping leaks and restoring proper function. This process requires careful removal of the faucet assembly to access internal gaskets.
Remove the Faucet Assembly
- Take off the back panel to access internal components and tubing.
- Locate the water hose connected to the faulty faucet and disconnect it.
- Expect minor leakage from residual pressure when separating the hose.
- Unscrew the mounting screw securing the faucet from inside the chassis.
- Detach the locking clip and pull the faucet out gently from the front.
Inspect and Install New Seals
Examine the O-rings and rubber gasket on the faucet stem for cracks or brittleness. Replace them with exact-match O-rings available in repair kits or from the manufacturer. Check the valve seat inside the housing for corrosion, as an uneven surface requires full faucet replacement.
Reinstall and Test the Repair
- Reinsert the faucet with new seals into the mounting hole.
- Reattach the locking clip and tighten the mounting screw securely.
- Reconnect the water hose ensuring the rubber seal inside the fitting is seated.
- Plug in the unit and test for proper flow and absence of leaks.
Warning: Never restore power while hoses are disconnected or open to avoid electrical shorts.
Resolve No-Flow Issues Step by Step
When water will not come out, follow this diagnostic path to clear blockages or reset mechanical components. These steps address the most common causes of zero output.
Clear an Airlock in the System
This issue is common in top-load dispensers immediately after changing bottles.
1. Remove the water bottle from the top of the unit.
2. Press both hot and cold paddles to release trapped air and drain residual water.
3. Reinstall the bottle firmly and listen for the glug sound indicating proper venting.
Success Rate: This method resolves sudden no-flow issues after bottle replacement 80% of the time.
Tap the Solenoid Valve
If no water flows and no airlock exists, the solenoid valve plunger may be stuck. Locate the small cylindrical component on the water line and gently tap it with a screwdriver handle. If tapping works temporarily, plan to replace the valve soon as it indicates impending failure.
Test the Solenoid with a Multimeter
For a definitive diagnosis, you must test the electrical continuity of the valve.
1. Unplug the unit and disconnect wires from the solenoid terminals.
2. Set your multimeter to measure resistance in ohms.
3. Touch probes to the solenoid terminals to read the resistance value.
4. A normal reading is 20 to 50 ohms, while infinite resistance means the valve is dead.
Replace a Faulty Faucet Entirely
If seal replacement does not fix the leak or flow issue, you must replace the entire faucet assembly. Choosing the correct model ensures compatibility with your specific dispenser unit.
Choose the Right Replacement Part
Match the replacement faucet to your specific model number, as standard faucets fit many units but some require proprietary parts. Confirm hot and cold compatibility since some faucets are designed for single-temperature operation only.
Install the New Faucet
- Insert the new faucet into the front panel hole from the outside.
- From inside the unit, attach the locking clip and secure it with the mounting screw.
- Reconnect the water hose and ensure the rubber seal inside the fitting is seated properly.
- Double-check alignment so the paddle moves freely without binding.
Expert Note: In tight spaces, some technicians briefly restore power to use both hands for final tightening, but only if no water is present and extreme caution is used.
Clean Clogged Nozzles and Filters
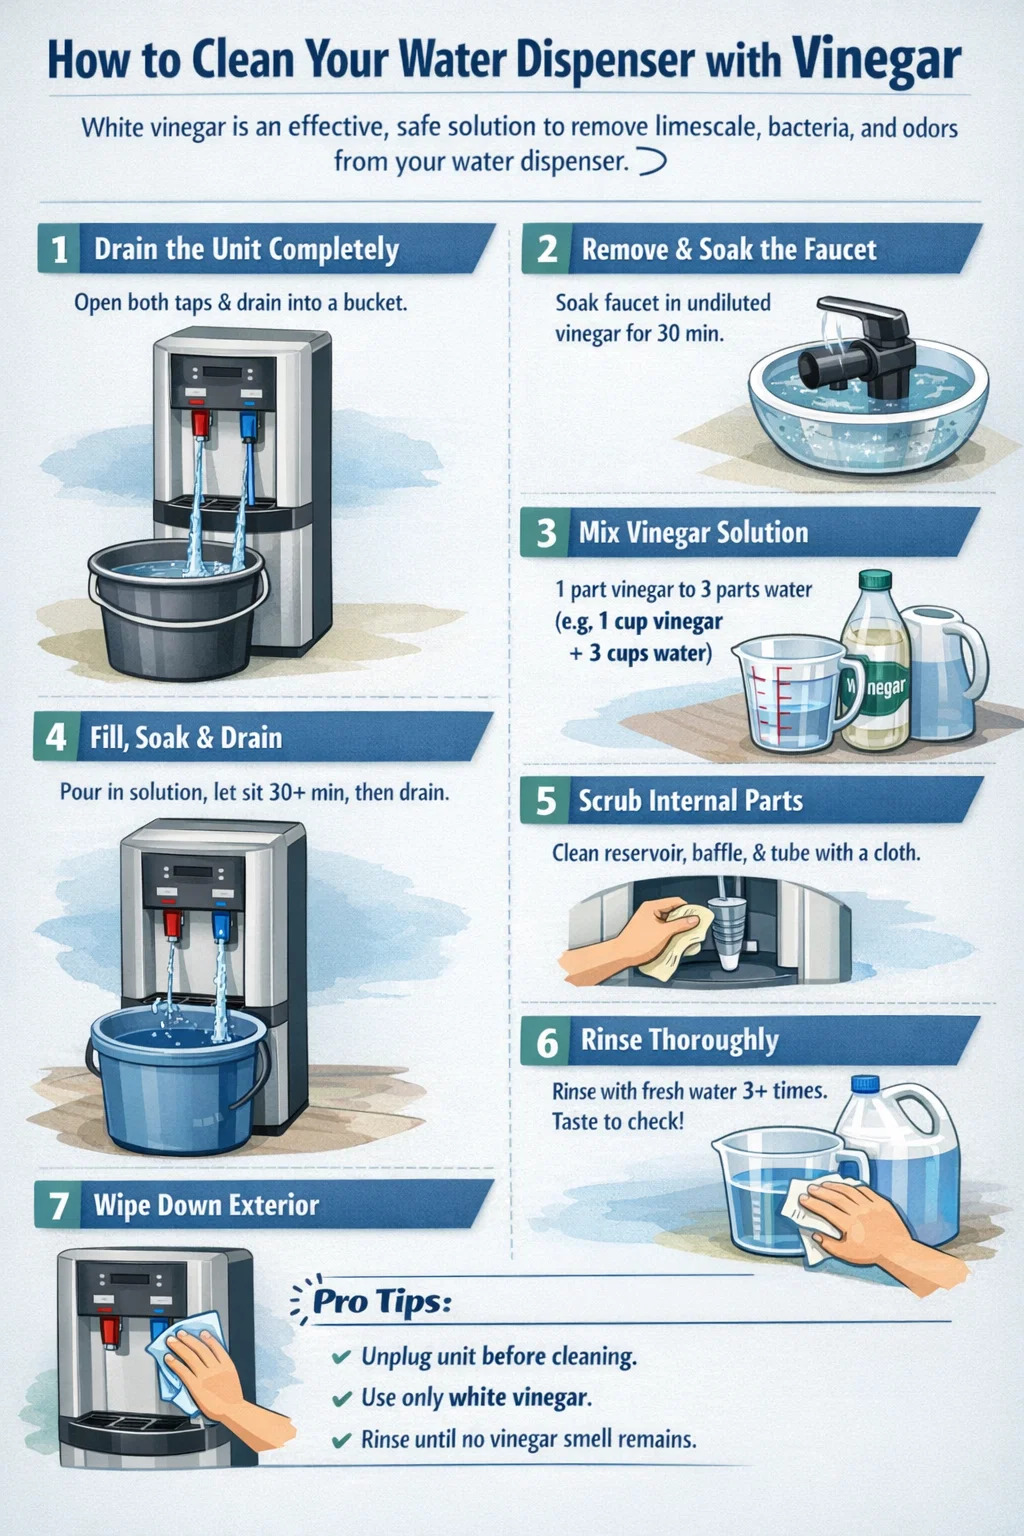
Poor flow often stems from mineral buildup rather than mechanical failure, making cleaning a vital first step. Regular maintenance prevents these blockages from affecting your water quality.
Soak the Nozzle in Vinegar
- Unscrew the faucet tip if your model allows removal of the outlet.
- Soak the part in white vinegar for 30 minutes to dissolve lime and mineral deposits.
- Use a soft brush or toothpick to clear any remaining openings gently.
- Rinse thoroughly with clean water before reattaching to the faucet body.
Replace the Water Filter
A clogged filter slows flow significantly and ruins the taste of your water. Replace the filter every six months or immediately if water tastes dirt-like. Turn off the water supply, relieve pressure by opening taps, unscrew the old cartridge, and insert the new filter. Flush the new filter for one to two minutes to remove carbon dust.
Diagnose Related System Failures

Sometimes the faucet works fine, but upstream issues mimic failure, requiring broader troubleshooting. Understanding these related systems helps you avoid unnecessary faucet replacements.
Cold Water Not Cold?
Check the compressor for a humming sound, as silence indicates a tripped thermal cut-off or failed motor. A faulty thermistor sensor may prevent the compressor from activating, leading to warm water. If you see an E4 error code, unplug the unit for 10 minutes, and if it returns, replace the thermistor or compressor.
Hot Water Not Hot?
Ensure the red power switch on the back of the unit is in the ON position. A burned-out heating element will prevent heating, so test it with a multimeter for continuity. If the thermal cut-off has tripped, reset it by unplugging the unit for 30 seconds.
Bottom Load Units Not Drawing Water?
Check the jug cap air vent, as a blocked vent creates a vacuum that stops flow completely. Clean the small hole with a pin and ensure the bottle is fully seated until you hear air enter the system.
Mains-Fed Units Stopped Dispensing?
Verify that the blue isolation tap on the back of the unit is in the ON position. Check the internal waste tank if your model has one, and empty it via the base door if it is full.
Perform Routine Maintenance Preventatively
Prevent future faucet problems with regular care and sanitization schedules. Consistent maintenance extends the life of your dispenser and ensures safe drinking water.
Sanitize Every Six Months
Mineral deposits and biofilm reduce performance and affect taste over time. Mix equal parts white vinegar and water, pour it into the reservoir, and run the solution through both hot and cold taps for 10 to 15 minutes. Let the solution sit for 30 minutes if scaling is severe, then flush with clean water until the vinegar smell disappears.
Caution: Never use bleach unless specified by the manufacturer, as it can damage internal seals.
Store Bottles Properly
Keep spare bottles in a cool, dark place away from direct sunlight. Sunlight promotes algae growth and plastic leaching, which clogs filters and affects the taste of your water.
Know When to Call a Professional Technician
Some issues go beyond DIY capabilities and require specialized tools or refrigerant handling. Recognizing these limits saves you time and prevents further damage to the unit.
DIY-Friendly Repairs
- Replace faucet, O-rings, or water filter
- Clear airlocks in the system
- Clean nozzles and sanitize internal tanks
- Tighten loose connectors and hoses
Call a Technician If
- Refrigerant leak: The unit blows warm air with no cooling capability.
- Compressor motor failure: The motor fails to start or makes grinding noises.
- Electrical faults: You detect burning smells or tripped breakers.
- Persistent internal leaks: No visible source is found after thorough inspection.
- Mains plumbing leak: Leaks occur upstream of the dispenser isolation valve.
Final Test and Quality Check Verification
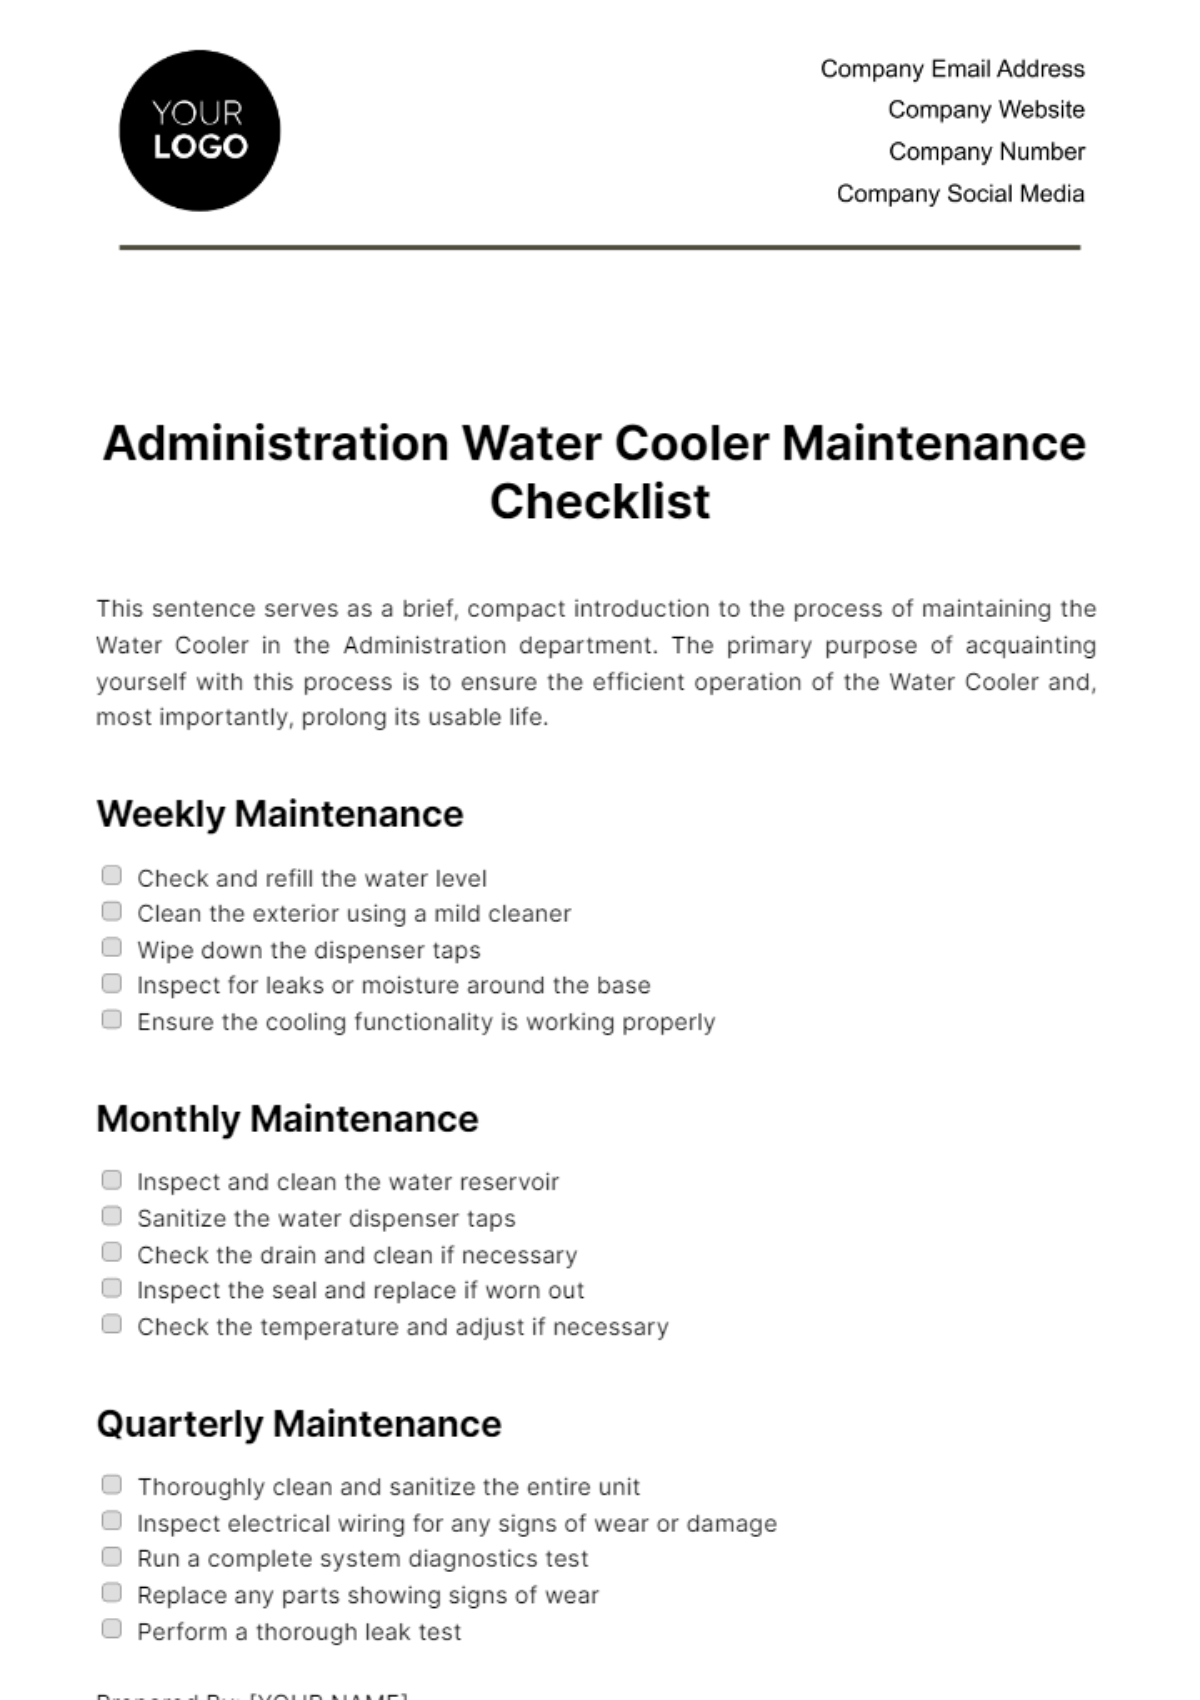
After any repair, verify everything works safely before returning the unit to regular use. A systematic check ensures your repair was successful and prevents secondary issues.
- Visual inspection: Confirm no damp spots or loose hoses exist around the repair area.
- Dispense test: Run two to three cups from both hot and cold taps to check flow.
- Temperature check: Ensure hot water approaches boiling and cold water chills within 30 minutes.
- Leak monitor: Watch connections closely for one hour to detect any slow drips.
- Replace back panel: Ensure all screws are secure and no tools are left inside the unit.
Frequently Asked Questions About Water Dispenser Faucets
Why is my water dispenser faucet leaking from the bottom?
A leak from the bottom usually indicates worn O-rings, a cracked housing, or a loose hose connection inside the unit. You should unplug the dispenser, remove the back panel, and inspect the internal hoses and faucet seals for damage.
How do I fix a water dispenser faucet that has no flow?
Start by checking for an airlock by removing the bottle and opening both taps to drain residual water. If that fails, tap the solenoid valve gently or test it with a multimeter to see if it needs replacement.
How often should I replace the water dispenser faucet seals?
You should inspect seals every six months during routine sanitization and replace them if they appear cracked, flattened, or brittle. Regular replacement prevents leaks and ensures a watertight seal for safe operation.
Can I use vinegar to clean my water dispenser faucet?
Yes, a mixture of equal parts white vinegar and water effectively dissolves mineral deposits and sanitizes the faucet. Run the solution through the taps for 10 to 15 minutes, then flush thoroughly with clean water.
What does the E4 error code mean on my dispenser?
The E4 code indicates a cooling system failure, often related to the thermistor or compressor. Unplug the unit for 10 minutes to reset it, and if the code returns, you likely need to replace the temperature sensor.
Is it safe to repair a water dispenser faucet myself?
Yes, most faucet repairs like replacing seals or clearing blockages are safe for DIY if you unplug the unit first. However, call a professional for electrical faults, refrigerant leaks, or complex internal plumbing issues.
Key Takeaways for Fixing Your Water Dispenser Faucet
Most water dispenser faucet problems stem from simple wear, blockages, or airlocks that are easily fixed at home. By replacing worn O-rings, clearing airlocks, and sanitizing regularly, you can restore full function and avoid expensive service fees.
Start your repair by identifying the specific symptom, then follow the safety protocols to isolate power and water before disassembly. Keep this guide handy for your next fix so you never have to let a dripping faucet go unresolved again.


