
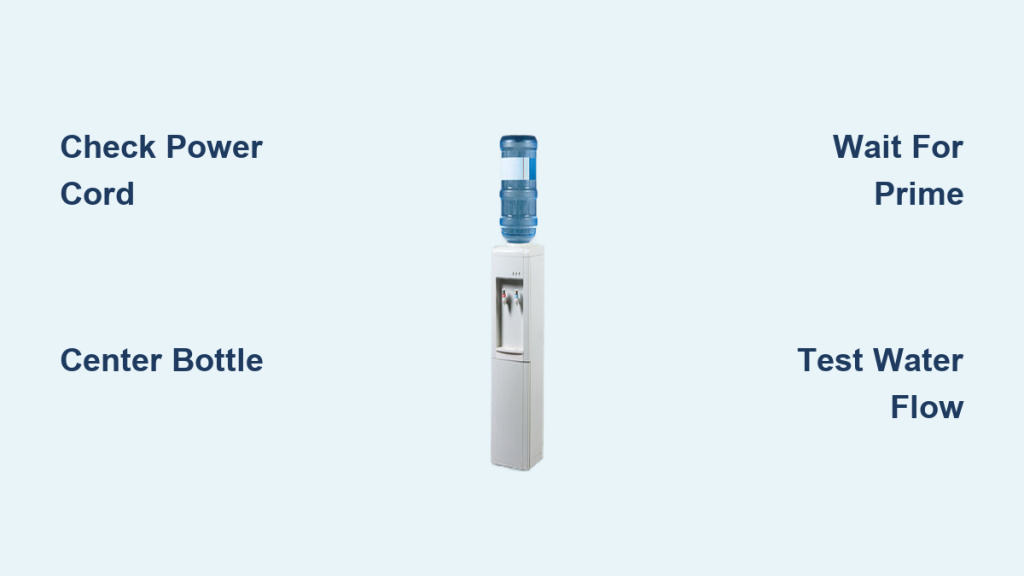
Your water dispenser sits empty while you thirst for a cool drink. Learning how to load a water dispenser correctly prevents messy leaks and ensures your unit functions safely.
This guide covers top-loading models, bottom-loading units, and tricky bottle modifications. You will master safety checks, priming techniques, and temperature adjustments to get fresh water flowing immediately.
Perform Essential Safety Checks Before Loading
Never skip the visual inspection before handling a heavy water bottle. A quick check prevents electrical hazards and ensures your dispenser remains in good working order.
Inspect Power Cord for Damage
Examine the entire length of the power cord for frays, cuts, or exposed wires. A compromised cord creates a serious electrical risk that requires immediate repair. Do not plug in the unit if you spot any damage to the wiring.
Verify Nozzle Alignment and Tightness
Check the front dispensing taps to ensure they are secure. Loose nozzles cause drips and uneven water flow during operation. Tighten any misaligned taps before proceeding with the bottle installation.
Confirm Bottle Seal Integrity
Use only factory-sealed bottles for your safety and hygiene. Inspect the cap and neck area for signs of tampering or damage. Using approved containers maintains system compatibility and protects water purity.
Install Bottles on Top-Loading Dispensers
Top-loading units rely on gravity to feed water into internal reservoirs. Following the correct seating procedure ensures the automatic puncture mechanism works as designed.
Center the Bottle Over the Opening
Lift the full water bottle carefully and place it directly on top of the dispenser. Ensure the bottle sits perfectly centered over the loading area. Misalignment can prevent the internal stem from puncturing the cap properly.
Allow Automatic Puncture Mechanism to Work
Let the dispenser do the work as the bottle settles into place. The internal metal stem automatically pierces the cap to start the water flow. Do not manually pierce the seal because this defeats the safety design.
Monitor Bubbling to Confirm Priming
Watch the bottle closely for bubbles rising through the water. This visual cue confirms that water is flowing out while air enters the system. Wait until the bubbling stops completely, which usually takes one to two minutes.
Test Hot and Cold Water Flow
Verify both systems are working after the bubbling ceases. Press the blue lever for cold water to ensure steady flow. For hot water, lift the red tab, squeeze inward, and push down to dispense.
Operate Bottom-Loading Dispenser Units
Bottom-loading models eliminate heavy lifting by placing the bottle inside a lower cabinet. These units use a pump and specialized adapter to draw water upward efficiently.
Retrieve and Prepare the Bottle Adapter
Open the front cabinet door to access the bottle adapter or probe. Let any remaining droplets drain back into the old bottle before removing the probe. This simple step prevents water spills on your floor.
Insert Probe Tube to Bottle Bottom
Slide the probe tube into your new water bottle carefully. Guide the tube all the way to the bottom of the container. This positioning maximizes water extraction and prevents early empty signals.
Adjust Adapter for Bottle Size
Secure the adapter based on your specific bottle dimensions.
* For 5-gallon bottles: Press the adapter firmly onto the neck until it feels secure.
* For 3-gallon bottles: Press the two tabs on top, slide the collar down to fit the smaller neck, then release to lock.
Ensure a snug fit because loose connections cause air leaks and poor water pressure.
Slide Bottle Into Cabinet Carefully
Insert the adapted bottle into the dispenser chamber smoothly. Make sure the tubing does not get kinked or pinched during insertion. Close the cabinet door securely to complete the physical setup.
Wait Five Minutes for System Prime
Unlike top-loaders, these units need time to pump water upward. Wait approximately five minutes before attempting to dispense any water. The internal tanks must fill and the pump must prime first.
Modify Ciel Bottles for Standard Dispensers

Ciel brand bottles feature a left-hand threaded cap that requires manual modification. You must alter the cap correctly to use these bottles with standard dispensers.
Remove Cap by Turning Clockwise
Turn the cap clockwise to loosen and remove it from the bottle. This direction is opposite to standard bottles due to the reverse threading. Forcing it counter-clockwise can damage the cap or strip the threads.
Cut Center Hole in Cap
Use a drill or sharp knife to cut a hole in the center of the cap. The hole diameter should be about half the diameter of the cap. This size allows water flow while retaining the foam seal.
Reinstall Foam Seal and Cap
Place the original foam seal back inside your modified cap. Screw the cap tightly back onto the bottle by turning clockwise. Ensure the seal sits flat to prevent major leaks during inversion.
Invert Bottle and Activate Flow
Turn the bottle upside down and place it on the dispenser stem. The water pressure presses the foam seal against the hole to prevent leaking. The dispenser stem then pushes the seal inward to release the water flow.
Adjust Temperature Controls After Loading

Fine-tune your dispenser settings once the water is flowing properly. These adjustments optimize performance for your specific temperature preferences.
Activate the Hot Water Tank
Locate the red switch on the back panel of your unit. Press the switch down to activate the heating element for the hot water reservoir. Turn this off when not in use to save energy.
Set Cold Water Temperature
Find the slotted screw located below the red hot water switch. Use a small flathead screwdriver to adjust the setting.
* Turn clockwise to make the water colder.
* Turn counter-clockwise for slightly warmer output.
Adjust in small increments and wait ten to fifteen minutes between changes.
Troubleshoot Common Loading Issues
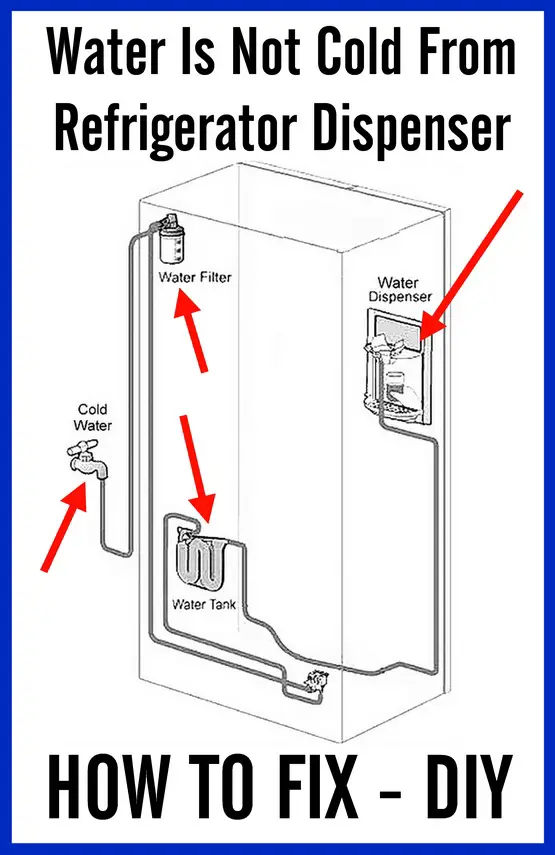
Even careful loading can sometimes result in minor issues. Use these diagnostic steps to resolve problems quickly without calling for service.
Diagnose No Water Flow
Check these three common causes if water does not dispense.
* Bottle not seated: Remove and re-center the bottle on the stem.
* Cap not punctured: Ensure the bottle is lowered fully onto the internal stem.
* Adapter not locked: Confirm adapter tabs are engaged for bottom-load 3-gallon bottles.
Stop Continuous Bubbling
Bubbles that never stop indicate an air leak in the system. This often happens if a modified cap lacks a proper foam seal. Recheck all seals and connections to stop the air intake.
Fix Hot Water Problems
Ensure the red switch on the back is pressed down. Verify that the tank is full by waiting for the priming process to complete. Check that you are using the full lift-squeeze-push motion on the tap.
Correct Warm Cold Water
Adjust the slotted thermostat screw clockwise to lower the temperature. Ensure the unit is not placed near heat sources like ovens. Direct sunlight can also raise the internal water temperature.
Maintain Cleanliness and Longevity
Proper hygiene extends the life of your dispenser and ensures safe drinking water. Regular maintenance prevents bacterial buildup and mechanical failures.
Clean Nozzles Weekly
Wipe dispensing taps with a damp cloth and mild disinfectant. Buildup around nozzles can harbor bacteria and affect water flow. Make this part of your weekly cleaning routine.
Inspect Bottle Necks Before Loading
Check each bottle neck for debris or residue before installation. Dust or particles can clog the puncture stem or contaminate the reservoir. A quick wipe prevents potential contamination issues.
Schedule Reservoir Cleaning
Sanitize internal water tanks every one to three months. Use a manufacturer-approved cleaner or white vinegar solution for best results. Follow instructions carefully to avoid damaging internal seals.
Recycle Bottles Responsibly
Empty 5-gallon and 3-gallon bottles are reusable and recyclable resources. Return them to your supplier or local exchange center after use.
Many companies offer discounts on future purchases when you return empty bottles. Recycling reduces plastic waste and supports sustainable water consumption habits.
Frequently Asked Questions About Loading Water Dispensers
How long does it take for a water dispenser to prime?
Top-loading units prime immediately as bubbles appear and stop within two minutes. Bottom-loading models require approximately five minutes for the pump to fill internal tanks.
Why is my water dispenser bubbling continuously?
Continuous bubbling indicates an air leak in the system. Check that the bottle cap is tight, the seal is intact, or the bottom-load adapter is locked securely.
Can I use any 5-gallon bottle on my dispenser?
Standard dispensers accept bottles with standard neck finishes. Brands like Ciel require manual cap modification due to their unique left-hand thread design.
How do I make my cold water colder?
Locate the slotted screw below the red hot water switch on the back panel. Turn this screw clockwise with a small screwdriver to lower the thermostat setting.
What should I do if no water comes out?
Ensure the bottle is centered and the cap has been punctured by the internal stem. For bottom-loaders, verify the probe tube reaches the bottle bottom and the adapter is secure.
Key Takeaways for Loading Your Water Dispenser
Loading a water dispenser correctly ensures safe operation and reliable water flow. Always perform safety checks, follow specific steps for your model type, and wait for the system to prime before use.
Proper maintenance and troubleshooting keep your unit running efficiently for years. Inspect your dispenser today and follow these steps to enjoy fresh, clean water immediately.



