
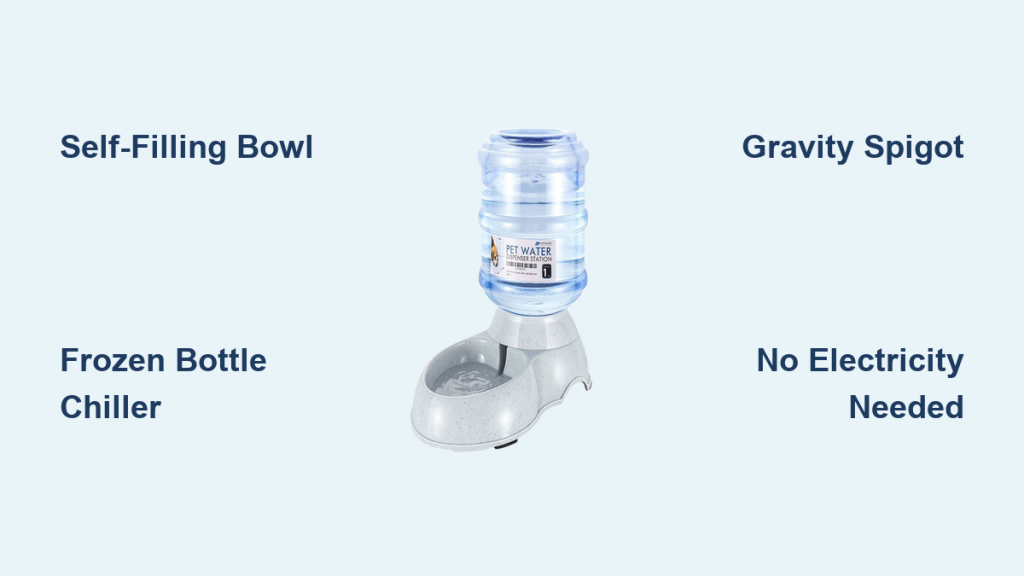
Does your furry friend run out of water while you are at work or sleeping? Learning how to make a pet water dispenser solves this problem using simple physics and household items. You can build a reliable system that keeps water fresh without electricity or complex plumbing.
This guide details three specific designs you can construct today. You will discover how to build a self-filling bowl using atmospheric pressure, an insulated chiller for hot weather, and a large gravity-fed system. Each method ensures your pet stays hydrated safely and efficiently.
Construct a Self-Filling Bowl Using Atmospheric Pressure

This design creates a constant water level in your pet’s existing bowl. It relies on air pressure rather than pumps or electronics to function. The result is a spill-free zone that refills automatically as your pet drinks.
How the Vacuum Lock Mechanism Works
Water flows out of an inverted bottle until it covers the opening. At this point, air cannot enter the bottle to replace the displaced liquid. This creates a vacuum lock that stops the flow immediately. When your pet drinks, the water level drops, allowing air bubbles to enter and release more water.
Gather Your Specific Materials
You need common household items and basic lumber for this project.
* One 2-liter plastic soda bottle with its original cap
* One piece of 1×6 lumber for the base
* One piece of 2×4 lumber for the post
* Wood glue and nails for structural strength
* Clamps to hold wood while drying
* Velcro strips (both hook and loop sides)
* Super glue to secure the Velcro permanently
Assemble the Wooden Support Structure
- Place the 2×4 board on one end of the 1×6 base board.
- Trace the outline of the vertical post onto the base.
- Apply wood glue to the contact surface of the 2×4.
- Press the post into the marked area and clamp it tightly.
- Let the glue dry completely before proceeding.
- Drive nails through the post into the base for extra reinforcement.
Secure the Bottle with Heavy-Duty Velcro
- Hold the empty bottle against the post to find the ideal height.
- Ensure the bottle mouth will sit just above the bowl bottom when inverted.
- Stick two strips of the soft loop Velcro to the wooden post.
- Press the hard hook Velcro strips onto the soft ones.
- Critical Step: Apply super glue around the edges of the Velcro on the wood.
- Press the bottle firmly onto the exposed hook side of the Velcro.
Regular adhesive often fails under the weight of two liters of water. Using super glue prevents the bottle from detaching and startling your pet.
Fill and Activate the System
Fill the bottle completely and screw the cap on tight. Flip the bottle upside down and press it onto the Velcro mount. Unscrew the cap quickly while holding the bottle in place. Water will rush into the bowl with a loud sound until the opening is submerged. The flow stops automatically once the seal is re-established.
Build an Insulated Frozen Bottle Cooler for Hot Days

Pets in scorching climates need cold water to stay safe. This insulated box uses a frozen bottle to dispense chilled water slowly throughout the day. It acts as an active cooling station for temperatures exceeding 40°C.
Understand the Cooling and Dispensing Logic
A frozen 750ml bottle sits inside a foam-lined wooden box. As the ice melts, water drips through a plant feeder spike into a bowl below. The Styrofoam insulation slows the melting process significantly. This extends the availability of cold water for many hours.
Collect Supplies for the Insulated Box
- Recycled wood pieces for box construction
- Styrofoam or packing foam for insulation
- Contact adhesive to bond foam to wood
- 750ml plastic pump bottle
- Plant watering spike compatible with the bottle
- Hook-and-eye latch for the lid
- Interlocking picture hangers for mounting
- Hole saw matching the bottle neck size
- Router for smoothing sharp edges
- Clear water-based varnish
Fabricate the Insulated Chamber
- Construct a wooden box with four sides and a base.
- Cut Styrofoam to fit every interior surface snugly.
- Use contact adhesive to glue the foam lining in place.
- Drill a hole in the center of the base using the hole saw.
- Size the hole so the bottle neck fits tightly.
- Attach a wooden lid with a hook-and-eye latch.
Ensure there are no gaps in the foam lining. Full coverage maximizes the cooling duration for your pet.
Smooth Edges and Apply Protective Varnish
Use a router to round off all sharp corners on the wood. This prevents splinters and keeps your pet safe from injury. Fill any unwanted holes or seams with wood filler. Apply two coats of clear water-based varnish to the entire exterior. Let each coat dry fully to ensure weather resistance.
Install and Operate the Feeder
Attach interlocking picture hangers to the back of the box. Mount the unit on a fence or wall at a convenient height. Insert a frozen water bottle with the plant spike attached each morning. The water will drip slowly as the ice melts. Clean the spike monthly with vinegar to prevent clogs.
Install a High-Capacity Gravity Spigot System

Large dogs or multi-pet households require more water volume. This system uses a five-gallon jug to provide a steady supply for extended periods. It offers controlled flow without any electrical components.
Review the Gravity Flow Principle
Water flows from an elevated reservoir through a spigot and tubing. Gravity pulls the water down into a collection bowl. You control the flow rate using the spigot valve. This setup minimizes splashing and waste while maximizing capacity.
Prepare Pet-Safe Components
- 5-gallon plastic water jug (wide-mouth preferred)
- Plastic spigot with nut and washer
- 12 to 18 inches of food-grade tubing
- Drill with hole saw bit
- Scissors or utility knife
- Pet-safe silicone sealant
- Non-slip mat for the bowl area
Verify that all materials are non-toxic and safe for animal consumption. Food-grade tubing is essential to prevent chemical leaching.
Drill and Seal the Spigot Connection
- Clean and dry the plastic jug thoroughly.
- Drill a hole 1 to 2 inches from the bottom of the jug.
- Insert the spigot stem from the outside of the jug.
- Secure it from the inside with the provided washer and nut.
- Tighten the nut firmly to create a mechanical seal.
- Apply pet-safe silicone around the base inside and out.
- Allow the silicone to cure for 24 hours before use.
This sealing step prevents leaks and keeps the water hygienic for your pets.
Connect Tubing and Adjust Flow Rate
Cut the food-grade tubing to a length of 12 to 18 inches. Push one end firmly onto the spigot outlet. Place the other end into your pet’s bowl or tray. Position the jug on a stable shelf or stand. Open the spigot slightly to start a drip. Adjust the lever until the flow matches your pet’s drinking pace.
Clean the jug and flush the tubing every two to three days. Algae grows quickly in clear tubing exposed to light.
Compare Designs to Choose the Best Option
Selecting the right project depends on your specific situation. Consider your pet’s size, your local climate, and your available tools.
| Feature | Self-Filling Bowl | Frozen-Bottle Chiller | Gravity Spigot |
|---|---|---|---|
| Best Use Case | Indoor single pets | Hot climates over 40°C | Multi-pet homes |
| Water Capacity | 2 Liters | 750ml (slow release) | 19 Liters (5 Gallons) |
| Cooling Effect | None | High (Ice cold) | None |
| Build Time | 1 to 2 hours | 3 to 4 hours | 30 to 60 minutes |
| Skill Level | Low | Medium to High | Low to Medium |
| Maintenance | Refill as needed | Freeze bottle daily | Clean every 2-3 days |
Choose the self-filling bowl for low-effort indoor use. Select the frozen chiller if you live in extreme heat. Pick the gravity spigot for maximum volume and long trips.
Troubleshoot Common Installation Issues
Even simple builds can encounter problems without proper setup. Address these common issues to ensure success.
Prevent Bottle Falls in Self-Filling Units
If the bottle detaches, the adhesive has likely failed. Always use super glue to bond Velcro to the wood. Regular adhesive backing cannot support the weight of a full two-liter bottle. This simple step prevents dangerous drops.
Stop Water Overflow Problems
Continuous spilling means the bottle mouth is too high. Lower the Velcro placement on the post. The opening should sit very close to the bottom of the bowl. This ensures the vacuum lock engages correctly.
Fix Leaks in Spigot Systems
Dripping at the spigot base indicates a poor seal. Reapply pet-safe silicone around the connection point. Ensure the inner nut is tightened sufficiently. Test the system with water before letting your pet use it.
Improve Insulation Performance
If the frozen bottle melts too fast, check your foam lining. Add thicker Styrofoam or seal any gaps with adhesive. Ensure the lid closes tightly to trap the cold air inside.
Eliminate Algae Growth
Green slime appears when light hits stagnant water. Clean all systems every few days. Use opaque tubing for gravity systems to block light. Keep dispensers in shaded areas whenever possible.
Frequently Asked Questions About DIY Pet Water Dispensers
Can I use any plastic bottle for the self-filling bowl?
You should use a standard 2-liter soda bottle with its original cap. These bottles are designed to hold pressure and fit standard caps securely. Other shapes may not create the proper vacuum seal required for automatic refilling.
How often do I need to clean the gravity spigot system?
Clean the jug and tubing every two to three days. Biofilm and algae grow rapidly in warm water and clear tubing. Regular cleaning prevents bacterial buildup and keeps the water safe for your pets.
Is the frozen bottle system safe for all weather conditions?
This system works best in hot climates above 40°C. In freezing weather, the water inside may freeze solid, stopping the flow. Bring the unit indoors or switch to a non-frozen method during winter months.
What happens if my pet knocks over the bowl?
The self-filling bowl design minimizes spills but does not prevent tipping. Use a heavy ceramic bowl or a non-slip mat under the setup. Securing the wooden stand to a wall adds extra stability for energetic pets.
Do I need special tools to build the insulated chiller?
Yes, you need a drill with a hole saw and a router. The hole saw creates the opening for the bottle neck. The router smooths sharp wood edges to prevent injury. Basic woodworking skills are helpful for this project.
Key Takeaways for Making Your Pet Water Dispenser
You now have three distinct methods to keep your pet hydrated automatically. The self-filling bowl offers simplicity, the frozen chiller provides relief from heat, and the gravity system delivers high volume. Each design uses basic physics to function without electricity.
Start with the self-filling bowl if you are new to DIY projects. It requires minimal tools and provides immediate value. Remember to use super glue for security and clean all components regularly for hygiene. Your pet will enjoy fresh water all day long.



