

Struggling to lift heavy jugs or waiting for slow drips makes staying hydrated a chore. Learning how to use a water dispenser pump correctly solves these issues by delivering instant, controlled flow with minimal effort.
This guide covers installation, operation, and maintenance for manual, USB-rechargeable, and hardwired systems. You will discover specific steps to fix common leaks, prime your unit, and keep your water safe.
Choose the Correct Water Dispenser Pump Type

Selecting the right model depends on your power access and portability needs. Each type operates differently, so identifying your unit is the first step to success.
Compare Manual and Automatic Models
Manual hand press pumps require no electricity and work best for emergencies or camping. USB-rechargeable automatic pumps offer one-button convenience for offices and dorm rooms. Hardwired AC/DC systems provide permanent solutions for homes with ice makers.
Match Pump to Your Environment
Pick a manual unit for off-grid locations where power is unavailable. Choose a rechargeable model for renters who need easy mobility. Install a hardwired system if you require high flow rates for multiple appliances.
Install Manual Hand Press Pump Systems
Manual pumps rely on kinetic energy, making setup simple but requiring a tight seal for proper function.
Attach Pump to Bottle Neck
Place the pump head directly onto a standard 3 to 5-gallon water jug. Ensure the rubber gasket forms a complete seal around the bottle neck to prevent air leaks. You can use the original cap with a drilled hole to stabilize the unit if the fit feels loose.
Prime the Mechanical Mechanism
Press the handle down rapidly 10 to 15 times before your first use. This action forces air out of the chamber and draws water up through the internal tube. Continue pressing until you see a steady drip from the spout.
Dispense Water with Proper Technique
Apply firm and consistent pressure to the handle to maintain flow. Avoid jerky motions as they reduce efficiency and may cause splashing. Release the handle completely to stop the water immediately.
Set Up USB-Rechargeable Automatic Pumps

These compact units offer hands-free operation but require specific setup steps for optimal battery life and flow.
Charge Battery Before First Use
Connect the pump to a USB power source using the included cable. Watch for a red LED light which indicates charging, and wait until the light turns off to confirm a full charge. Expect this process to take 2 to 4 hours depending on the model.
Insert Intake Tube to Bottom
Attach the silicone tube to the pump base and straighten any kinks carefully. Insert the tube into the water bottle until it touches the absolute bottom. Proper depth ensures continuous suction and prevents the motor from pulling air.
Secure Unit for Stability
Place the unit firmly on the bottle neck to prevent wobbling during operation. Use the original bottle cap with a center hole or a reusable sealing cap to lock the pump in place. A secure fit maintains the vacuum needed for consistent water flow.
Activate Flow With One Button
Press the power button once to start the motor and dispense water instantly. Press the button again to stop the flow or wait for the automatic shutoff if equipped. Recharge the battery after dispensing 4 to 6 full bottles for best performance.
Install Hardwired AC/DC Electric Systems

Permanent installations require careful plumbing and electrical connections to ensure safety and longevity.
Mount Pump in Suitable Location
Choose a cabinet or closet near a grounded outlet and close to your water source. Place the pump module on the floor or mount it on the wall using the provided bracket. Add rubber feet under the unit to reduce vibration noise during operation.
Connect Tubing to Appliance
Cut the 1/4 inch polyethylene tubing squarely with a tubing cutter to ensure a clean edge. Push the tube past the O-ring into the pump outlet until it hits the internal stop. Route the other end to your refrigerator or faucet using quick-connect fittings.
Wire Power Safely and Correctly
Warning: Turn off all power sources before wiring any electrical components. Connect black to hot, white to neutral, and green or yellow to ground for 115V systems. For 12V DC systems, connect the red wire to a 4-amp circuit and the black wire to ground.
Vent Air From Plumbing Lines
Open your faucet or disconnect at the icemaker briefly after power-up to let trapped air escape. Wait until water flows steadily without sputtering before reconnecting any appliance valves. The system now runs automatically whenever water is drawn.
Troubleshoot Common Water Dispenser Pump Issues
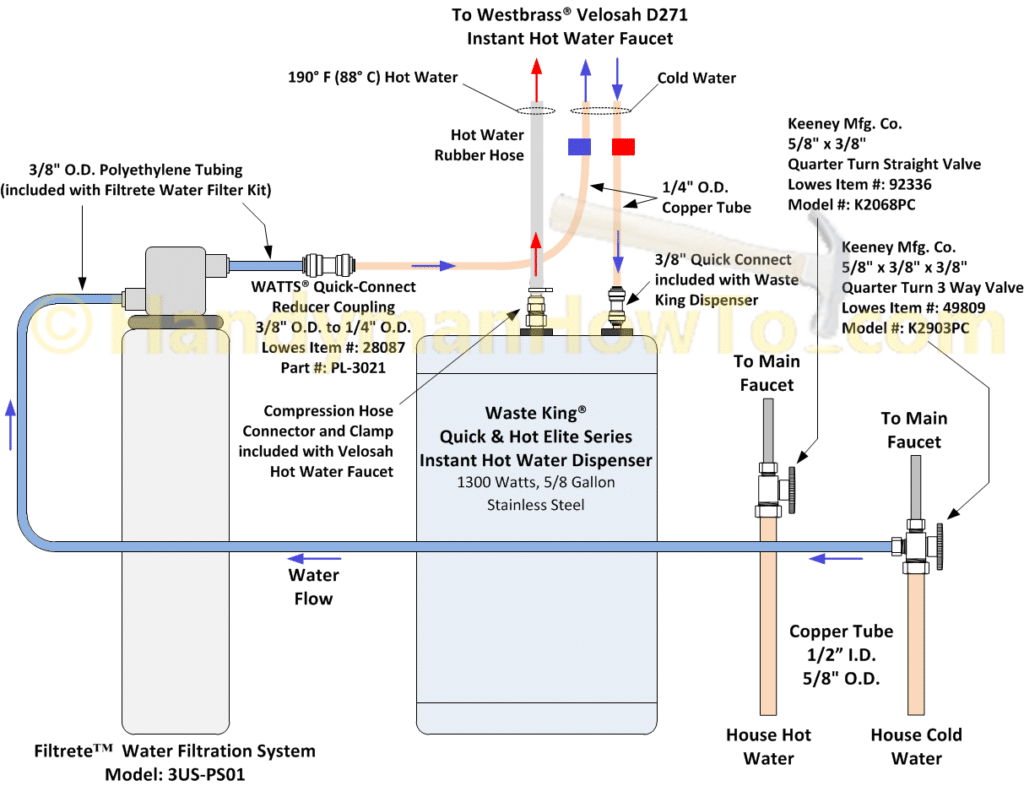
Even well-installed systems encounter problems, but most have simple fixes you can perform quickly.
Diagnose No Water Flow Problems
Check if the battery is charged for USB models or if the switch is on for hardwired units. Inspect the intake tube for kinks or blockages and ensure it reaches the bottle bottom. Verify that power is reaching the outlet by testing it with another device.
Fix Leaking Fittings and Connections
Push the tubing firmly all the way into the fitting if you notice water leaking at the connection point. Cut 1/4 inch off the end of the tube and reinsert it if the leak persists. Confirm your tubing is exactly 1/4 inch outer diameter as wrong sizes cause poor seals.
Stop Rapid Cycling and Continuous Running
Remove the inlet restrictor from commercial brewers if the pump cycles on and off rapidly. Check for leaks downstream at the faucet or fridge connection if the system won’t shut off. Install an accumulator tank to stabilize pressure if inlet restrictions are not the cause.
Resolve Intermittent Flow and Airlocks
Re-prime the system by pumping the handle rapidly for manual units or holding the button for automatic ones. Ensure the bottle cap seal is tight to maintain the necessary vacuum for suction. An airlock often causes sporadic flow until the system is purged completely.
Maintain Hygiene and Performance Standards
Regular cleaning prevents bacterial growth and ensures your water tastes fresh every time.
Clean Portable Pumps Weekly
Remove the spout and tube from manual or USB units for thorough cleaning. Scrub the inside with the included pipe cleaner or a soft brush and warm soapy water. Wipe the exterior with a damp cloth and let all parts air dry before reuse.
Sanitize Hardwired Systems Quarterly
Perform a Clean-In-Place flush every three months using a bleach solution. Mix 1 ounce of household bleach into 2 gallons of hot water and soak the suction wand cap for 10 minutes. Run the solution through the lines, rinse with fresh hot water, and dispense 12 to 18 ounces of clean water to remove taste.
Avoid Damaging Cleaning Methods
Never place the pump module or electrical components in a dishwasher. Dishwashers cause electrical failure and void the manufacturer warranty immediately. Stick to manual cleaning with mild soap and approved sanitizing solutions only.
Optimize Pump Longevity and Efficiency
Proper care extends the life of your device and keeps it running like new for years.
Prevent Dry Running Damage
Always ensure the intake tube is submerged in water before activating the pump. Running the motor dry overheats the internal components and damages seals permanently. This type of damage is typically not covered under warranty.
Store Units Properly When Not in Use
Disassemble and dry all parts for manual and USB pumps before storing them away. Keep units in a cool, dry place and remove batteries if storing for long periods. Shut off power and drain lines for hardwired systems if they will be unused for weeks.
Replace Worn Parts Early
Watch for cracks in tubing, loose pump housing, or fading button response on USB models. Replace intake tubes and seals at the first sign of wear to prevent sudden failure. Proactive replacement saves you from emergency repairs or total unit replacement.
Maximize Real-World Use Cases
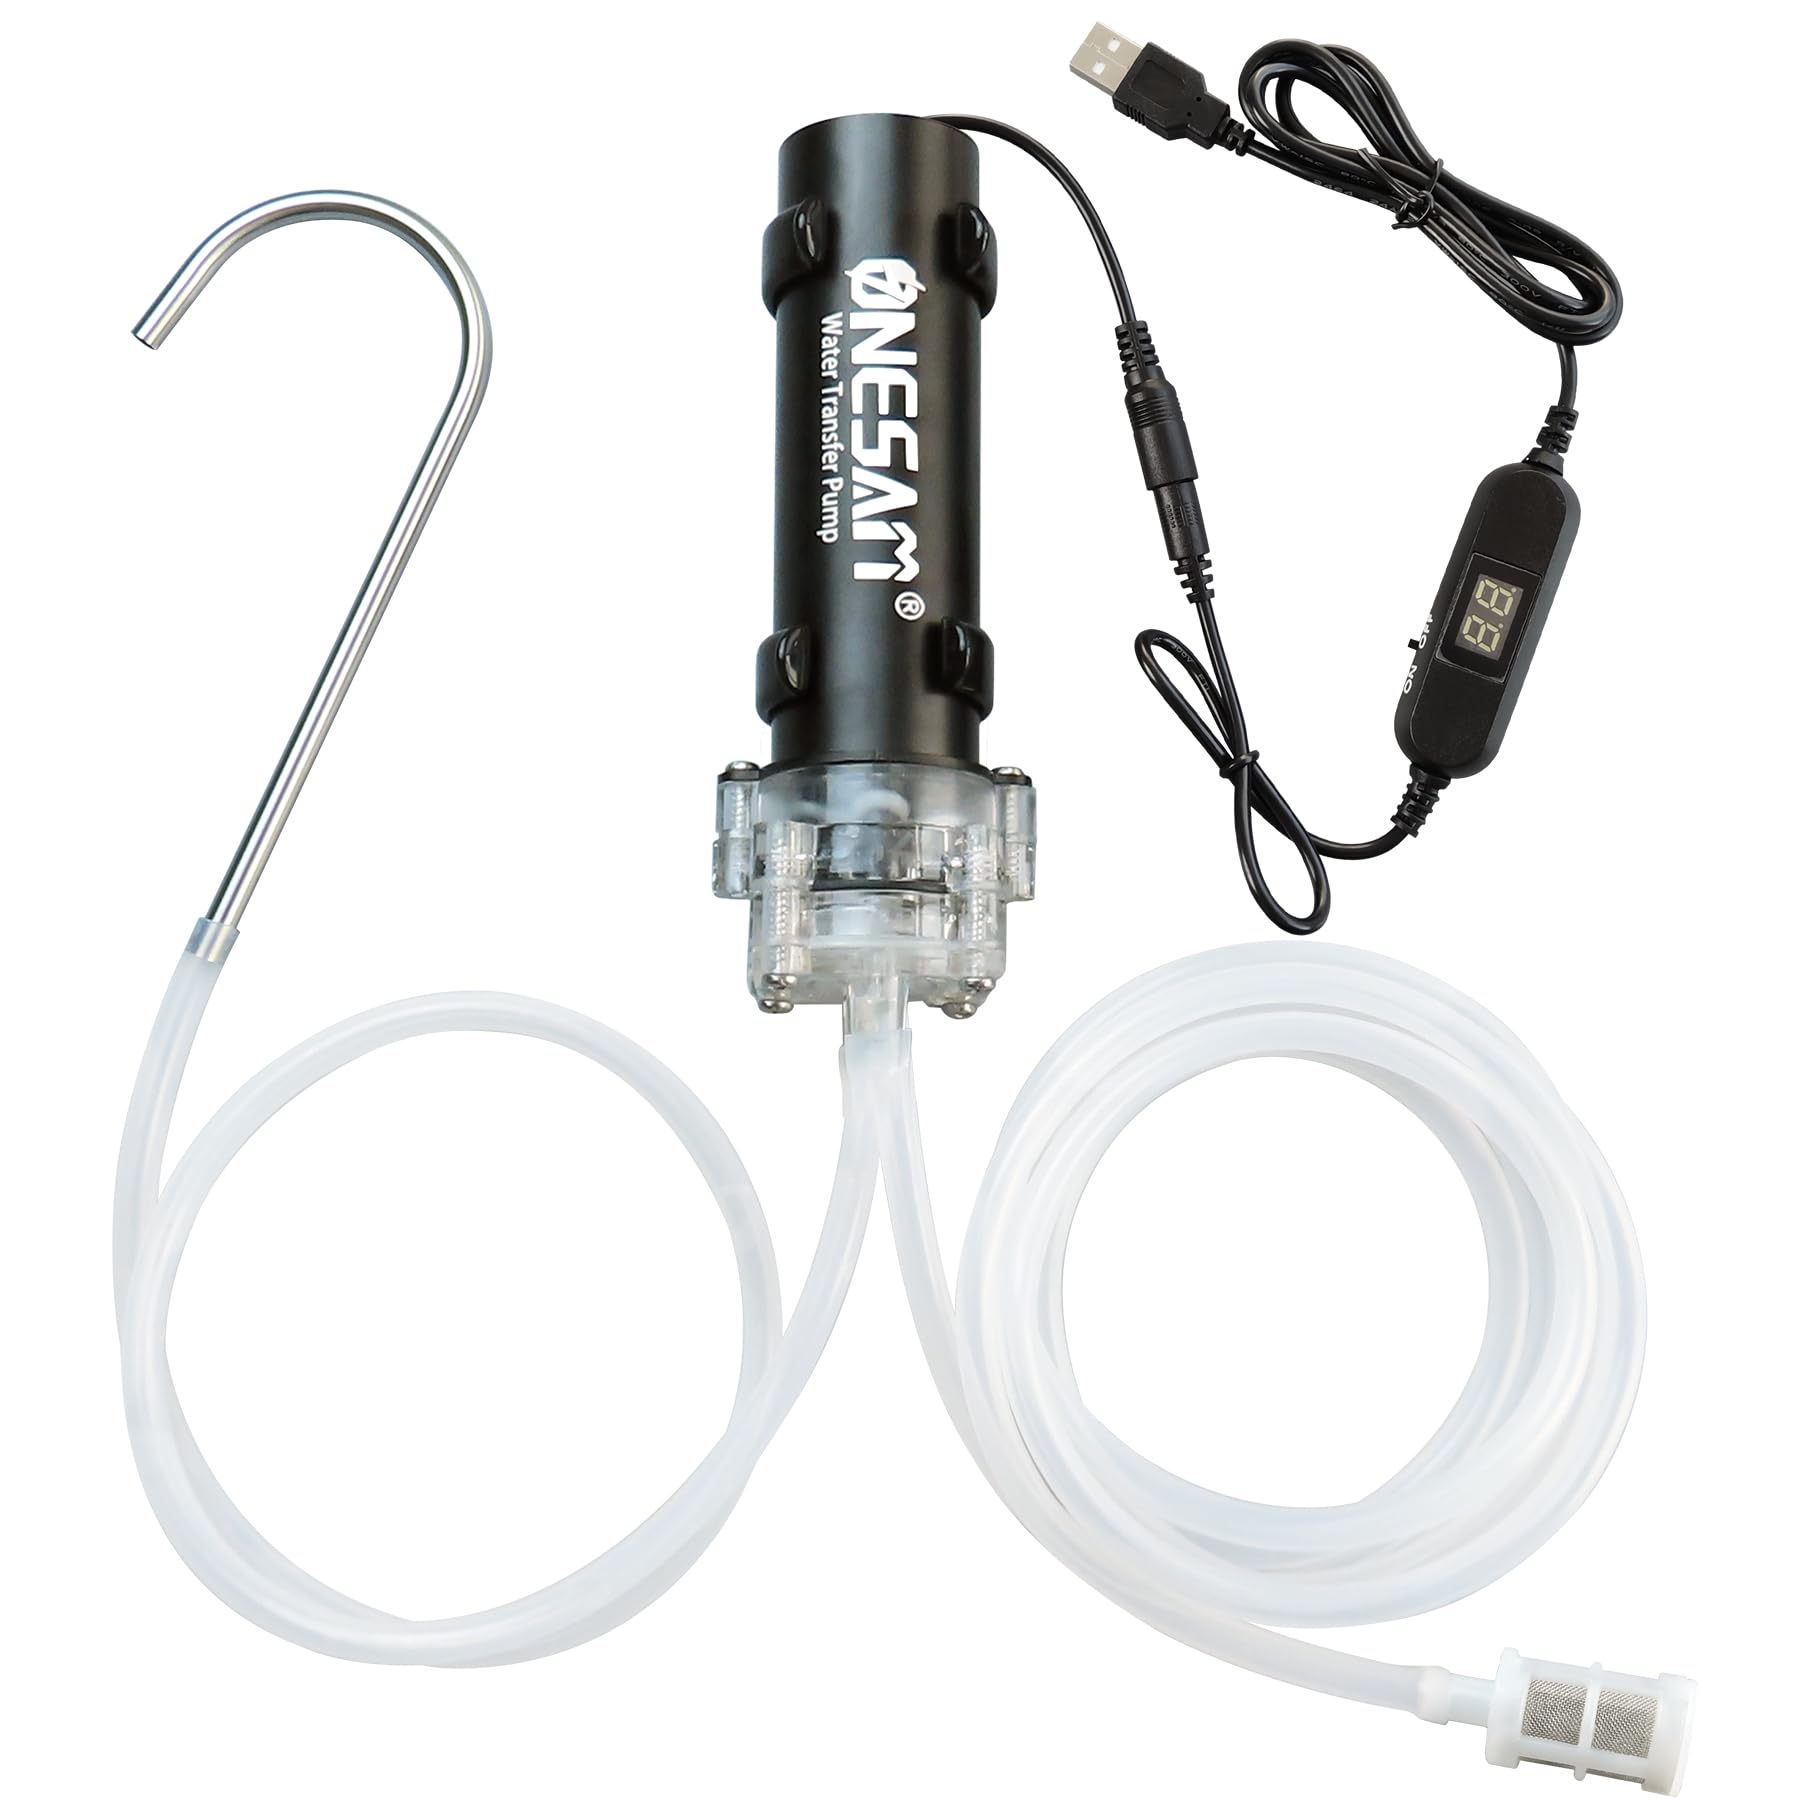
Matching your pump type to your specific lifestyle ensures the best hydration experience possible.
Select Pumps for Dorms and Renters
Use a USB-rechargeable pump for easy movement and low cost without installation hassles. These units fit perfectly in small spaces and require no permanent modifications to the property. Just charge, attach, and go for instant hydration anywhere.
Prepare Emergency Kits with Manual Pumps
Pack a manual hand press pump in your emergency supplies for power outages. These devices work without electricity or batteries, making them reliable during disasters. Their lightweight design makes them easy to store and transport when needed.
Install Hardwired Systems for Home Kitchens
Install a hardwired system to supply both a drinking faucet and refrigerator ice maker simultaneously. This setup provides fully automatic operation that blends seamlessly into your daily routine. It eliminates the need to lift heavy bottles entirely.
Frequently Asked Questions About Water Dispenser Pumps
How often should I clean my water dispenser pump?
Clean portable and manual pumps weekly with a pipe cleaner and mild soap. Sanitize hardwired systems quarterly using a bleach solution to prevent bacterial buildup inside the lines.
Why is my automatic pump cycling on and off rapidly?
Rapid cycling usually indicates an inlet restriction at the appliance or a blocked filter. Remove inlet restrictors on commercial brewers and check that external filters are not conflicting with internal appliance filtration.
Can I use my water dispenser pump for liquids other than water?
Yes, automatic pumps can dispense juice, broth, or plant fertilizer if the liquid is compatible with food-grade tubing. Ensure the liquid does not contain particulates that could clog the internal mechanism or damage seals.
What should I do if my pump stops working suddenly?
Check the power source, battery charge, and ensure the intake tube is not kinked or blocked. Verify the tube reaches the bottom of the bottle and that the float switch moves freely if equipped.
Is it safe to put my water pump in the dishwasher?
No, never place the pump module or electrical components in a dishwasher. This causes electrical failure and voids the warranty, so stick to manual cleaning methods only.
Key Takeaways for Using Your Water Dispenser Pump
Mastering how to use a water dispenser pump transforms hydration from a chore into a seamless part of your day. Whether you choose a manual press, a USB-rechargeable unit, or a hardwired system, proper installation and regular maintenance ensure reliable performance.
Follow the specific priming, cleaning, and troubleshooting steps outlined here to keep your water flowing safely. Start by checking your current setup today to ensure your pump is ready for efficient use.



