

A Kenmore fridge water dispenser not working often stems from a clogged filter or frozen line rather than a broken machine. Most homeowners face this sudden loss of cold water right when they need it most, causing frustration and inconvenience.
You can fix this issue yourself in under an hour by following a logical troubleshooting path. This guide details how to diagnose clogged filters, thaw frozen lines, test inlet valves, and clean sticky switches to restore full function.
Diagnose Clogged Water Filter Issues

A blocked water filter causes 40% of all dispenser failures. Sediment builds up over time and restricts flow until water stops completely.
Perform the Filter Bypass Test
Remove the water filter entirely and press the dispenser lever. If water flows freely without the filter, the old unit was clogged. Replace it immediately with a compatible model like standard size 1.
Check Filter Housing Internal Valves
Water may still not flow if the internal check valve inside the housing is stuck. Remove the filter and use small screwdrivers to press the two internal pins while dispensing.
If water flows now, the housing assembly is faulty. You must replace the entire unit, often part number WPW10394055, to fix the problem permanently.
Thaw Frozen Water Lines Safely
Frozen tubing accounts for 30% of failures, especially in cold kitchens. Ice blocks the line inside the door even if the main supply is fine.
Identify Freezing Symptoms
The dispenser may work intermittently or stop after a few ounces. Check if your freezer temperature is below 0°F (-18°C), as this increases freezing risk significantly.
Use Low Heat to Melt Ice
Set a hair dryer to low heat and move it constantly near the dispenser nozzle. Warm air thaws the ice in 10 to 20 minutes without damaging plastic parts.
Allow Passive Thawing Time
Unplug the refrigerator and leave both doors open for 12 to 24 hours. This passive method is safer but requires patience to ensure all ice melts completely.
Prevent Future Line Freezing
Raise your freezer temperature to 0°F and check the ice chute door seal. A loose seal allows cold air to blow directly on the water tank and cause repeat freezes.
Test the Water Inlet Valve Function

The water inlet valve opens to let water in when you press the lever. A faulty valve causes 20% of all no-water scenarios.
Verify Home Water Pressure
Ensure your home water pressure is between 20 and 125 PSI. Disconnect the supply line at the back of the fridge and run it into a bucket to check for a strong stream.
Conduct Multimeter Continuity Test
Unplug the fridge and disconnect the wire harness from the valve. Set your multimeter to Ohms and touch probes to the solenoid terminals.
A reading between 100 and 500 ohms means the coil works. Infinite resistance indicates a dead solenoid, requiring replacement with part W10408179.
Inspect for Mechanical Blockages
Disconnect the 5/16-inch outlet tube and place a container below. Activate the dispenser to see if water flows. No flow despite good pressure and continuity means the valve plunger is jammed.
Inspect Dispenser Switch and Lever

Mechanical failure in the dispenser arm or micro switch prevents the signal from reaching the valve.
Examine Lever and Actuator Bar
Open the dispenser area and look for cracks in the plastic lever. A broken or loose lever will not push the internal switch to activate water flow.
Clean Sticky Residue Buildup
If the dispenser runs nonstop, sugary spills likely hardened inside. Remove the front panel and wipe the metal actuator bar with a damp cloth and mild soap.
Test Micro Switch Continuity
Access the micro switch behind the control panel and disconnect the wires. Test continuity with a multimeter to ensure it functions correctly.
The switch should show no continuity when unpressed and 0 to 1 ohm resistance when pressed. Replace the switch if it fails either test.
Diagnose Control Board Power Issues
If all other components test good, the control board may not be sending power to the valve.
Confirm Power Delivery to Valve
Place multimeter probes on the inlet valve terminals and press the dispenser. You should see 120V AC if the board is working correctly.
Replace Faulty Control Board
Remove the display module and take photos of all wire connections. Install a model-specific replacement board and reconnect wires exactly as before.
Address Common Failure Scenarios

Different symptoms point to specific root causes within the system. Identifying your scenario saves time during repairs.
Ice Maker Works But No Dispenser Water
This points to a dispenser-specific issue like a frozen door line or clogged filter. Do not waste time on the main inlet valve since the icemaker runs.
No Water to Dispenser or Ice Maker
Failure affecting both systems indicates an upstream problem. Start with the water supply, shut-off valve, and main inlet valve testing.
Dispenser Runs Continuously
Sticky residue usually prevents the flow lever from resetting. Disassemble the front panel and clean the actuator bar thoroughly.
Buzzing Sound With No Water Flow
Buzzing means the solenoid is energized but water cannot move. Check for a frozen line, clogged filter, or jammed valve plunger immediately.
Perform Preventative Maintenance
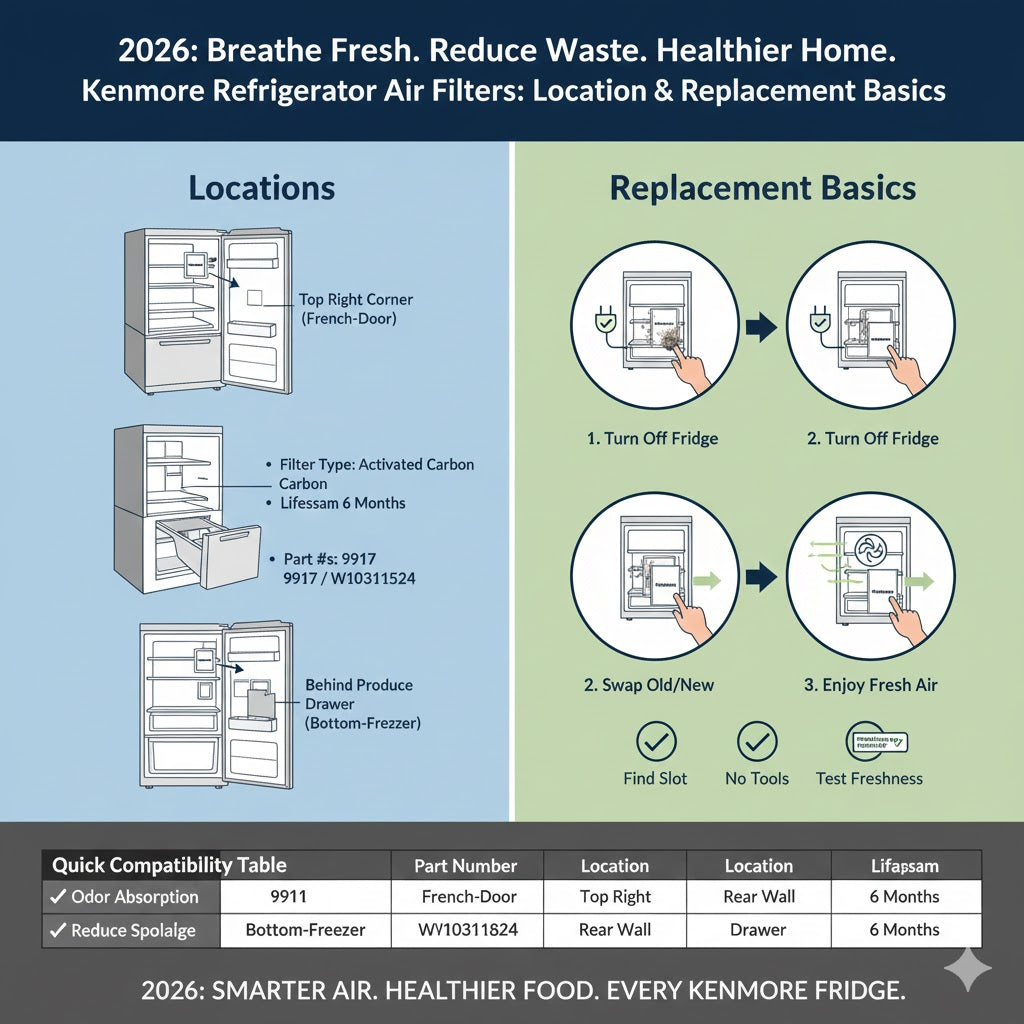
Regular maintenance prevents most common failures and extends the life of your appliance.
Replace Filter Every Six Months
Set a calendar reminder to change the filter twice a year. Always reset the filter indicator light after replacement to track usage accurately.
Clean Condenser Coils Annually
Dust on coils reduces cooling efficiency by up to 30%. Clean coils, motor, and fan blade with a condenser brush once per year.
Avoid Over-Pushing the Lever
Do not jam glasses hard into the lever. This can crack the plastic arm or misalign the actuator bar over time.
Purge Air After Repairs
Run the dispenser for 10 to 15 seconds after filter changes. This flushes trapped air and prevents sputtering or uneven flow.
Frequently Asked Questions About Kenmore Water Dispensers
Why is my Kenmore fridge water dispenser not working but the ice maker is?
This usually indicates a frozen dispenser line, clogged filter, or faulty dispenser switch. The main water supply is functional since the ice maker works, so focus on components specific to the dispenser path.
How do I know if my water inlet valve is bad?
Test the valve with a multimeter set to Ohms. A reading outside the 100 to 500 ohm range means the solenoid is dead. You may also hear buzzing without water flow.
Can frozen water lines cause total dispenser failure?
Yes, frozen lines block water completely even if the icemaker still functions. Thaw the line using a hair dryer on low heat or by unplugging the fridge for 12 to 24 hours.
What causes a Kenmore water dispenser to run continuously?
Sticky residue from sugary drinks often hardens on the flow lever. This prevents the mechanism from resetting. Clean the actuator bar and lever with mild soap to fix it.
How often should I replace my Kenmore water filter?
Replace the water filter every six months. Even if water tastes fine, flow can drop significantly after this period due to sediment buildup inside the filter.
Key Takeaways for Fixing Your Kenmore Fridge Water Dispenser
Most Kenmore fridge water dispenser not working issues stem from four main causes: clogged filters, frozen lines, faulty inlet valves, or mechanical switch failures. Starting with the simplest solution like replacing the filter or thawing a line often resolves the problem quickly without professional help.
Regular maintenance such as cleaning coils and replacing filters every six months prevents future breakdowns. Use a multimeter to test electrical components safely and always unplug your fridge before starting repairs.


