Reverse osmosis systems deliver clean, purified water by filtering out contaminants through a semi-permeable membrane. Over time, this membrane wears out, reducing water flow and allowing more dissolved solids into your drinking water. Knowing how to replace a reverse osmosis membrane is essential for maintaining peak system performance, especially in homes, aquariums, or labs where water purity matters. This guide walks you through the full process, from diagnosing membrane failure to testing results, so you can restore crystal-clear water with confidence.
When to Replace the RO Membrane
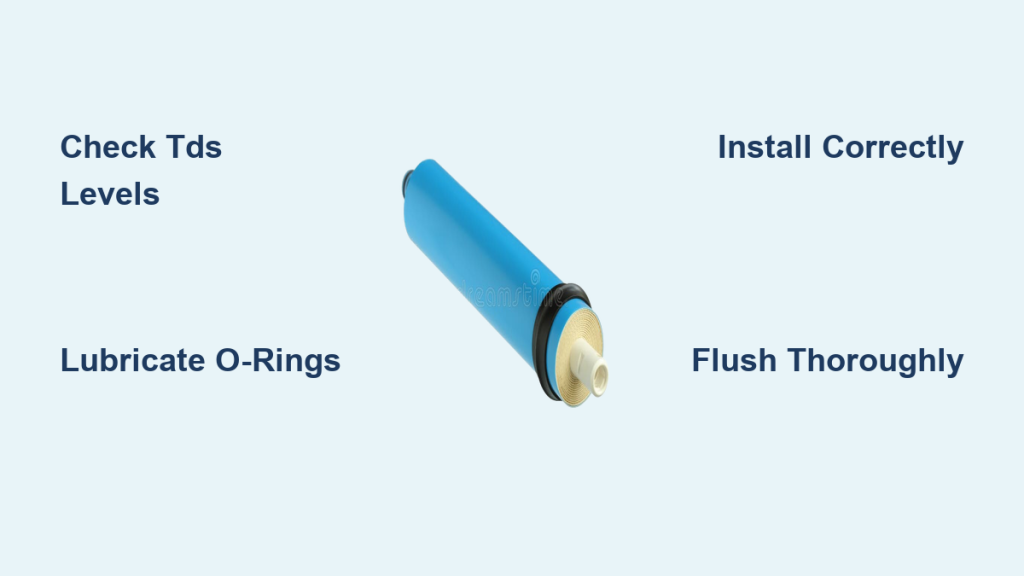
Check TDS Levels First
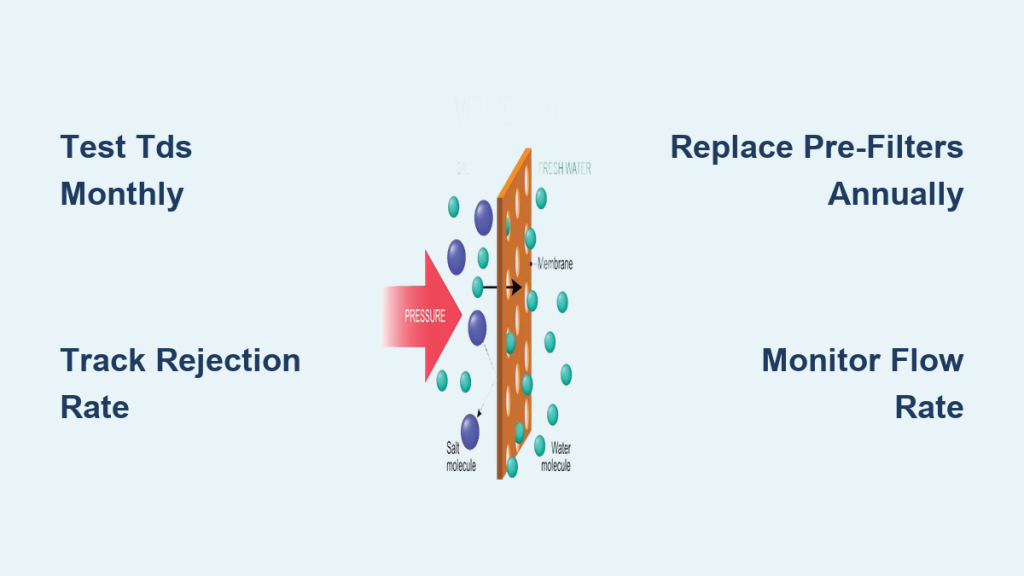
The most reliable way to test membrane health is with a TDS meter. Test both your tap water and RO water. A healthy membrane should remove 90 to 98 percent of TDS.
Input equals 100 ppm means output should be 2 ppm or less. Input equals 500 ppm means output must stay at 100 ppm or less. If output exceeds 20 percent of input, replace the membrane immediately.
Watch for Physical Signs
A slow-filling storage tank or weak faucet stream means the membrane may be clogged or degraded. RO water should taste neutral. A chemical, sweet, or musty odor often means preservatives were not flushed out, or the membrane is failing and letting volatile organic compounds through.
Tools and Parts Needed for Replacement
Essential Tools
You will need needle-nose pliers for pulling out the old membrane core. Strap wrenches help loosen tight housing caps. Have a bucket or towels ready to catch water during disassembly. Use labels or take a photo to mark tubing connections before disconnecting.
Replacement Components
Purchase a new RO membrane that matches your system’s GPD rating and size, typically 40 inches by 2 inches. You will also need a new flow restrictor, which usually comes with the membrane. Keep silicone grease handy for lubricating O-rings and seals. O-rings and U-gasket often come in the membrane kit.
Step-by-Step: Remove the Old RO Membrane
Shut Off Water and Depressurize
Turn off the feed water valve to the RO system. Open the RO faucet to release pressure. Drain the storage tank completely to prevent backflow and overflow during work.
Disconnect Tubing
Label each tube before disconnecting using color codes. Red equals inlet, blue equals product water, and black equals waste water. Take a photo for reference. Press the collet and pull each tube free. Place a bucket under the membrane housing to catch residual water.
Remove the Membrane
Use strap wrenches if the cap is too tight to turn by hand. Hold the housing body with one wrench and turn the cap counterclockwise with the other. Use needle-nose pliers to grip the white plastic core, then twist and pull straight out. Do not yank sideways.
Install the New RO Membrane Correctly
Lubricate Seals
Apply a thin layer of silicone grease to both end O-rings on the new membrane. Also apply grease to the U-gasket inside the housing and the inner lip of the housing cap. This prevents leaks and makes installation smoother.
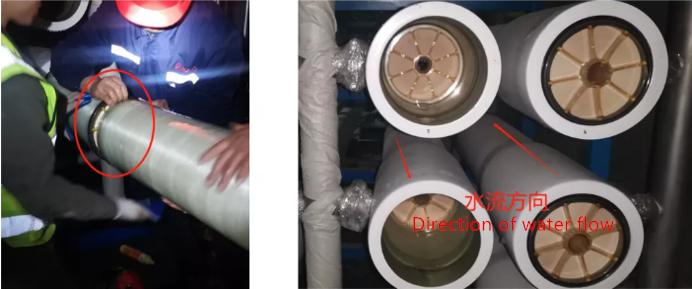
Insert the Membrane
Push the new membrane fully into the housing. Double-check orientation because flow direction must match system design. The open end goes deep into the housing. Installing backward blocks water flow completely and is the number one cause of zero output after replacement.
Reattach the Housing Cap
Screw the cap back on by hand only. Do not use tools because over-tightening can crack the housing. Test fit, and if it resists, check O-rings before forcing.
Install the Flow Restrictor Properly
The flow restrictor maintains optimal pressure across the membrane. Without it, water rushes through too fast, lowering rejection rates and wasting water. Find the new flow restrictor and insert it into the black waste tubing. The arrow on the restrictor must point toward the drain.
Reconnect Tubing and Check Valves
Reconnect All Lines
Reconnect the black waste line first. Reconnect the blue product line, ensuring a check valve is installed with the arrow pointing toward the storage tank. This prevents backflow into the membrane. Reconnect the red inlet to the feed line.
Secure Connections
Push each tube fully into its fitting until it clicks. Pull back gently to confirm it is locked in place. Reattach the housing to its mounting bracket.
Flush the New RO Membrane Thoroughly
Why Flushing Is Critical
New membranes contain food-grade glycerin or biocides to preserve them during storage. These must be flushed out completely. Do not drink or use the water until flushing is complete.
Best Flushing Methods
Run the RO faucet continuously for 1 to 2 hours. Discard all water during this time. This removes preservatives and trapped air and uses about 5 gallons of waste water. Alternatively, let the tank fill completely, then drain it all, and repeat 2 to 3 times.
Test and Verify Performance
Measure TDS Output
Test RO water after flushing. It should be 2 ppm or less from 100 ppm input. If higher, check flow restrictor, check valve, and membrane orientation.
Check Flow Rate and Taste
Time how long it takes to fill a gallon. It should match original system specs. Water should be tasteless and odorless. A sweet or chemical taste means flush longer.
Common Mistakes to Avoid
Installing the membrane backward results in no water production. Forgetting the flow restrictor causes high waste flow and low rejection. Skipping O-ring lubrication leads to leaks and damaged seals. Not flushing long enough leaves preservatives in drinking water. Misconnecting tubing causes backflow and contamination. Over-tightening the housing cracks it and creates leaks.
Maintain Your RO System for Long Life
Replace Pre-Filters on Schedule
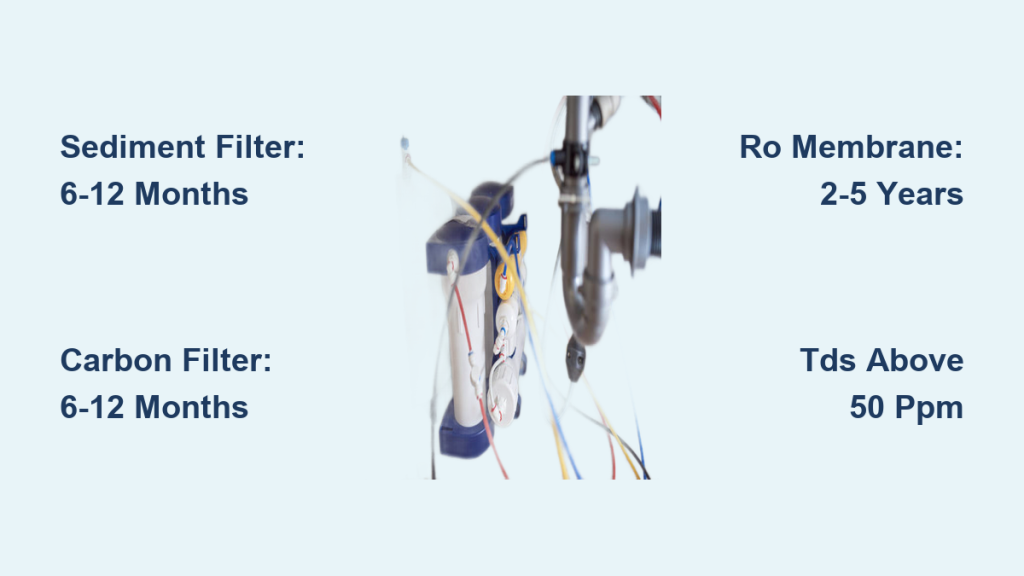
Replace the sediment filter every 6 to 12 months. Replace the carbon block filter every 6 to 12 months. Regular pre-filter care is the best way to extend membrane life.
Monitor TDS Monthly
Test your RO water monthly to catch decline early. Replace the membrane every 2 years under normal conditions, or sooner if TDS levels rise above 20 percent of input.
Frequently Asked Questions About RO Membrane Replacement
How often should I replace the RO membrane?
Replace the RO membrane every 2 years under normal conditions. Use TDS testing to confirm performance, and replace if output exceeds 20 percent of input.
Can I reuse an old membrane?
Only if TDS and flow are still good. Most membranes degrade permanently once removed, so reuse is not recommended.
What does an RO membrane remove?
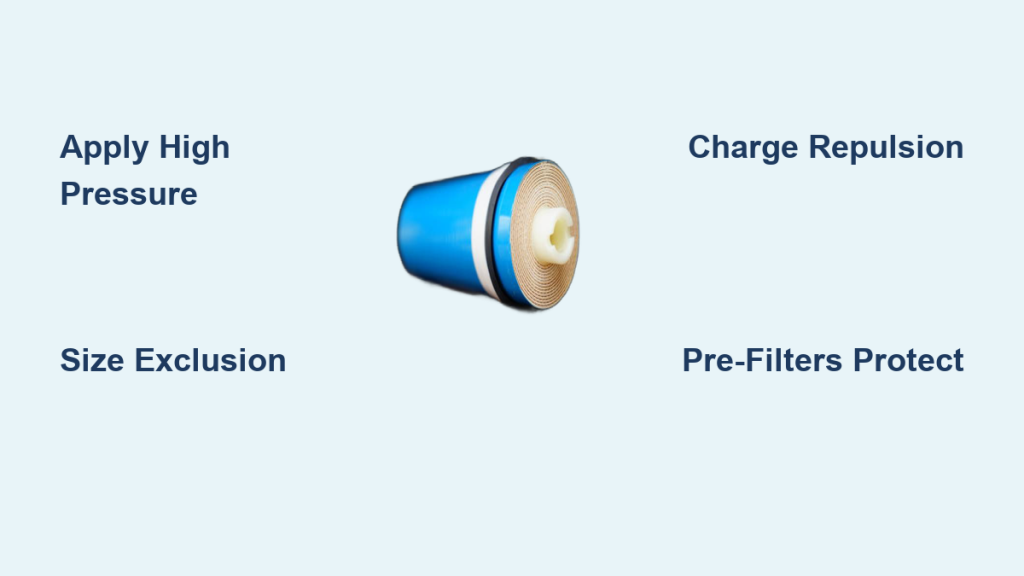
RO membranes remove dissolved solids, heavy metals like lead and arsenic, fluoride, nitrates, bacteria and viruses with proper pre-filtration, and pharmaceuticals. They do not remove CO2 or balance pH.
Do I need to flush new pre-filters?
Yes. Flush carbon and sediment filters for 10 to 15 minutes after installation to remove dust and fines.
Why is my RO water high pH after replacement?
High pH is likely due to a missing remineralization filter. RO water is naturally acidic, and some systems add back minerals to stabilize pH.
Key Takeaways for Replacing Your RO Membrane

Replacing an RO membrane demands attention to detail, but it is manageable with the right approach. Focus on correct membrane orientation, proper flow restrictor installation with the arrow pointing toward the drain, and thorough flushing for 1 to 2 hours to remove preservatives. Always lubricate O-rings and hand-tighten the housing cap to avoid cracks. Pair the membrane change with fresh pre-filters and regular TDS checks to keep your RO system delivering pure, great-tasting water for years.