
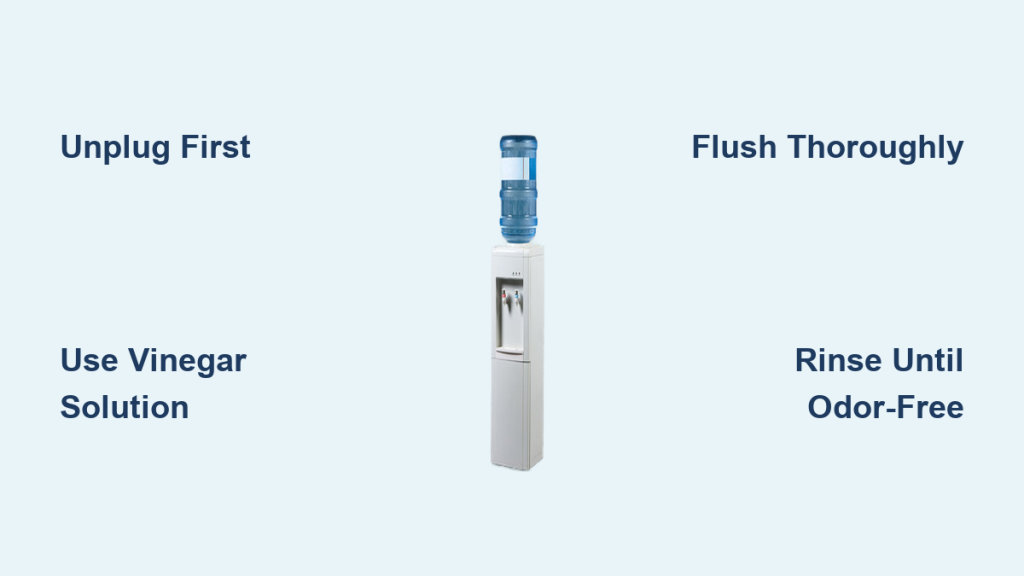
Nothing ruins a refreshing drink like off-tasting water from a grimy dispenser. Even if your unit looks clean on the outside, bacteria, mold, and mineral scale often build up inside hidden reservoirs. This contamination affects water quality, flow rate, and the overall lifespan of your machine.
The good news is that learning how to clean a water dispenser is simple and takes less than an hour. With just white vinegar, hot water, and basic tools, you can sanitize the entire system to restore fresh-tasting water. This guide walks you through every step to safely drain, descale, disinfect, and rinse your unit.
Why You Must Clean Every Three Months
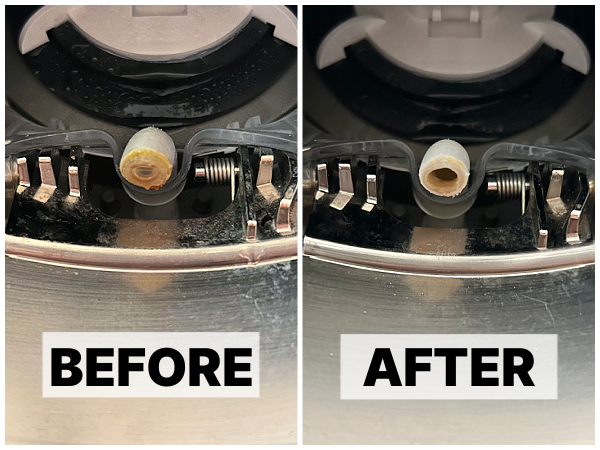
Regular cleaning keeps your water safe and ensures your machine runs smoothly. Most manufacturers and experts recommend a full sanitization every three months to prevent issues. High-traffic areas or frequent use may require monthly cleaning, while low-use units can stretch to every six months.
Skipping these cleanings risks bacterial growth, mold, and mineral deposits that ruin taste and flow. A stale or musty odor is a clear sign it is time to clean your unit immediately. You might also see visible white flaking in the water, which indicates scale breaking loose. Even if everything seems fine, sticking to the three-month schedule prevents clogs and contamination later.
Spot Cleaning Triggers You Cannot Ignore
Do not wait for the calendar if specific problems arise with your dispenser. You should clean the unit immediately if you notice any of the following signs:
* Water tastes or smells odd or stale
* The dispenser has sat unused for several weeks
* You recently switched water brands or sources
* You see particles, clumps, or slime in the water
* The unit sits in a dusty or high-traffic area
These conditions accelerate contamination significantly. A quick deep clean resets the system and ensures every glass you pour is fresh and safe.
Why Distilled White Vinegar Works Best
Distilled white vinegar is the top choice for cleaning water dispensers effectively. It is non-toxic, food-safe, and dissolves mineral scale like calcium and lime without harsh chemicals. It also kills most common bacteria and mold without leaving harmful residues behind.
Use a mix of two cups of vinegar to two gallons of hot tap water for best results. The heat boosts the cleaning power of the vinegar significantly. Avoid scented or apple cider vinegar because they can leave behind unwanted odors or sticky residues inside your tank.
Bleach is an alternative option, but it requires extra rinsing and care. You must never mix bleach with vinegar as this creates toxic chlorine gas. Stick with vinegar for safety, simplicity, and effective results.
Gather These Essential Supplies First
Collect all tools and cleaning agents before starting the process. Having everything ready prevents mid-clean delays and ensures thorough sanitation of your unit. You do not need specialty gear since most items are likely already in your home.
Essential Cleaning Tools Checklist
You will need the following items to complete the job effectively:
* Empty 5-gallon water bottle for mixing and circulating solution
* Bucket or large pitcher to catch draining water safely
* Microfiber cloths for streak-free wiping of surfaces
* Soft sponge and toothbrush to scrub spigots and nozzles
* Cotton swabs for cleaning seals and tight spots
* Hot tap water to speed up the descaling process
* Paper towels for drying and final cleanup
* Flathead screwdriver for models with a back drain cap
Optional Items for Tough Stains
Consider having these items ready if your unit has heavy buildup:
* Baking soda paste to gently scrub tough buildup on trays
* Magic Eraser to remove stains from drip trays
* Mild dish soap for washing removable parts thoroughly
* Commercial cleaning kit with pre-measured packets for foolproof dosing
Avoid using steel wool or abrasive pads because they can scratch plastic and harbor bacteria.
Unplug and Drain Your Dispenser Safely
Safety comes first when cleaning any electrical appliance involving water. Always unplug the dispenser before starting to eliminate electrical risk. This step is non-negotiable, especially when water is involved in the cleaning process.
Power Down Steps to Follow
- Turn off any energy-saving switches located on the back of the unit.
- Unplug the power cord from the wall outlet completely.
- Let the hot tank cool completely if you have been using hot water. A hot reservoir can cause scalding during the draining process.
Never skip the cool-down step before proceeding. Wait at least 30 minutes if the unit was recently in use to ensure safety.
Drain All Water From the System
- Remove the water bottle if it is a top-load model or disconnect the line for bottom-load.
- Open both hot and cold spigots fully.
- Let water flow into a bucket until the taps run completely dry.
This empties most of the system effectively. Some water remains in the bottom of the tank, which will be flushed later via the back drain or repeated rinsing.
Remove and Clean Detachable Parts
Detachable components collect grime and must be cleaned separately to avoid recontamination. Removing these parts allows you to reach areas that internal flushing cannot clean effectively.
Take Off Removable Pieces
Remove the following components from your dispenser:
* Drip tray
* Spigot covers
* Water cup holder
* Water guard or puncturing needle on top-loaders
Set them aside in a safe place for washing and scrubbing.
Wash and Dry Thoroughly
Soak all parts in warm, soapy water to loosen residue. Use a soft sponge to scrub away any visible grime or film. For stubborn mineral deposits, make a paste with baking soda and water, apply it, and gently scrub the area.
Rinse all parts with clean water to remove soap residue. Let them air dry completely before reassembly since moisture breeds mold. Do not reassemble while parts are still damp.
Wipe Exterior Surfaces Clean
Use a microfiber cloth dampened with mild detergent to wipe the dispenser’s body. Clean the control panel and spigot areas carefully to remove fingerprints and dust. Avoid harsh chemicals that could damage the finish of your unit. Dry with a clean towel before moving to the next step.
Circulate Vinegar Solution Internally
Now you must clean the internal reservoirs and tubing where buildup hides. This step ensures the cleaning solution reaches every part of the water path.
Mix Your Cleaning Solution
In an empty 5-gallon bottle, combine the following ingredients:
* 2 cups distilled white vinegar
* 2 gallons hot tap water
Shake gently to mix the solution thoroughly. Never use bleach if you have used vinegar in the past without thorough rinsing, as residue can create toxic fumes.
Load and Activate the Unit
- Place the solution bottle on the dispenser securely.
- Plug in the unit and turn on power switches.
- Let the solution fill the tanks while watching for bubbles at the spigots. Bubbles indicate the reservoirs are full.
- Turn on the hot water switch only to help dissolve scale and sanitize. Keep cold off to avoid cooling the solution too fast.
Soak for Thirty Minutes
Let the vinegar solution sit in the tanks for 30 minutes. This gives the solution time to break down biofilm and mineral deposits effectively. For light cleaning, 10 minutes may suffice, but 30 minutes is best for heavy scale. Do not skip the soak because circulating alone is not enough.
Flush and Drain Completely

After soaking, you must remove all vinegar solution from the system. This step removes the loosened debris and cleaning agents.
Drain Through Spigots
- Unplug the unit again for safety.
- Open both hot and cold taps fully.
- Drain all solution into a bucket carefully. Alternate between taps to flush both lines effectively.
If water does not flow, gently press the spigot lever multiple times to release trapped air.
Use Back Drain for Deep Clean
Some models have a rear drain plug for removing sediment that settles at the bottom. Follow these steps if your unit has this feature:
1. Move the unit away from the wall to access the back.
2. Use a flathead screwdriver to remove the plastic cap at the base.
3. Pull out the red silicone plug carefully.
4. Let water and sludge drain into a bucket completely.
You may see white chunks or brown sludge, which is normal mineral and biofilm buildup. Let it all drain out before proceeding. Reinsert the silicone plug firmly and replace the cap. Hand-tighten the cap only and do not over-tighten it.
Rinse Until Odor-Free
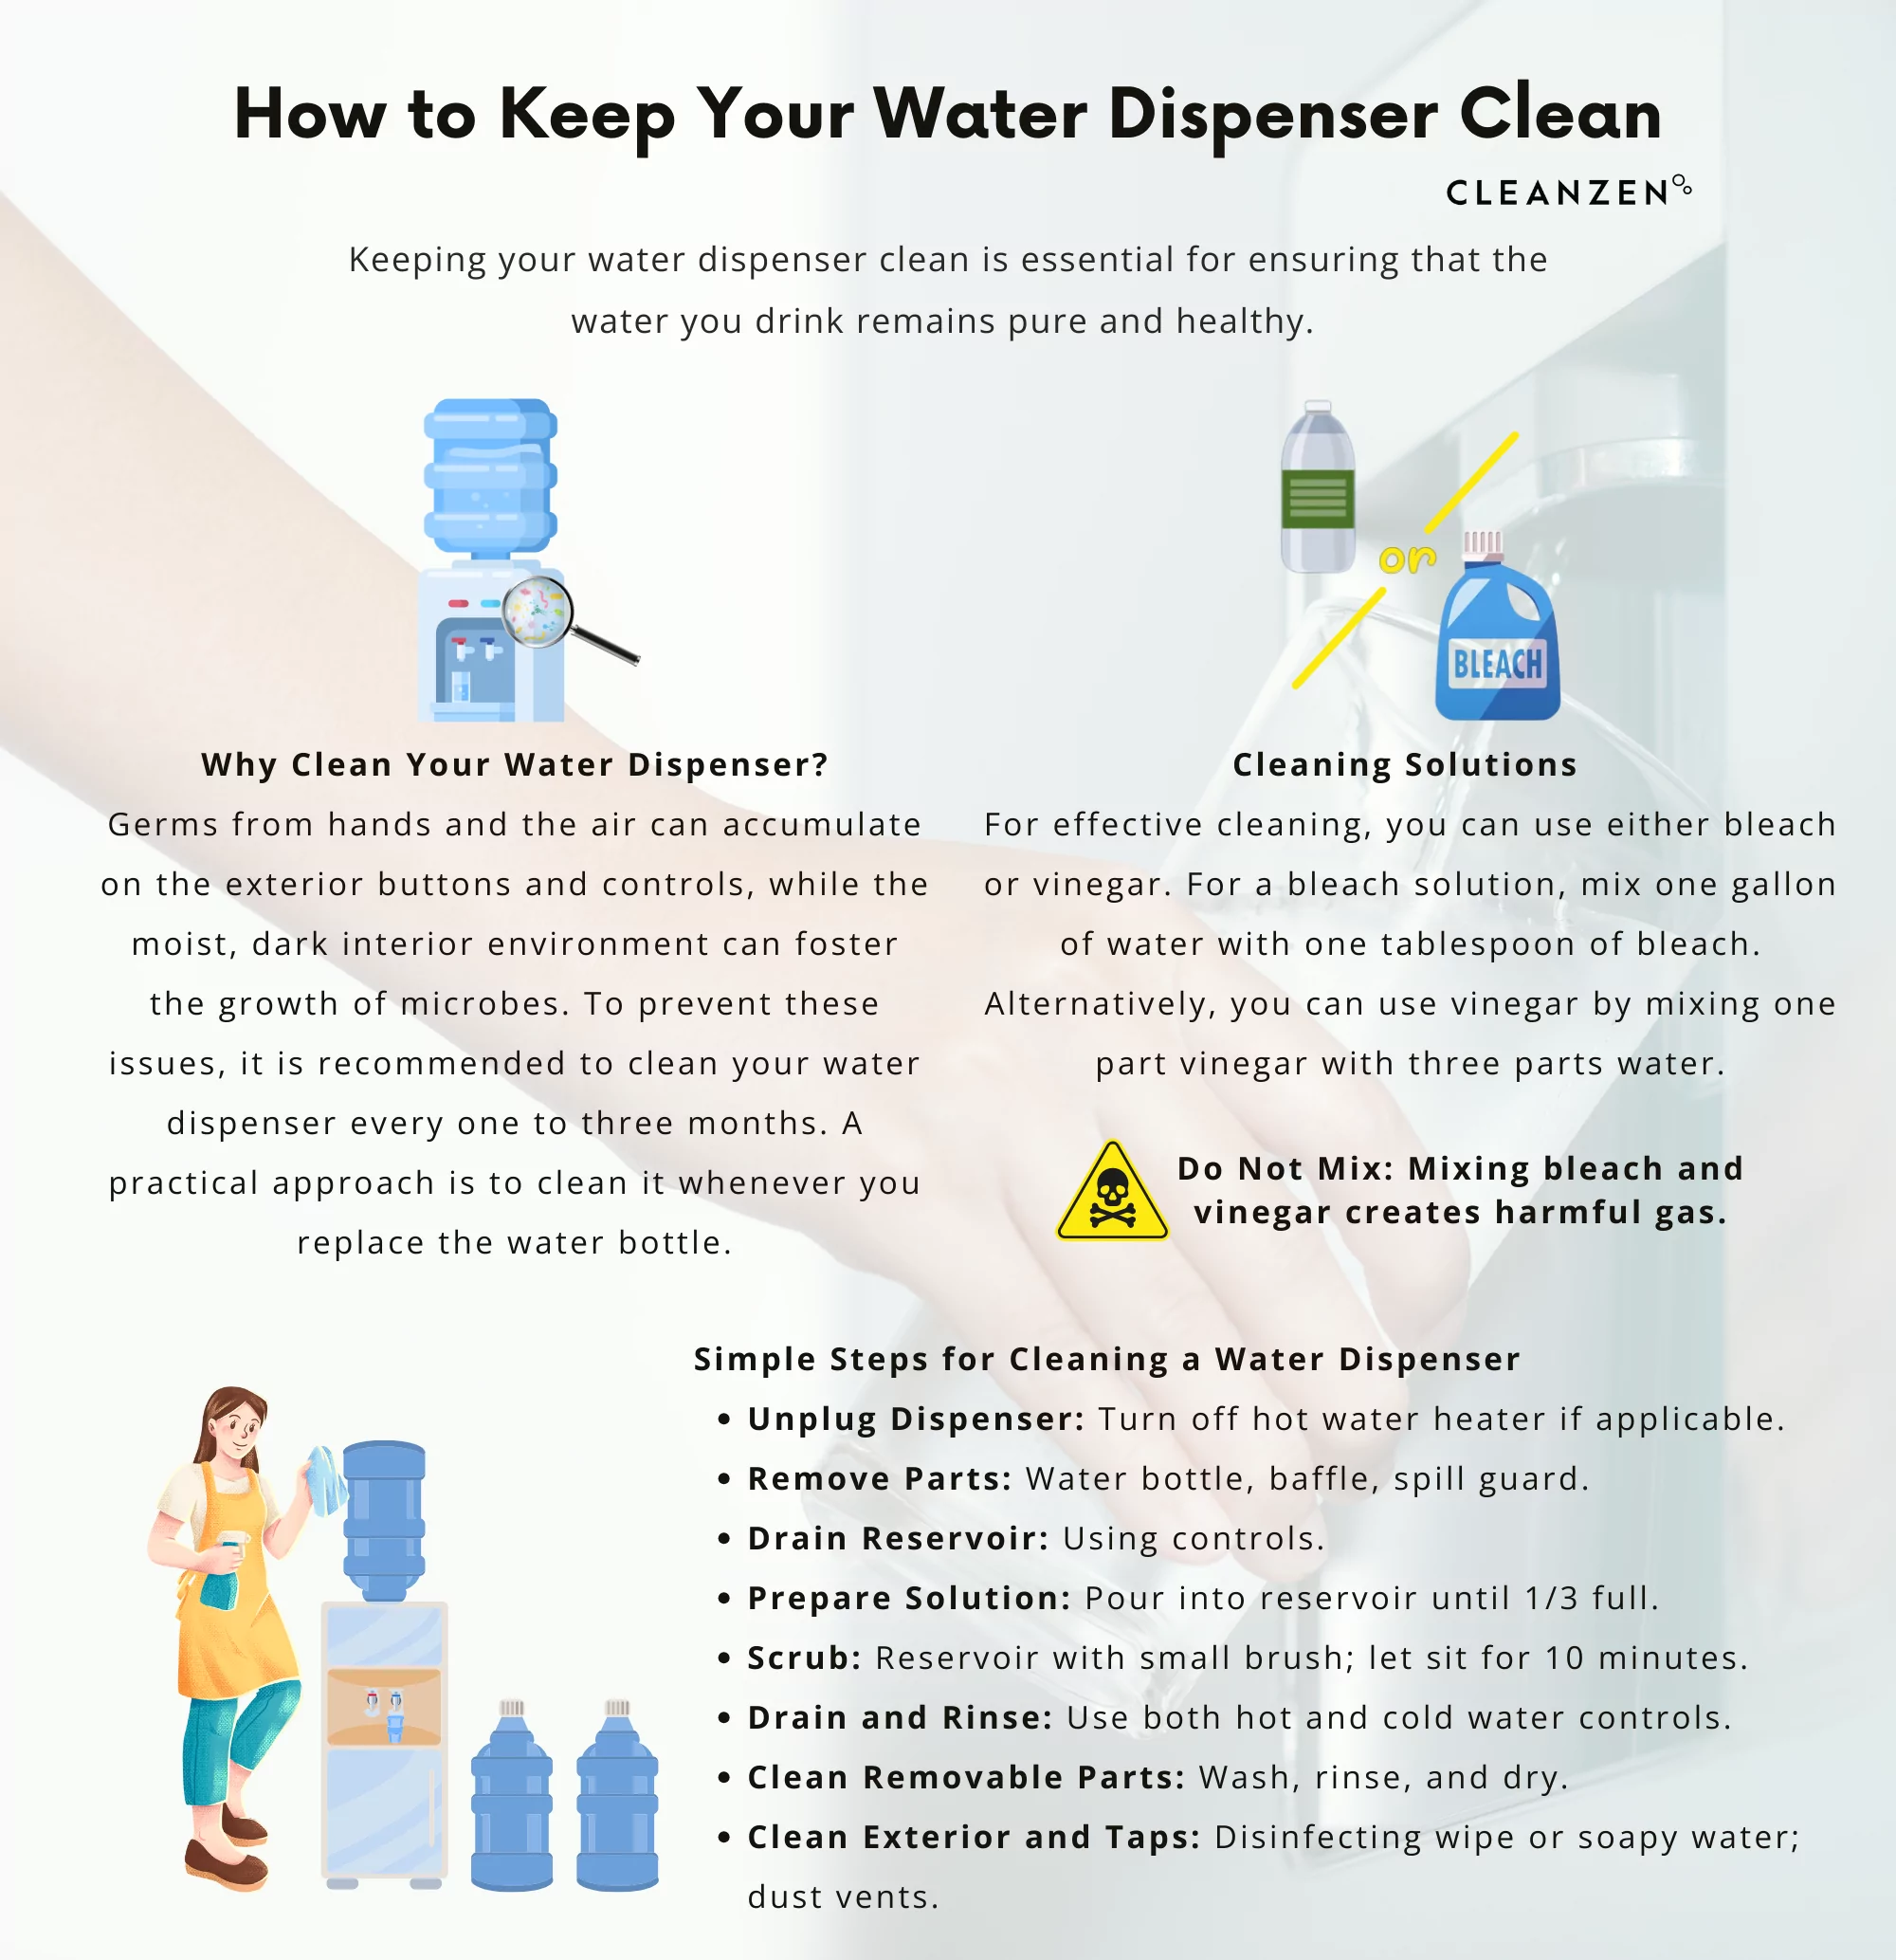
Rinsing removes all traces of vinegar from your dispenser. This step is critical because residual vinegar affects the taste of your water.
First Rinse Cycle
- Fill the 5-gallon bottle with 2 gallons of hot tap water without vinegar.
- Place on dispenser, plug in, and let tanks fill completely.
- Drain completely through front spigots into a bucket.
- Open the back drain if your model has one to flush remaining water.
Repeat Until Water Is Clean
- Perform a second rinse with fresh hot water.
- Dispense through both taps to ensure full coverage.
- Sniff the water coming out of the spigots. If you smell vinegar, repeat the rinse cycle.
- Continue until water is odorless and clear.
Most units need two to three rinse cycles to be fully clean. Do not rush this step because residual vinegar affects taste significantly.
Final Interior Wipe
Use a dry paper towel or microfiber cloth to wipe the inside of the reservoir if accessible. Removing standing moisture helps prevent immediate mold regrowth inside the tank.
Reassemble and Test Your Unit
Now restore your dispenser to working order so you can enjoy fresh water again. Ensure all parts are dry before reassembly to maintain hygiene.
Reinstall Clean Parts
Put the following parts back into their proper positions:
* Drip tray
* Spigot covers
* Water guard
* Cup holder
Ensure all pieces are seated properly and flush with the unit body.
Refill and Power On
- Install a fresh water bottle or reconnect the water line securely.
- Plug in the unit and turn on power switches.
- Allow 20 to 25 minutes for water to reach proper hot and cold temperatures.
Check for Leaks and Flow
- Inspect the back drain plug for any signs of leaks.
- Dispense water from both taps to test flow.
- Confirm smooth flow and neutral taste before regular use.
If water tastes off, run another rinse cycle immediately. If flow is slow, clean spigot nozzles with a toothbrush.
Prevent Buildup Long Term
Keep your dispenser clean between deep cleans with simple maintenance habits. These practices reduce the frequency of heavy cleaning required.
Routine Maintenance Schedule
- Wipe exterior monthly with a damp cloth to remove dust.
- Clean drip tray weekly since it traps spills and dust.
- Wipe bottle neck before placing on dispenser to prevent dirt entry.
- Replace filters every 6 to 8 months for bottleless models.
Best Practices for Clean Water
- Use filtered or bottled water to reduce minerals.
- Do not stack items on top because dust falls into the system.
- Replace empty bottles promptly to avoid air contamination.
- Store spare bottles upright and sealed to maintain cleanliness.
Troubleshoot Common Issues

Fix problems fast with these targeted solutions based on common symptoms.
Water Tastes Bad
Likely cause: Biofilm or leftover vinegar residue.
Fix: Perform a full vinegar clean and rinse three to four times. Ensure no bleach residue remains if you used that alternative.
Slow Water Flow
Likely cause: Mineral clog in spigot or tubing.
Fix: Soak spigot nozzles in vinegar for 10 minutes. Use a toothbrush to scrub away debris. Extend vinegar soak to one hour next cleaning.
White Particles in Water
Likely cause: Scale breaking loose from internal tanks.
Fix: Use the back drain to remove sludge completely. Repeat rinse cycles. Consider monthly cleaning if using hard water.
Leaking from Base
Likely cause: Loose or damaged back drain plug.
Fix: Reinsert silicone plug firmly. Replace if cracked. Hand-tighten cap without using tools.
Frequently Asked Questions About Cleaning Water Dispensers
How often should I clean my water dispenser?
You should clean your water dispenser every three months for standard use. High-traffic areas may need monthly cleaning, while low-use units can go up to six months. Clean immediately if you notice bad tastes or odors.
Can I use bleach instead of vinegar?
Yes, you can use two tablespoons of bleach per five gallons of water as an alternative. However, never mix bleach and vinegar because it creates toxic chlorine gas. Bleach also requires more thorough rinsing than vinegar.
Why does my water taste like vinegar after cleaning?
This means you did not rinse the unit enough. Perform additional rinse cycles with fresh hot water until the vinegar smell is completely gone. Most units need two to three full rinse cycles.
What causes white particles in my water?
White particles are usually mineral scale breaking loose from internal tanks. Use the back drain feature if available to remove sludge. Increase cleaning frequency if you have hard water.
Do I need to unplug the dispenser before cleaning?
Yes, always unplug the unit before cleaning to eliminate electrical hazards. Also, let the hot tank cool completely to prevent scalding during the draining process.
Key Takeaways for Cleaning Your Water Dispenser
Cleaning your water dispenser every three months keeps your water safe, fresh, and flowing smoothly. Using vinegar and hot water allows you to sanitize the entire system without professional help. Focus on thorough rinsing and regular maintenance to prevent issues before they start.
Set a reminder for your next cleaning today to maintain peak performance. Your next glass of water will taste better than ever with a clean system.



