
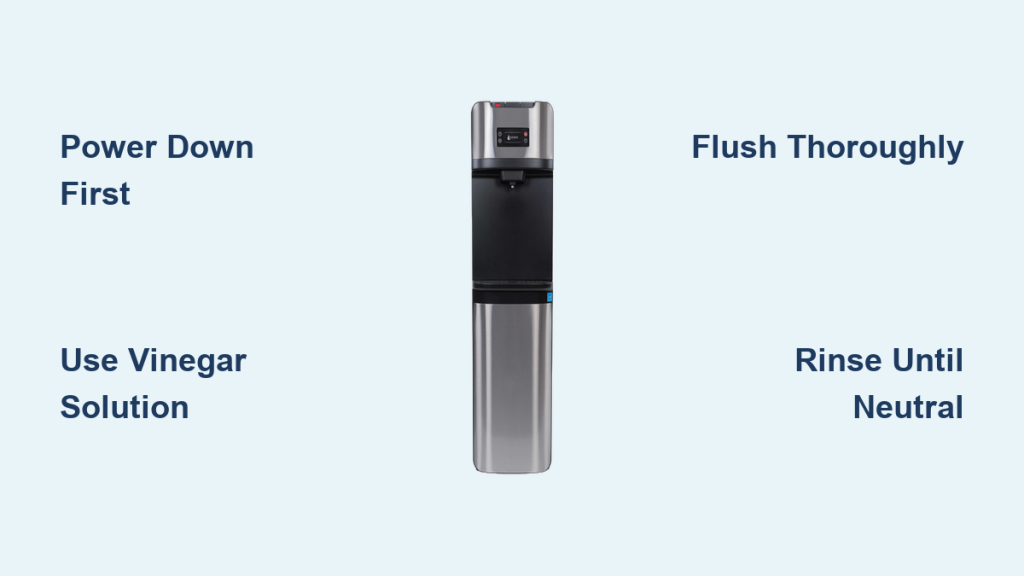
Does your drinking water taste strange or smell musty despite using fresh bottles? Mineral deposits and bacteria often hide inside the reservoir of your unit, making it essential to learn how to clean bottom load water dispenser systems properly.
This guide walks you through a safe, step-by-step process using simple vinegar solutions to remove scale and sanitize internal tanks. You will discover exactly how to drain, scrub, flush, and restart your machine for crystal-clear results.
Gather Essential Cleaning Supplies and Tools
:max_bytes(150000):strip_icc()/how-to-clean-a-water-cooler-5080453-05-680dc4564aff401ca68fc3727f8f45aa.jpg)
You need specific non-abrasive items to clean your unit effectively without causing damage. Using the wrong tools can scratch internal surfaces or leave harmful chemical residues behind.
Required Cleaning Agents and Equipment
Collect these items before starting to ensure a smooth workflow. Having everything ready prevents interruptions during the sanitization process.
- Distilled white vinegar (2 cups or ½ gallon)
- Hot tap water
- Clean, empty 5-gallon water bottle
- Microfiber cloths or soft sponges
- Bucket or large bowl for drainage
- Baking soda (optional for stubborn spots)
Solutions to Avoid During Cleaning
Never use harsh chemicals that could taint your drinking water supply. Some common household cleaners are too aggressive for food-grade reservoirs.
- Bleach or chlorine-based products
- Steel wool or abrasive scrubbing pads
- Dish soap inside the main water tanks
Execute Safety Pre-Cleaning Protocols
Safety is your top priority before touching any internal components. Skipping these steps can lead to electrical hazards or painful scalds from hot water.
Power Down and Cool the Unit
Locate the hot water switch on the back panel and set it to “OFF.” Unplug the dispenser from the wall outlet to eliminate any risk of electric shock.
Wait at least 20 minutes for the internal hot tank to cool completely. Draining hot water creates dangerous steam and can cause severe burns.
Isolate the Dispenser for Access
Move the unit away from the wall to reach the rear panel and bottom compartment. Clear the surrounding floor space to manage spills easily.
Remove the current water bottle from the base. On bottom-load models, this usually involves sliding out the container and closing the internal valve or disconnecting the feed line.
Drain Internal Tanks Completely
Removing all existing water is critical before introducing your cleaning solution. This step ensures the vinegar mixture works at full strength.
Empty Remaining Water via Taps
Open both the hot and cold faucets simultaneously. Let the water flow into your bucket or sink until the stream stops completely.
Check the drip tray at the front and empty it as well. A full tray can overflow during the cleaning process and create a mess on your floor.
Utilize Rear Drain Plugs if Available
Some models feature a dedicated drain plug on the back or bottom. Remove this plug to ensure every drop of water exits the system.
If your model lacks a plug, tilting the unit slightly forward can help gravity pull out the last bits of water. Always place a towel underneath to catch drips.
Apply Vinegar Solution for Deep Sanitization
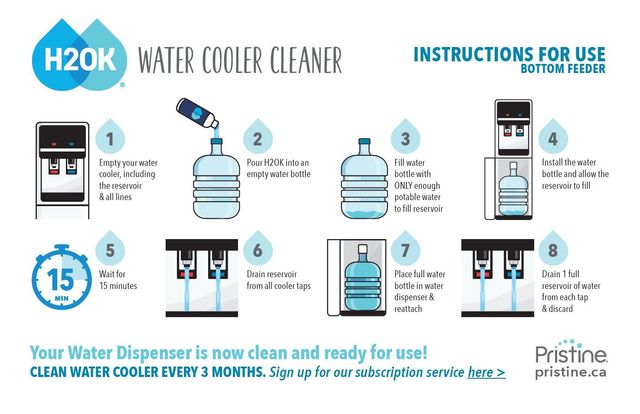
Vinegar is the gold standard for dissolving mineral scale and killing bacteria naturally. You have two primary methods to introduce this solution based on your specific model design.
Method A: Bottle Feed System
Mix 2 cups of distilled white vinegar with hot tap water in a clean 5-gallon bottle. Place this bottle onto the docking mechanism just like a normal water supply.
The pump will draw the mixture into the internal reservoirs automatically. This method mimics standard operation and ensures even distribution throughout the lines.
Method B: Direct Pour Technique
Certain units allow direct access to the reservoir through a removable lid or panel in the bottom compartment. Open this section carefully.
Pour your vinegar solution directly into the open chambers. Use a flashlight to verify the fill level reaches the top of the internal tanks.
Circulate Solution and Soak Reservoirs
Once the solution is inside, you must reactivate the system to circulate it through the heating and cooling elements. This step breaks down hard water deposits effectively.
Reactivate Heating Elements
Plug the unit back into the wall outlet. Turn the main power on and set the hot water switch to “ON.”
Keep the cold water switch OFF during this phase. Cooling the acidic vinegar mix reduces its cleaning power and puts unnecessary strain on the compressor.
Allow 15-Minute Dwell Time
Let the solution sit inside the reservoirs for 10 to 15 minutes. This dwell time allows the acid to dissolve lime, calcium, and magnesium buildup.
Do not exceed 30 minutes of soaking time. Prolonged exposure to acid can potentially degrade rubber seals and gaskets over time.
Flush Solution Through All Taps
Dispense the vinegar mixture from the hot tap into your bucket until the flow stops. Repeat this process with the cold tap.
Alternate between the taps two or three times. This action forces the cleaning solution through every inch of the internal tubing and spigots.
Rinse System Thoroughly to Remove Residue
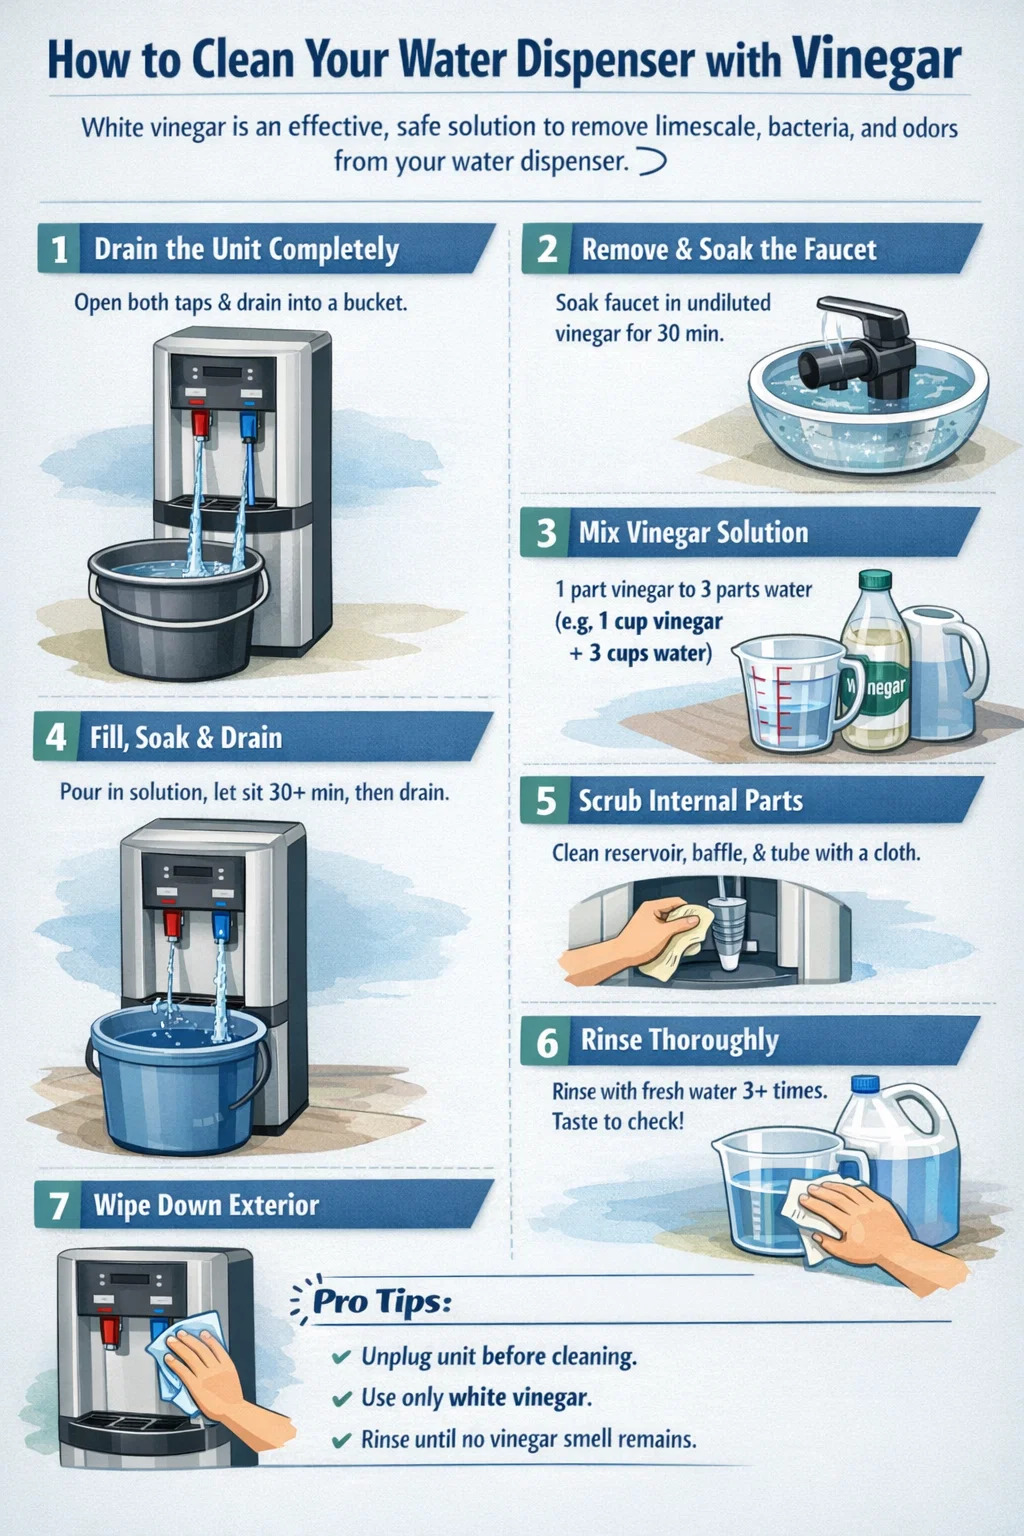
Rinsing is the most critical step to ensure your water does not taste like salad dressing. Incomplete rinsing is the number one complaint after cleaning.
Flush with Fresh Water Repeatedly
Install a new bottle of fresh water or pour hot tap water directly into the reservoir. Dispense water from both taps continuously.
You must use at least two to three gallons of rinse water. Continue this process until you cannot smell any vinegar aroma from the output.
Verify Water Purity by Taste
Smell and taste a small sample of the dispensed water. If you detect any acidity or sharpness, continue flushing with more fresh water.
Never consume water from the unit until the taste is completely neutral. If the vinegar taste persists, run one more full cycle with clean water.
Clean External Components and Cabinet
While the internal system sanitizes itself, the exterior and cabinet interior need manual attention. These areas often harbor mold due to humidity.
Wipe Interior Bottom-Load Compartment
Dampen a microfiber cloth with your vinegar solution. Wipe down the entire interior of the bottom cabinet where the water bottle sits.
Pay special attention to corners and the bottle support base. Dry this area thoroughly with a clean towel to prevent future mold growth.
Sanitize Drip Tray and Spigot Nozzles
Remove the drip tray if possible and wash it with warm soapy water. Rinse it well and wipe it down with vinegar before replacing it.
Use a soft brush or cloth-wrapped stick dipped in vinegar to clean around the faucet nozzles. This removes bacterial film caused by splashes and drips.
Wipe Down Exterior Surfaces
Dampen a clean cloth with water and a drop of mild soap. Wipe the outside of the dispenser, including control panels and handles.
Avoid spraying liquid directly onto the unit. Dry all surfaces immediately to prevent water spots and electrical risks.
Reassemble Unit and Restart Cooling Cycle

Proper reassembly ensures your dispenser functions correctly and remains protected from contaminants. Follow these steps to return to normal operation.
Secure All Access Points and Plugs
Replace the rear drain plug if you removed one earlier. Close and lock any access panels or lids on the bottom compartment tightly.
Ensure all seals are flush to prevent dust or pests from entering the internal mechanism. A loose panel can compromise the cleanliness of your water.
Install Fresh Water Source
Slide a new, full 5-gallon bottle into the base. Engage the pump or connect the line securely so water begins feeding into the reservoir.
Check for any leaks around the connection point before proceeding. Ensure the valve is fully open to allow proper water flow.
Restore Power and Wait for Stabilization
Plug the unit back in and turn both the hot and cold switches to “ON.” The system will begin heating and cooling the fresh water immediately.
Wait approximately 25 minutes before using the water. This time allows the temperatures to stabilize and ensures safe, refreshing drinks.
Troubleshoot Common Post-Clean Issues
Even with careful cleaning, you might encounter minor issues. Most problems have simple fixes you can perform immediately.
Address No Water Flow After Cleaning
Check that the water bottle is seated correctly and the internal valve is open. Air pockets can sometimes block flow, so tap the spigot several times to release trapped air.
If the blockage persists, mineral debris may be clogging the feed tube. Repeat the vinegar flush cycle to clear the obstruction.
Eliminate Lingering Vinegar Taste
If the water still tastes acidic, the unit was not rinsed enough. Flush with two additional gallons of clean water and taste test again.
Never skip the rinse cycle, as residual vinegar affects both taste and safety. Patience during rinsing guarantees great-tasting results.
Prevent Buildup Between Deep Cleans
Regular maintenance reduces the frequency of deep cleaning sessions. Simple habits keep your water tasting fresh year-round.
Adhere to a Three-Month Schedule
Clean your dispenser every 90 days to prevent heavy scaling. Mark your calendar or set a phone reminder to stay consistent.
High-use environments like offices should clean every 6 to 8 weeks. Frequent use accelerates mineral buildup and bacterial growth.
Maintain Bottle and Area Hygiene
Replace empty bottles immediately to prevent dust and microbes from entering the feed tube. Do not let dry bottles sit on the unit for extended periods.
Keep the floor around the dispenser clean and swept. Reducing airborne particles minimizes the amount of debris entering the system.
Know When to Call a Professional Service
DIY cleaning works for most situations, but some scenarios require expert intervention. Recognizing these signs saves you time and prevents damage.
Handle Severe Neglect or Blockages
If the dispenser has not been cleaned in over a year, internal scaling may require disassembly. Professionals use specialized descaling agents and pressure flushing tools.
Attempting to force clean a severely neglected unit can damage internal pumps. Expert technicians can safely restore heavily scaled systems.
Address Suspected Internal Mold
Black specks in the water or persistent musty smells despite cleaning indicate hidden mold. This growth may be behind panels you cannot reach.
A technician can inspect and remediate these hidden areas effectively. They ensure all microbial growth is eliminated for your safety.
Frequently Asked Questions About Cleaning Bottom Load Dispensers
How often should I clean my bottom-load water dispenser?
You should clean your unit every three to six months depending on usage. High-traffic areas like offices may need cleaning every six to eight weeks to prevent buildup.
Can I use bleach instead of vinegar to clean the reservoir?
It is not recommended to use bleach as it can leave a chemical taste and damage internal components. Distilled white vinegar is safer and equally effective for sanitizing.
Why does my water still taste like vinegar after cleaning?
This usually means the unit was not rinsed thoroughly enough. Flush the system with two more gallons of fresh water until the vinegar smell disappears completely.
Is it safe to drink water immediately after cleaning?
No, you must wait about 25 minutes after restarting the unit. This allows the water to reach the proper temperature and ensures the system has stabilized.
What causes white residue inside the water dispenser?
White residue is caused by mineral deposits like calcium and magnesium from hard water. Regular cleaning with vinegar dissolves these deposits and keeps the unit efficient.
Key Takeaways for Cleaning Your Bottom Load Water Dispenser
Learning how to clean bottom load water dispenser units properly ensures safe, great-tasting water for your home or office. By following a regular schedule and using simple vinegar solutions, you can prevent mineral buildup and extend the life of your appliance.
Start your maintenance routine today by gathering your supplies and following the safety steps outlined above. Your health and the performance of your dispenser depend on consistent, thorough care.



