
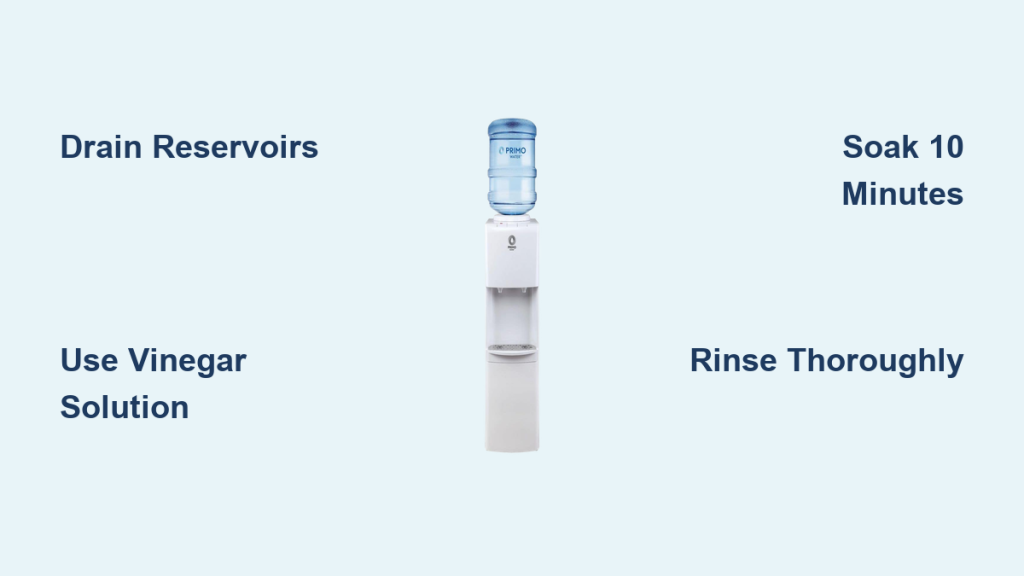
Is your Primo water dispenser dispensing water with a strange taste or emitting odd odors? Mineral buildup and bacteria often accumulate in internal tubing if you have not cleaned the unit in over three months.
This guide walks you through a complete step-by-step process to safely drain, sanitize, and flush your system using simple household supplies. You will learn how to fix flow issues and ensure great-tasting water in about 30 minutes without professional help.
Prepare Essential Cleaning Supplies and Agents
Gathering the right materials before you start ensures a smooth cleaning cycle without interruptions. You need specific tools to access the rear drain and mix your sanitizing solution safely.
Select Your Preferred Cleaning Solution
You must choose between two effective agents to sanitize your Primo water dispenser.
* Distilled White Vinegar: Mix 2 cups with 2 gallons of hot tap water. This is the recommended choice because it dissolves mineral scale naturally without leaving a chemical aftertaste.
* Household Bleach: Use 2 tablespoons of unscented bleach per 2 gallons of water. This is a strong alternative but requires thorough rinsing to remove any residual taste.
Never mix bleach and vinegar as this combination creates toxic fumes that are dangerous to inhale.
Gather Required Tools and Equipment
You will need the following items to complete the job effectively:
* One empty 5-gallon water bottle that is clean
* A 2-gallon bucket or two 1-gallon jugs for drainage
* A pitcher for initial water removal
* Phillips head screwdriver to access the rear drain panel
* Measuring cup for precise chemical mixing
* Clean sponge, cloth, or paper towels
* Q-tips for tight spout crevices
* Mild dish soap like Dawn Platinum Power Wash
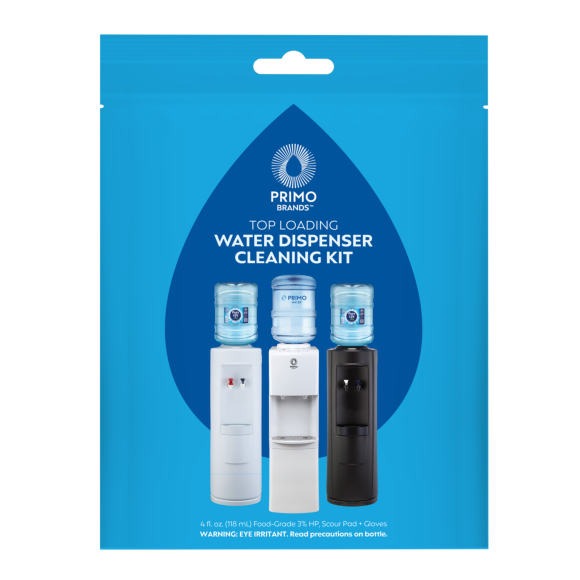
Optional pre-measured Primo cleaning kits are available for top-loading models to simplify the process for beginners.
Power Down and Drain Internal Reservoirs
Safety is your top priority when servicing electrical appliances with water components. You must disconnect power before attempting to move the unit or access internal parts.
Turn Off Energy Switches and Unplug
- Flip all energy-saving switches on the unit to the OFF position.
- Unplug the power cord directly from the wall outlet.
- Carefully move the dispenser away from the wall to access the rear panel.
Remove Water Source and Initial Drain
- Top-loading model: Lift the current water bottle off the top spike.
- Bottom-loading model: Disconnect the water line feeding into the base.
Open both hot and cold taps and dispense any leftover water into a pitcher until the flow stops completely. Complete drainage ensures your cleaning solution is not diluted by old water.
Mix and Load Sanitizing Solution

Now you will prepare the cleaning agent and introduce it into the internal system to begin the sanitization process.
Combine Vinegar and Hot Water
In your empty 5-gallon bottle, add 2 cups of white vinegar or 2 tablespoons of bleach. Fill the bottle with 2 gallons of hot tap water but do not use boiling water. Cap the bottle and gently shake it to mix the solution thoroughly.
Hot water enhances the descaling power of vinegar and helps dissolve biofilm more effectively than cold water.
Install Bottle and Activate System
- Securely push the solution-filled bottle onto the dispenser or reconnect the bottom line.
- Plug the unit back in to the wall outlet.
- Turn the energy-saving switches ON.
- Allow the system to fill internal reservoirs while watching for bubbling as air escapes.
- Let it run until the side reservoir is full, which uses about one gallon of solution.
Pro Tip: Keep the Cold switch OFF during cleaning to prevent the solution from chilling unnecessarily.
Soak Solution for Ten Minutes
This critical waiting period allows the cleaning agent to break down contaminants inside the machine.
Let Solution Sit in System
- Turn all switches to OFF.
- Unplug the unit from the wall again.
- Wait exactly 10 minutes before proceeding.
During this time, the vinegar dissolves calcium and magnesium scale while killing bacteria and mold in reservoirs and tubing. Do not exceed 10 minutes as prolonged exposure may degrade seals over time.
Drain Front Taps and Rear Plug
Flushing the used solution from both dispensing points ensures full system clearance of debris.
Flush Front Dispensing Taps
- Plug the unit back in and power it on.
- Press both hot and cold levers simultaneously.
- Drain all remaining solution from the front spouts into your bucket.
Open Rear Drain Plug
- Place a 2-gallon bucket under the back of the unit.
- Use a Phillips screwdriver to remove the bottom access panel.
- Unscrew the plastic cap and pull out the red silicone drain plug.
- Let all remaining liquid drain completely from the base.
- Continue pressing front taps while draining to purge lines thoroughly.
You may see white flakes or particles during this step, which is normal mineral scale being removed from how to clean Primo water dispenser systems.
Replug Unit and Rinse Thoroughly
After draining, you must flush the system with clean water to remove all traces of vinegar or bleach.
Perform First Rinse Cycle
- Replace the red silicone plug and tighten the plastic cap without over-tightening.
- Reattach the bottom access panel securely.
- Rinse the 5-gallon bottle well with fresh water.
- Fill it with 2 gallons of fresh hot tap water only.
- Mount the bottle, plug in the unit, and turn switches ON.
- Dispense water from both front taps and rear drain until empty.
Repeat Until Odor-Free
If you detect a vinegar smell or taste, repeat the rinse cycle with fresh water. Continue this process until the water runs clear and odorless. Skipping extra rinses is the number one cause of lingering aftertaste.
Clean External Components Manually

While the internal system sanitizes, you should manually clean high-touch and spill-prone areas to prevent cross-contamination.
Remove and Wash Drip Tray
- Pull out the removable internal tray beneath the spouts.
- Wash it with mild dish soap and warm water.
- Scrub both the tray and the housing cavity underneath thoroughly.
- Dry completely before reinserting into the unit.
This area traps spilled coffee, tea, and moisture which creates a perfect environment for mold growth.
Sanitize Spouts and Exterior Surfaces
- Dip Q-tips in soapy water or vinegar solution.
- Clean around the base of hot and cold spouts where gunk builds up.
- Wipe down the entire dispensing area with a damp cloth.
Use a soft, damp cloth to clean the cabinet, sides, and top. Avoid abrasive cleaners that scratch surfaces and keep the unit out of direct sunlight to reduce algae risk.
Restart Dispenser and Refill Bottle
Finalize the process with proper reassembly and restart procedures to return to normal operation.
Return to Operating Position
- Slide the dispenser back against the wall carefully.
- Install a fresh 5-gallon Primo bottle.
- Push down firmly to seat the bottle correctly.
- Plug in and turn energy-saving switches ON.
Wait 6 to 12 hours for the water to chill or heat fully depending on your settings.
Troubleshoot Common Cleaning Issues

Even after cleaning, minor problems can arise that require simple fixes.
Persistent Vinegar Taste
Cause: Incomplete rinsing of the internal lines.
Fix: Run another 2-gallon rinse cycle and taste test after each round until the flavor disappears.
Leaks After Cleaning
Check:
* Is the red silicone plug fully seated?
* Is the plastic cap snug but not over-tightened?
* Are drain components cracked or damaged?
Replace the red plug if it appears worn as it is an inexpensive part to maintain.
Low Water Flow
Possible Causes:
* Airlock in lines requiring more water to purge.
* Partial clog from leftover debris needing another flush.
* Scale still in tubing requiring a second vinegar soak if the unit was very dirty.
Maintain a Clean Dispenser Schedule
Prevention is easier than repair so follow these habits to keep your Primo dispenser running cleanly.
Stick to a Cleaning Schedule
- Every 3 months: Perform a full internal cleaning.
- Monthly: Wipe spouts and clean the drip tray.
- After 6-month idle period: Clean before reuse.
- Office settings: Clean every 6 to 8 weeks due to high usage.
Set a reminder on your phone or calendar to ensure you never forget.
Use Recommended Cleaning Methods
| Factor | Best Practice |
|---|---|
| Cleaning Agent | White vinegar (2 cups per 2 gal water) |
| Water Temperature | Hot tap water (not boiling) |
| Soak Time | 10 minutes only |
| Drain Method | Front spots plus rear red plug |
| Rinse Cycles | Minimum 1; repeat until odor-free |
Avoid lemon juice or harsh chemicals as they can corrode internal parts of your machine.
When to Call a Professional
Some situations call for expert help rather than DIY maintenance.
Consider Professional Cleaning If:
- You are uncomfortable removing the drain plug.
- The unit has never been cleaned and shows heavy buildup.
- You rent the dispenser since many rental agreements include free maintenance.
- You manage an office with multiple units needing service.
Professional services offer guaranteed sanitization, scheduled maintenance plans, and longer equipment life for your investment.
Frequently Asked Questions About Cleaning Primo Water Dispensers
How often should I clean my Primo water dispenser?
You should clean your unit every three months for standard home use. Offices or high-traffic areas require cleaning every six to eight weeks to prevent bacterial growth and mineral buildup.
Can I use bleach instead of vinegar to clean my dispenser?
Yes, you can use 2 tablespoons of unscented bleach per 2 gallons of water. However, vinegar is recommended because it dissolves scale effectively without leaving a chemical aftertaste.
Why does my water taste like vinegar after cleaning?
This happens if you skip the final rinse cycles. You must flush the system with fresh hot water multiple times until the water runs clear and odor-free to remove all cleaning solution.
Do I need special tools to clean the back of the dispenser?
Yes, you need a Phillips head screwdriver to remove the bottom access panel and reach the red silicone drain plug. This step is critical for removing settled debris.
Is it safe to clean a bottom-loading Primo dispenser myself?
Yes, the process is similar to top-loading models. You simply disconnect the water line at the base instead of lifting a bottle off the top before starting the cleaning cycle.
Key Takeaways for How to Clean Primo Water Dispenser
Regular maintenance every three months prevents mineral buildup and ensures your water tastes fresh and safe. Remember to always use the rear drain plug to fully flush out debris and rinse thoroughly to avoid any aftertaste.
Start your next cleaning session today by gathering vinegar and a screwdriver to protect your investment. Your family deserves pure, great-tasting water from a well-maintained system.



