
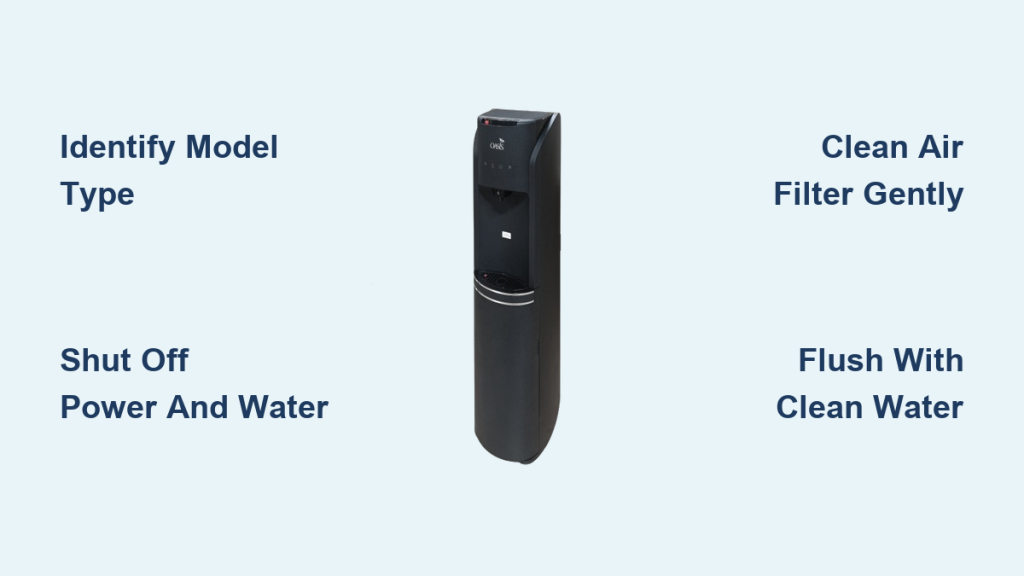
A dirty water dispenser can introduce harmful bacteria and mold into your drinking water, making regular cleaning essential for your health. Many owners struggle with the process because they do not know how to clean Oasis water dispenser units without damaging sensitive internal parts.
This guide provides a safe, model-specific method to sanitize your unit effectively. You will learn to identify your reservoir type, mix the correct solutions, and flush the system properly for great-tasting water.
Identify Your Oasis Model Type
Determining your specific model is the first step because cleaning methods vary significantly between reservoir types. Using the wrong technique on a stainless steel unit versus a plastic one can cause permanent damage to seals or electrical components.
Plastic vs. Stainless Steel Reservoirs
Oasis dispensers generally feature either a plastic removable reservoir or a stainless steel non-removable reservoir. Plastic models allow you to remove the entire tank for soaking and scrubbing. Stainless units require you to clean the interior in place to prevent water from entering the electrical housing.
Oasis vs. Sunroc Top Panel Removal
Even within stainless models, the removal process differs by brand design. Oasis (tan/beige) units release with gentle upward pressure from the back. Sunroc models require you to press down on rear corners while lifting from front to back. Misidentifying this mechanism can crack the plastic panel during removal.
Pre-Cleaning Safety and Shutdown
Skipping preparation steps creates electrical hazards and risks chemical damage to your appliance. Following a strict shutdown sequence protects both you and the machine before any cleaning begins.
Power and Water Shutdown
Turn off the dispenser switch and unplug the unit from the wall outlet immediately. Remove the water bottle to stop the flow of water. This prevents accidental leaks and protects the pump system while you work.
Drain All Residual Water
Open both hot and cold taps simultaneously to drain water into a bucket. Continue until no water flows from either spigot. If your model has a drain valve on the back, open it to ensure the system is completely empty.
Remove and Clean the Air Filter
Locate the air filter at the rear of the unit and gently rotate it to disengage. Wipe the filter with a damp cloth but never soak it. A wet filter loses its ability to block contaminants and can develop mold if saturated.
Protect the Hot Water Tank
The hot tank self-sanitizes through heat and must never contain cleaning chemicals. Insert a rubber stopper or cork into the opening where the baffle connects. This critical step prevents bleach or vinegar from corroding the heating element.
Disassemble for Deep Access
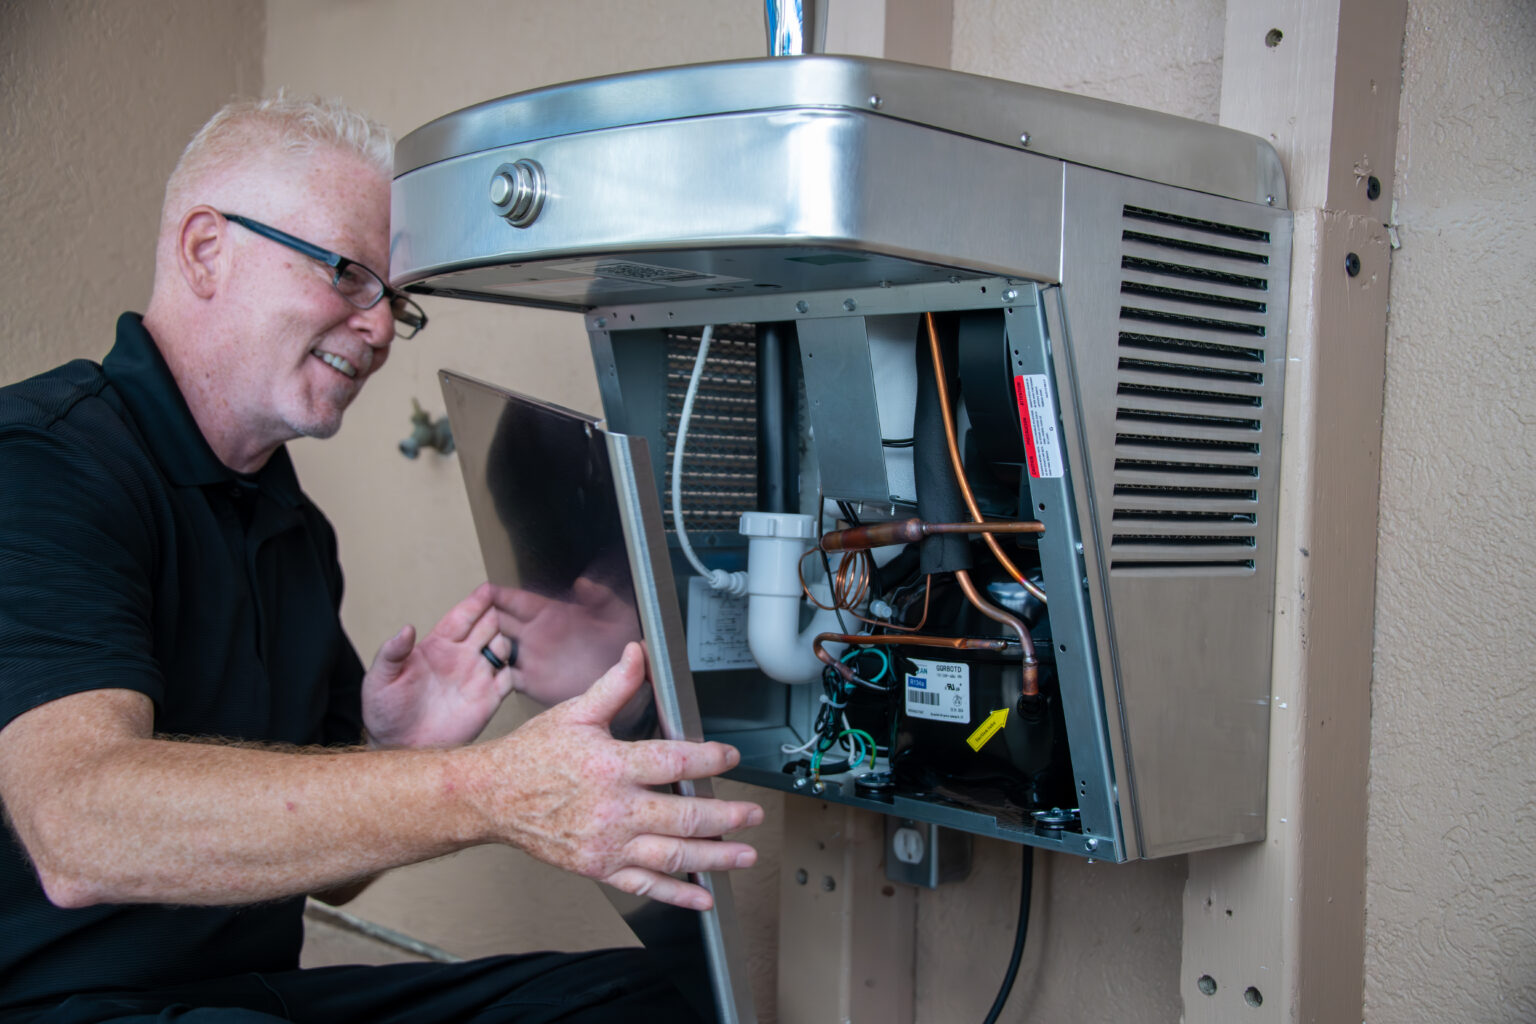
Proper disassembly provides access to hidden areas where bacteria and mineral deposits often thrive. Removing key components ensures you can reach every surface that touches your drinking water.
Plastic Reservoir Removal Steps
For models with a removable plastic tank, follow these steps:
1. Remove the retain ring and gasket seal from the top.
2. Unscrew and detach the front faucets carefully.
3. Lift the entire reservoir assembly straight out from the top.
Handle the tank gently as scratches can harbor biofilm. Place it on a clean, flat surface for washing.
Stainless Steel Unit Top Panel Removal
Stainless models require internal cleaning without removing the main tank. Unscrew the two fasteners at the back of the top panel. Carefully lift the panel assembly, including the retain ring and gasket.
Oasis Tan/Beige Model Technique
Place one hand on the back edge of the top panel. Apply steady upward pressure until the piece releases in one motion. Avoid prying from the front to prevent cracking the plastic.
Sunroc Model Technique
Press down firmly on both rear corners. Lift upward from the front edge and gently pry backward until the panel detaches. Use even pressure to avoid damaging the unit.
Remove and Inspect the Water Guard
The water guard sits at the top of the reservoir and may be removable or built-in. Some are funnel-style cleaners you can take apart and soak. Others are built-in funnels that must be cleaned in place. Check your specific design before proceeding.
Choose the Right Cleaning Solution
Selecting the correct cleaning agent is vital for effective sanitation without degrading seals. You can choose between bleach for sanitization or vinegar for descaling based on your needs.
Bleach Solution for Full Sanitization
Use a bleach solution for maximum germ elimination:
* Mix ½ teaspoon household bleach per 1 gallon of water
* OR mix 1 tablespoon bleach per 3 liters of water
Never reuse bleach solution and limit contact to 5 minutes max. Prolonged exposure can damage rubber parts and plastic components.
Vinegar Solution for Descaling
Ideal for removing lime and mineral deposits:
* Mix 1 cup white vinegar with 2 liters of hot water
Warm water boosts cleaning power effectively. Vinegar is gentler than bleach but works best for routine maintenance rather than heavy bacterial issues.
Commercial Sanitizer Options
Food-safe commercial cleaners or water cooler sanitation kits are acceptable alternatives. Always dilute exactly as directed on the label. Over-concentration can crack gaskets and void your warranty.
Clean Plastic Removable Reservoirs

This method allows the most thorough cleaning since you can remove the entire tank from the unit. It is ideal for removing heavy buildup inside the reservoir.
Wash With Mild Soap
Rinse the reservoir under running water to remove loose debris. Use mild dish soap and a soft cloth to scrub all surfaces. Pay special attention to corners and the base where biofilm accumulates.
Soak in Bleach Solution
Submerge the tank in your prepared bleach mixture. Soak for no longer than 5 minutes. Longer exposure degrades plastic and increases the risk of chemical retention in the material.
Rinse Until Odor-Free
Drain the solution and rinse repeatedly with clean water. Continue rinsing until no bleach smell remains. Any lingering odor indicates residual chlorine is present, so keep rinsing until the water is neutral.
Sanitize Stainless Steel Non-Removable Units

Since the tank cannot be removed, you must clean the interior carefully to avoid water damage. This method relies on manual scrubbing rather than soaking.
Hand-Scrub Interior Surfaces
Dip a soft cloth or brush in soapy water or vinegar solution. Manually scrub all accessible interior walls, the base, and the top rim. Do not pour liquid directly into the unit to avoid seepage into electronics.
Clean the Water Guard and Gasket
Remove the water guard if your model allows it. Soak and scrub it separately or clean it in place with a cloth. The rubber gasket is a bacteria hotspot, so wipe it thoroughly and use a cotton swab for tight spots.
Wipe Down All Contact Points
Use a damp cloth to clean the top panel, retain ring, and interior sides. These areas collect dust and moisture that promote mold growth if left unchecked.
Sanitize Taps and Spigots
Mouth contact makes taps a primary contamination risk during daily use. You must clean them thoroughly with every cleaning cycle to ensure safe drinking water.
Dab Taps With Cleaning Solution
Fold a paper towel and dip a corner in your cleaning solution. Wrap it around each spigot and hold for 2–3 minutes. This allows the solution to disinfect the outlet and valve area effectively.
Focus on Valve Openings
Use a cotton swab dipped in solution to clean around the tap base. Clean inside the drip tray as well since these spots often harbor slime and mineral crust buildup.
Circulate Solution Through System
This step sanitizes internal water lines that are not reachable by wiping alone. Circulating the solution ensures the entire pathway is treated.
Fill and Hold Cleaning Solution
Pour your chosen solution into the reservoir or funnel cleaner until full. Close the top and let it sit for 2 to 10 minutes. Do not exceed 10 minutes as prolonged exposure risks seal damage.
Drain Completely
Open both hot and cold taps and let the solution flow out entirely. Dispose of it properly according to local codes. Do not pour concentrated bleach down drains if regulations prohibit it.
Rinse and Reassemble Properly
Incomplete rinsing leaves chemical residues that affect taste and safety. Proper reassembly ensures your unit functions correctly after cleaning.
Flush With Clean Water
Refill the reservoir with fresh water. Open taps and drain completely. Repeat this process 2–3 times to ensure all traces of cleaning solution are removed.
Reinstall Components
- Reinsert the water guard or funnel into place.
- Place the top panel back, ensuring the gasket and retain ring are aligned.
- For stainless models, screw the top panel back in place securely.
- For Oasis tan models, press down until it clicks into position.
- Reattach faucets if you removed them earlier.
Replace Air Filter
Once the air filter is completely dry, reinsert it by rotating into place. A clean filter prevents airborne contaminants from entering the water system.
Perform Final Flush and Test
Before using the water, you must eliminate any microscopic residue trapped in the lines. This final test ensures the water is safe for consumption.
Dispense Half to Full Pitcher
After refilling with a fresh water bottle, dispense at least half a pitcher of water through both taps. For high-use units, flush a full pitcher to be safe.
Check for Odor and Taste
Smell and taste the water carefully. If you detect bleach or vinegar, continue flushing in 1-liter increments. Never consume water with any chemical traces present.
Maintain a Cleaning Schedule
Regular cleaning prevents buildup and extends the lifespan of your dispenser significantly. Adhering to a schedule keeps your water safe and tasting fresh.
Clean Every 3–6 Months
For typical home use, sanitize every 3 to 6 months. This frequency prevents biofilm and mineral accumulation in most environments.
High-Use Units: Clean Monthly
In offices, gyms, or shared spaces, clean every 1 to 3 months. More frequent use increases contamination risk significantly.
Inspect for Visible Buildup
If you see mold, slime, or white crust, clean immediately regardless of the schedule. These are clear signs of bacterial growth or hard water deposits.
Replace Air Filter as Needed
Check the filter during each cleaning cycle. If it is discolored or damp, replace it immediately. A clogged filter reduces airflow and promotes stagnation.
Avoid Common Cleaning Mistakes
Even small errors can reduce effectiveness or damage your unit permanently. Avoiding these common pitfalls ensures a successful cleaning process.
Never Soak the Air Filter
Waterlogged filters lose their filtration ability and grow mold. Always wipe, never soak this component to maintain its function.
Don’t Use Abrasives
Steel wool, scouring pads, or harsh powders scratch plastic and stainless steel. Scratches trap bacteria and make future cleaning difficult.
Avoid Over-Concentrated Solutions
Too much bleach or vinegar degrades rubber seals, leading to leaks. Stick exactly to the ratios: ½ tsp bleach per gallon or 1 cup vinegar per 2 liters.
Never Let Cleaner Touch the Hot Tank
Chemicals in the hot tank can corrode the heating element or release fumes. Always plug the inlet with a stopper before adding any solution.
Frequently Asked Questions About Cleaning Oasis Water Dispensers
How often should I clean my Oasis water dispenser?
You should clean and sanitize your unit every 3 to 6 months for home use. In high-traffic areas like offices or gyms, increase this frequency to every 1 to 3 months.
Can I use vinegar instead of bleach to clean my dispenser?
Yes, you can mix 1 cup of white vinegar with 2 liters of hot water for descaling. Vinegar is gentler than bleach but is less effective against heavy bacterial contamination.
Is it safe to put bleach in the hot water tank?
No, never allow cleaning solutions to enter the hot water tank. The heat sanitizes the hot tank naturally, and chemicals can corrode the heating element or tank lining.
What should I do if the water tastes like bleach after cleaning?
Continue flushing the system with fresh water until the taste disappears. You may need to dispense several pitchers before all chemical traces are removed from the lines.
Can I soak the air filter in cleaning solution?
No, never soak the air filter as it will lose its effectiveness and grow mold. Simply wipe it with a damp cloth and let it air dry completely before reinstalling.
Key Takeaways for How to Clean Oasis Water Dispenser
Cleaning your Oasis water dispenser requires identifying your model type and protecting the hot tank from chemicals. Using the correct bleach or vinegar ratios and flushing thoroughly ensures safe, great-tasting water for your household.
Stick to a regular cleaning schedule and inspect your unit for visible buildup frequently. Start your next cleaning session today by unplugging your unit and gathering your supplies for a deep sanitization.



