
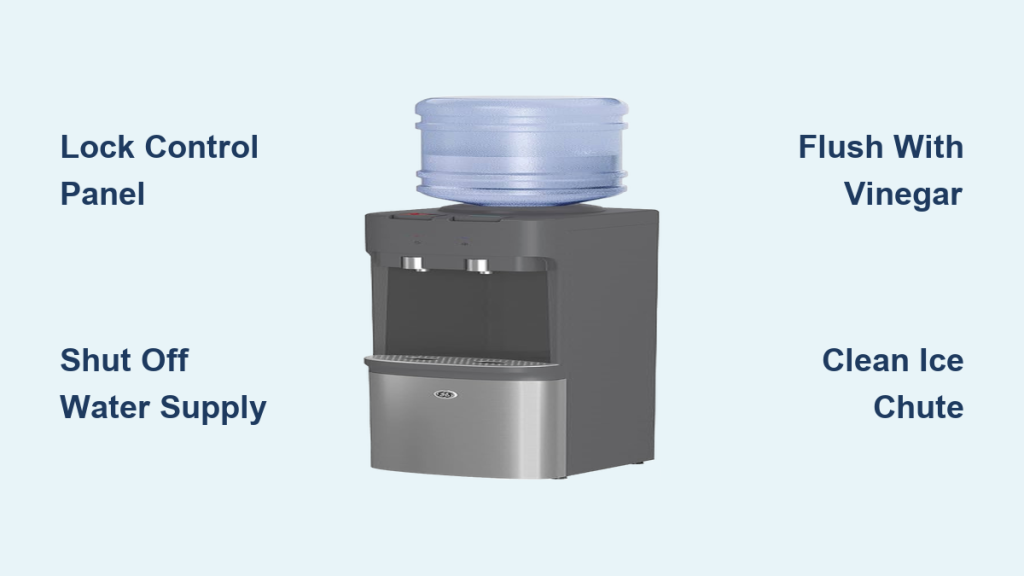
Is your GE water dispenser delivering water with a strange taste or producing ice that smells odd? Mineral deposits and mold often build up inside the lines, spout, and ice chute, causing these common issues. Left unchecked, this buildup restricts flow and damages internal components over time.
This guide explains exactly how to clean GE water dispenser systems using white vinegar and basic household tools. You will learn to safely lock the control panel, flush mineral deposits from water lines, and disinfect hidden areas like the ice chute. Follow these steps to restore fresh taste and optimal performance in under an hour.
Lock Control Panel to Prevent Accidents
Securing the control panel is the critical first step before applying any liquids. Accidental activation during cleaning can cause water spills near electrical components or create a mess while you work.
Activate the Three-Second Lock Feature
Press and hold the “Lock” button on your control panel for exactly three seconds. You will hear a beep and see a steady light or lock icon appear on the display. This confirms the dispensing buttons are disabled and safe for cleaning.
Isolate Water Supply for Safe Cleaning
Shutting off the water supply prevents leaks and allows you to disconnect lines for deep flushing. Skipping this step risks flooding your kitchen or damaging the refrigerator during the process.
Locate and Close the Shutoff Valve
Find the water supply valve behind the refrigerator or under your sink. Turn the valve clockwise until it stops completely to cut off water pressure. Disconnect the water line tube from the back of the unit once the supply is secure.
Prepare Vinegar Solutions for Deep Cleaning
Using the correct cleaning mixtures ensures effective descaling without harming plastic or rubber parts. White vinegar handles minerals while a soap blend tackles grease in the ice maker.
Mix Standard and Deep Clean Formulas
Fill a spray bottle with 100% white vinegar for general descaling and line flushing. For the ice maker, mix 1 cup vinegar, 1 cup water, and 1 teaspoon of Dawn dish soap to cut through organic grime. Use the soap blend only on removable parts, never inside water lines.
Flush Water Lines to Remove Scale
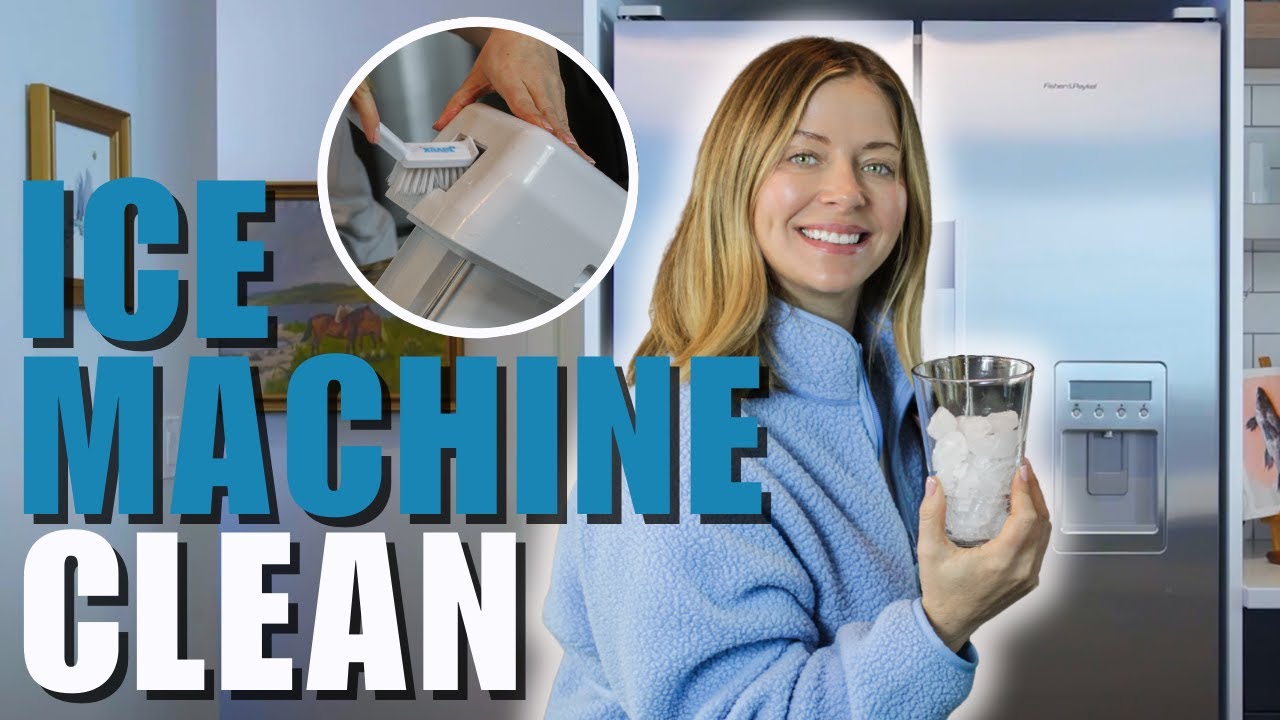
Mineral buildup inside tubing restricts flow and harbors bacteria that affect water taste. Flushing with vinegar dissolves these deposits and sanitizes the entire path from the valve to the spout.
Elevate Cup for Gravity Flow
Place a cup filled with white vinegar higher than the refrigerator water inlet. Insert the disconnected water line into the cup so gravity pulls the liquid through the tube. This method ensures the solution reaches deep into the system without high pressure.
Allow Five-Minute Dwell Time
Let the vinegar flow until you smell it at the dispenser end, confirming full saturation. Stop the flow and let the vinegar sit inside the line for five minutes to break down scale. Rushing this step reduces effectiveness against hard water deposits.
Scrub Water Spout and Interior Cavity
The spout accumulates hard water rings and bacteria from constant contact. Deep cleaning this area prevents clogs and ensures every glass of water tastes fresh.
Use Pipe Cleaners for Tight Openings
Dip a pipe cleaner in white vinegar and gently insert it into the spout opening. Rotate the cleaner to scrub inner walls where mineral rings form. Avoid forcing the tool if you feel resistance to prevent valve damage.
Brush Interior Corners with Toothbrush
Spray white vinegar directly into the dispenser well and let it sit for five minutes. Use a small toothbrush to scrub corners and crevices where debris hides. Finish with cotton swabs dipped in vinegar for precise cleaning of small openings.
Soak Ice Chute to Eliminate Mold
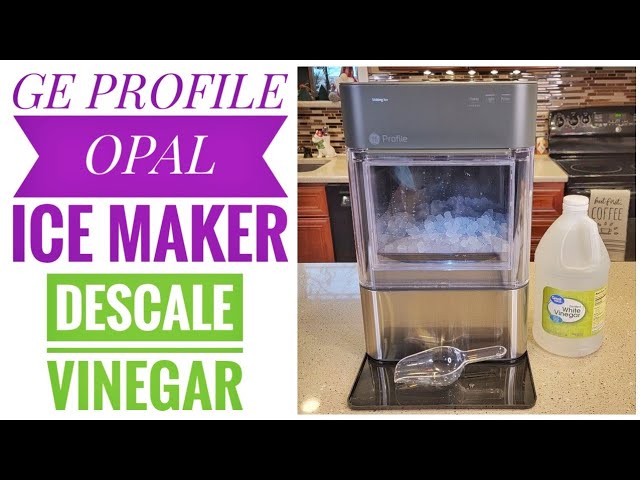
Moisture in the ice chute promotes mold growth and mineral crusts that contaminate ice. A soaked towel delivers prolonged contact to dissolve these issues effectively.
Apply Vinegar-Soaked Towel for Fifteen Minutes
Soak a paper towel completely in white vinegar and press it over the chute opening. Ensure the towel touches all interior surfaces and leave it for 10 to 15 minutes. This extended time allows the acid to penetrate and dissolve mold spores.
Wipe Chute with DIY Cleaning Mix
Remove the towel and wipe the chute interior with a vinegar-dampened cloth. Spray the vinegar-water-soap mixture for a final clean before rinsing with a damp cloth. This removes any remaining residue and leaves the area sanitized.
Remove and Deep Clean Ice Maker Unit
The ice maker collects grime in hidden areas that regular wiping cannot reach. Removing the unit allows full access to undersides and mechanical arms where debris builds up.
Empty Unit and Spray Cleaning Solution
Pull the ice maker out of the freezer and discard all existing ice into the sink. Spray the DIY vinegar-soap solution generously inside, focusing on mechanical arms and undersides. Let the solution sit for one minute before scrubbing with a soft brush.
Dry Unit Completely Before Reinstalling
Rinse the unit with water and dry it thoroughly with a towel. Place it on a drying rack to air dry fully before reinstallation. Residual moisture freezes instantly in the freezer and can jam the mechanism.
Use Two-Towel Method for Drying
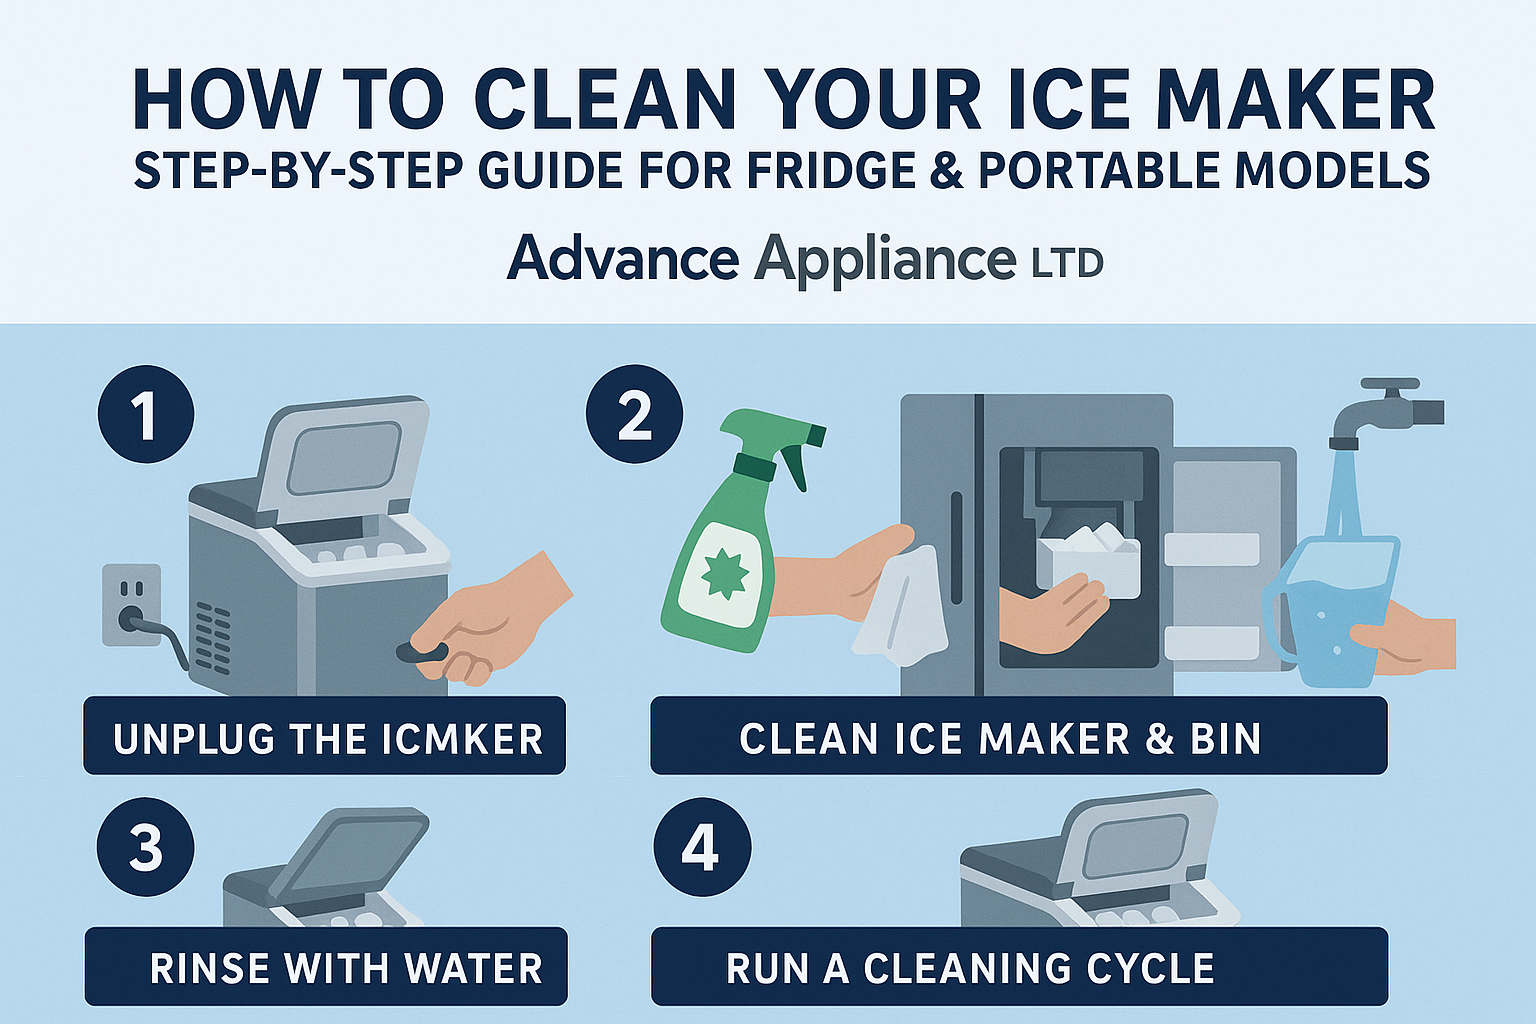
Proper drying prevents water spots, streaks, and bacterial regrowth on cleaned surfaces. This simple technique ensures a spotless finish on all components.
Wipe with Damp Then Dry Microfiber
First, use a slightly damp microfiber towel to wipe all cleaned areas like the spout and chute. Immediately follow with a dry microfiber towel to remove all moisture. This two-step process prevents smears and inhibits new bacterial growth.
Reconnect Lines and Flush System
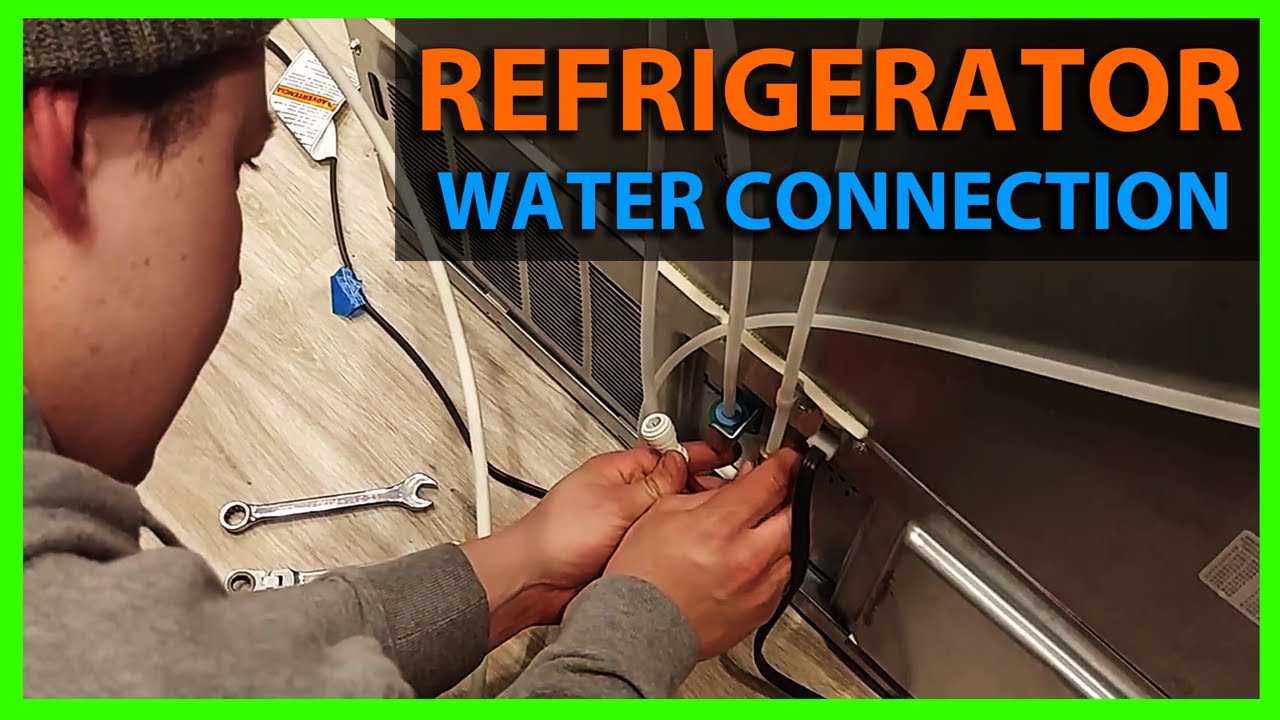
Reassembly requires careful reconnection and extensive flushing to remove vinegar residue. Skipping this step risks acidic damage and unpleasant tasting water.
Reattach Line and Restore Water Pressure
Reconnect the water line to the refrigerator inlet by twisting clockwise to secure it. Turn the shutoff valve counter-clockwise to restore water pressure to the unit. Check connections for leaks before proceeding to the flush cycle.
Dispense Three Gallons of Water
Run clean water through the dispenser for at least three gallons to clear all vinegar. Check that the water has no vinegar odor and appears clear without cloudiness. If taste persists, continue flushing in one-gallon increments until neutral.
Replace Water Filter After Cleaning
Cleaning removes internal scale, but the filter traps remaining impurities for safe drinking. Replacing it after cleaning ensures maximum filtration efficiency.
Install New Filter Post-Flush
Replace the water filter after flushing if your indicator light is on or it has been six months. Insert the new filter into the slot, usually located in the base grille, and push until it clicks. Ensure the area is dry before sliding the ice maker back into place.
Test Dispenser Function and Flow
Verifying system function ensures all components work correctly before normal use resumes. This final check confirms your cleaning efforts were successful.
Unlock Panel and Verify Performance
Hold the “Lock” button for three seconds to unlock the control panel. Dispense water to check flow rate and pressure, then monitor ice production over the next 24 hours. Confirm ice forms without unusual odors or taste issues.
Maintain Schedule Every Six to Twelve Months
Regular cleaning prevents major buildup and extends the life of your appliance. Adhering to a schedule keeps your water tasting fresh year-round.
Watch for Warning Signs of Buildup
Clean immediately if you notice reduced water flow or strange tastes in your water. Visible scale on the spout or ice chute also indicates a need for immediate attention. Early intervention prevents costly repairs and component failure.
Follow Recommended Cleaning Intervals
Perform a full cleaning every 6 to 12 months depending on your water hardness. In areas with very hard water, consider cleaning every six months or repeating the line flush twice. Consistent maintenance ensures optimal performance and hygiene.
Frequently Asked Questions About Cleaning GE Water Dispensers
How often should I clean my GE water dispenser?
You should perform a deep clean every 6 to 12 months depending on your water hardness. Clean immediately if you notice reduced flow, strange tastes, or visible scale buildup.
Can I use bleach instead of vinegar to clean the lines?
No, you should only use white vinegar for cleaning water lines as specified in this guide. Bleach can damage internal components and leave harmful residues in the drinking water system.
Why does my water still taste like vinegar after flushing?
If the taste persists, continue flushing the system in one-gallon increments until neutral. The initial three-gallon flush may not be enough for heavily scaled systems or longer water lines.
Is it safe to clean the ice maker with soap and vinegar?
Yes, a mix of vinegar, water, and mild dish soap is safe for cleaning removable ice maker parts. Never pour this soap mixture into the water lines, only use it on the removable ice unit.
What tools do I need to clean the water spout effectively?
You need pipe cleaners, a small toothbrush, and cotton swabs along with white vinegar. These tools allow you to reach tight corners and scrub away mineral rings effectively.
Key Takeaways for Cleaning Your GE Water Dispenser
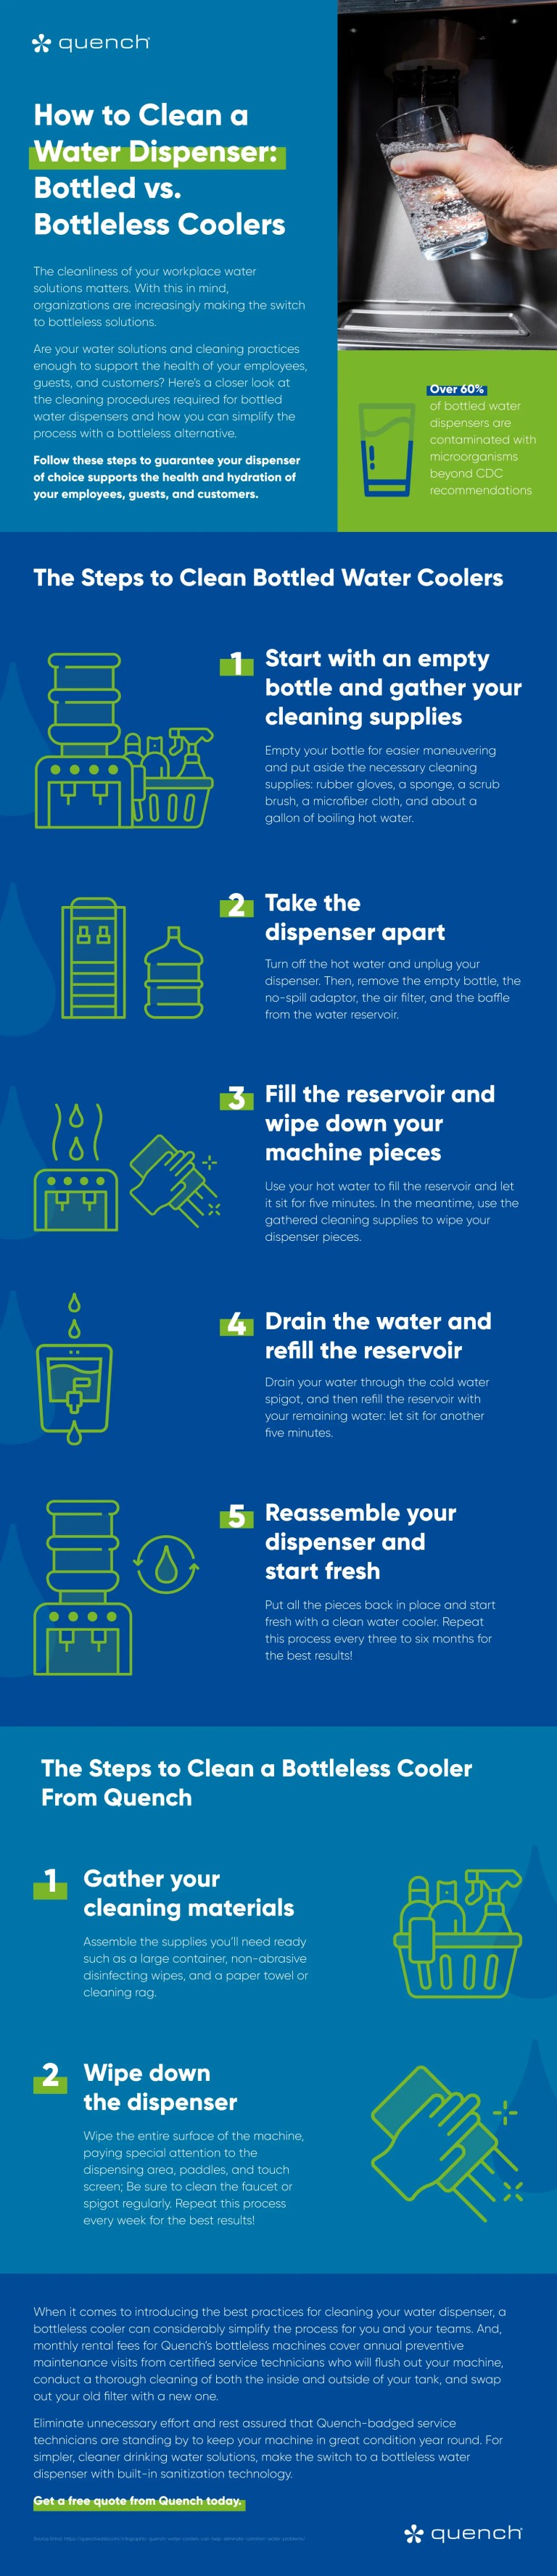
Cleaning your GE water dispenser removes harmful mold and mineral deposits that affect taste and flow. Regular maintenance every six to twelve months prevents costly repairs and ensures safe drinking water. Always flush three gallons of water after cleaning to remove any vinegar residue.
Start your cleaning routine today by gathering white vinegar and basic tools from your kitchen. Follow the step-by-step instructions to lock the panel, flush lines, and disinfect components safely. Your family will enjoy fresher tasting water and ice with every use.



