
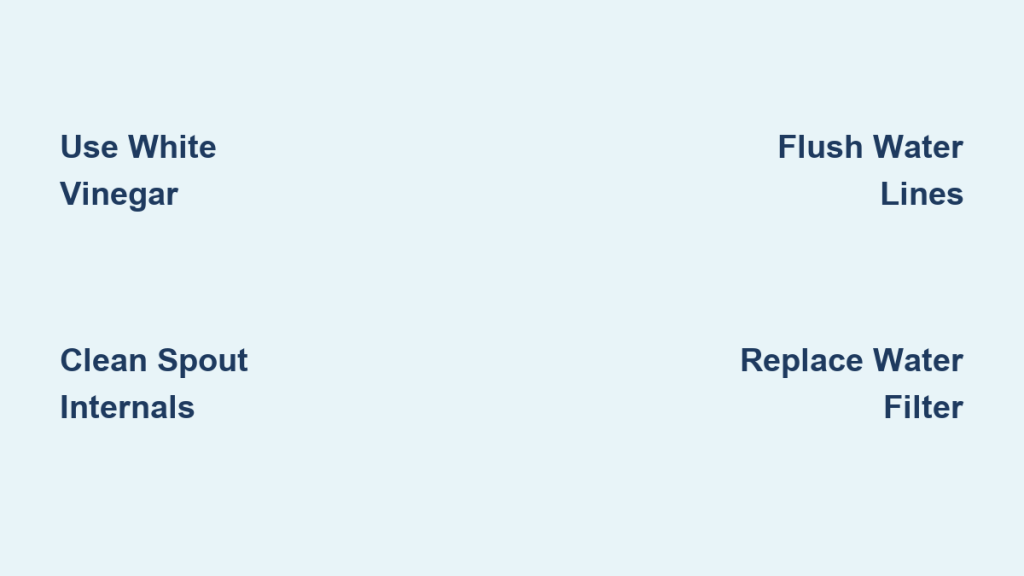
Does your fridge water dispenser taste stale, smell odd, or drip slowly? Mineral deposits and bacteria often build up inside the spout and water lines, compromising quality. Left unchecked, this grime clogs nozzles and reduces ice production significantly.
You can fix this issue in under an hour using white vinegar and basic tools. This guide details exactly how to clean fridge water dispenser components safely without harsh chemicals. You will learn to flush lines, scrub spouts, and restore crisp water flow.
Prepare Your Workspace and Gather Supplies
:max_bytes(150000):strip_icc()/SPR-how-to-clean-fridge-water-dispenser-7556573-tools-a75ddb616ae74cf8a036c76a2c48c3cd.jpg)
Successful cleaning requires specific tools to reach narrow internal tubes effectively. You need white vinegar to dissolve scale and a soft brush for scrubbing textured surfaces. Gather these items before starting to ensure a smooth process.
Essential Tools and Cleaning Agents
- White vinegar (undiluted) for dissolving heavy mineral scale
- Vinegar-water mix (1:1 ratio) for general wiping and soaking
- Mild dish soap to cut through grease and grime buildup
- Straw cleaner brush or pipe cleaner for narrow spout interiors
- Turkey baster or small funnel to inject solution into water lines
- Soft microfiber cloths for safe drying and wiping
- Cotton swabs for cleaning small crevices around levers
- Rubber gloves to protect hands from mold and vinegar
Secure the Area and Shut Off Water
Pull your refrigerator away from the wall to access the back connections easily. Place an old towel on the floor beneath the water line to catch any accidental drips. Turn off the water supply valve located under the sink or behind the unit. Unplug the fridge to ensure total safety during the procedure.
Pro Tip: If you have natural stone countertops, perform all vinegar mixing on a plate or in a dish. Vinegar acid can etch and permanently damage stone surfaces.
Remove and Clean Detachable Components
Start the physical cleaning process by removing parts you can take out of the fridge. This allows for thorough scrubbing and soaking that wiping alone cannot achieve.
Replace the Water Filter
Locate and remove the existing water filter from its housing. Discard this old filter immediately after your deep clean. The old unit likely holds the minerals and bacteria you are flushing out, so a new filter ensures clean water going forward.
Soak and Scrub the Drip Tray
Slide out the drip tray found beneath the dispenser area. Wash it in warm soapy water to remove surface grime. For stubborn white crust, soak the tray in undiluted white vinegar for 15 to 60 minutes. Rinse thoroughly and dry completely before reinstalling.
Sanitize the Ice Maker Unit
Pull out the ice maker unit and discard any old ice cubes. Mix one cup of vinegar, one cup of water, and one teaspoon of dish soap. Spray this solution on the ice mold and tray, letting it sit for ten minutes. Gently scrub with a soft brush, rinse with a damp cloth, and dry immediately to prevent freezing.
Deep Clean the Dispenser Spout and Nozzle
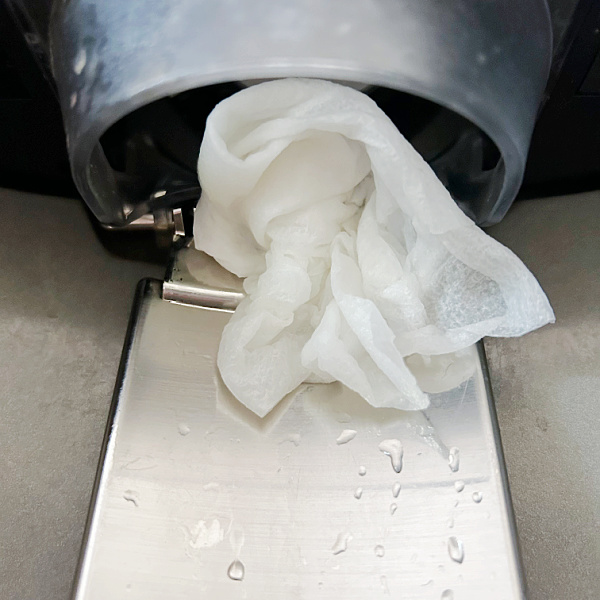
The spout is a primary breeding ground for mold and mineral buildup. A targeted approach ensures you clear both the exterior surface and the internal tube.
Soak the Exterior Nozzle
Soak paper towels in undiluted white vinegar until they are saturated. Wrap these towels tightly around the dispenser spout and the immediate surrounding area. Secure them with a rubber band if needed to keep them in place. Let this sit for 30 to 60 minutes to dissolve hard water deposits.
Scrub the Internal Spout Tube
Remove the soaked towels and dip a pipe cleaner or straw brush in vinegar. Gently insert the brush into the spout opening and move it up and down. This mechanical action dislodges internal buildup that soaking misses. Wipe the area clean with a water-dampened cloth and dry with a microfiber towel.
Expert Note: If your nozzle is stainless steel, avoid aggressive scrubbing with stiff brushes. Use a vinegar-soaked sponge instead to prevent scratching the metal finish.
Sanitize the Ice Chute Thoroughly
The chute directs ice from the maker into your bin and often harbors sticky residue. Cleaning this area prevents ice clumping and mold growth.
Access and Treat the Chute Interior
With the ice maker removed, locate the ice chute inside the freezer compartment. Spray or wipe the interior and exterior surfaces with your 1:1 vinegar-water solution. For stubborn mold, place a vinegar-soaked towel inside the chute for five to ten minutes.
Wipe and Dry Completely
Use a clean cloth dampened with water to remove all cleaning solution and debris. Dry the chute thoroughly with a clean towel before reinstalling the ice maker. Leaving moisture here causes ice to refreeze into blockages quickly.
Flush the Internal Water Lines
Cleaning the visible parts is only half the battle. You must also flush the internal tubing to remove scale and bacteria hiding deep inside.
Choose Your Flushing Method
You can use gravity or direct injection to clean the lines effectively. Both methods introduce vinegar directly into the system to break down internal scale.
Gravity Flow Technique
Place a cup of undiluted vinegar higher than the water line inlet behind the fridge. Insert the disconnected water line tube into the cup. Have someone press the dispenser lever until you smell vinegar at the spout. Let the vinegar sit in the lines for 5 to 10 minutes.
Direct Injection Technique
Use a turkey baster or funnel to push vinegar-water solution directly into the open water line tube. Allow the solution to sit inside the tube for up to ten minutes. This works well when gravity flow is difficult to set up.
Reassemble and Flush the System
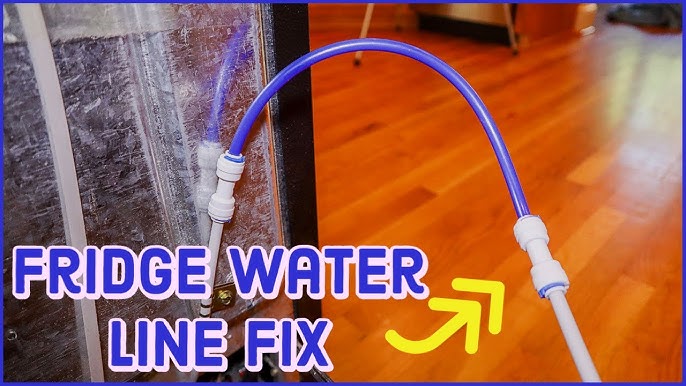
Once the cleaning agents have done their work, you must reassemble the unit and flush out all residue. This step is critical for water safety.
Reconnect Components and Install Filter
Reattach the water line to the supply source and tighten it by hand until snug. Turn the water supply valve back on. Insert your new water filter into the housing and lock it into place. Slide the drip tray and ice maker back into their positions.
Run Water to Clear Residue
Run three to five gallons of clean water through the dispenser. Collect this water in a large pitcher or container to avoid mess. Check for bubbles, which are normal after air enters the line. Continue flushing until no vinegar smell or taste remains in the water.
Prevent Future Buildup and Issues
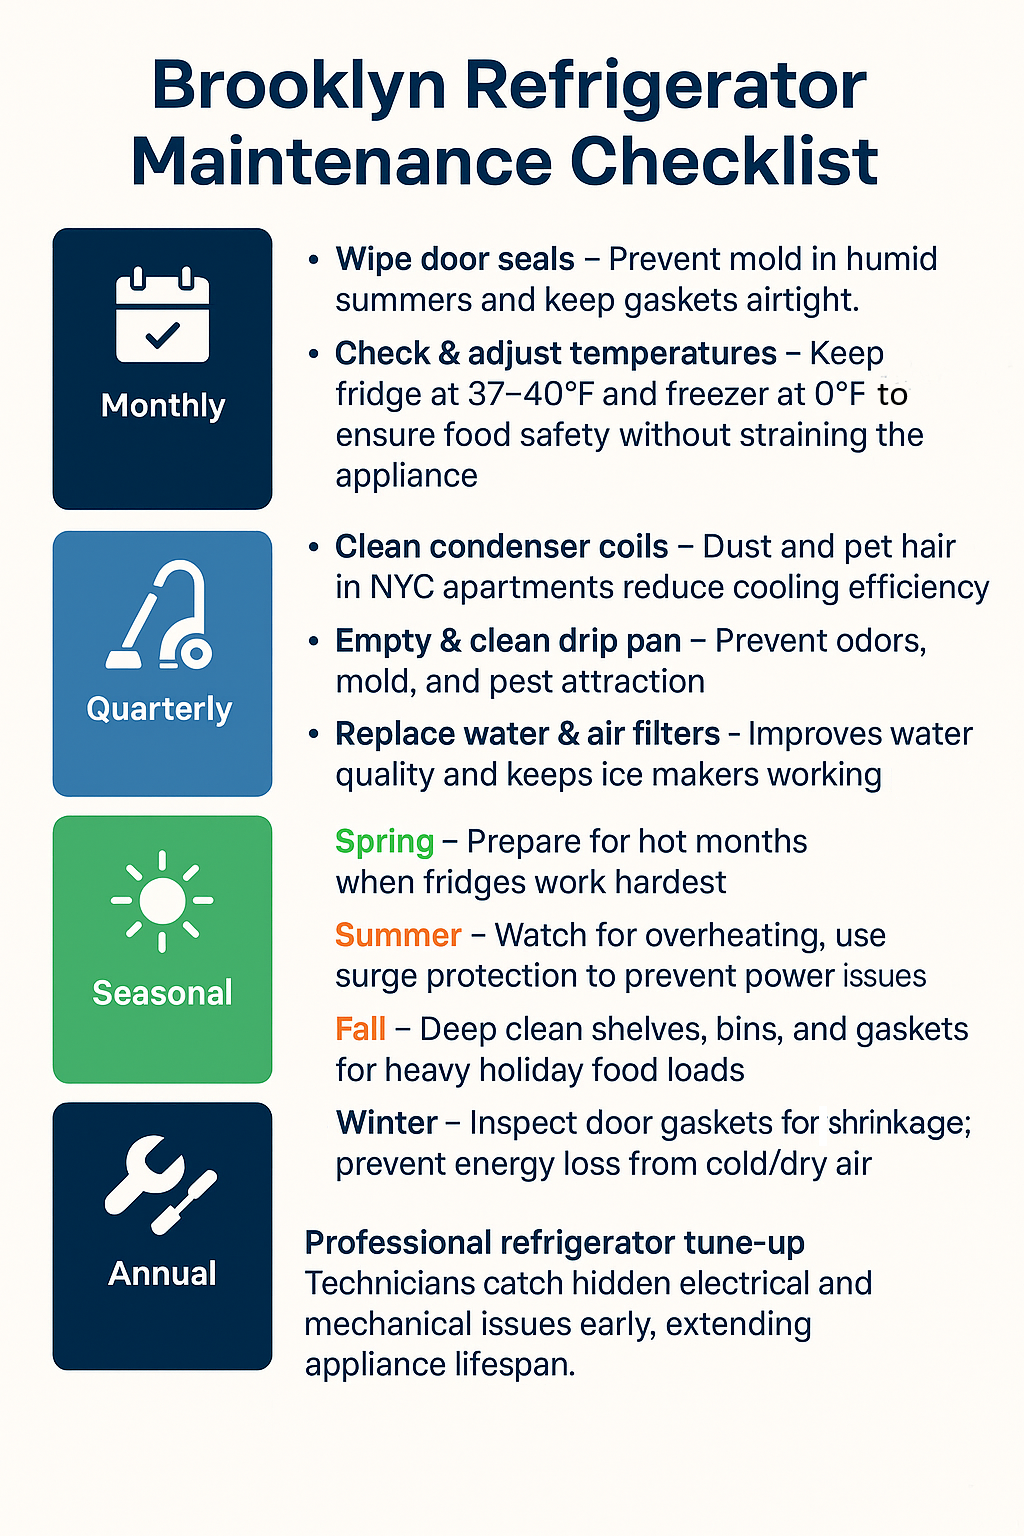
Consistent maintenance keeps your water tasting fresh and your dispenser running smoothly. Simple habits reduce the need for intense deep cleaning sessions.
Establish a Cleaning Schedule
Wipe the spout and tray weekly with a vinegar-dampened cloth. Perform a full deep clean every three to six months. If you live in a hard water area, increase this frequency to every one to three months.
Maintain Filters and Handle Inactivity
Change your water filter every six months or when the alert light activates. If you go on vacation, flush several glasses of water upon your return. Stagnant water in unused lines can harbor bacteria even in cold temperatures.
Troubleshoot Common Cleaning Problems
Sometimes issues persist even after a thorough cleaning session. Use these tips to diagnose and fix lingering problems quickly.
Persistent Vinegar Smell or Taste
If the water still smells like vinegar, continue flushing the system. You may need to run up to five gallons total to clear all residue. Ensure your new filter is seated correctly and was flushed properly.
Slow Water Flow After Cleaning
Slow flow usually indicates a clogged filter or remaining blockage. Replace the water filter first as this is the most common cause. If flow does not improve, repeat the descaling process for the water lines.
Leaks After Reassembly
Leaking often results from a loose water line connection or misaligned drip tray. Turn off the water supply and disconnect the line. Reattach the line securely and ensure the drip tray clicks fully into place.
Frequently Asked Questions About Cleaning Fridge Water Dispensers
How often should I deep clean my fridge water dispenser?
You should perform a deep clean every 3 to 6 months to remove mineral buildup and bacteria. If you have hard water or notice taste changes, clean it every 1 to 3 months.
Can I use bleach to clean my water dispenser?
No, never use bleach or harsh chemicals. These leave dangerous residues that contaminate drinking water and can damage internal plastic components.
Why does my water still taste bad after cleaning?
A bad taste often means the water filter is old or bacterial growth remains in hidden areas. Replace the filter immediately and repeat the deep clean process.
What tool cleans inside the narrow spout best?
A straw cleaner brush or pipe cleaner works best for narrow spouts. These tools reach inside to mechanically dislodge buildup that soaking cannot remove.
Is it normal for water to bubble after flushing?
Yes, air bubbles are normal after flushing the lines or replacing a filter. Run the dispenser for a few minutes until the stream becomes steady and clear.
Key Takeaways for How to Clean Fridge Water Dispenser
Regularly cleaning your fridge water dispenser ensures safe, great-tasting water and prevents mechanical failures. By using white vinegar and simple tools, you can remove harmful buildup without expensive chemicals. Remember to replace your filter after every deep clean and flush the system thoroughly.
Start your next maintenance session by gathering your supplies and shutting off the water. Follow these steps every few months to keep your appliance running efficiently for years.



