
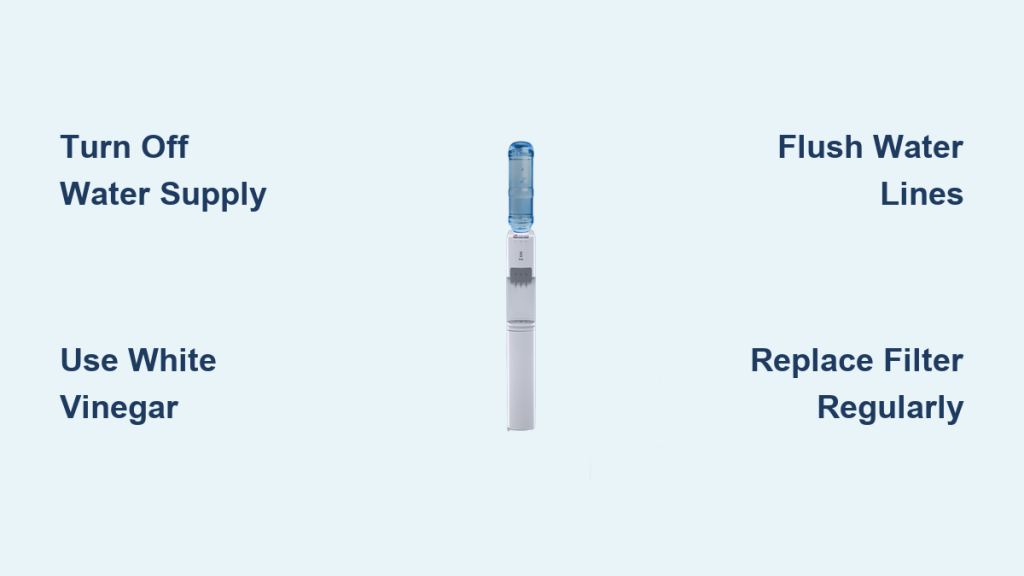
Does your Electrolux refrigerator deliver cloudy water or a strange taste instead of crisp refreshment? Mineral buildup and bacteria often clog the nozzle and lines, making it vital to learn how to clean Electrolux water dispenser components properly.
This guide details the exact steps to sanitize your system using household vinegar and simple tools. You will discover how to restore full water flow and ensure your family drinks safe, great-tasting water again.
Essential Safety Steps Before Cleaning Your Dispenser
Safety comes first when working with water and electricity near your refrigerator. Proper preparation prevents accidental leaks or electrical shocks during the cleaning process.
Turn Off Water and Power Sources
Locate the water shut-off valve behind the fridge or under your sink. Turn it clockwise to stop the flow completely before touching any lines. Unplug the refrigerator from the wall outlet to ensure total electrical safety while you work.
Empty Remaining Water from System
Press the water lever repeatedly until no more liquid flows out. This step removes old water that could mix with your cleaning agents later. It also reduces the risk of spills inside your kitchen or on the floor.
Required Tools and Safe Cleaning Agents
Using the right materials protects your appliance plastics and seals from damage. Harsh chemicals can degrade parts, so stick to gentle, effective solutions.
Gather These Household Items
- White vinegar for descaling and disinfecting
- Soft microfiber cloths for wiping surfaces
- Cotton swabs or pipe cleaners for tight spots
- Mild dish soap mixed with warm water
- Clean towels or a drip tray for catching water
Avoid using bleach, ammonia, or abrasive scrubbers on your dispenser. These substances can leave harmful residues or crack sensitive plastic components.
Step-by-Step Guide to Clean Dispenser Nozzle
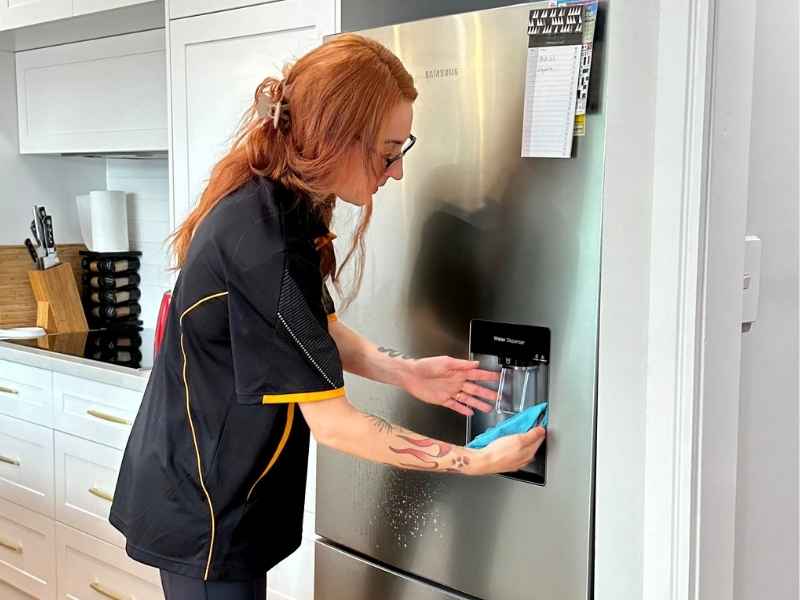
The nozzle is the most common spot for mold and mineral crust to form. A thorough cleaning here often solves flow issues immediately.
Remove and Inspect the Nozzle Cover
Gently pry off the nozzle cover using your fingernail or a flat plastic tool. Check your specific model manual to see if the entire nozzle assembly removes easily. Look closely for white crust, green slime, or visible debris blocking the opening.
Soak and Scrub Away Buildup
Soak removable parts in warm soapy water for ten minutes to loosen grime. For tough scale, submerge them in a mix of equal parts white vinegar and water. Use a cotton swab to scrub inside the housing and rinse thoroughly before reattaching.
Flush Water Lines to Remove Bacteria and Scale
Internal tubing harbors bacteria even if the outside looks spotless. Flushing the system ensures clean water travels from the source to your glass.
Sanitize Lines With White Vinegar
Reconnect power but keep the water supply turned off for this step. Pour one to two cups of white vinegar into the system via the reservoir or dispenser lever. Run the dispenser until vinegar flows freely into a cup to fill the internal lines.
Let the vinegar sit inside the tubes for ten minutes to kill bacteria effectively. This dwell time allows the acid to dissolve hidden mineral deposits within the tubing.
Rinse System With Fresh Water
Turn the main water supply back on immediately after the soaking period. Run at least four to six full pitchers of fresh water through the dispenser. Discard the first two batches to ensure no vinegar taste remains in your drinking water.
Wipe Exterior Surfaces and Drip Tray
Germs spread quickly from hands and cups to the outside of your machine. Regular wiping keeps the area hygienic and prevents cross-contamination.
Daily Wipe-Down Routine for Hygiene
Dampen a microfiber cloth with mild soapy water or a vinegar solution. Wipe the drip tray, the lever, and the surrounding recess daily to remove spills. Dry the area immediately to prevent water spots or corrosion on the finish.
Deep Clean Drip Tray Weekly
Remove the drip tray completely if your model allows it for washing. Wash it with warm soapy water and check corners for hidden mold growth. Dry the tray completely before sliding it back into the refrigerator.
Prevent Future Buildup With Regular Maintenance
Consistent care stops major clogs and taste issues before they start. A small effort every few months saves you from big problems later.
Replace Water Filter on Schedule
Most Electrolux models need a new filter every six months or 200 gallons. A clogged filter reduces flow speed and allows more minerals to pass through. Check your display light or note the installation date on the fridge door to track this.
Descale Every Three to Six Months
Repeat the vinegar flushing process every few months regardless of water hardness. This routine prevents mineral accumulation that leads to slow dispensing. Set a calendar reminder to stay consistent with this important maintenance task.
Troubleshoot Common Issues After Cleaning

Some problems may persist even after a thorough cleaning session. These quick fixes address the most frequent post-cleaning concerns.
No Water Flow After Cleaning
Check that the water supply valve is fully open and the filter is seated correctly. An airlock in the line can also stop flow, so tap the dispenser lever repeatedly to release it. Wait up to twelve hours if you just replaced the filter for air pockets to clear.
Slow Water Flow or Bad Taste
A kinked water line behind the fridge often causes slow flow issues. If the taste is still off, flush the system again and check the filter expiration date. Remember to clean your ice maker too since contamination often overlaps between systems.
When to Call Electrolux Support Technician
Certain mechanical or electrical failures require professional diagnosis and repair. Do not attempt to fix internal valves or circuit boards yourself.
Internal Valve or Electrical Failure
Contact a professional if no water dispenses despite correct setup and open valves. Error codes like “H2O” or “Filter” appearing after cleaning suggest sensor issues. These problems indicate a need for expert technical assistance.
Contact Electrolux Support Team
Call 13 13 49 for reliable service from qualified technicians. Support is available Monday to Friday from 8am to 7pm AEST. Weekend hours are Saturday 9am to 2pm and Sunday 10am to 2pm.
Frequently Asked Questions About Cleaning Electrolux Water Dispenser
How often should I clean my Electrolux water dispenser?
You should clean the nozzle weekly and flush the lines with vinegar every three to six months. This frequency prevents mineral buildup and keeps the water tasting fresh year-round.
Can I use bleach to clean the water dispenser?
No, never use bleach as it can damage plastic seals and leave harmful residues. Stick to white vinegar and mild soap for safe and effective cleaning results.
Why does my water taste weird after cleaning?
This usually means you did not rinse the system enough after using vinegar. Run several more pitchers of water through the dispenser until the taste returns to normal.
What causes slow water flow in my dispenser?
Slow flow is often caused by a clogged filter, kinked water line, or mineral deposits in the nozzle. Replacing the filter and flushing the lines usually resolves this issue quickly.
Do I need to turn off the fridge to clean the dispenser?
Yes, unplugging the fridge is a critical safety step before cleaning any components. It prevents electrical shocks while you work near water lines and internal parts.
Key Takeaways for How to Clean Electrolux Water Dispenser
Mastering how to clean Electrolux water dispenser units ensures your family enjoys safe and great-tasting water daily. Regular nozzle scrubbing, periodic vinegar flushing, and timely filter replacements are the three pillars of maintenance.
Start your cleaning routine today to prevent costly repairs and health risks. Your refrigerator will perform better and last longer with just thirty minutes of care every few months.



