
Does your Brita water dispenser look cloudy, smell musty, or leak unexpectedly? Mineral deposits and bacteria often build up inside the reservoir even when you change filters regularly. Ignoring these signs can compromise your water quality and damage the unit over time.
This guide explains exactly how to clean a Brita water dispenser using safe, proven methods. You will learn deep-cleaning techniques for UltraMax models, proper filter maintenance schedules, and how to prevent common issues like mold growth or spigot leaks.
Determine When Your Brita Needs Cleaning
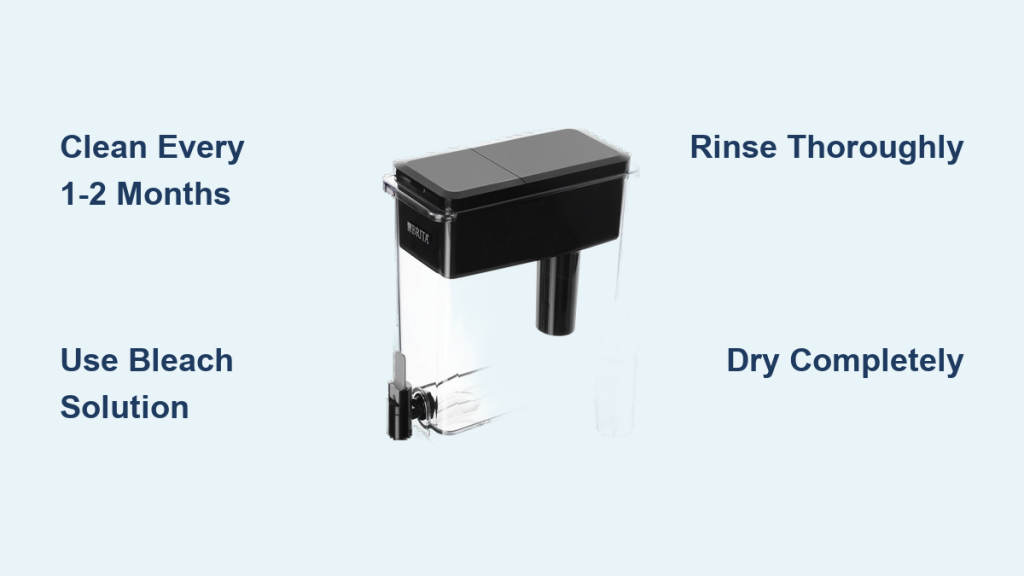
Brita recommends performing a full clean every one to two months to maintain hygiene. You should clean your unit immediately if you notice cloudiness, strange odors, or slower filtration speeds.
Signs Your Dispenser Requires Immediate Attention
Visible residue or smells indicate it is time for a deep clean. Stagnant water creates an ideal environment for bacterial growth and mold.
* Cloudy appearance in the stored water
* Musty or off-putting odors from the spigot
* Visible slime or mineral deposits on the rim
Why Regular Cleaning Matters
Your filter removes contaminants like chlorine and lead, but it does not clean the plastic reservoir itself. Without manual cleaning, biofilm can form on interior surfaces. This buildup affects taste and may shorten the lifespan of your dispenser.
Gather Required Cleaning Supplies
You need specific tools to clean your Brita water dispenser effectively without causing damage. Using the wrong materials can scratch the plastic or leave harmful residues.
Safe Cleaning Agents
Stick to mild solutions that sanitize without corroding the BPA-free plastic.
* Mild dish soap or detergent
* Warm water for rinsing
* Soft cloth or non-abrasive sponge
* Bottle brush for spigot access
Solutions for Deep Sanitization
For units with visible mold or strong odors, a bleach solution is necessary. Mix one teaspoon of unscented household bleach per quart of water. Never use abrasive scouring pads, harsh chemicals, or place any part of the dispenser in a dishwasher.
Execute the Standard Cleaning Process
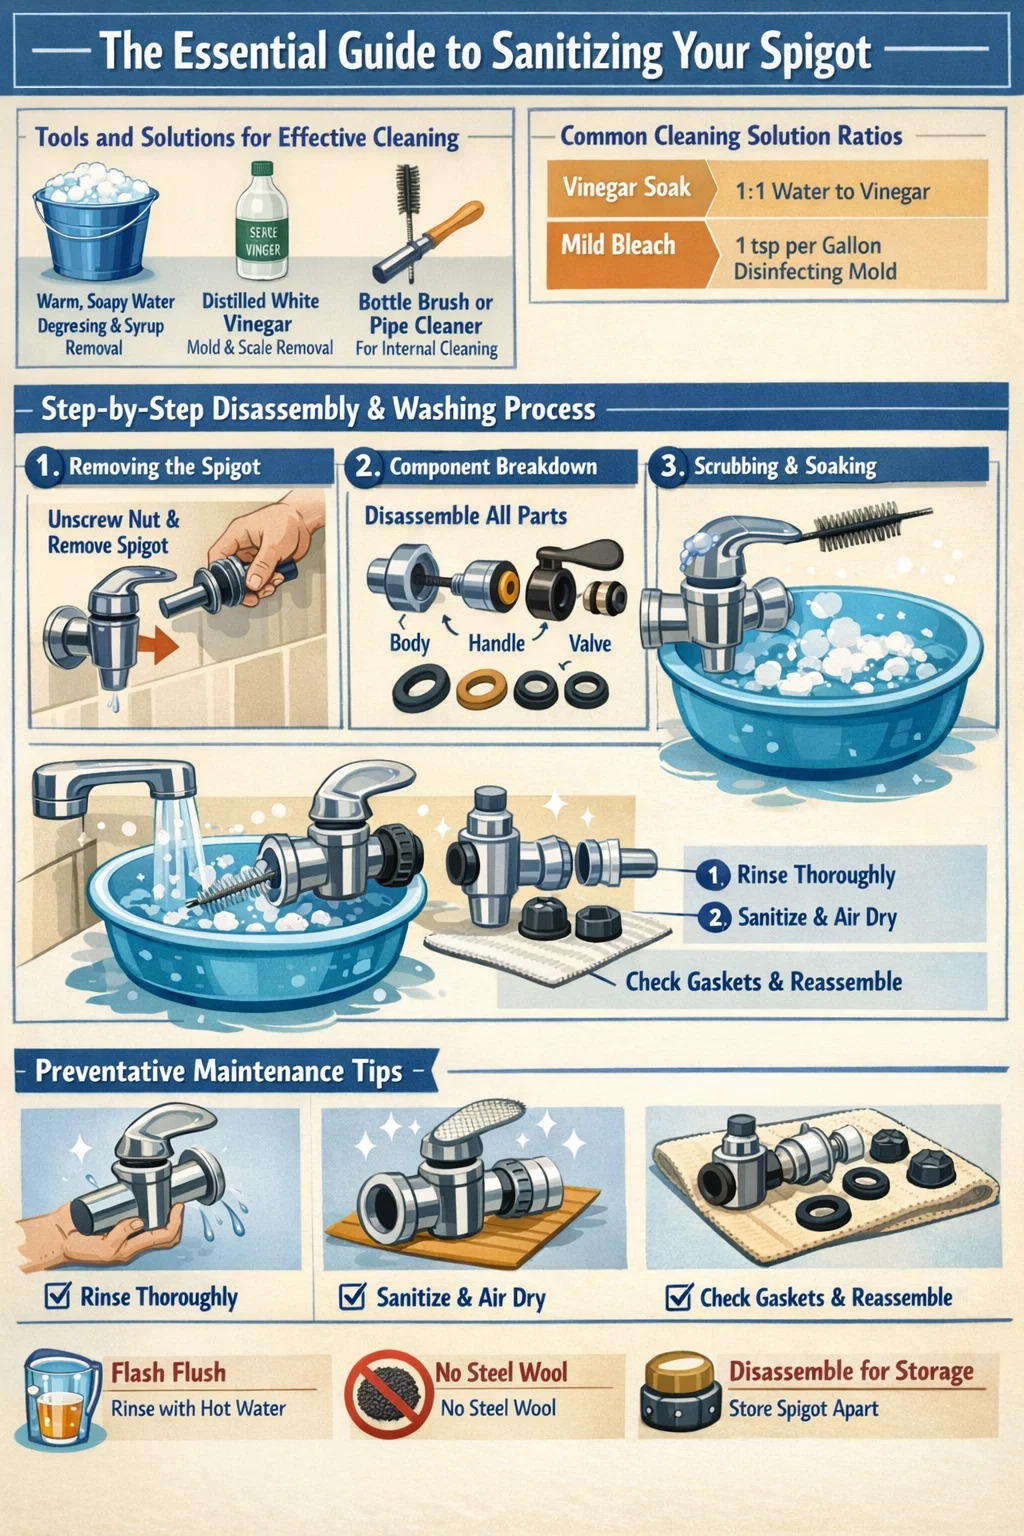
Follow these steps to clean standard Brita dispensers safely. This process removes surface grime and ensures your next batch of water tastes fresh.
Remove Filter and Disassemble Unit
Start by washing your hands thoroughly to avoid transferring bacteria to the clean unit. Pop off the top lid and remove the filter from the reservoir.
* Place the filter on a clean surface if reusing it immediately.
* Replace the filter if it has reached its capacity limit.
* Set the lid aside on a clean towel.
Important: Never attempt to wash or reuse the filter itself. The filtration media is not designed for cleaning and will fail if wetted prematurely or scrubbed.
Wash Interior and Exterior Surfaces
Use a soft cloth dampened with soapy water to wipe the inside rim and corners. These areas often harbor mold due to humidity. Hand-wash the reservoir and lid gently, then rinse them thoroughly with clean water.
Scrub the Spigot Area
The spigot opening is a common spot for biofilm buildup. Use a small bottle brush or a corner of your sponge to scrub inside the spigot mechanism. This prevents clogs and ensures smooth water flow.
Perform Deep Cleaning on UltraMax Models
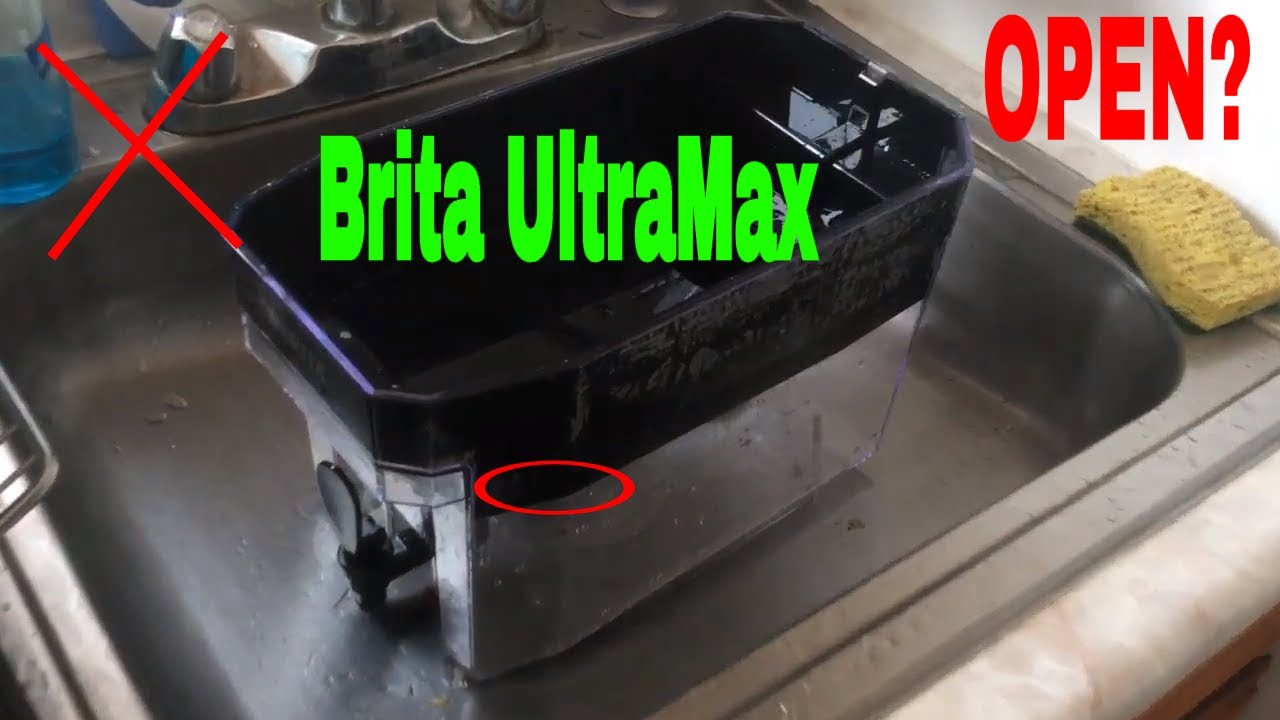
Brita UltraMax dispensers feature a sealed filter housing that traps dirt in hard-to-reach places. You must remove this housing to clean the interior cavity properly.
Fill the Filter Chamber with Water
Remove the lid and wipe any accessible dirt from the top section. Pour clean water directly into the filter chamber until it is full. Do not overfill the main reservoir, just fill the chamber where the filter sits.
Invert Unit to Release Housing
Carefully flip the entire dispenser upside down over a sink or large towel. The water pressure inside the chamber will push the filter housing outward.
* Hold the unit firmly but gently.
* Wait for the housing to pop out completely.
* Catch the housing as it releases to prevent dropping it.
Sanitize and Reinstall Components
Wipe the exposed interior cavity with a sponge soaked in your bleach solution. Rinse the area thoroughly with clean water until no soap or bleach scent remains. Allow all parts to air dry completely before reassembly. Align the housing back into place and press firmly until you hear a click.
Maintain Filters for Optimal Performance
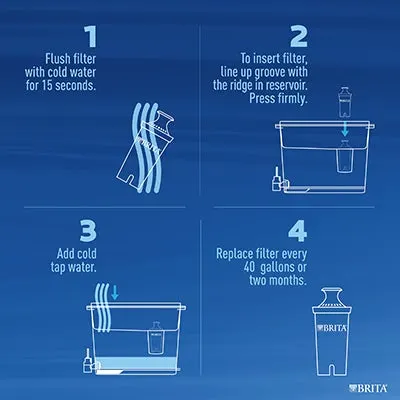
Cleaning the dispenser is only half the equation. Proper filter maintenance ensures your water remains free of contaminants and tastes great.
Replace Filters According to Schedule
Different filters have different lifespans based on gallon capacity and time.
* Original (White): 40 gallons or ~2 months
* Elite™ (Blue): 120 gallons or ~6 months
* Stream® (Gray): 40 gallons or ~2 months
Households with hard water should replace filters more frequently than the standard recommendation.
Prepare New Filters Correctly
Older white filters benefit from a 15-minute soak in water before installation to reduce carbon dust. Newer protocols often state soaking is unnecessary, but rinsing under cold water for 15 seconds is always recommended.
* Discard the first full reservoir of water after installing a new filter.
* Use this initial water for plants to avoid wasting it.
Reset Your Filter Indicator
Electronic indicators need manual resetting after a filter change.
* Standard Electronic: Press and hold the button for 3–5 seconds.
* SmartLight™ (Stream): Open the spigot and press the button three times.
* Sticker Indicators: Align the left edge with the current month. For six-month Elite filters on older stickers, stretch the label diagonally to cover the correct timeframe.
Prevent Leaks and Common Issues
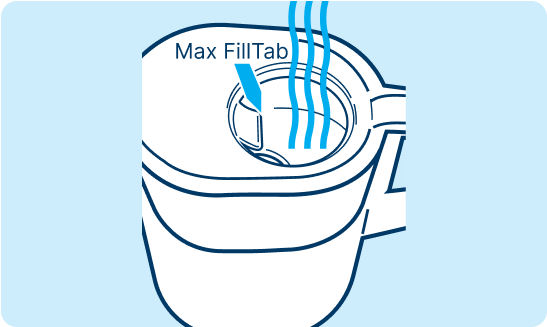
Most leaks and performance issues stem from user error rather than product defects. Understanding these pitfalls helps you avoid frustration.
Avoid Overfilling the Reservoir
Always fill water below the “MAX FILL” line marked on the side. Pouring above this line causes water to spill into the handle mechanism. This leads to leaks, mold growth in hidden areas, and premature filter wear.
Address Black Specks in Water
Seeing small black particles in your water can be alarming, but it is often normal. These are carbon fines from the filter media.
* Rinse new filters thoroughly before use.
* Discard the first few reservoirs if specks persist.
* Rest assured these particles are harmless if ingested in small amounts.
Fix Spigot Dripping
A dripping spigot usually indicates an air bubble or debris blockage. Ensure the filter is seated tightly with no gaps. Clean the spigot opening with a bottle brush to remove any mineral deposits blocking the seal.
Store Your Dispenser Properly During Absence
Proper storage prevents bacterial growth when you leave your home for an extended period.
Vacation Preparation Steps
Empty all water from the reservoir before leaving. Remove the filter and store it sealed in the refrigerator for up to one week. Leave the dispenser disassembled and open to air dry completely.
Reactivating After Long Breaks
If the unit has been unused for over two weeks, soak the filter in water for 15 minutes before reinstalling. Flush the system with two to three full reservoirs of water before drinking to ensure freshness.
Frequently Asked Questions About Cleaning Brita Dispensers
Can I put my Brita dispenser in the dishwasher?
No, you must never put Brita dispensers in the dishwasher. The heat and harsh detergents can warp the BPA-free plastic and damage the structural integrity of the unit.
How often should I deep clean my water dispenser?
You should perform a deep clean every one to two months. If you notice odors, cloudiness, or live in a humid climate, clean it immediately regardless of the schedule.
What solution kills mold inside the Brita reservoir?
Mix one teaspoon of unscented household bleach with one quart of water. Swish this solution inside the reservoir, let it sit for five minutes, then rinse thoroughly.
Why does my Brita water taste funny after cleaning?
If water tastes like soap or bleach, you likely did not rinse the unit enough. Rinse the reservoir multiple times with clean water until no scent remains before refilling for drinking.
Do I need to replace the filter when I clean the dispenser?
Not necessarily, unless the filter has reached its 40 or 120-gallon limit. However, if your filter is near the end of its two or six-month lifespan, cleaning is a good time to replace it.
Key Takeaways for Cleaning Your Brita Water Dispenser
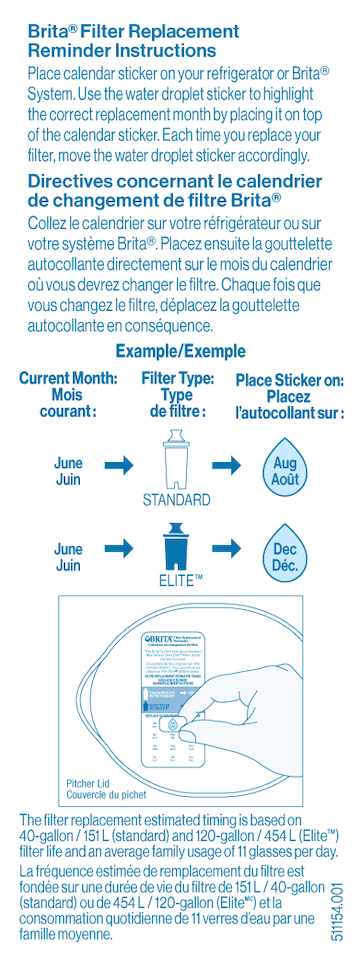
Regular maintenance keeps your water tasting fresh and your dispenser functioning safely. Remember to clean the unit every one to two months using mild soap and a bleach solution for deep sanitization. Always dry components completely before reassembly to prevent mold growth.
Take action today by checking your dispenser for signs of buildup. Follow these steps to how to clean a Brita water dispenser effectively, and enjoy clean, great-tasting water for years to come.



