
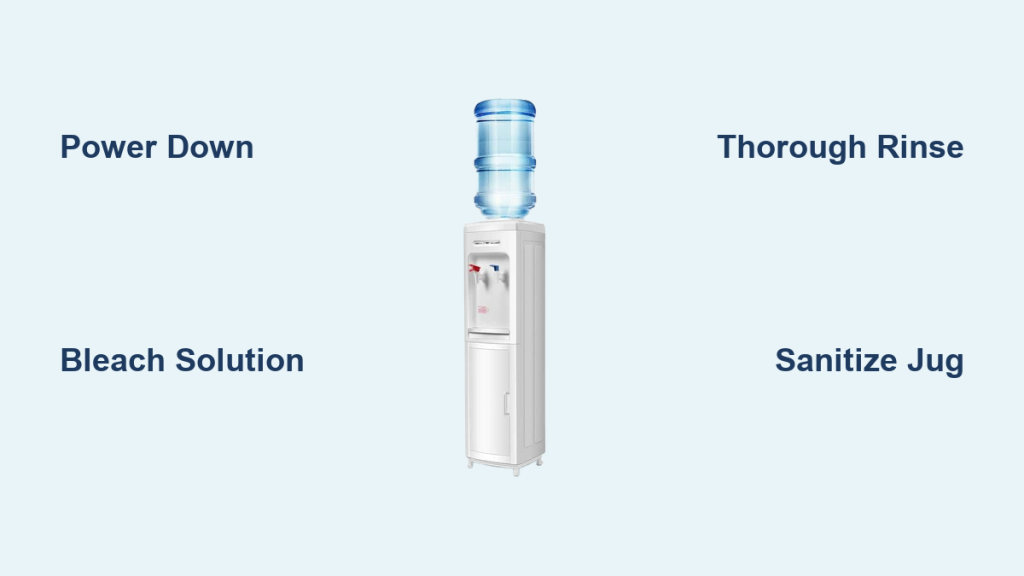
Does your drinking water taste strange or smell musty despite fresh refills? A dirty 5 gallon water dispenser often harbors hidden bacteria, mold, and mineral scale that ruin water quality.
This guide details exactly how to clean 5 gallon water dispenser units and jugs using safe household items. You will learn specific mixing ratios, step-by-step sanitizing methods, and how to prevent future contamination effectively.
Determine When Your Dispenser Needs Cleaning
Most manufacturers suggest a standard cleaning interval, but your specific usage habits often dictate a different schedule. Ignoring signs of contamination can lead to health risks and unpleasant tasting water for your whole household.
Follow Usage-Based Schedules
Adjust your cleaning frequency based on how often the unit sees action:
* Standard Household Use: Clean every 1 to 3 months.
* High-Traffic Areas: Clean monthly if multiple people use it daily.
* Idle Units: Sanitize immediately before reuse if unused for over a week.
* Well Water Sources: Clean every 4–6 weeks due to higher bacterial risks.
Recognize Immediate Warning Signs
Do not wait for your scheduled date if you notice these red flags:
* Cloudy or discolored water appearance
* Musty, earthy, or plastic-like odors
* Slimy residue forming around spigots
* Visible green or black mold inside the reservoir
* Sudden change in water taste profile
Gather Essential Cleaning Supplies
You need specific tools and agents to sanitize effectively without damaging the plastic components. Using the wrong chemicals can leave toxic residues or scratch the interior surfaces.
Select Your Primary Cleaning Agent
Choose one main agent based on your specific cleaning goal:
* Distilled White Vinegar: Best for dissolving mineral scale and light sanitizing.
* Unscented Household Bleach: Most effective for killing bacteria and mold (CDC recommended).
* Hydrogen Peroxide: A natural alternative for sanitizing without chlorine smell.
* Baking Soda: Useful as a mild abrasive for scrubbing and deodorizing.
Prepare Your Cleaning Tools
Collect these items before starting the process:
* Empty 5-gallon bottle for mixing solutions
* Soft sponge or non-abrasive cloth
* Microfiber towel for lint-free drying
* Small soft-bristled toothbrush for crevices
* Drain plug wrench (if your model has a back drain)
* Spray bottle for exterior disinfecting
* Paper towels for wiping surfaces
Prepare the Unit for Safe Cleaning
Safety is your top priority before introducing any cleaning solutions to the system. Skipping preparation steps can lead to electrical hazards or incomplete cleaning results.
Power Down and Disconnect
Follow these steps to ensure electrical safety:
1. Switch off both hot and cold functions on the control panel.
2. Unplug the unit from the wall outlet immediately.
3. Turn off the water supply line if connected to a direct source.
Drain Remaining Water Completely
Remove all existing water to prevent diluting your cleaning solution:
* Lift off the 5-gallon bottle for top-load models or disconnect the line for bottom-loaders.
* Open both hot and cold taps to let gravity drain the reservoirs.
* Remove the back drain plug if available to empty internal tanks fully.
* Wipe away excess moisture with a clean cloth before proceeding.
Mix the Correct Cleaning Solution

Proper ratios are critical for killing bacteria without leaving harmful residues behind. Using too little agent renders the process ineffective while too much requires excessive rinsing.
Create a Vinegar Solution for Scale
Use this mixture for routine maintenance and hard water areas:
* Mix 2 cups distilled white vinegar with hot tap water in a clean bottle.
* Heat boosts the cleaning power of vinegar significantly.
* Turn on the hot switch during circulation to maintain temperature.
Create a Bleach Solution for Sanitizing
Use this mixture for deep disinfection or mold issues:
* Mix 1 teaspoon unscented bleach per gallon of water.
* For a full 5-gallon volume, use approximately 1 2/3 teaspoons total.
* This ratio follows CDC guidelines for disinfecting water containers safely.
Sanitize the Interior Reservoir Thoroughly
This step eliminates the biofilm and bacteria hiding inside the internal tanks and tubes. Proper circulation ensures the solution reaches every corner of the system.
Circulate Solution Through the System
- Pour your prepared solution into the reservoir or load the mixed bottle onto the unit.
- Plug in the unit and turn the power back on temporarily.
- Turn ON the hot water switch to heat the solution for better disinfection.
- Let the solution fill the tanks and soak for 10–30 minutes:
- 10 minutes: Sufficient for light vinegar cleaning.
- 15–30 minutes: Necessary for heavy bleach sanitizing or thick scale.
Scrub Hard-to-Reach Areas Manually
Chemical soaking alone cannot remove thick biofilm in tight spots:
* Drain the solution through the taps into a bucket or sink.
* Use a toothbrush to scrub inside corners of the reservoir.
* Focus on spigot openings and valve crevices where slime collects.
* Wipe interior walls gently with a soft cloth or sponge.
Disinfect the 5-Gallon Water Jug
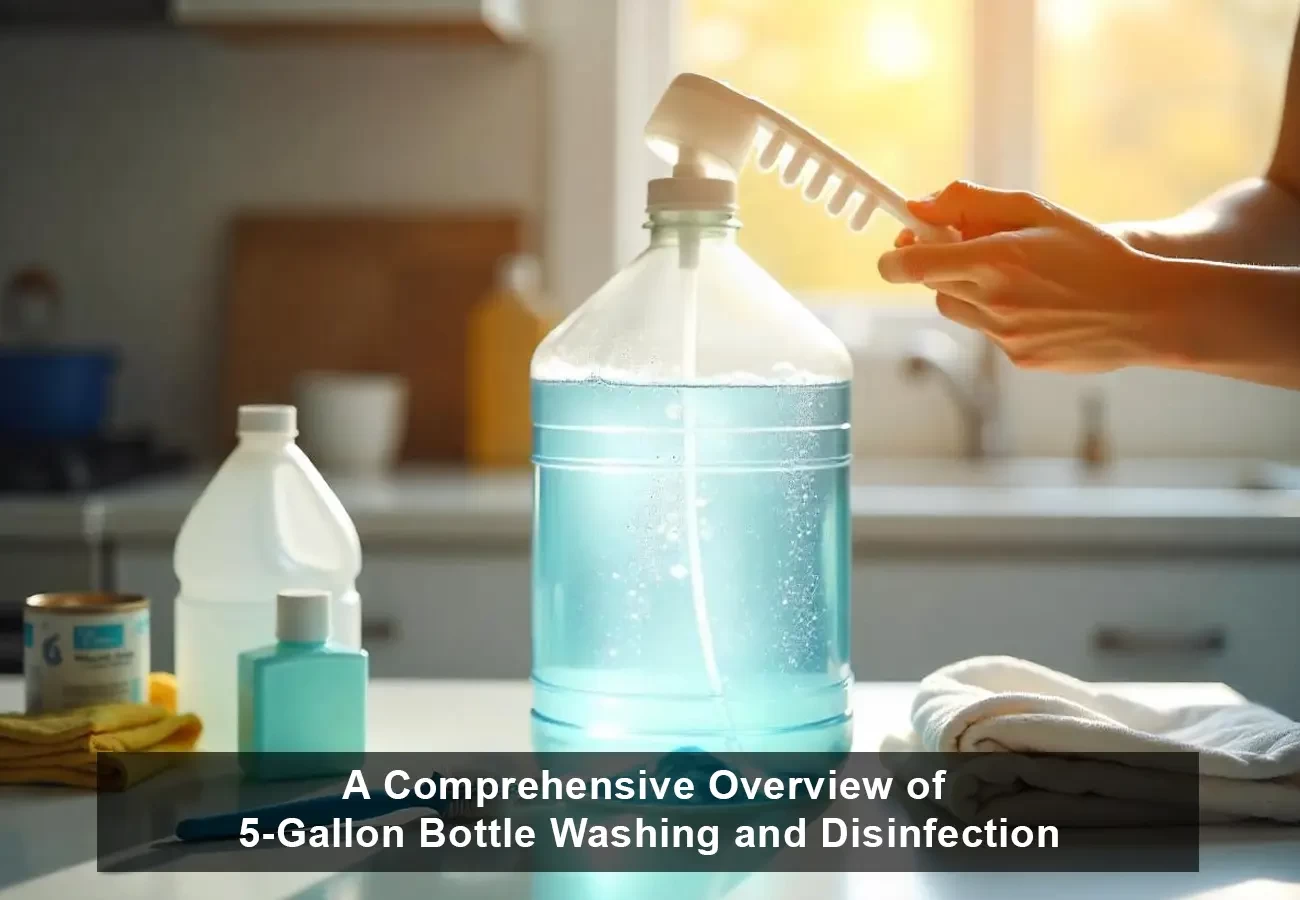
Never skip cleaning the bottle itself as it is a major source of re-contamination. The neck and shoulders of the jug often harbor bacteria that transfer directly to the dispenser.
Use Bleach for Deep Jug Sanitization
Follow this process for the most effective results:
1. Add 1 teaspoon bleach per gallon capacity to the empty jug.
2. Add a small amount of water, cap, and shake vigorously to coat all surfaces.
3. Fill the rest of the jug with tap water and seal tightly.
4. Let the solution sit for 10–15 minutes to kill bacteria.
5. Empty the jug and rinse 4–5 times until no chlorine smell remains.
6. Air dry completely upside down on a clean rack before storage.
Try Natural Alternatives Like Peroxide
Use hydrogen peroxide if you prefer to avoid chlorine:
* Mix 1 tablespoon 3% hydrogen peroxide per gallon (5 tbsp total).
* Fill jug, swirl to coat, and soak for 10 minutes.
* Rinse thoroughly and air dry completely.
Rinse the System Thoroughly After Cleaning
Residual cleaner can be dangerous to ingest so rinsing is non-negotiable. You must ensure no trace of vinegar or bleach remains before drinking.
Flush the System Multiple Times
Repeat this cycle until the water is completely neutral:
1. Drain all remaining cleaning solution from the unit.
2. Fill the 5-gallon bottle with clean hot tap water.
3. Load and dispense through both hot and cold taps.
4. Use the drain plug to flush the back of the unit if applicable.
5. Repeat this process 3–4 full cycles.
Verify No Residue Remains
Check your work before considering the job done:
* Ensure no vinegar smell lingers in the dispensed water.
* Confirm no chlorine odor exists after the final bleach rinse.
* Perform one extra rinse cycle if any scent persists.
Wipe Down the Exterior Surfaces
A clean outside prevents dust and germs from entering the reservoir during bottle changes. Regular exterior maintenance keeps your unit looking new and hygienic.
Clean and Disinfect External Parts
- Wipe the entire exterior with a damp microfiber cloth.
- Spray with diluted bleach solution or an EPA-approved disinfectant.
- Let the solution sit for 1 minute to kill surface germs.
- Wipe dry with a clean paper towel immediately.
- Pay special attention to tap handles and the bottle cradle area.
Avoid Damaging Harsh Cleaners
Protect your investment by avoiding these common mistakes:
* Never use abrasive scrubbing pads that scratch plastic.
* Avoid ammonia or strong chemicals that leave toxic residues.
* Do not spray directly into electrical vents or control panels.
Reassemble and Restart the System
Final assembly ensures your dispenser is ready to provide safe water immediately. Proper reassembly prevents leaks and ensures optimal performance.
Reattach All Components Securely
Double-check every part before adding water:
* Ensure spigots are securely in place and not loose.
* Reinstall the drain plug tightly to prevent leaks.
* Wipe the reservoir dry with a lint-free towel before reassembly.
Load Fresh Water and Flush Air
- Place a new or sanitized 5-gallon bottle on the unit.
- Plug in the power and turn switches to the “ON” position.
- Run 2–3 full glasses of water through both taps to clear air pockets.
- Discard this initial water rather than drinking it.
Prevent Future Contamination Issues
Smart habits extend the time between deep cleanings and keep your water tasting fresh. Prevention is always easier than removing heavy buildup later.
Replace Water Bottles Promptly
Minimize bacterial growth by managing your water supply wisely:
* Do not let the bottle sit empty as air exposure increases bacteria.
* Replace the bottle within 24 hours of running dry.
* Store spare bottles upside down in a cool dark place.
Maintain Daily Hygiene Habits
Small daily actions make a big difference in water quality:
* Wipe spigots with a clean damp cloth after heavy use.
* Prevents grime buildup and hand-transferred bacteria.
* Keep the area around the unit free of dust and debris.
Consider Commercial Cleaning Kits

Pre-measured kits simplify the process for those who want convenience. These products eliminate mixing errors and provide everything needed in one package.
Choose a Top-Loader Kit
Look for these benefits when selecting a product:
* Includes pre-mixed tablets or liquid in correct ratios.
* Designed to fit standard 5-gallon necks perfectly.
* Ideal for first-time users or busy office settings.
Follow Kit Instructions Precisely
Most kits follow a similar simple process:
* Pour solution into the bottle or reservoir.
* Load onto the dispenser and wait 10–20 minutes.
* Rinse 3 times with fresh water as directed.
* No measuring needed which reduces error risk significantly.
Hire a Professional for Heavy Use Cases
Professional service ensures consistency for high-volume environments. This option is best for offices or situations where self-cleaning is impractical.
Know When to Call a Technician
Consider professional help for these scenarios:
* Office dispensers used 10+ times daily by many people.
* Hard-to-move units or complex built-in systems.
* Warranty requirements mandating certified maintenance.
* Persistent odor or mold despite thorough home cleaning.
Benefits of Scheduled Service
Professional plans offer distinct advantages:
* Monthly or quarterly visits for consistent care.
* Full system disinfection beyond basic surface cleaning.
* Filter replacements if your unit is equipped with them.
* Inspection for leaks or wear that you might miss.
Frequently Asked Questions About Cleaning Water Dispensers
How often should I clean my 5 gallon water dispenser?
You should clean your dispenser every 1 to 3 months depending on usage. Households with high traffic or well water sources should clean monthly. Units used infrequently still need sanitizing before reuse if idle for over a week.
Can I use regular tap water to mix my cleaning solution?
Yes, you can use hot tap water to mix vinegar or bleach solutions. The cleaning agents effectively sanitize the system regardless of the water source used for mixing. Just ensure you rinse thoroughly with clean water afterward.
Is bleach or vinegar better for cleaning water dispensers?
Bleach is superior for killing bacteria and mold while vinegar excels at removing mineral scale. Use bleach for deep sanitizing after illness or visible mold. Use vinegar for routine maintenance and hard water areas.
What do I do if the water still tastes like bleach after rinsing?
Continue flushing the system with fresh hot water for additional cycles. You may need 4–5 rinse cycles to remove all chlorine residue completely. Ensure you used the correct initial ratio of 1 teaspoon per gallon.
Can I clean the inside of the reservoir without a drain plug?
Yes, you can soak the solution inside and then dispense it through the taps. Use a turkey baster or sponge to remove remaining liquid from the bottom. Scrub accessible areas with a soft brush and cloth carefully.
Is it safe to clean the 5-gallon jug itself at home?
Absolutely, and it is highly recommended to prevent re-contamination. Use a diluted bleach solution (1 tsp per gallon) or hydrogen peroxide to sanitize the interior. Rinse the jug thoroughly until no odor remains before refilling.
Key Takeaways for Cleaning Your 5 Gallon Water Dispenser
Keeping your 5 gallon water dispenser clean requires a consistent schedule and the right techniques. Always sanitize both the unit and the jug using either vinegar for scale or bleach for bacteria. Thorough rinsing is the most critical step to ensure no cleaning residue remains in your drinking water.
Start your next cleaning session by gathering supplies and following the step-by-step guide above. Your health and taste buds will thank you for maintaining a hygienic water system today.



