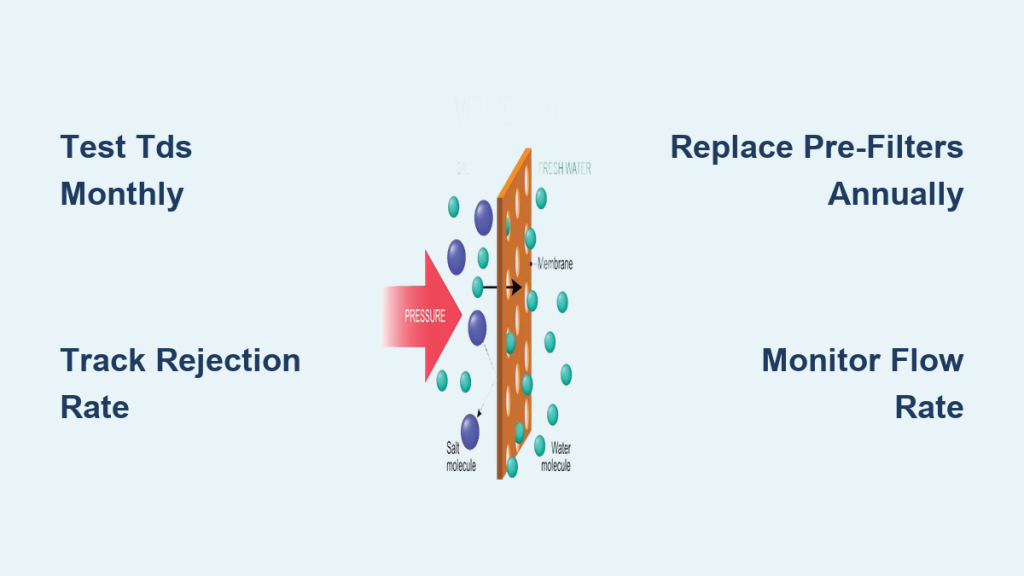

If your reverse osmosis system is producing weak water flow or sputters near the end of a pour, the culprit might not be clogged filters or a failing membrane. Low tank pressure is a common but often overlooked issue that mimics other system failures. Checking reverse osmosis tank pressure is a simple maintenance task that can restore performance and prevent unnecessary repairs. This guide walks you through the correct way to measure RO tank pressure, interpret readings, and make adjustments to keep your system running efficiently.
Confirm You Have a Storage Tank
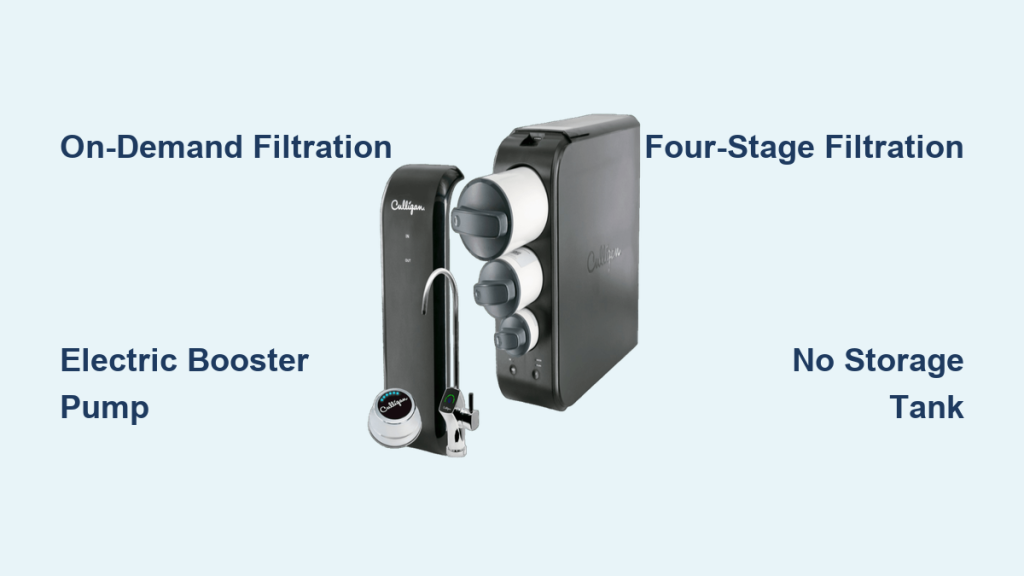
Not all RO systems use pressurized storage tanks. Tankless models deliver water on demand and skip the tank entirely. Before proceeding, confirm your system has a tank.
Identifying Tank-Based RO Systems
Look for these indicators under your sink. A round, pressurized vessel (usually white or blue) indicates a tank-style system. You should also see a blue-capped Schrader valve on top or near the base of the tank.
Check for these visual markers:
- A cylindrical tank mounted vertically or horizontally
- A valve cap that resembles a bike tire valve
- Connection lines running from the tank to the RO unit
If no tank or valve exists, your system is tankless. Slow water flow in tankless units stems from feed pressure problems, clogged filters, or membrane issues instead.
Shut Off the RO System
Always isolate the system before checking tank pressure. Working on a pressurized system risks false readings and potential damage.
Close Water Supply and Drain Lines
Follow these steps to prepare the system safely. Turn off the inlet angle-stop valve by rotating the blue handle perpendicular to the pipe. Then open the RO faucet and let water run until flow stops completely.
Keep the faucet open throughout the pressure check. This prevents pressure buildup and allows accurate readings.
Warning: Never test pressure with the water supply on. Residual pressure in the lines causes inaccurate readings and risks over-pressurizing the tank during adjustment.
Fully Drain the Tank
An empty tank is essential for an accurate pressure reading. A full or partially filled tank will give misleading results that lead to incorrect adjustments.
Empty Water for Accurate Reading
Keep the faucet open and inlet valve closed. Wait until flow reduces to drips, then stops entirely. Gently shake the tank to release any trapped water in the bladder.
A drained 3-gallon tank should feel noticeably light. A full tank weighs approximately 25 pounds, while an empty tank weighs only a few pounds.
Critical: Proceed only when no water flows from the faucet. Incomplete drainage leads to false high readings and potential damage during re-pressurization.
Locate the Schrader Valve
The Schrader valve is your access point for checking and adjusting tank pressure. It works exactly like a tire valve on a car or bicycle.
Find and Prepare the Air Valve
Remove the blue plastic cap from the top or side of the tank. Inspect the Schrader valve for damage, corrosion, or debris. Ensure the valve core is intact and the area is clean before attaching any gauge or pump.
The valve cap serves as a critical seal, not just a dust cover. Always reinstall it tightly after adjustments to prevent slow air leaks.
Check Empty Tank Pressure

Now you can measure the actual air pressure in the tank. This reading tells you whether the tank needs adjustment.
Use a Low-Range Pressure Gauge
With the tank completely drained and water supply still off, firmly press a tire pressure gauge onto the Schrader valve. Hold straight and steady to avoid hissing or inaccurate readings. Read the PSI displayed on the gauge.
Take two readings to confirm accuracy. Reseat the gauge and measure again to verify the first reading.
Target Pressure Ranges:
| System Condition | Recommended PSI |
|---|---|
| Standard home use | 5 to 7 psi |
| Most manufacturer specs | 6 to 8 psi |
| High feed pressure (80 psi or higher) | Up to 12 psi |
| Low feed pressure (below 50 psi) | 6 psi |
Pro Tip: A 12-year water treatment professional recommends matching pre-charge to feed pressure. Set tank pressure to around 12 psi if feed pressure exceeds 80 psi, or around 6 psi if feed pressure is below 50 psi.
Interpret Your Pressure Reading

Your PSI reading reveals the tank’s condition and determines what action, if any, is needed.
Diagnose Based on PSI Value
| Reading | What It Means | Action |
|---|---|---|
| Below 5 psi | Air loss over time causing weak flow | Add air in small bursts |
| 5 to 7 psi | Ideal range for most systems | No action needed |
| 8 to 12 psi | Acceptable only with high feed pressure | Monitor for sputtering |
| Above 12 psi | Over-pressurized, reducing storage | Bleed air gradually |
| Water from valve | Bladder rupture | Replace tank immediately |
Never exceed 12 psi on an empty tank unless your manufacturer specifies otherwise. Over-pressurization strains the bladder and reduces usable water storage.
Adjust Tank Pressure
If your reading falls outside the target range, you need to adjust the pressure. This process is straightforward but requires patience.
Add or Release Air as Needed
To Increase Pressure: Use a bicycle pump or low-pressure air compressor. Attach to the Schrader valve and pump in short bursts. Recheck pressure after each burst. Stop at 5 to 7 psi (or up to 12 psi for high-pressure systems).
To Decrease Pressure: Press the bleed button on your gauge or gently depress the valve core with a small tool. Release air in small taps and recheck frequently to avoid under-pressurizing.
Best Practice: Always adjust pressure with the tank empty and faucet closed. Never add air to a water-filled tank.
Verify Seal Integrity
After making adjustments, you must confirm the tank holds pressure over time. A leak defeats the entire purpose of re-pressurization.
Test for Leaks After Adjustment
Recheck pressure immediately after adjustment. Test again after 24 hours to confirm the seal is holding.
If pressure drops rapidly, mix soapy water and apply around the valve and cap. Look for bubbles, which indicate a leak path. Tighten the cap or replace the valve core if leaking is detected.
Slow air loss over months is normal due to natural permeation. Rapid loss within days signals a seal failure that needs attention.
Diagnose Common Tank Problems

Understanding symptoms helps you identify whether the tank itself needs replacement or just adjustment.
Water Comes Out of the Air Valve
When water sprays from the Schrader valve, the internal rubber diaphragm has failed. The air and water chambers are no longer separated, and the tank cannot hold air or deliver water properly.
Action: Replace the tank immediately. A ruptured bladder cannot be repaired.
Tank Feels Heavy But Delivers Little Water
This indicates several possible problems. Low air pressure prevents the bladder from pushing water out. Over-pressurization restricts bladder expansion. A ruptured bladder traps water inside. A stuck tank outlet valve blocks flow entirely.
Drain the tank completely and check the pressure. If pressure is correct but no water flows, bladder failure is the likely cause.
Strong Flow That Quickly Fades
High air pressure compresses the bladder, reducing water storage capacity. You get a strong initial flow, but the tank empties faster than expected.
Fix: Drain the tank and bleed air down to 5 to 7 psi. Let the system refill and test again.
Slow Flow Improves After Waiting
This points to refill issues rather than tank pressure problems. Low feed water pressure, clogged pre-filters, or a failing RO membrane cause slow refill rates.
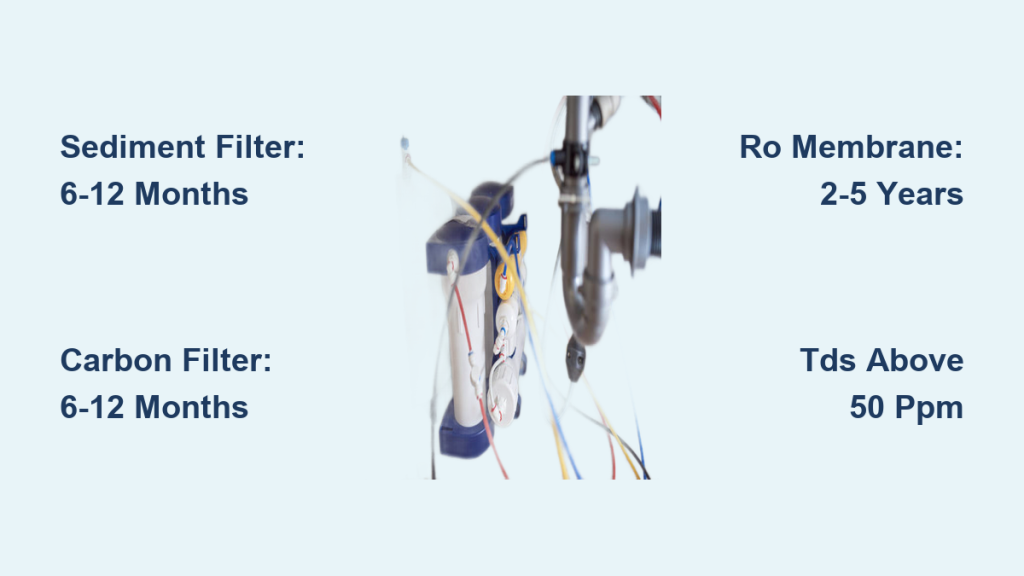
Action: Check inlet pressure (should be 40 to 60 psi). Inspect and replace sediment and carbon filters. Test membrane output.
Maintain Optimal Tank Performance
Regular maintenance prevents pressure-related problems from developing into major issues.
Schedule Annual Pressure Checks
Check tank pressure every 6 to 12 months, ideally during filter changes. This ties the task to an existing maintenance routine and avoids unnecessary valve handling.
Frequent checking (monthly) increases risk of loose valve cores, micro-leaks, and forgotten or poorly sealed caps.
Pro Tip: Set pressure to 7 psi for consistent flow, especially near the end of drawdown.
Adjust for Special Applications
Some situations require pressure adjustments beyond the standard range.
High-Demand Systems
For RO systems serving ice makers, refrigerators, or upper-floor faucets, consider increasing pressure to 10 psi. This improves delivery against gravity and resistance.
Low Feed Pressure
If your feed water pressure is below 50 psi, do not over-pressurize the tank to compensate. Set tank pressure to 6 psi and focus on improving feed pressure or installing a booster pump.
Remember that feed pressure affects refill speed, not the target empty tank pressure.
Follow This Troubleshooting Flowchart
Use this decision tree when diagnosing slow RO flow issues.
Step 1: Is the RO water flow slow? Wait 2 to 4 hours after last use to ensure the tank is full.
Step 2: Drain the tank completely. Shut off the feed water and open the faucet until flow stops.
Step 3: Check empty tank pressure at the Schrader valve.
Step 4: Is the pressure 5 to 8 psi? If yes, restore water supply and let the tank refill. If no, adjust to 5 to 7 psi by adding or bleeding air.
Step 5: Recheck after 24 hours. Does pressure hold? If no, check the valve and cap for leaks using soapy water. If yes, does slow flow persist? If yes, diagnose filters, membrane, and feed pressure. If no, the problem is resolved.
Match Symptoms to Solutions
| Symptom | Likely Cause | Fix |
|---|---|---|
| Weak flow over time | Low air pressure | Repressurize to 5 to 7 psi |
| Strong start, fast empty | Over-pressurized tank | Bleed down to 5 to 7 psi |
| Early sputtering | Incorrect pressure or slow refill | Check pressure, then refill rate |
| Heavy tank, no water | Bladder rupture | Replace tank |
| Pressure drops fast | Leaky valve or cap | Tighten or replace |
| Water from air valve | Failed bladder | Replace immediately |
Know When to Replace the Tank
Some problems cannot be fixed with pressure adjustment alone.
Replace the tank if water sprays from the Schrader valve, pressure won’t hold despite tightening, no water output occurs after correct pressure adjustment, or visible rust, dents, or valve damage is present.
Most residential RO tanks have non-serviceable bladders. Replacement is safer and more cost-effective than repair attempts.
Debunk Common Myths
Several misconceptions lead to improper diagnosis and unnecessary repairs.
Myth: Slow flow means clogged filters. Truth: Low tank pressure mimics filter issues. Check pressure first.
Myth: More psi equals better flow. Truth: Over-pressurization reduces usable water and strains the bladder.
Myth: Check pressure anytime. Truth: Readings are only accurate when the tank is fully drained.
Myth: Valve cap is just decorative. Truth: It serves as the primary seal. Always tighten securely.
Myth: Pressure loss means the tank is dead. Truth: Gradual loss over months is normal. Rapid loss indicates a leak.
Frequently Asked Questions About Checking RO Tank Pressure
What should RO tank pressure be?
For most home systems, 5 to 7 psi is ideal. Some manufacturers specify 6 to 8 psi. Adjust up to 12 psi only if your feed pressure exceeds 80 psi.
How do I add air to the RO tank?
After fully draining the tank, use a bicycle pump to add air in short bursts. Recheck pressure after each burst until reaching the target range of 5 to 7 psi.
Why is the tank heavy but no water comes out?
This typically indicates a ruptured bladder or severely low air pressure. If water exits the air valve, the bladder has failed and the tank needs replacement.
How do I know if the bladder is broken?
Signs include water coming from the Schrader valve, a heavy tank with little output, pressure that won’t hold, and no improvement after re-pressurizing.
Do tankless RO systems have air pressure?
No. Tankless models use no storage tank. Slow flow stems from feed pressure problems, filter clogs, or membrane issues, not air pressure.
Key Takeaways for Checking RO Tank Pressure
Proper tank pressure management prevents unnecessary filter replacements, extends system life, and ensures consistent water delivery. A well-maintained RO tank can last 5 to 10 years under normal conditions.
Check tank pressure annually during filter changes. Always drain the tank fully before testing. Use a low-range pressure gauge for precision in single-digit readings. Never add air to a water-filled tank. Treat water coming from the Schrader valve as a hard failure signal requiring immediate tank replacement. Recheck pressure after 24 hours to confirm seal integrity. If flow remains poor after correct pressure adjustment, shift your troubleshooting to filters, membrane, and feed pressure.