
Your Hamilton Beach water dispenser is powered on, the fridge hums quietly, and the hot tank feels warm. Yet pressing the button delivers nothing. This frustrating scenario happens more often than you might think, especially with bottom-load models like the BL-5-2. The cause is usually something simple: a loose hose, trapped air, or a shifted internal lever. Most fixes take under 15 minutes and require no special tools.
In this guide, you will learn how to diagnose and resolve a Hamilton Beach water dispenser not pumping water. We will walk through proven techniques, including the cup-of-water pump test, manual priming methods, and step-by-step internal checks. Whether your unit is brand new or several years old, these solutions will help restore water flow quickly.
Check Hose Connections First
Loose tubing is the leading cause of no water flow in Hamilton Beach bottom-load dispensers. The white hose linking the pump to the probe must be firmly seated at both ends.
Confirm Hose Is Fully Seated
Fix in 3 Steps:
1. Turn off the rear power switches and unplug the unit
2. Remove the water bottle and inspect the hose
3. Push the hose securely into the probe head and pump connector until it clicks
Wait 30 seconds after reconnecting power. If water flows, the connection was the issue.
Visual Cue: A gap or wobble in the hose means it is not fully inserted. Even a small disconnection breaks suction and stops flow completely.
Test Pump Suction Directly
If the hose is secure but no water dispenses, test whether the pump itself works. This isolates the pump from the rest of the system.
Run the Cup-of-Water Test
Procedure:
1. Unplug the unit
2. Disconnect the white hose from the probe (remove the blue tab if present)
3. Place the hose end in a cup of water
4. Plug in the unit and press the door button to activate the pump
Outcomes:
– Water flows from hose → Pump works. Problem is with the probe or bottle connection.
– No water or sputtering → Pump is not drawing. Likely air lock or pump failure.
This quick test tells you exactly where the problem lies without opening the unit further.
Prime the Pump Manually
Air trapped in the feed line prevents the pump from drawing water, even when the pump runs. This is common after bottle changes or filter replacements.
Clear Air Locks in New or Recently Serviced Units
Effective Priming Method:
1. Place a full water jug on the floor in front of the unit
2. Insert the pickup tube into the jug, keeping the tip submerged
3. Hold down the door button inside the unit
4. Move the tube up and down gently while submerged
5. Continue until you hear the pump engage
6. Fully insert the tube, release the button, and slide the jug in
Why it works: The motion forces water into the line, breaking the air lock and restoring prime.
Pro Tip: Repeat this 2 to 3 times if flow does not start immediately.
Reconnect the Tap Lever
When one spout works but the other does not, the internal tap lever has likely popped off. This is a common issue after bottle changes.
Fix Single-Tap Dispensing Failures
Step-by-Step Fix:
1. Unplug the dispenser
2. Remove the two screws on the top cover
3. Lift the rear of the cover and slide forward to remove
4. Place a cup under the non-working spout
5. Locate the lever under the button rod. If popped off, press it back into place
6. Test the tap
Warning: Hot water can scald. Let residual water cool before touching internal parts.
Success Indicator: A distinct click means the lever is properly seated.
Reset the Dispenser System
Electronics can glitch, causing false empty bottle signals or pump lockouts. A simple reset often clears these errors.
Perform a Power Cycle Reset
Standard Reset (5 to 10 Minutes):
– Unplug the unit
– Wait 5 to 10 minutes
– Plug back in and test
Use this after any repair attempt or if the dispenser suddenly stops working.
Extended Reset (24 Hours, Primo-Style Units):
– If the unit works after a 24-hour unplug but fails again, suspect a faulty temperature probe in the cold tank
– This model-specific issue requires probe replacement
Plumbed Unit Reset:
– Turn off the water supply
– Disconnect power for 5 to 10 minutes
– Restore both and test
Diagnose the Empty Bottle Light

An amber blinking light does not always mean the bottle is empty. It can signal a pump or probe issue instead.
Decode False “Empty” Indicators
If light blinks with a full bottle:
– Perform the cup-of-water pump test (see Section 2)
– If pump draws water → probe is not detecting the bottle
– If no suction → air lock or failed pump
Critical Check: Ensure the internal lever clicks into place when inserting the bottle. A misaligned lever tricks the sensor into thinking no bottle is present.
Inspect for Internal Hose Disconnections
During bottle changes, the short internal hose can pop loose. This often goes unnoticed because the door still closes normally.
Find and Reattach Loose Tubing
What to look for:
– A dangling hose inside the cabinet (commonly top left)
– Pump running but no water movement
– No suction at the pickup tube
Fix:
– Trace the hose to its port
– Push it firmly back into the fitting
– Ensure it is secure before closing the door
Prevention Tip: Always check internal hoses after each bottle change.
Address Filter-Related Flow Issues
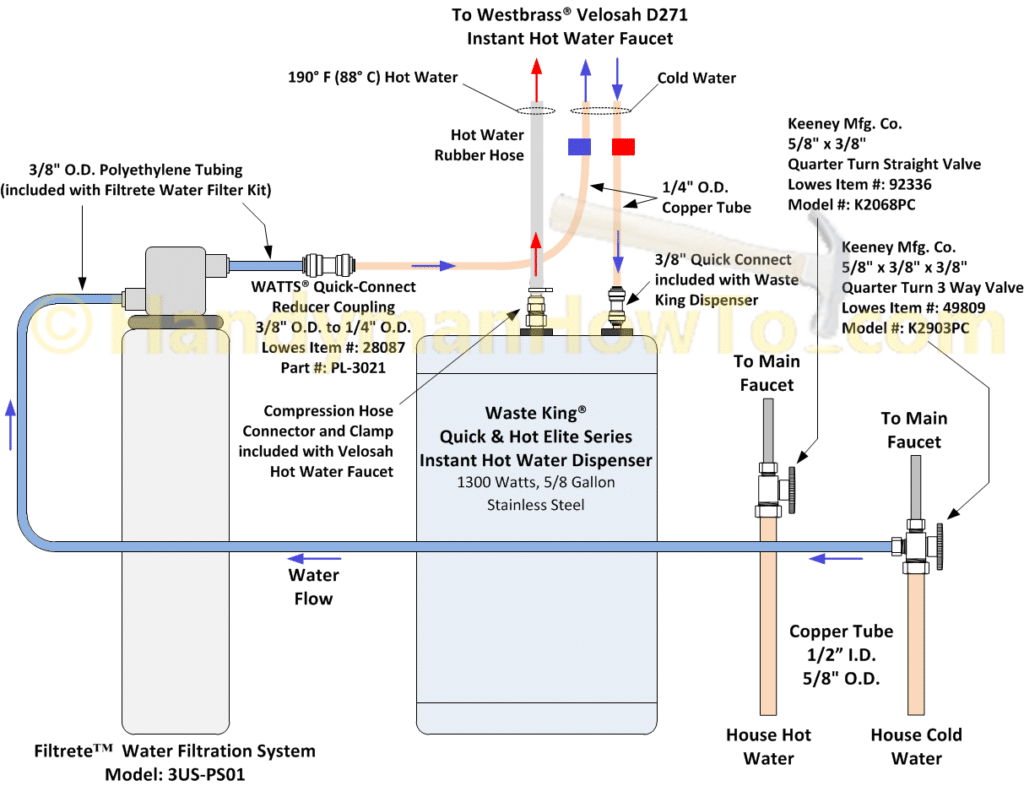
Filtered models can stop flowing due to improper filter installation. This is one of the most overlooked causes.
Fix Clogged or Backwards Filters
Common Mistakes:
– Filter inserted backwards (check arrow or label)
– Cartridge not fully locked into place
– Old or clogged filter (replace every 6 months)
Quick Fix:
1. Remove the filter
2. Check for correct orientation
3. Reinstall and twist until it locks
4. Press the dispensing lever 20 or more times to purge air
Real-World Case: One user fixed what seemed like pump failure by simply rotating the filter, which had been installed backwards.
Clear Spout and Check Valve Clogs
Hard water causes scale buildup in spouts and valves. This restricts flow even when everything else works.
Remove Mineral Buildup
For Spout Clogs:
– Units made after January 2014 allow spout tip removal
– Unscrew, rinse with warm water, and reattach
– For older models, flush the system with a vinegar solution
For Check Valves:
– Some units have internal check valves
– Use a toothpick and vinegar to clear debris
– Test flow after cleaning
Maintenance Tip: Flush the system every 3 to 6 months to prevent clogs.
Verify Bottle Installation Steps
Improper bottle changes are a leading cause of pumping issues. Forcing the bottle into place can dislodge critical components.
Prevent Lever and Tubing Shifts
Correct Installation:
1. Insert bottle with handle facing you
2. Turn slowly into place. Do not force it
3. Press the internal lever until it clicks
4. Confirm tubing is fully connected
5. Close and lock the door
Why it matters: Forcing the bottle can dislodge the lever or hose, breaking the water detection system entirely.
Pro Tip: Always reseat the lever by hand after removal. It is easy to miss.
Investigate Component Failures
If all basic fixes fail, internal components may be damaged. These repairs range from simple to advanced.
Identify Faulty Internal Parts
Failed Water Pump:
– Symptoms include no sound, no suction, or pump running with no flow
– Test using the cup-of-water method
– Solution: Replace the pump by contacting Hamilton Beach or a qualified technician
Temperature Probe Failure:
– Occurs in Primo-style units
– Unit works after a 24-hour reset but fails again
– Requires cold tank probe replacement
Solenoid Valve Defect:
– Water will not flow even with power and a full bottle
– Advanced fix requiring part replacement
Frozen Internal Lines:
– Happens if the unit was stored in a cold area
– Let it warm to room temperature before testing
Prevent Future Pumping Issues
Avoid repeat problems with simple maintenance habits. Prevention is far easier than repair.
Follow Maintenance Best Practices
Routine Checks:
– Every 3 to 6 months: Clean spout, flush system, inspect tubing
– Every 6 months: Replace filter if applicable
– After each bottle change: Verify lever and hose position
Cleaning Steps:
1. Unplug unit
2. Remove bottle and filter
3. Flush spigot with vinegar solution
4. Rinse thoroughly with clean water
5. Reassemble and test
Use only Hamilton Beach-recommended cleaners to avoid damage.
When to Call for Professional Help
Some repairs require expertise beyond basic troubleshooting. Knowing your limits protects both you and your unit.
Know Your Limits
Seek Service If:
– Pump test confirms failure
– Internal wiring or tank components need replacement
– You are uncomfortable opening the unit
– Problem persists after all steps
Contact Options:
– Hamilton Beach Customer Care: For model-specific support and warranty claims
– Appliance Repair Technician: For pump, probe, or solenoid replacement
– Authorized Parts Dealer: For genuine replacement components
Note: Internal repairs may void warranty if not done by authorized personnel.
Frequently Asked Questions About Hamilton Beach Water Dispenser Not Pumping
Why is my Hamilton Beach water dispenser not pumping but the pump is running?
A running pump with no water flow usually points to an air lock or a loose hose connection. Try the cup-of-water test to confirm the pump works, then manually prime the system using the pickup tube method described above.
How do I reset a Hamilton Beach water dispenser that stopped pumping?
Unplug the unit for 5 to 10 minutes, then reconnect power. This clears most electronic errors. For Primo-style units with persistent issues, try a 24-hour unplug reset before assuming component failure.
Can a backwards filter cause my Hamilton Beach dispenser to stop pumping?
Yes. A backwards filter restricts flow and can mimic pump failure. Remove the filter, check the orientation label or arrow, and reinstall it correctly. Press the lever 20 or more times to purge trapped air.
What does the blinking amber light mean on my Hamilton Beach dispenser?
A blinking amber light usually means the bottle is empty. However, it can also indicate a probe issue or a misaligned internal lever. With a full bottle installed, perform the cup-of-water pump test to diagnose further.
How do I prime the pump on a Hamilton Beach bottom-load dispenser?
Place a jug of water on the floor, submerge the pickup tube, and hold down the door button. Move the tube up and down gently until you hear the pump engage. This forces water into the line and clears air locks.
When should I call a technician for a Hamilton Beach water dispenser not pumping?
Call a technician if the pump test confirms failure, if internal components like the temperature probe or solenoid need replacement, or if troubleshooting steps do not restore flow. Contact Hamilton Beach Customer Care for warranty guidance first.
Key Takeaways for Fixing Your Hamilton Beach Water Dispenser
Most Hamilton Beach water dispenser not pumping issues stem from simple, fixable causes. Loose hoses, air locks, and misaligned levers account for the majority of cases. Start with the hose check and pump test, then work through priming and reset procedures. Proper bottle installation prevents many recurring problems.
Make routine maintenance a habit. Cleaning the spout every few months, replacing filters on schedule, and inspecting tubing after each bottle change will keep your dispenser running smoothly. If all troubleshooting steps fail, contact Hamilton Beach Customer Care or a qualified technician for internal component repair. Your dispenser should be back to delivering clean water within minutes.


