
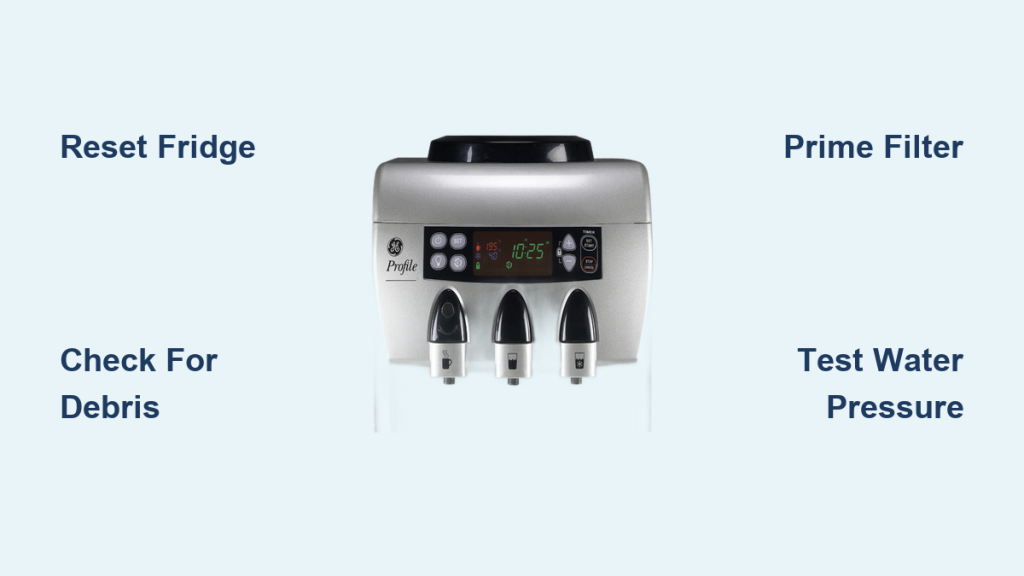
You just swapped out your GE refrigerator’s water filter, but now nothing comes out of the dispenser. Not a trickle, not a drip. The ice maker might be down too. You checked the filter twice. It is seated, twisted, and locked in place. So what is going on?
This is a frustrating but surprisingly common issue, especially with GE Profile French Door models like the PFSS6PKXASS and PFSS9PKY. The filter itself is rarely the culprit. The real cause is usually how the new filter interacts with the internal valve system, water pressure, or leftover packaging debris inside the housing.
In this guide, you will learn exactly why your GE fridge stops dispensing water after a filter change. We cover simple fixes you can try in minutes and advanced troubleshooting if the problem persists. Whether you installed a genuine GE filter or an aftermarket brand, these proven solutions have worked for hundreds of users.
Reset the Refrigerator Before Anything Else
Unplug to Clear Electronic Glitches
Sometimes the issue is not mechanical at all. A glitch in the control board can disable the water dispenser right after filter replacement, even when everything is installed correctly.
• Unplug the refrigerator for 30 seconds
• Plug it back in and wait 2 to 3 minutes for the system to reboot
• Test the water dispenser
This quick reset has restored full function in cases where the filter indicator light was flashing or the dispenser stopped responding entirely.
✅ Pro Tip: If your fridge has a filter indicator light, resetting it may help even if the light does not seem related to water flow.
Check for Packaging Debris Inside the Filter Housing

Remove Styrofoam or Other Obstructions
One of the most overlooked causes involves leftover packing material inside the filter housing. A tiny piece of styrofoam can completely block water flow.
• Remove the cover above the filter compartment
• Shine a flashlight into the housing
• Look for small pieces of white foam, plastic, or tape blocking the water inlet
A documented case showed that a single piece of styrofoam prevented the internal valve from opening. No water flowed, even with a correct filter installed.
• Use tweezers or needle-nose pliers to remove any debris
• Reinstall the filter and test the dispenser
⚠️ Warning: Never install a new filter without visually confirming the housing is clean first.
Verify the Filter Is Installed Correctly

Ensure a Full Quarter Turn and Proper Alignment
Even if the filter feels secure, it might not be fully engaged. The internal check valve will not open unless the filter turns completely into place.
- Pull the filter out of the housing
- Check the arrow on the filter. It must face toward the back of the fridge for GE-branded filters
- Insert the filter and turn it clockwise a full quarter turn
- Apply firm pressure. Some users report needing extra force to seat it properly
Misalignment prevents the filter from depressing the 4-sided plastic cone inside the housing. No depression means no water flow.
🔍 Visual Cue: If water leaks around the O-rings instead of flowing through the center, the valve is not opening. This usually points to poor seating.
Prime the Filter to Purge Air from the Lines
Fill the Filter with Water Before Installing
New filters contain trapped air. If you do not prime them, air pockets block water flow and your dispenser stays dry.
- Fill the new filter with water before installing it (use a bowl or sink)
- Let it sit for 15 to 20 minutes until bubbles stop rising
- Install and turn the filter into place
- Hold the water dispenser down for 4 to 5 minutes continuously to flush air from the lines
Some users report success only after dispensing 6 to 8 full glasses of water over several cycles.
🕒 Time Estimate: Full priming takes 10 to 15 minutes but prevents long-term dispensing issues.
Test the Water Supply and Pressure
Confirm Inlet Flow at the Back of the Fridge
Even a perfectly installed filter cannot produce water if the supply line is restricted or the household pressure is wrong.
- Turn off the water valve behind the fridge
- Disconnect the supply line at the back of the refrigerator
- Place the end in a bucket and open the valve
- Water should flow freely and steadily
If the flow is weak, check for these common issues:
• Kinked supply line behind the fridge
• Clogged saddle valve
• Household water pressure below 40 psi
Fix High Pressure Hammering
If the fridge makes a hammering noise when you activate the dispenser, pressure is too high.
• Slowly close the supply valve until the hammering stops
• Recheck the dispenser performance
✅ Ideal Fix: Install a pressure regulator if your home consistently exceeds 60 psi.
Diagnose the Filter Head Assembly

Inspect the Check Valve Mechanism
The filter head (part number WR17X12469) contains a small nipple or wedge that must be fully depressed by the filter to open the water path.
- Remove the filter from the housing
- Use a screwdriver or pliers to gently push the 4-sided cone inward
- Have someone press the dispenser. Water should flow
If water flows only when you manually depress the cone, the filter is not pressing it far enough on its own.
Common Failures to Look For
• Cracked housing near the cone (inspect closely under a flashlight)
• Stuck or damaged check valve
• General wear from repeated filter changes
🔧 Expert Note: Some newer filters have shorter ends and do not depress the valve as deeply as older models did.
Add a Washer to Fix Valve Depression

Use a Simple Shim for Extra Pressure
If the filter does not depress the check valve fully, a small washer between the filter and housing solves the problem.
- Get a small metal or hard plastic washer (a garden hose washer works well)
- Place it on the end of the filter before insertion
- Install and turn the filter as usual
The washer acts as a spacer, pushing the valve further inward than the filter alone can manage.
✅ Why It Works: The added thickness compensates for undersized filter ends or worn valve mechanisms.
🛠️ Pro Tip: Avoid rubber washers. They compress over time and lose effectiveness.
Try a Different Filter or Brand
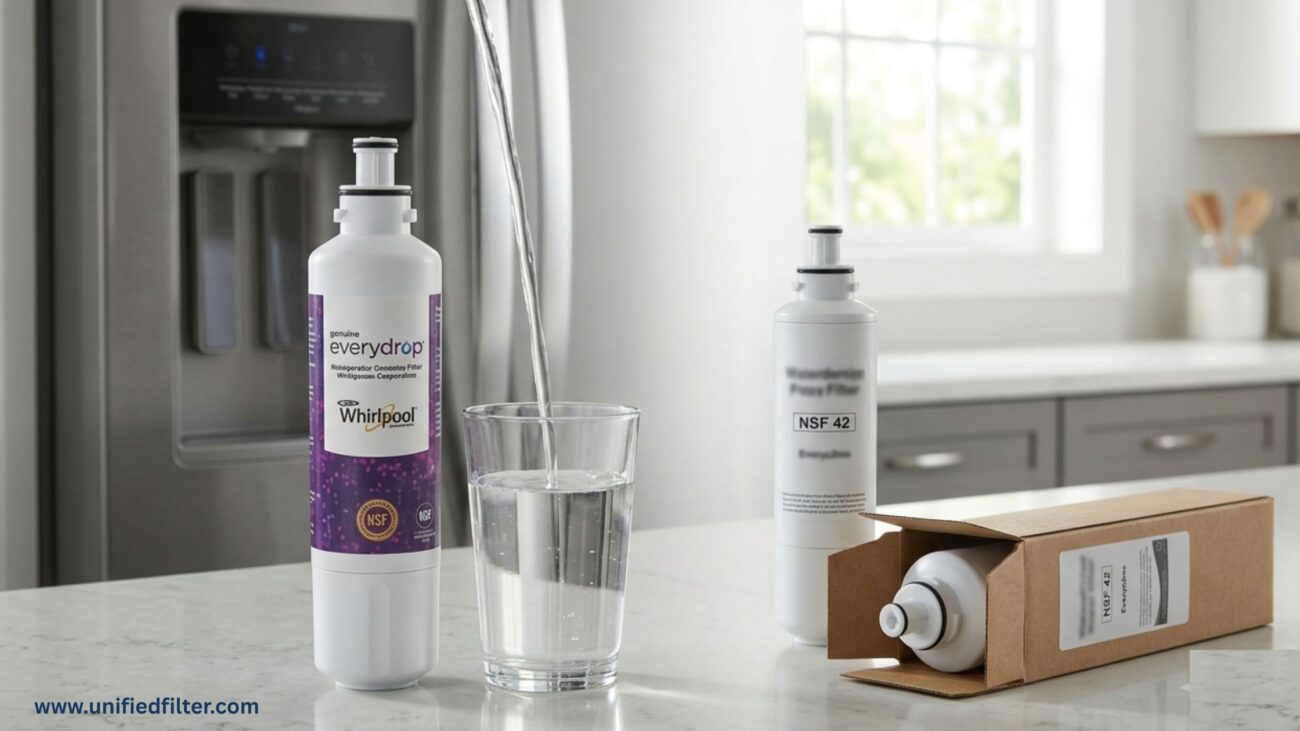
Rule Out Compatibility Issues
Not all filters perform the same way, even when they physically fit the housing.
Known Compatibility Issues
• EveryDrop, Denali, and AquaFresh WF287 filters sometimes have larger O-rings that prevent proper seating
• Kenmore 9082 has been reported to fit better in problematic units
• Bulk-pack defects have been documented. One user found two working filters in a 3-pack, but the third failed immediately
Quick Test
• Try a filter you know worked in the past
• Temporarily install a genuine GE filter to compare
📦 Source Matters: Filters purchased from vendors like Filters-Outlet have had batch defects. Contact support if a new filter fails right out of the package.
Manually Free a Stuck Check Valve
Force the Valve Open with Basic Tools
If the valve is jammed, it may need manual release before it will function normally again.
- Remove the filter from the housing
- Use needle-nose pliers or a small screwdriver to gently pull or push the nipple
- Move it in and out several times to free the mechanism
- Reinstall the filter and test the dispenser
⚠️ Caution: Apply gentle pressure only. Do not break the plastic cone.
Some users report the valve gets stuck closed after long periods of use or dry storage.
Replace the Filter Head Assembly
Install a New WR17X12469 Unit
If every other fix has failed, the filter head assembly itself is likely faulty.
Why Replacement Works
• Internal valves wear out over time
• Cracks develop in the plastic housing
• The check valve loses spring tension
• The part is inexpensive, typically $30 to $50
Replacement Steps
- Turn off the water supply and unplug the fridge
- Remove the rear panel and disconnect the water lines
- Unscrew the old filter head
- Install the new WR17X12469 unit
- Reconnect the lines and test the dispenser
✅ DIY-Friendly: Most users complete this repair in under 30 minutes with basic tools.
Rule Out Frozen Water Lines
Defrost the Door or Drain Line
Though rare in French Door models, ice buildup can block water flow and mimic a filter problem.
Signs of Freezing
• Water works after unplugging the fridge for several hours
• The dispenser works intermittently
• The ice maker is also affected
How to Fix It
- Turn off the fridge for 2 to 3 hours or run a manual defrost cycle
- Use a hairdryer on low heat to warm the dispenser nozzle (do not overheat)
- Check the drain pan for clogs. A blocked drain can cause ice in the door
❄️ Cold Environment Tip: Place cardboard insulation over the internal water lines if your fridge is in a garage or cold kitchen.
Prevent Future Filter Replacement Problems
Best Practices After Every Filter Change
| Step | Action |
|---|---|
| 1 | Inspect the housing before installing a new filter |
| 2 | Use GE genuine filters or known-compatible brands |
| 3 | Prime the filter in water before installation |
| 4 | Hold the dispenser for 5 minutes after the change |
| 5 | Reset the fridge if the dispenser does not respond |
| 6 | Add a washer if valve depression is inconsistent |
🔄 Maintenance Tip: Replace filters every 6 months. Overdue filters can damage internal seals and cause leaks.
When to Call a Technician
Seek professional help if any of these situations apply:
• Water leaks from the filter head after replacement
• No water flows even with the bypass plug installed
• Both the ice maker and dispenser fail after multiple fixes
• You suspect an electronic control board failure
📞 GE Support: Call 1-800-GECares or visit the GE Appliances website for model-specific help.
Frequently Asked Questions About GE Refrigerator Water Dispensers After Filter Replacement
Why does my GE refrigerator water dispenser stop working after I replace the filter?
The most common cause is that the new filter does not fully depress the check valve inside the filter head assembly. Without that depression, water cannot flow through the system. Other causes include air in the lines, packaging debris in the housing, and high water pressure.
How long should I run the water dispenser after changing the filter?
Hold the dispenser down for 4 to 5 minutes continuously. This purges trapped air from the filter and water lines. Some users need to dispense 6 to 8 full glasses before normal flow returns.
Can a new water filter cause the ice maker to stop working too?
Yes. The water dispenser and ice maker share the same supply line and filter housing. If the check valve is not fully depressed or air is trapped in the system, both features will stop working simultaneously.
Is it safe to use a non-GE brand filter in my GE refrigerator?
Many aftermarket filters work fine, but some brands (including EveryDrop, Denali, and AquaFresh WF287) have larger O-rings that prevent proper seating. If you experience problems, try a genuine GE filter or a Kenmore 9082 as an alternative.
What is the filter head assembly part number I need to replace?
The correct replacement part number is WR17X12469. This assembly includes the filter housing, internal valves, and connecting tubing. It typically costs between $30 and $50.
How do I know if my water pressure is too high for my GE fridge?
If your fridge makes a hammering or vibrating noise when the dispenser activates, your pressure is too high. The ideal household pressure is 40 to 60 psi. Install a pressure regulator or slowly close the supply valve until the noise stops.
Key Takeaways for Fixing Your GE Refrigerator Water Dispenser
The most common cause of a GE refrigerator water dispenser not working after filter replacement is incomplete depression of the check valve inside the filter head. The filter itself is rarely the actual problem. Simple fixes like adding a washer, removing debris, or resetting the fridge solve the majority of cases.
Start with the basics: reset the refrigerator, inspect the housing for styrofoam, and confirm the filter is fully seated. If those steps do not work, prime the filter, test your water pressure, and try a washer before replacing any parts. With the right sequence, you can restore water flow in under an hour without calling a technician.
Your next step is to work through the troubleshooting checklist from top to bottom. Most users find their fix within the first three or four steps.


