

Your Avalon water dispenser blinking red light often stops hot and cold water access instantly. This alert usually means an empty bottle or an expired filter depending on your model.
This guide helps you identify the specific cause and apply the correct fix within minutes. You will learn precise reset steps and how to prevent future alerts effectively.
Decode the Red Light Location on Your Model
The meaning of your avalon water dispenser blinking red light depends entirely on where the light appears. Misidentifying the location leads to wasted time replacing parts you do not need.
Top-Loading vs Bottleless Model Differences
Top-loading units flash red when the source bottle runs dry. Bottleless models alert you when internal filters expire or need a timer reset.
- Top-Loading Units: Flashing red light on the right side indicates an empty bottle.
- Bottleless Units: Flashing red light near a filter icon signals a filter change or reset need.
Visually inspect your machine to determine if you load bottles from the top or connect directly to plumbing.
Right-Side Flash Means Empty Bottle
A red light flashing on the right side means the pump detects no water flow. This happens because the bottle is empty or the probe seal is loose.
The cabinet door must also be fully closed to complete the electrical circuit. An open door prevents the pump from activating even with a full bottle.
Filter Icon Flash Requires Reset
When the red light appears near a filter symbol, the internal timer has reached its limit. This typically occurs after six months or 500 gallons of use.
Units connected to reverse osmosis systems may trigger this falsely since they lack a physical filter. You must manually reset the timer to clear the alert.
Reset the Filter Indicator Light Correctly

If your avalon water dispenser blinking red light is near a filter icon, you need to reset the internal timer. This process applies to bottleless models or filtered units using pre-purified water.
Locate the Reset Button Inside Compartment
Open the filter compartment door to access the housing area. The reset button location varies by specific model design.
- Look for a small white button on the back of the filter housing.
- Find a recessed Reset button inside the compartment that may need a pen tip.
Ensure the unit remains plugged in during this process or the reset will fail.
Hold Button for Five to Seven Seconds
Press and hold the reset button firmly to clear the internal counter. You must maintain pressure for the full duration to ensure success.
- Duration: Hold for 5 to 7 seconds continuously.
- Visual Confirmation: The red light will turn green or shut off completely.
Do not release the button early even if the light behavior changes initially.
Verify Reset Success or Repeat
Release the button and observe the indicator status immediately. If the light turns green or off, the reset is complete.
If it continues blinking, repeat the process while ensuring firmer pressure. Some models require multiple attempts to register the command.
Fix Empty Bottle Flashing Light Issues

A red light flashing on the right side of a top-loading Avalon dispenser means the unit detects no water. Resolving this requires checking the bottle, probe, and door.
Install a Full Water Bottle
Begin by replacing the empty bottle with a new, full one. Use only clean bottles to prevent leaks or pressure issues inside the unit.
Even a partially full bottle may not provide enough pressure for the pump to engage properly.
Adjust Probe for Three-Gallon Bottles
The probe must form an airtight seal with the bottle neck to function correctly. You must adjust the collar for 3-gallon bottles specifically.
- Press the two tabs at the top of the probe collar.
- Slide the collar down to fit the narrower neck diameter.
- Reattach securely until you hear a distinct click.
Failure to adjust causes air leaks that keep the red light active despite a full bottle.
Secure Cabinet Door Completely
The pump will not activate unless the cabinet door is fully closed and latched. Listen for an audible click when shutting the door.
Check that the top-left button inside the cabinet is fully depressed. A misaligned door is a leading cause of persistent flashing alerts.
Confirm Water Flow and Pump Activation
After fixing the trigger for the avalon water dispenser blinking red light, verify that water flows. This confirms the system is working before you check temperature functions.
Dispense Water to Prime Line
Press the water paddle to release a small amount of water immediately. This action clears any airlocks in the line and ensures water reaches internal tanks.
If no water dispenses after 30 seconds, recheck the probe attachment and door closure.
Check Cold Tank Water Level
If flow remains absent, unplug the unit and remove the back cover. Open the cold tank cover to visually confirm water presence inside.
No water indicates the pump is not activating. Return to probe and door checks to resolve the issue.
Wait for Temperature Stabilization Period
After resolving the avalon water dispenser blinking red light, hot and cold functions will not work immediately. Temperature tanks require time to reach operating levels safely.
Hot Water Takes Fifteen to Twenty Minutes
The hot tank needs 15 to 20 minutes to heat up to the target temperature. During this time, the hot water indicator may stay on or blink.
No hot water will dispense until the target temperature is reached. Do not attempt to speed up heating as this risks electrical damage.
Cold Water Takes Up to Sixty Minutes
The cold tank cools more slowly than the hot tank heats. Full cooling takes up to one hour depending on ambient room temperature.
The cold light remains active during this cooldown period. Avoid opening the cabinet during this time as heat ingress slows cooling.
Run Monthly Ozone Self-Cleaning Cycle
Prevent sensor errors and internal buildup with regular sanitation cycles. The ozone cycle cleans internal water paths and helps prevent false alerts.
Start the Cleaning Process
Locate the black switch on the back-left of the unit to begin. Press and hold this switch for 3 seconds to activate the cycle.
The first indicator light will begin blinking to confirm the cleaning process has started successfully.
Do Not Use for Ninety Minutes
The cleaning cycle lasts 90 minutes and requires the unit to remain undisturbed. Do not dispense water or open the cabinet during this window.
Perform this maintenance monthly to maintain hygiene and system reliability over time.
Troubleshoot Water Not Dispensing After Reset
If the red light stops but no water comes out after one hour, deeper mechanical issues may exist. Safety is your primary concern during inspection.
Unplug Before Internal Inspection
Unplug the unit immediately before attempting any internal checks. Wait 30 seconds to ensure all electrical components are safe to touch.
This step prevents electrical hazards while you inspect internal mechanisms.
Check Dispensing Rod Alignment
Remove the two screws on the upper back panel to access the interior. Inspect the three rods linking buttons to spouts for alignment.
Ensure they are straight and not bent or obstructed. Misaligned rods prevent paddle actuation and stop water flow.
Fix Leaks From Spouts or Cabinet
Leaks can mimic low-water symptoms and trigger alerts if internal sensors detect moisture. Clear blockages to restore proper function.
Clear Spout Valve Blockages
If water drips from the spout, debris may be preventing the valve from sealing. Press the paddle to open the valve slightly.
Insert a paper clip into the spout opening to gently dislodge debris. Wipe clean and test the dispenser again.
Repair Cold Tank Cover Seal
Internal cabinet leaks often stem from the cold tank cover seal. Unplug the unit and remove the back cover to inspect.
- If wires are intact: Reposition the rubber seal and press the cover firmly into place.
- If wires are damaged: Replace the entire cover assembly following manufacturer instructions.
Prevent Future Red Light Alerts
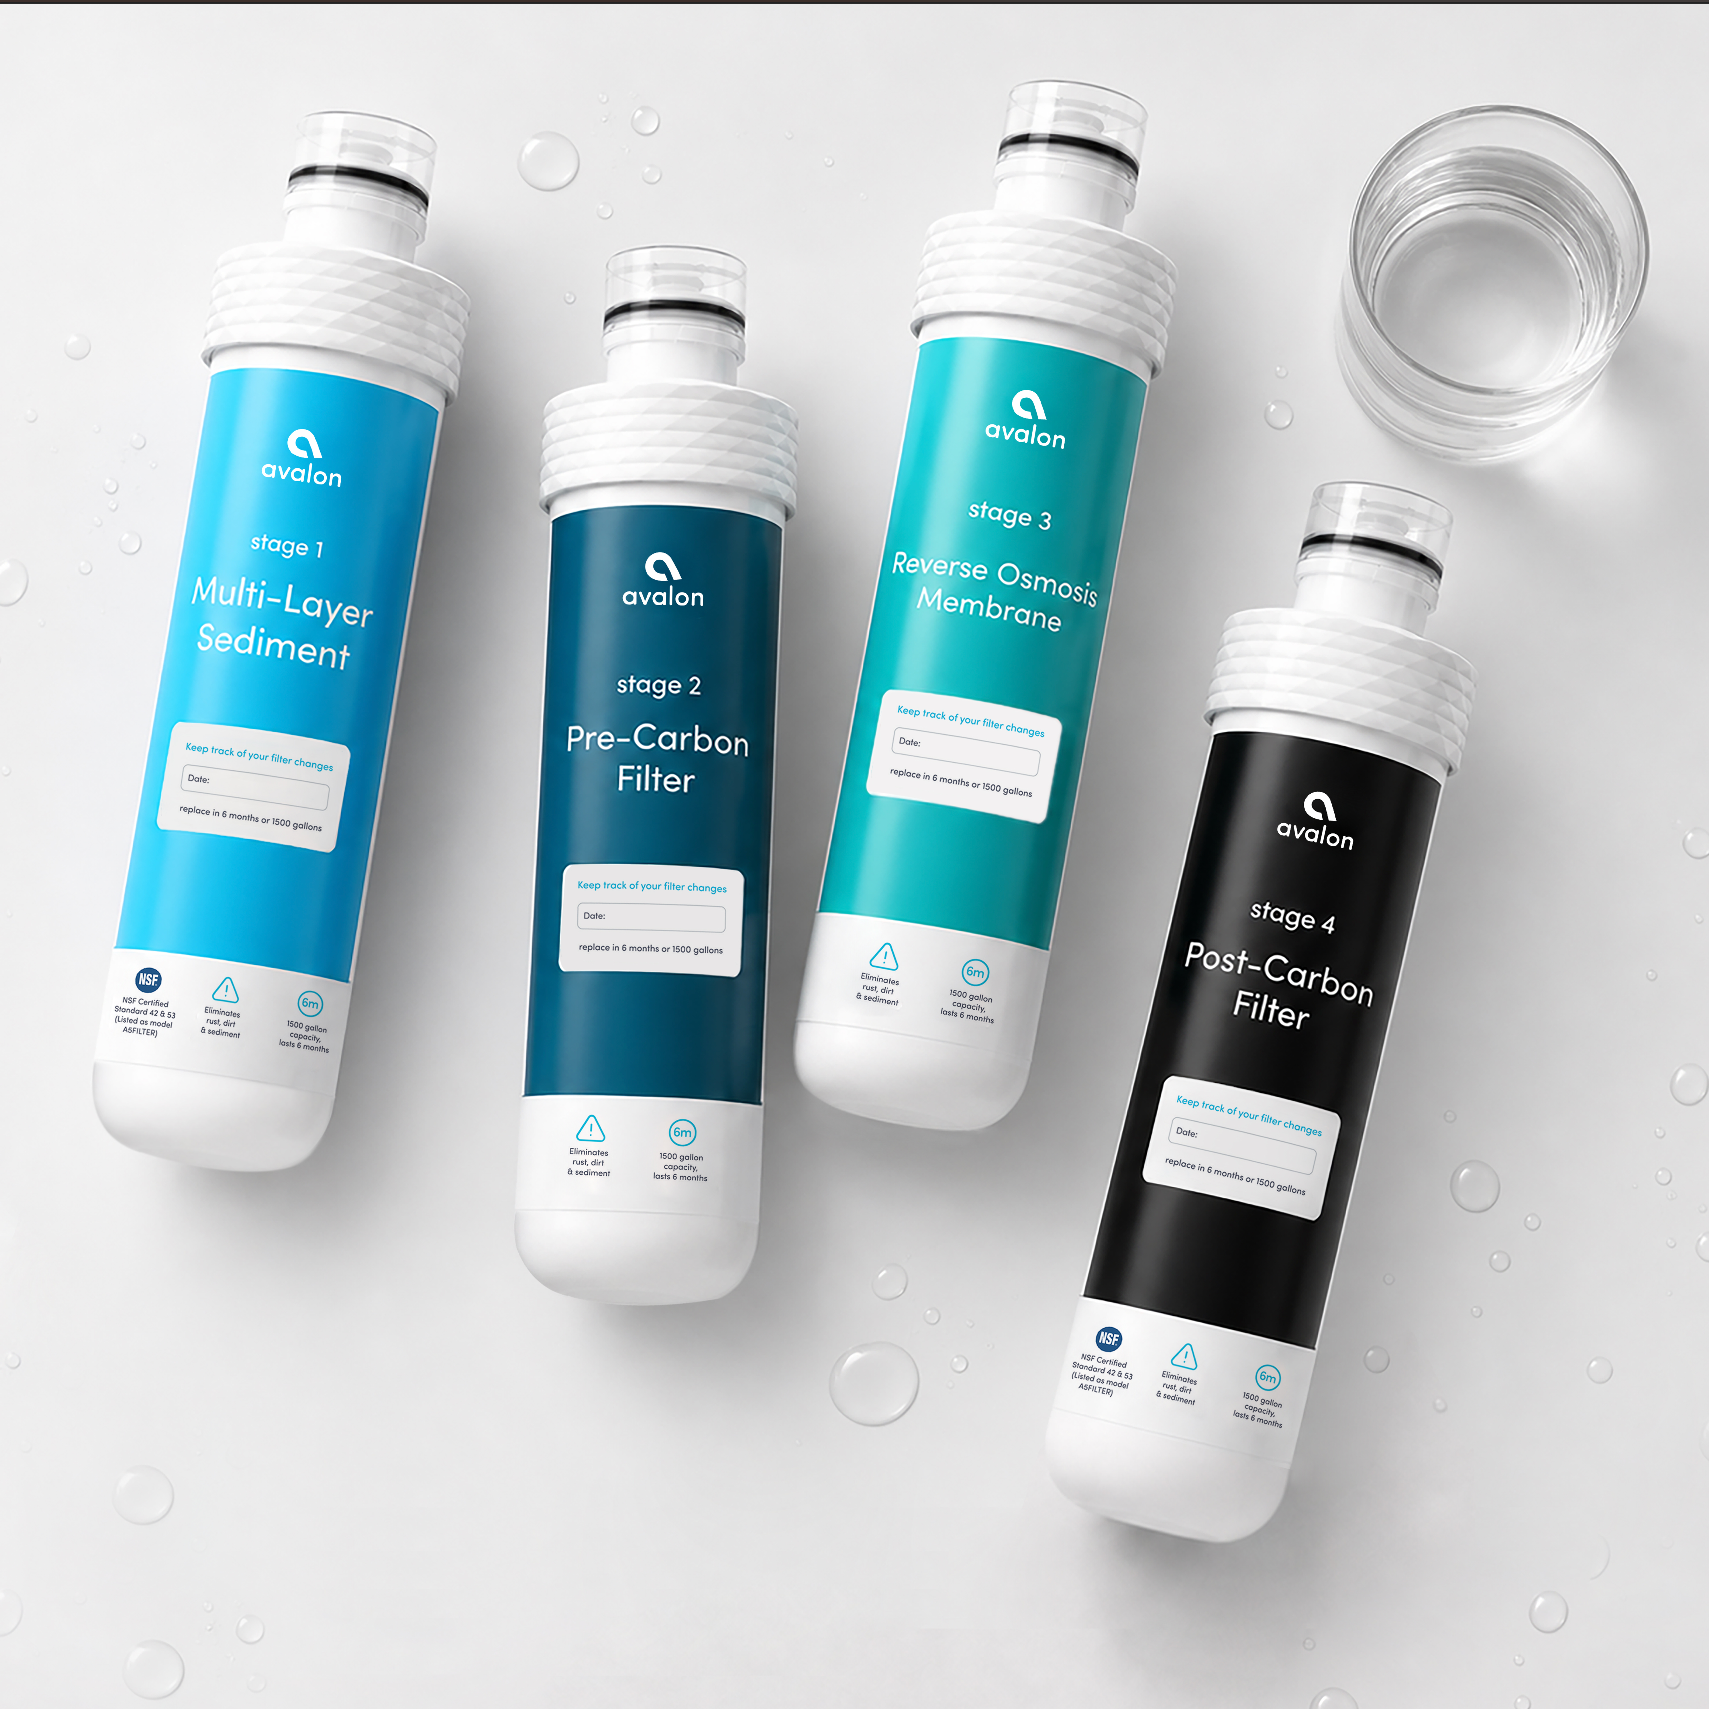
Avoid recurring issues with proactive habits and correct setup procedures. Proper maintenance reduces the frequency of alerts significantly.
Use Correct Bottle Size Settings
Always adjust the probe collar for 3-gallon bottles explicitly. Using the default 5-gallon setting causes poor seals and false empty alerts.
Listen for Cabinet Click Sound
The audible click when closing the door is your best diagnostic tool. No click means no pump activation and a flashing red light.
Reset Filter Timer Proactively
For RO-connected units, reset the filter light immediately after installation. Repeat every six months even without a physical filter to prevent unexpected alerts.
Frequently Asked Questions About Avalon Red Light Errors
Why is my Avalon water dispenser blinking red light after changing the bottle?
The probe may not be sealed properly or the cabinet door is not fully closed. Ensure you hear a click when closing the door and adjust the probe collar for smaller bottles.
How do I reset the filter light on my bottleless Avalon dispenser?
Locate the reset button inside the filter compartment and hold it for 5 to 7 seconds. The light will turn green or go off when the reset is successful.
Can I use my dispenser while the ozone cleaning cycle is running?
No, you must not use the machine during the 90-minute cleaning cycle. Operating the unit during this time interrupts the sanitation process.
How long does it take for water to get cold after a reset?
The cold tank takes up to 60 minutes to reach the target temperature. The hot tank heats up faster, typically within 15 to 20 minutes.
What causes the red light to flash if the bottle is full?
An improper seal on the probe or an open cabinet door often causes this issue. Check the probe collar adjustment and ensure the door latches with a click.
Key Takeaways for Fixing Your Avalon Water Dispenser Blinking Red Light
The avalon water dispenser blinking red light is a specific alert system designed to protect your unit. Identifying whether it signals an empty bottle or a filter timer allows you to apply the correct fix quickly.
Follow the proper reset procedures and wait for temperature stabilization to restore full function. Regular maintenance like ozone cleaning and checking probe seals prevents most future issues.


