
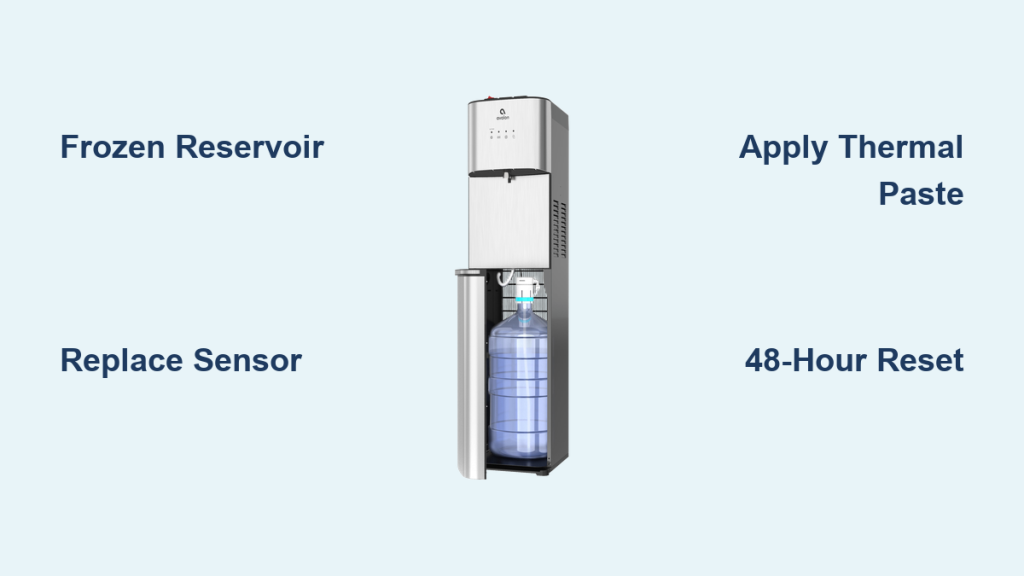
Is your Avalon water dispenser cold not working while the hot side still functions perfectly? This frustrating issue usually stems from a frozen water reservoir caused by a faulty temperature probe rather than a broken compressor. The sensor fails to tell the cooling system to stop, freezing the water solid inside the tank.
You can solve this problem with a simple repair that takes about an hour and costs less than fifteen dollars. This guide walks you through diagnosing the freeze, replacing the defective sensor, and restoring full cold water functionality to your unit.
Confirm Frozen Reservoir Before Disassembly
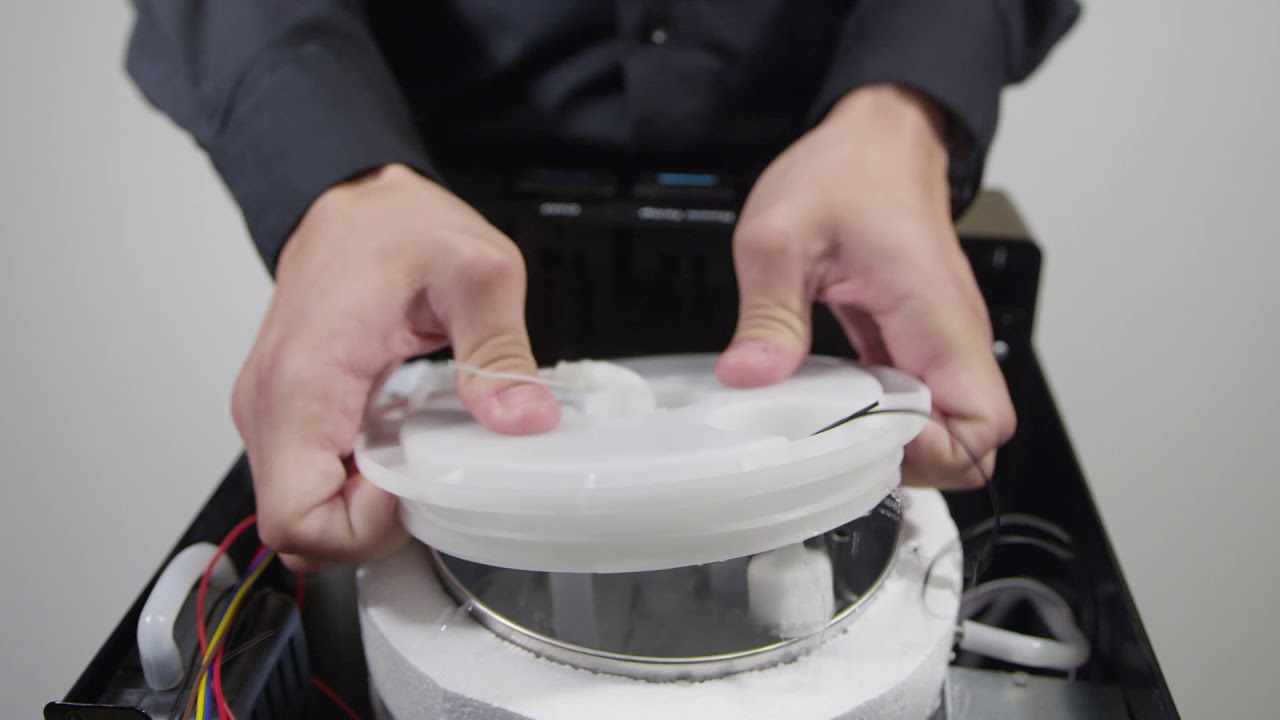
Verifying the root cause prevents unnecessary work on your machine. A frozen reservoir is the most common reason an Avalon water dispenser cold not working complaint arises when hot water remains available.
Check Hot Water Functionality First
Test the hot water tap to ensure the unit has power and water pressure. If hot water flows normally but cold water does not, the blockage is likely ice within the cold tank. This specific symptom pattern confirms the cooling system is running too long.
Perform the 48-Hour Reset Test
This diagnostic step determines if ice is blocking your flow without opening the machine.
- Locate the cooling system switch on the back panel of the dispenser.
- Flip the switch to the Off position immediately.
- Wait exactly 48 hours to let any internal ice melt naturally.
- Turn the switch back to On and test the cold water tap.
Cold water flowing freely after this wait confirms a frozen reservoir. If the water stops flowing again quickly, the temperature sensor has failed and requires replacement.
⚠️ Warning: Never use heat guns or boiling water to speed up thawing. Excessive heat can warp the plastic reservoir and cause permanent leaks.
Gather Tools and Parts for Sensor Replacement
Replacing the faulty temperature probe resolves the core issue permanently. You need specific items to ensure the new sensor reads temperatures accurately and lasts.
Required Components List
| Item | Purpose | Estimated Cost |
|---|---|---|
| Temperature sensor probe pack | Replace the faulty unit | ~$10 |
| Thermal conductive paste | Ensure accurate heat transfer | ~$5 |
| Phillips and flathead screwdrivers | Remove access panels | Household item |
| Wire strippers | Prepare wire ends for splicing | Household item |
| Electrical tape | Insulate wire connections | Household item |
| Packing tape | Secure the new probe in place | Household item |
🔧 Pro Tip: Purchase a pack of probes instead of a single unit. They are inexpensive and useful for future repairs on other dispensers.
Remove Back Panel to Access Internals
Safe disassembly protects you from electrical shock and prevents damage to the dispenser casing. Follow these steps to expose the internal reservoir.
Power Down and Unplug Unit
Disconnect the power cord from the wall outlet before touching any screws. This critical safety step prevents electrical shock while you work inside the machine.
Remove Rear Lid and Internal Covers
Start by removing the two screws at the top of the back panel. Lift the lid gently to release the plastic clips holding it in place. Next, locate the small black plastic cover behind the main panel and remove its four securing screws. Pop this cover off to see the wiring controls.
Detach Main Back Panel Completely
Remove the four remaining screws located on the sides and near the base of the unit. Watch for a small rubber grommet that may fall out during this process. Set it aside safely for reassembly. Gently pull the entire back panel away to reveal the insulated reservoir.
Extract Water Reservoir from Unit
The reservoir sits wrapped in styrofoam insulation that must be removed carefully.
Cut Insulation Tape Seams
Locate the styrofoam insulation surrounding the water tank. Use scissors to cut the tape along the center seam on both sides of the foam. Peel back any tape securing the wire harness to the insulation to free the cables.
Lift Out Reservoir Carefully
Lift and wiggle the reservoir out of the chassis with gentle movements. Avoid bending or kinking the water tubes as they are fragile and prone to cracking. Disconnect the wire harness from the base of the reservoir to fully free it.
🛠️ Visual Cue: Look for moisture or frost residue around the reservoir. This confirms the water inside has been freezing previously.
Remove Old Temperature Probe
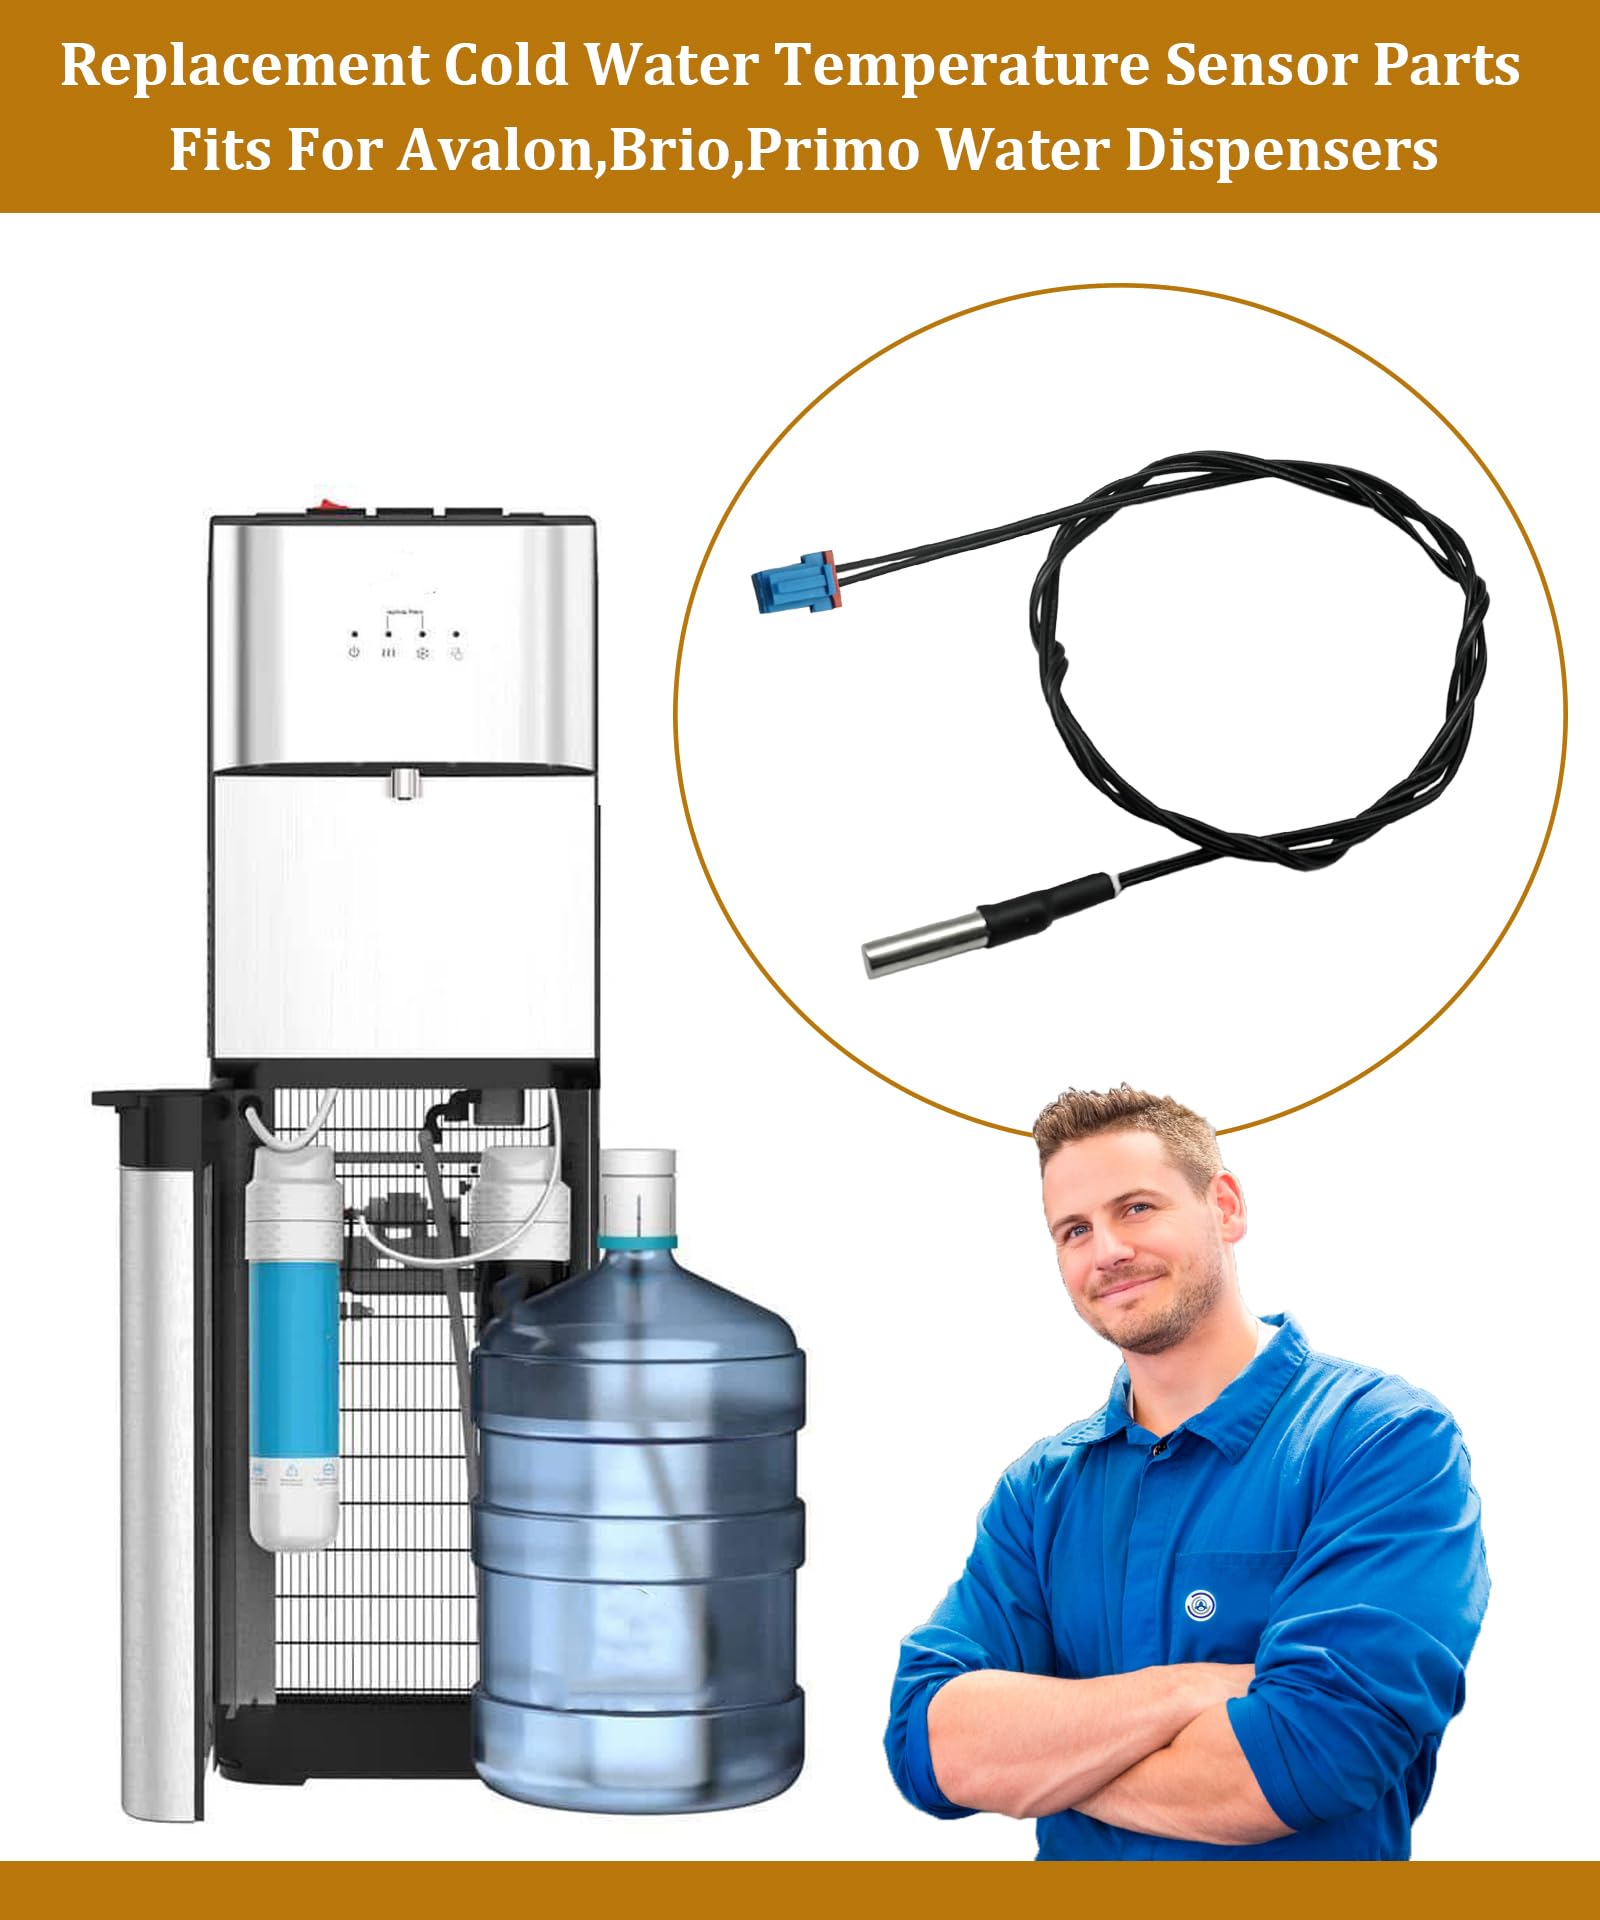
The defective sensor sits at the bottom of the reservoir and must be extracted without damaging surrounding components.
Locate Gray Adhesive Seal
Find the gray rubber seal in the bottom right corner of the reservoir thermal well. This seal covers the housing for the temperature probe.
Pull Back Seal and Extract Probe
Gently peel back the gray seal to expose the metal thermal well underneath. Identify the thin black wire entering the well. This is the old temperature probe. Pull it straight out of the well carefully.
❗ Caution: Do not cut the internal wiring of the unit itself. Only remove the probe from the well housing.
Install New Temperature Probe Correctly

Proper installation ensures the new sensor reads temperatures accurately to prevent future freezing.
Apply Thermal Conductive Paste
Apply a generous and even layer of thermal paste to the tip of the new probe using the included spatula. This paste fills microscopic gaps between the probe and the metal well for precise heat transfer.
✅ Critical Step: Skipping thermal paste causes inaccurate readings. Your new probe will fail prematurely without it.
Insert and Secure New Probe
Slide the new probe fully into the same thermal well where the old one sat. The original gray seal will not stick effectively after removal. Wrap the probe base and seal area tightly with packing tape to hold it firmly in place.
🔒 Why Tape? A loose probe shifts position. This leads to inconsistent contact and false temperature signals that cause freezing.
Splice Wires for Reliable Connection
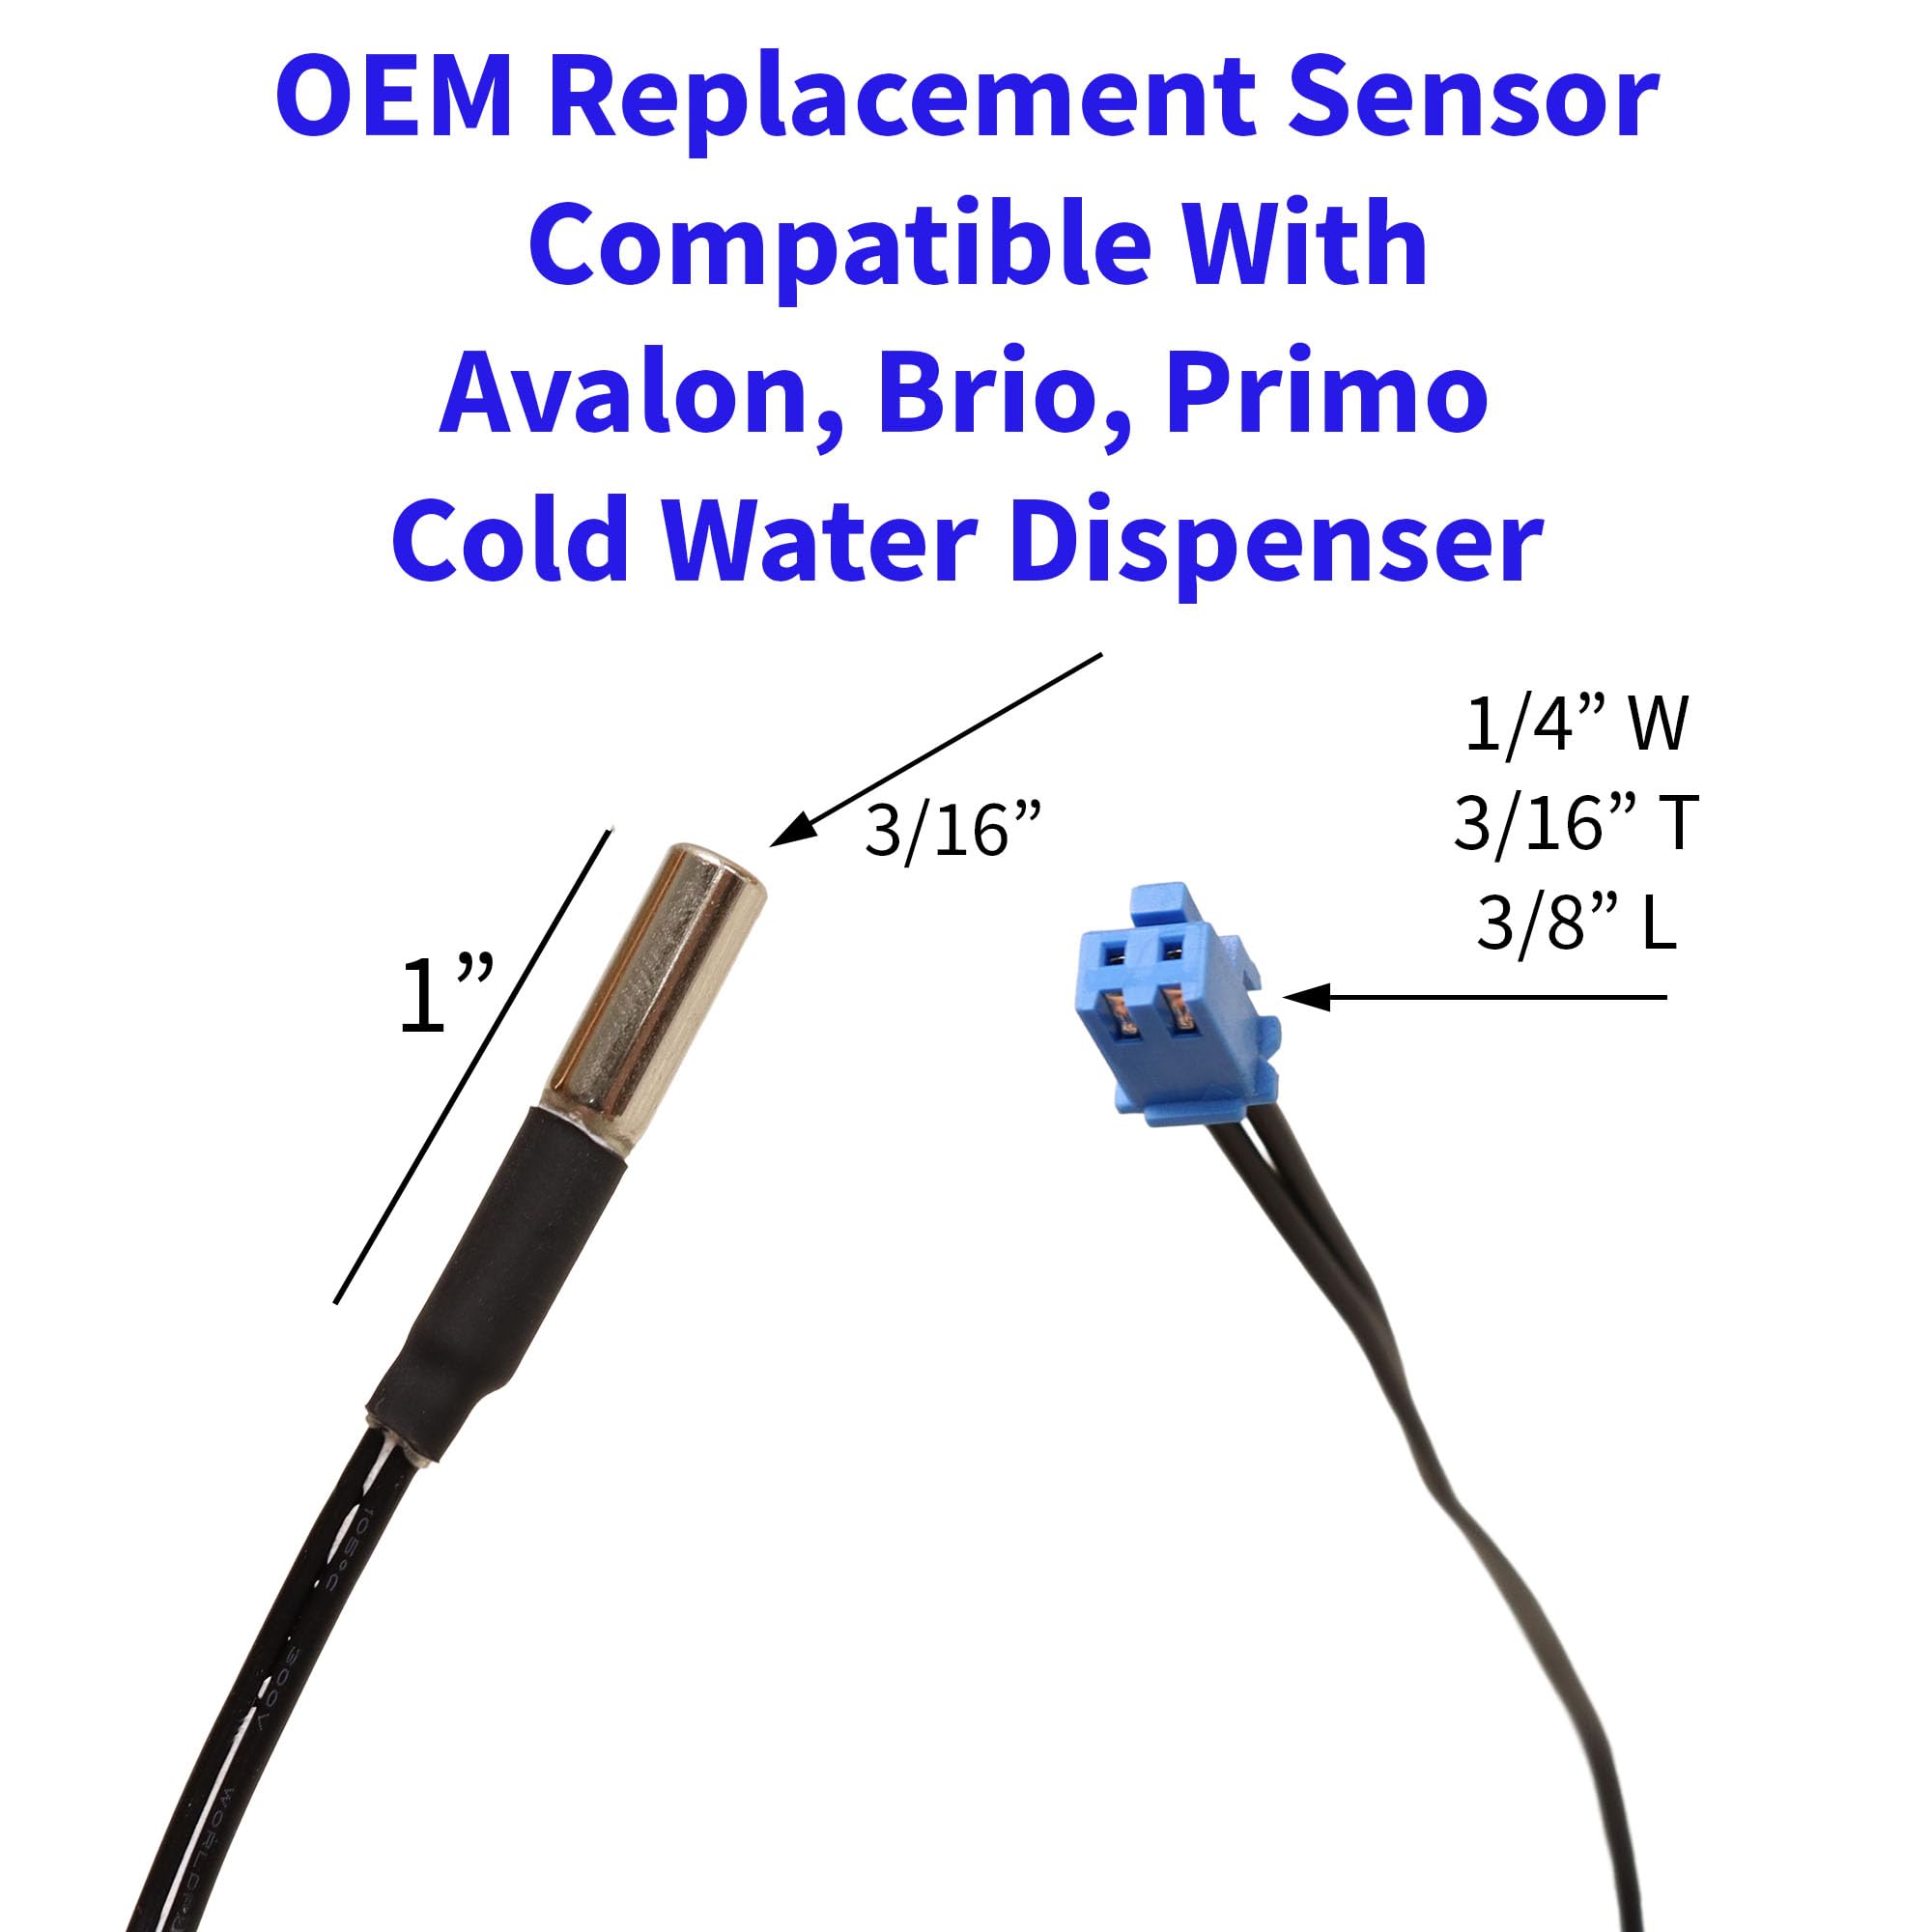
Splicing the wires creates a more durable connection than reusing the old plastic connector.
Cut Off Connector and Strip Wires
Cut the plug end off the new probe wire as close to the base as possible. Strip one inch of insulation from both wires of the new probe. Strip one inch of insulation from the two corresponding wires on the unit harness.
Twist and Insulate Connections
Twist the matching wires together. Polarity does not matter for this sensor. Fold one wire over the twisted section and twist again for mechanical strength. Repeat for the second wire. Wrap each connection tightly with electrical tape. Tape both wires together along their length to prevent snagging.
✅ Pro Move: Stretch the electrical tape slightly as you wrap. This activates the adhesive for a tighter and more durable seal.
Reassemble Unit Carefully
Reverse the disassembly process to close up your Avalon water dispenser.
Reinstall Reservoir and Insulation
Slide the reservoir back into position ensuring no tubes are kinked. Reconnect the wire harness to the base. Reattach the styrofoam panel and seal all seams with tape to maintain cooling efficiency.
Reattach Back Panel and Covers
Align the main back panel and insert the four side and bottom screws. Replace the rubber grommet if it was removed. Snap the small black plastic cover back into place and secure it with its four screws. Reattach the main rear lid and fasten the final two screws.
Test Cold Water After 4 Hours
Allow the system to stabilize before determining if the repair was successful.
Power On and Wait
Plug the unit back in and turn the cooling switch to On. Wait 3 to 4 hours before testing. This gives the compressor time to cool the water properly without freezing it.
⏱️ Do Not Rush: Testing too early may lead to false conclusions about the repair success.
Dispense and Evaluate Results
Try both the Cold and Cool settings after the wait time. Water should flow freely and feel cold. If no water comes out, turn off the cooling switch and wait another 24 hours as residual ice may remain.
❌ Still Freezing? Check your thermal paste application, probe seating, and wire connections if the issue persists.
Prevent Future Freezing Issues
Extend the life of your dispenser with smart maintenance habits.
Keep Spare Probes on Hand
This failure commonly occurs every 12 to 18 months. Keep a pack of replacement probes and thermal paste in stock. This is especially useful if you manage multiple units.
Avoid External Heat During Thaw
Never use boiling water or heat guns to melt ice. These methods can crack or warp the reservoir. Always use the 48-hour power-off method for safety.
Monitor Early Signs
Act fast if cold water flow slows down. Turn off the cooling switch and let the unit sit for 24 to 48 hours. Investigate the probe before a full ice blockage occurs.
Frequently Asked Questions About Avalon Water Dispenser Cold Not Working
Why is my hot water working but cold water is not?
This pattern indicates a frozen reservoir rather than a power failure. The cooling system runs continuously due to a bad sensor, freezing the water blockage while the hot tank remains unaffected.
How much does it cost to fix a frozen Avalon dispenser?
The repair typically costs around $15 for parts including a new temperature probe and thermal paste. This is significantly cheaper than replacing the entire unit or hiring a professional technician.
Can I use a hair dryer to melt the ice faster?
No, you should never use a hair dryer or heat gun. High heat can warp the plastic reservoir and cause leaks. The safest method is turning the cooling switch off for 48 hours.
How often do Avalon temperature probes fail?
These sensors typically fail after 12 to 18 months of regular use. Keeping a spare probe on hand is recommended for owners of these units to address future issues quickly.
Is thermal paste really necessary for the new probe?
Yes, thermal paste is mandatory for accurate temperature readings. Without it, the probe cannot sense the water temperature correctly, leading to the same freezing problem returning quickly.
Key Takeaways for Fixing Your Avalon Water Dispenser

The “Avalon water dispenser cold not working” issue is almost always a frozen reservoir caused by a failed temperature probe. You can fix this permanently by replacing the sensor, applying thermal paste, and securing the new probe with packing tape. This simple repair restores full functionality and saves you the cost of a new machine.
Act quickly when you notice reduced cold water flow to prevent severe ice blockages. With the right parts and careful installation, your dispenser will provide cold water reliably for years to come.


