
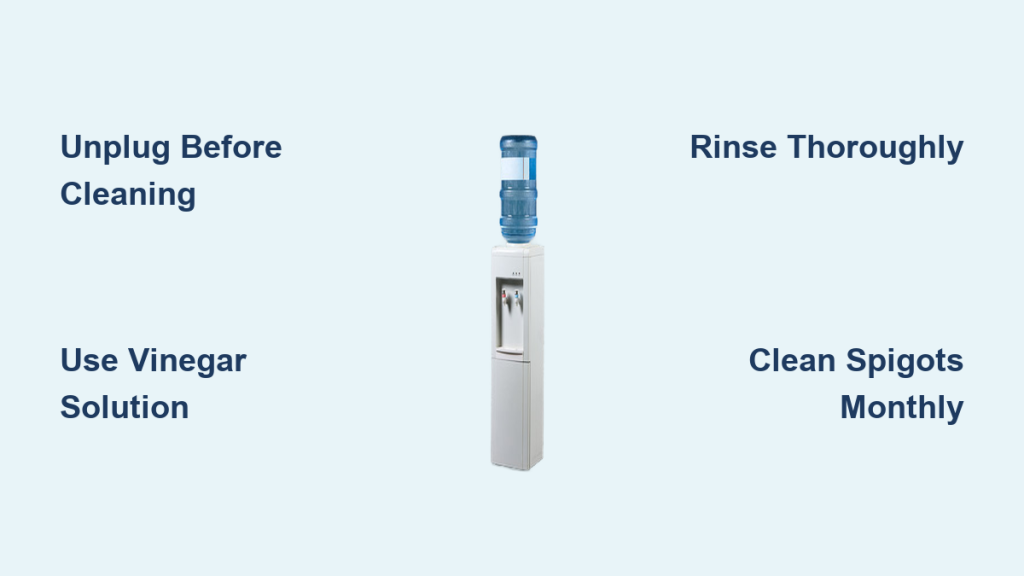
Does your water dispenser smell musty or deliver water with a strange, stale taste? These are clear signs that bacteria, mold, and mineral deposits have built up inside the unit. Even if your water source is clean, the internal reservoir and spigots can become a breeding ground for harmful contaminants if you ignore them.
You need to know how to sanitize water dispenser units properly to ensure your family stays healthy. This guide covers the safest methods using vinegar or bleach, step-by-step instructions for top and bottom-loading models, and a maintenance schedule to keep your water fresh year-round.
Essential Safety Steps Before Cleaning Your Dispenser
Safety is the priority when working with electricity and cleaning agents near water sources. You must take specific precautions to protect yourself and the machine before applying any solution.
Unplug the Unit Immediately
Always disconnect the power cord from the wall outlet before starting. This prevents electrical shocks and protects the internal heating elements from damage while the tank is empty.
Wear Proper Protective Gear
Protect your skin and eyes when handling cleaning solutions like vinegar or bleach.
* Wear disposable gloves to prevent skin irritation.
* Use safety glasses with side shields to block splashes.
* Consider a waterproof apron to keep your clothes dry.
Drain All Remaining Water
Remove the water bottle and open both hot and cold taps to drain the reservoir completely. For bottom-loading models, shut off the water supply line first. Let the unit empty fully into a bucket before adding any cleaning mixture.
Choosing the Right Sanitizing Solution for Your Model
Selecting the correct cleaning agent depends entirely on whether your dispenser has a hot water function. Using the wrong chemical can damage components or create dangerous fumes.
White Vinegar for All Units
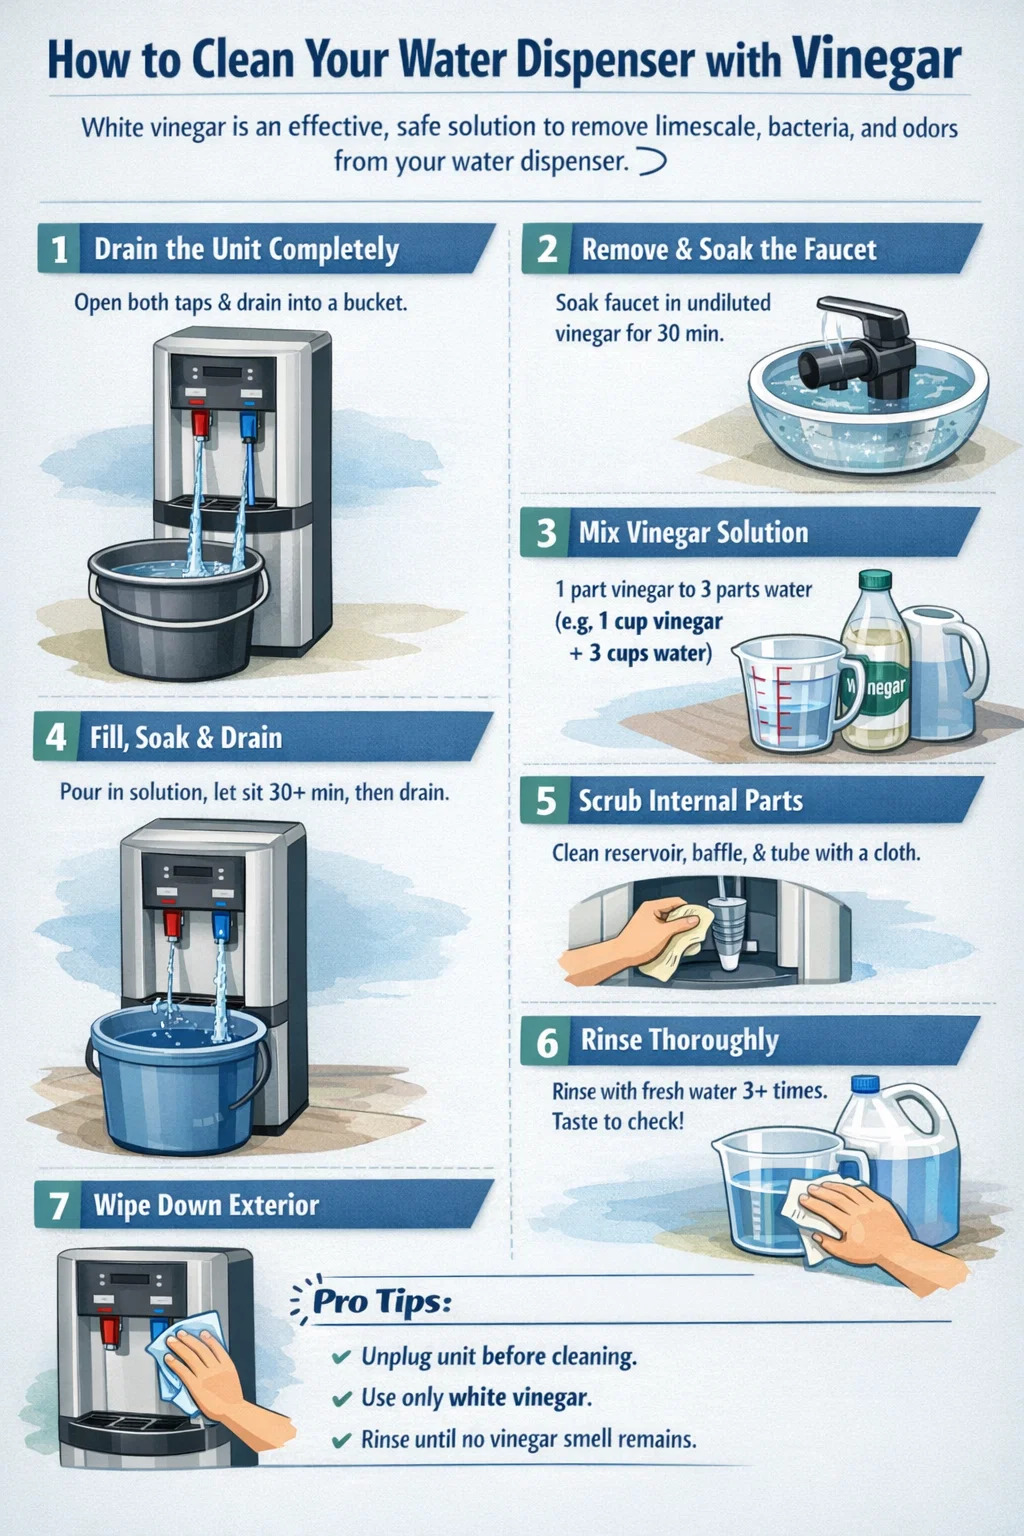
Distilled white vinegar is the safest choice for every dispenser type, including those with hot water tanks. It effectively dissolves limescale and kills bacteria without leaving toxic residues. You can mix two cups of vinegar with hot tap water in a clean five-gallon bottle for a full system flush.
Diluted Bleach for Cold-Only Coolers
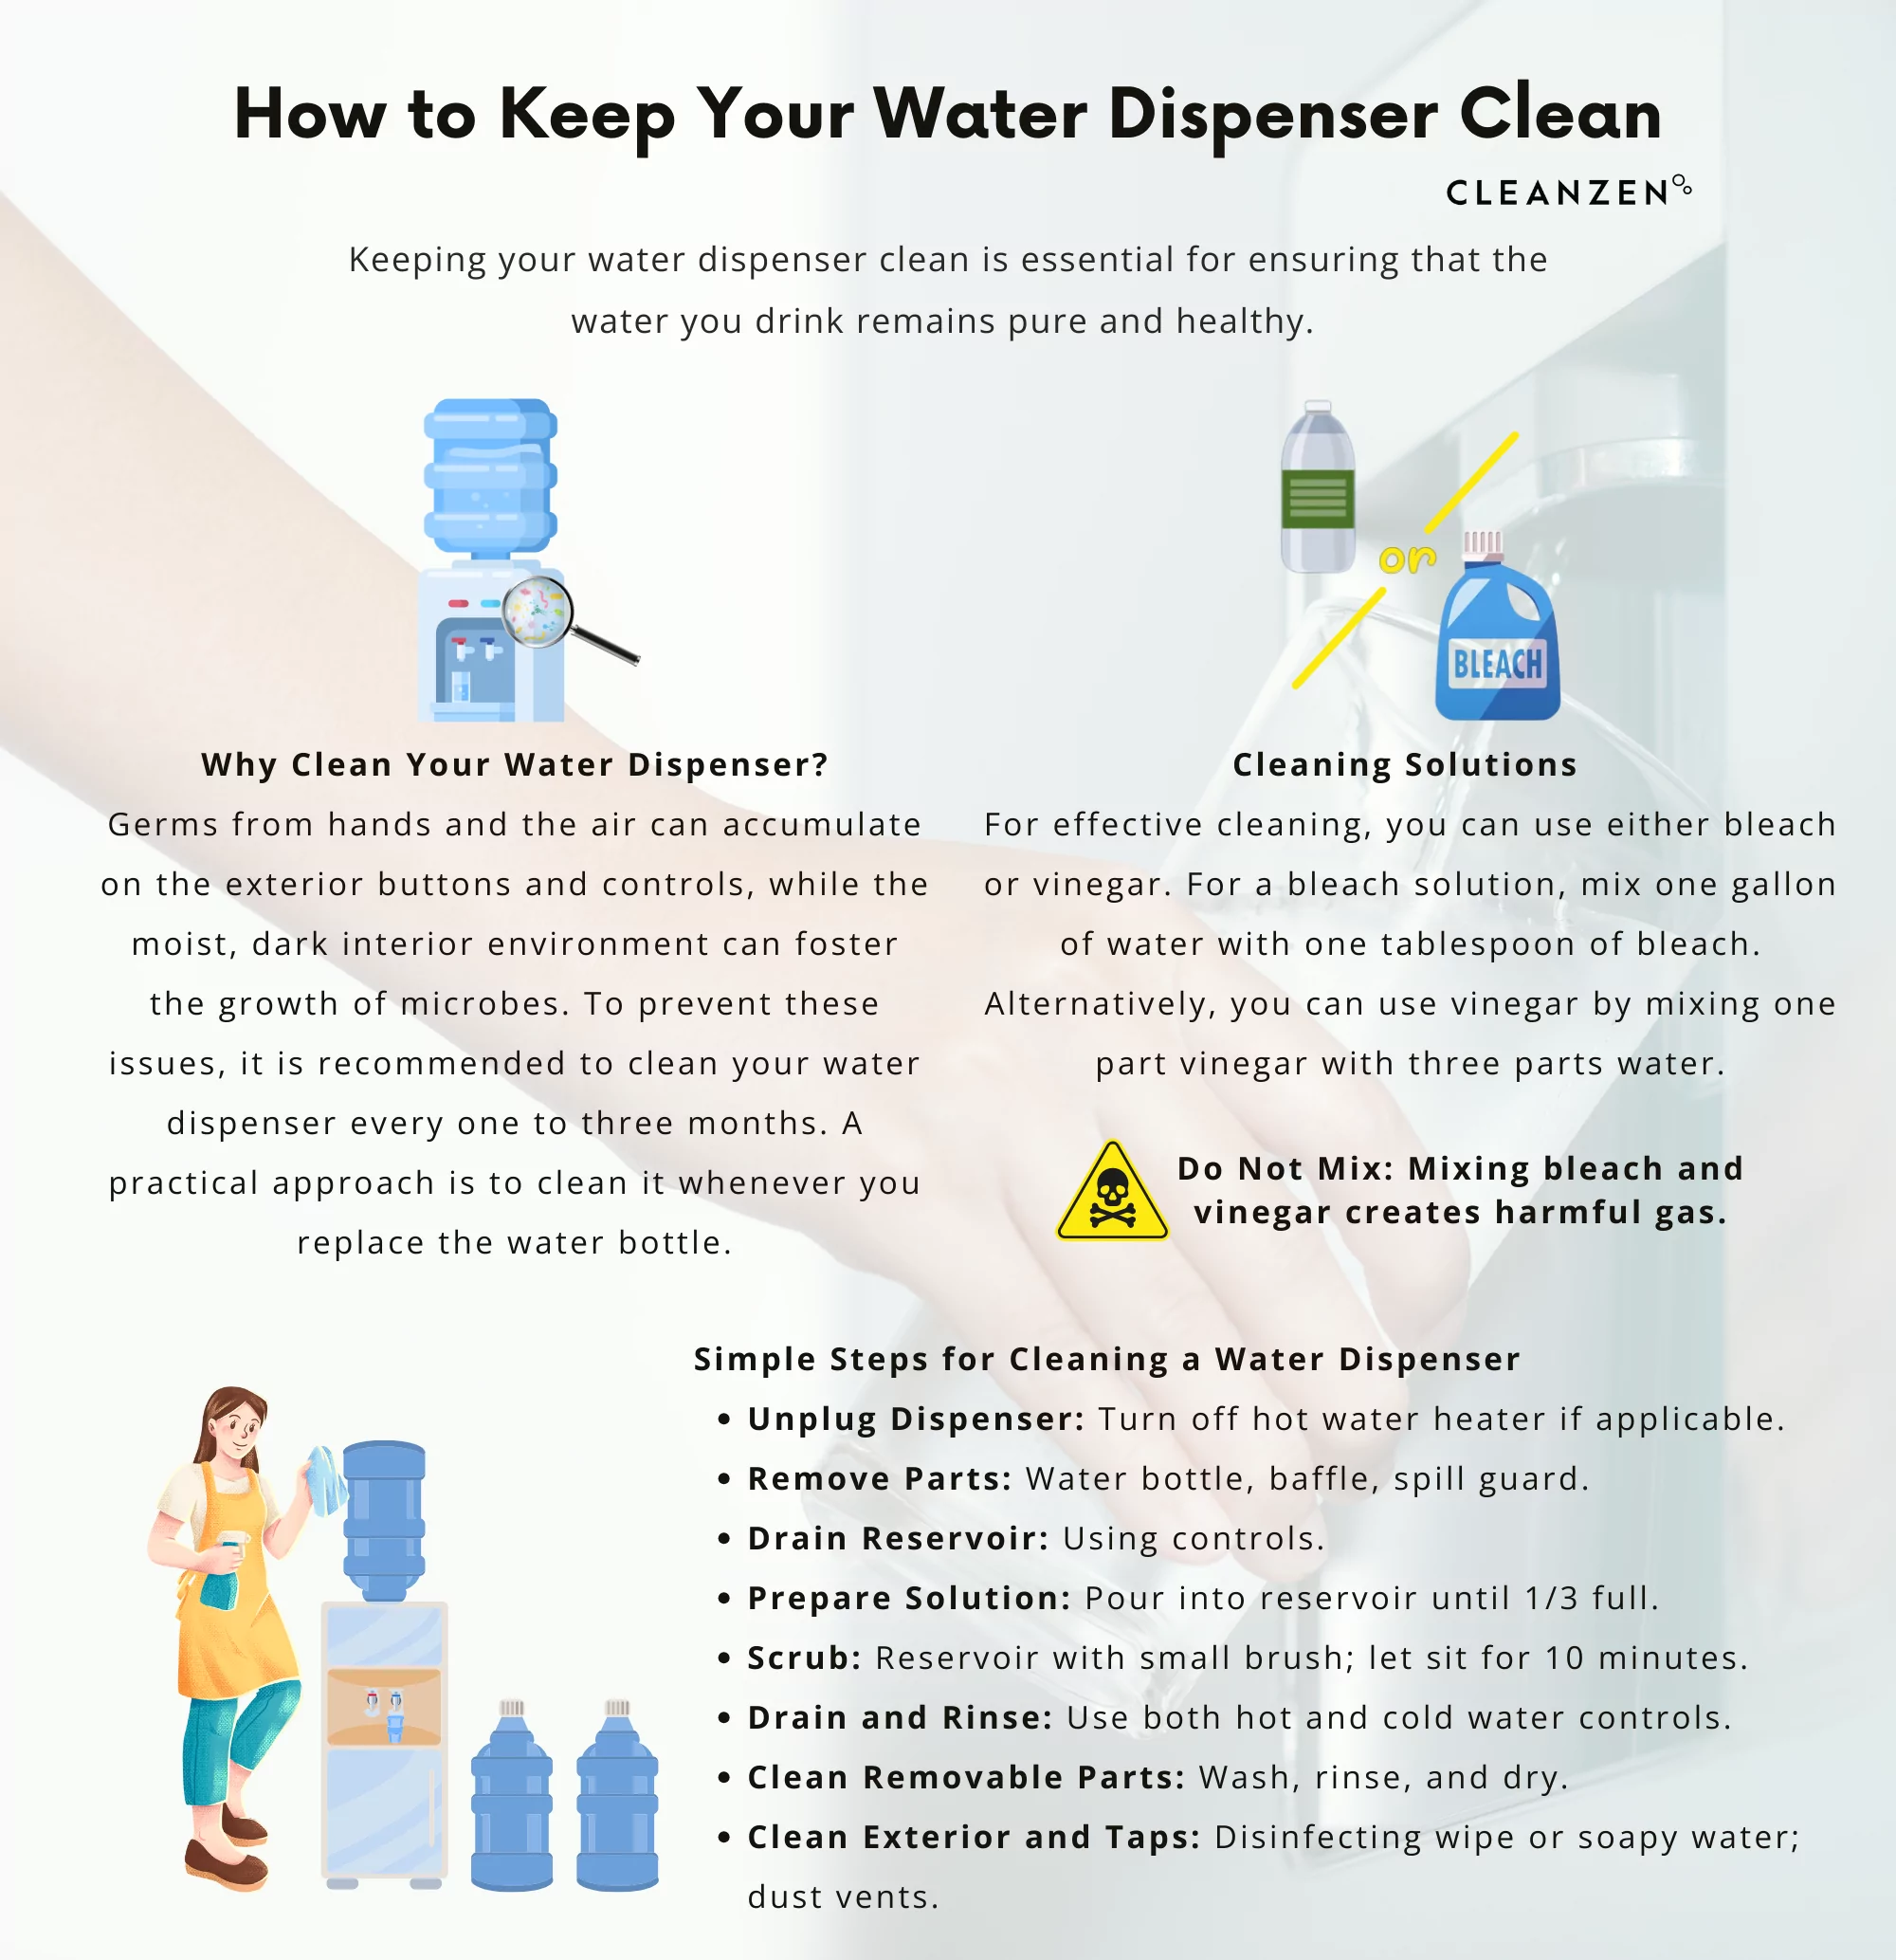
Use a bleach solution only if your unit dispenses cold water exclusively. Mix half a teaspoon of unscented household bleach with four cups of water. Never use bleach on units with hot water dispensers because heat can turn the bleach into harmful chlorine gas.
Boiling Water for Hot Tanks
If you prefer not to use vinegar on a hot water system, boiling water is an effective alternative. Pour fresh boiling water into the reservoir, let it sit for three minutes, and scrub gently with a soft brush. This method kills bacteria through heat without chemicals.
Commercial Cleaning Kits
Pre-measured kits offer a convenient option for first-time users or office environments. These kits often include food-safe sanitizers, soft brushes, and clear instructions to ensure consistent results without measuring errors.
Step-by-Step Vinegar Sanitization Process
This standard method works for most top-loading and bottom-loading dispensers. It requires about 45 minutes to complete effectively.
Prepare and Fill the System
- Turn off energy-saving switches and unplug the unit.
- Remove the water bottle and drain all remaining water.
- Mix two cups of distilled white vinegar with hot tap water in a clean five-gallon bottle.
- Place the bottle on the dispenser and plug the unit back in.
- Allow the solution to fill the internal reservoirs completely.
Circulate and Soak the Solution
Keep the cold switch off but turn the hot switch on if your unit allows it. This helps circulate the warm vinegar solution through the internal tubing. Let the solution sit inside the machine for exactly 10 minutes to break down mineral deposits and kill germs.
Drain and Rinse Thoroughly
Drain the vinegar solution through both spigots into a bucket. Rinse the empty bottle with clean water, fill it with fresh hot water, and load it back onto the dispenser. Run this clean water through the taps and drain it from the back plug. Repeat this rinsing process two or three times until the vinegar smell disappears completely.
Sanitizing Cold-Only Dispensers with Bleach
Follow this specific procedure only for coolers that do not have a hot water function. Precision is critical to avoid leaving harmful residues.
Apply and Scrub the Interior
Unplug the cooler and remove the water bottle. Drain any leftover water through the spigot. Remove the no-spill guard and baffle disc carefully. Pour your diluted bleach solution into the reservoir and scrub the interior walls with a long-handled soft brush.
Soak and Drain Carefully
Let the bleach solution sit in the reservoir for at least two minutes but no longer than five minutes. Leaving it longer can damage plastic components. Drain the solution through the spigots into a bucket and dispose of it down a toilet.
Rinse Multiple Times
Fill the reservoir with clean tap water and rinse very well. Drain this water through the spigots. Repeat the rinsing process two more times to ensure all bleach traces are gone. Reinstall the baffle and guard, attach a fresh water bottle, and plug the unit back in.
Quick Maintenance Routine for Light Cleaning
Perform this simplified nine-step routine monthly to prevent heavy buildup between deep cleans.
Exterior and Parts Cleaning
- Unplug the dispenser and empty the reservoir.
- Wipe the exterior with a damp cloth and mild soap.
- Remove the drip tray, spigots, and guards.
- Soak these parts in warm soapy water for 15 minutes.
- Scrub them with a soft brush and rinse thoroughly.
Interior Touch-Up
Mix one tablespoon of vinegar per gallon of warm water and pour it into the reservoir. Let it sit for 30 minutes to dissolve light scale. Scrub the corners and spigot base gently, then flush the solution through the taps. Rinse the system twice with clean water before reassembling and restarting.
Cleaning Removable Parts and Exterior Surfaces
Plastic components like spigots, drip trays, and baffles trap bacteria and residue that internal flushing misses.
Soak and Scrub Plastic Components
Place all removable parts in hot soapy water for 10 to 15 minutes. Use a soft brush to remove slime or buildup from crevices. Rinse them with clean water and let them air dry completely before reattaching. Check your manual to see if these parts are dishwasher safe.
Wipe Down the Outside
Use a microfiber cloth dampened with mild soapy water to clean the exterior. Avoid abrasive pads or ammonia-based cleaners that can scratch or dull the plastic finish. Pay close attention to buttons, handles, and the area around the drip tray where spills often occur.
Special Instructions for Bottom-Loading Models
Bottom-loading dispensers have internal water lines that require slightly different handling during cleaning.
Disconnect and Flush Internal Lines
Shut off the water supply valve before starting. Use the quick-disconnect fittings to detach the water line safely. You can flush your cleaning solution through these internal tubes using the same vinegar method described for top-loaders. Ensure you reconnect the line securely and check for leaks before turning the water supply back on.
When to Call a Professional Cleaning Service
Some situations require expertise beyond basic home maintenance to ensure complete hygiene.
Signs You Need Expert Help
Contact a professional if a musty smell persists after cleaning or if the unit is in a high-traffic office. You may also need help if the dispenser has a complex filtration system or if you lack the time and tools for a deep clean.
Benefits of Professional Service
Technicians use commercial-grade sanitizers and special tools to reach deep into internal tubing. They inspect seals, taps, and filters for wear. Many water delivery companies offer free or discounted cleaning services as part of their subscription plans.
Common Mistakes to Avoid During Cleaning
Avoiding these errors ensures your cleaning effort is effective and safe for everyone using the dispenser.
Using Bleach on Hot Water Units
Never use bleach on a dispenser with a hot water tank. The combination of heat and bleach creates toxic fumes and can corrode heating elements. Stick to vinegar or boiling water for these units.
Skipping the Final Rinse Cycle
Residual cleaning agents affect taste and safety. Always flush the system with clean drinking water two or three times after using vinegar or bleach. Failure to rinse leaves behind chemicals that you do not want to drink.
Cleaning Too Infrequently
Waiting six months or more allows biofilm to form on internal surfaces. This sticky layer protects bacteria from standard cleaning and is very hard to remove. Stick to a regular schedule to prevent this buildup.
Using Abrasive Tools
Steel wool or harsh scrubbing pads scratch plastic surfaces. These scratches create hiding spots for bacteria to grow. Always use soft brushes and non-abrasive cloths.
Maintenance Schedule for Long-Term Hygiene
Consistent upkeep extends the life of your dispenser and keeps water tasting fresh.
Replace Worn Parts Regularly
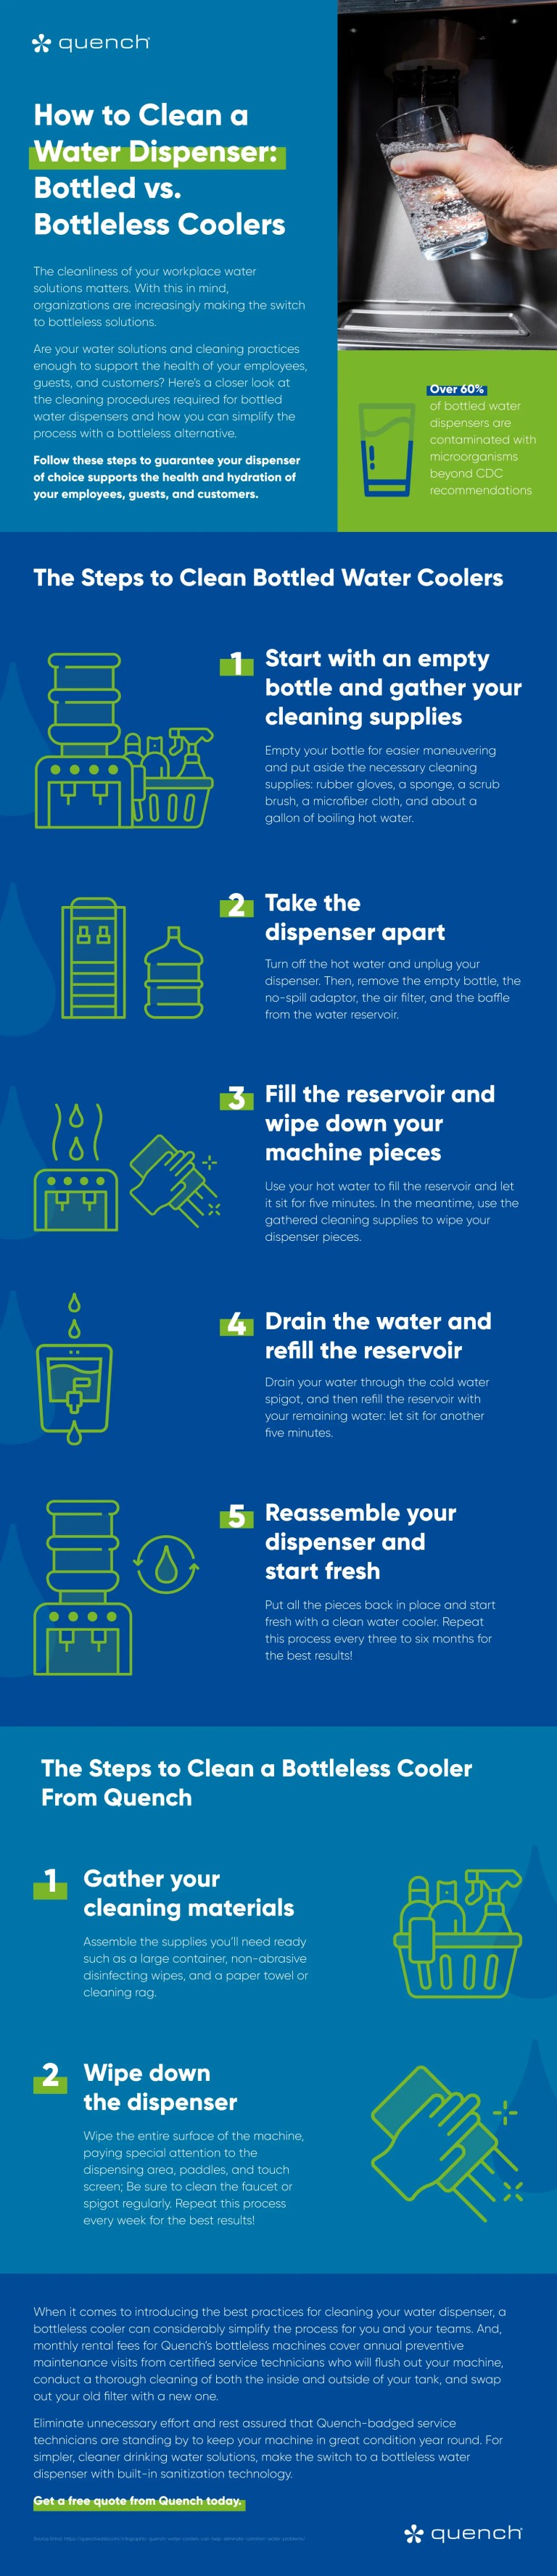
Inspect spigots and nozzles for cracks or discoloration and replace them if needed. Change filters every three to six months if your unit has a filtration system. Check baffles and seals for warping or mold growth.
Follow a Consistent Timeline
| Task | Frequency |
|---|---|
| Sanitize reservoir | Every 1–3 months |
| Clean drip tray | Monthly |
| Vacuum back grille | Monthly |
| Replace filter | Every 3–6 months |
| Full system flush | Every 3 months |
Daily Habits for Cleanliness
Wipe spigots after heavy use and keep the surrounding area dry. Avoid placing the unit in direct sunlight to prevent algae growth. Always use sealed, clean water bottles and do not leave empty bottles sitting on top of the unit.
Frequently Asked Questions About Water Dispenser Sanitization
How often should I sanitize my water dispenser?
Most experts recommend sanitizing your dispenser every one to three months. If you use it heavily in an office or notice a change in taste, clean it more frequently.
Can I use bleach to clean my water dispenser?
You can use diluted bleach only on cold-water-only dispensers. Never use bleach on units with a hot water function because it can create dangerous fumes when heated.
What is the best natural cleaner for water dispensers?
Distilled white vinegar is the best natural cleaner. It dissolves mineral deposits, kills bacteria, and is safe for all dispenser types including those with hot water tanks.
How do I remove the slimy feeling inside the reservoir?
The slime is likely biofilm caused by bacteria. Scrub the interior with a soft brush using a vinegar solution or a specialized dispenser cleaning kit to remove it effectively.
Is it safe to drink water immediately after cleaning?
No, you must rinse the system thoroughly first. Flush the dispenser with clean water two or three times to remove any traces of vinegar or bleach before drinking.
Key Takeaways for Sanitizing Your Water Dispenser
Regular maintenance is the only way to ensure your water remains safe and tastes fresh. Remember to always unplug the unit before cleaning, choose the right solution like vinegar for hot tanks or bleach for cold-only models, and rinse thoroughly to remove residues.
Start your next cleaning session today by gathering vinegar, a soft brush, and a bucket. Following this simple routine every few months will protect your health and extend the life of your appliance.



