
You press the lever for a drink, but only a sputter comes out while your ice maker works fine. This specific symptom points to a frozen water line inside your refrigerator door rather than a broken machine. You can often resolve this blockage safely in under ten minutes using simple household items.
This guide details exactly how to unfreeze a water dispenser using internal thawing methods that experts recommend. You will learn safe step-by-step procedures to clear ice, diagnose underlying causes, and prevent future freezes without damaging your appliance.
Confirm the Issue Is a Frozen Water Line
Diagnosing the problem correctly prevents unnecessary repairs or part replacements. The most telling sign is a functional ice maker paired with a non-functional water dispenser. This discrepancy confirms that water reaches the freezer but cannot pass through the narrow tube leading to the external spout.
Why Ice Works But Water Does Not
The ice maker operates at a different stage of the cooling cycle and uses a separate reservoir or timing mechanism. When the specific plastic tube routing water to the door freezes solid, liquid flow stops completely while ice production continues unaffected.
Rule Out Other Common Causes
Before attempting to thaw the line, ensure the issue is not a supply problem. Check the following items first:
* Verify the main water supply valve behind the fridge is fully open.
* Confirm the water filter is installed correctly and not overdue for replacement.
* Inspect the line for kinks if the refrigerator was recently moved.
Use Internal Thawing for Safe Removal

Injecting hot water directly into the line is the safest and most effective way to clear ice. This method melts the blockage from the inside out, eliminating the risk of melting plastic components or damaging electrical wiring with external heat sources.
Step-by-Step Hydro-Thawing Procedure
This technique requires a plastic syringe or bulb pump, often sold as a refrigerator water line cleaner.
1. Place thick towels under the dispenser to catch any overflow.
2. Fill the syringe with hot tap water, ensuring it is not boiling.
3. Insert the syringe tip firmly into the water dispenser opening.
4. Pump the hot water slowly into the line repeatedly.
5. Continue until you feel resistance drop and water flows freely.
6. Run the dispenser for 15 seconds to flush out debris.
Benefits of Internal Thawing
This approach typically resolves the issue in under ten minutes. It targets the ice directly where it matters most. You avoid the dangers associated with applying high heat to sensitive electronic areas near the dispenser cavity.
Try a Specialized Thermal Thaw Tool
For the fastest possible resolution, specialized tools like the IceSurrender offer a concentrated heat solution. These devices use a metal probe to transfer thermal energy directly to the ice blockage with precision.
How the Heat Probe Works
The tool features a sealed chamber that holds hot water, concentrating heat at the metal tip.
1. Microwave a cup of water for 30 seconds.
2. Submerge the metal tip of the tool in the hot water to activate it.
3. Wrap a rag around the base of the tool to catch drips.
4. Gently insert the heated probe into the dispenser opening.
5. Apply steady pressure until the ice melts, which usually takes under two minutes.
6. Flush the line with water to ensure clarity.
When to Choose This Method
This option is ideal if you need an immediate fix or deal with frequent freezing. The direct contact method ensures rapid melting without heating the surrounding plastic door panel.
Apply External Heat With Extreme Caution
Using a hairdryer is a traditional method but carries higher risks. If you lack a syringe or specialized tool, you can use this approach provided you strictly follow safety guidelines to prevent damage.
Safe Hairdryer Application Steps
Critical Warning: Never use the high-heat setting, as it can warp plastic and melt seals.
1. Lay towels on the floor to absorb melting ice drips.
2. Set your hairdryer to low or medium heat only.
3. Direct airflow around the dispenser cavity, including the sides and ice chute.
4. Heat the area for 10 minutes, then test the water flow.
5. Repeat for another 10 minutes if necessary, but do not exceed 20 minutes total.
6. Run water for 15 seconds once flow returns to clear particles.
Risks of External Heating
Prolonged exposure to heat can damage internal wiring or deform the plastic housing. Always monitor the temperature of the dispenser face with your hand to ensure it does not become too hot to touch.
Diagnose Recurring Freeze Issues

If the line freezes again shortly after clearing it, a mechanical or environmental factor is likely the root cause. Addressing these underlying issues is essential for a permanent fix.
Check Water Pressure and Flow
Stagnant water freezes faster than moving water. Ideal water pressure should range between 20 and 120 psi. Low pressure allows water to sit in the cold zone too long, increasing the likelihood of ice formation.
Inspect Key Components
Several parts may contribute to recurring blockages:
* Water Inlet Valve: A leaking valve allows water to drip and freeze in the line.
* Dispenser Control Board: A faulty board may keep the valve open too long or fail to regulate flow.
* Door Seals: Damaged gaskets let warm, moist air enter the freezer, which condenses and freezes on the line.
Prevent Future Freezing Problems
Taking proactive steps can stop the cycle of frozen lines. Regular maintenance and minor adjustments often solve the problem permanently.
Essential Maintenance Habits
- Use the Dispenser Regularly: Run water every few days to prevent stagnation.
- Set Correct Temperature: Keep the freezer at 0°F (-18°C) to avoid excessive cold.
- Replace Filters: Change water filters every six months to maintain proper flow rates.
Hardware Upgrades for Chronic Issues
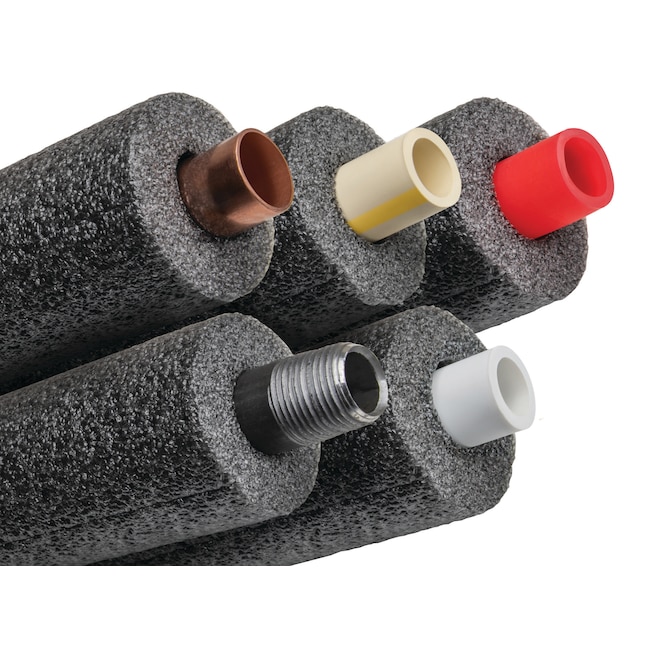
For refrigerators in cold garages or drafty kitchens, consider adding insulation. You can wrap the water line inside the door with foam or install a water line heater kit. These devices keep the tube slightly above freezing without affecting overall cooling performance.
Address Model-Specific Vulnerabilities
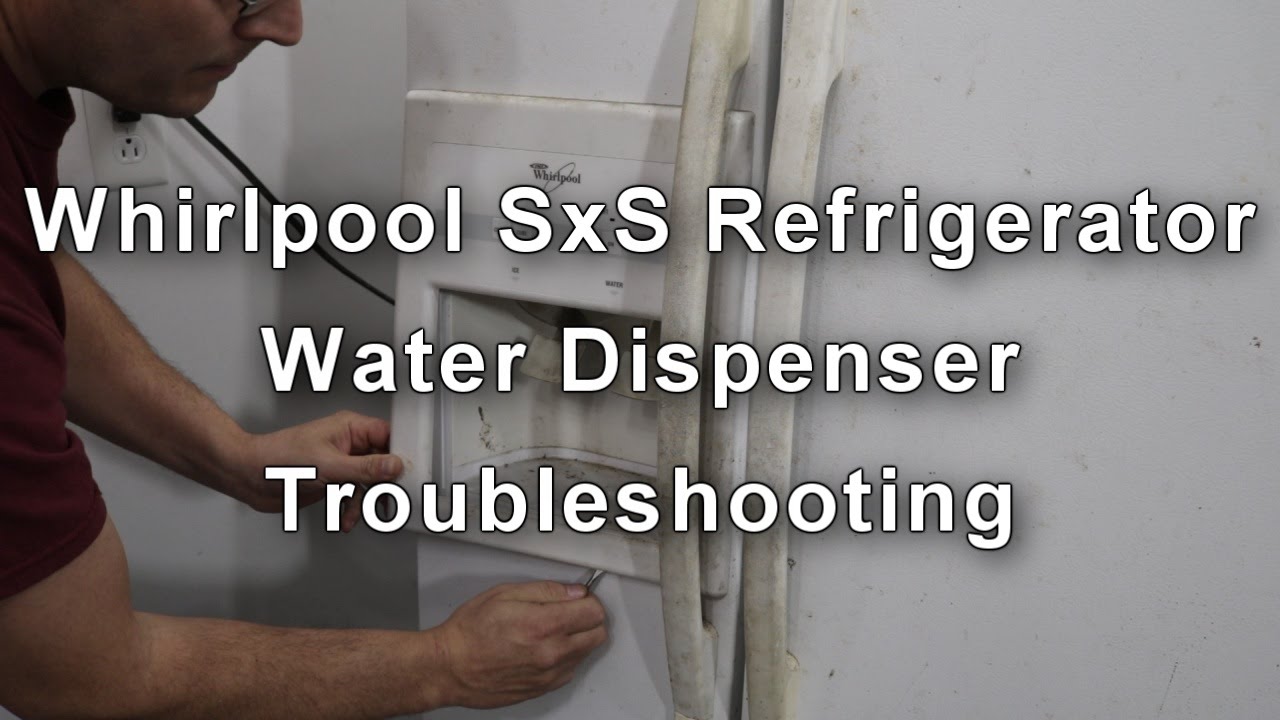
Certain models, such as the Whirlpool WRS555SIHZ00, are known for recurring frozen lines in the door. Owners of these units often require more than a simple thaw to solve the problem permanently.
Recommended Actions for Specific Models
If you own a model prone to this issue, follow this protocol:
1. Turn off water and power before starting work.
2. Clear the line using the internal syringe method.
3. Replace the water inlet valve if any leaking is detected.
4. Install an insulated line or heater kit as a retrofit.
Many users report that adding a heater kit is the only way to stop the issue from returning on these specific units.
Avoid These Common Mistakes
Even well-meaning repair attempts can cause damage if you use the wrong techniques. Avoid these errors to protect your appliance.
Dangerous Practices to Skip
- Never use boiling water: Extreme heat can crack or warp plastic tubing instantly.
- Do not use high heat settings: High heat on a hairdryer melts seals and damages wiring.
- Do not skip the flush: Failing to run water after thawing leaves ice chunks that can refreeze quickly.
- Ignore damaged seals: Fixing the line without addressing a bad door gasket ensures the problem will return.
Frequently Asked Questions About Unfreezing Water Dispensers
How long does it take to unfreeze a water dispenser line?
Using the internal syringe method or a specialized thermal tool typically takes under 10 minutes. The hairdryer method may take up to 20 minutes if the ice blockage is severe.
Can I use boiling water to melt the ice faster?
No, never use boiling water. Water that is too hot can crack plastic tubing or warp internal components. Use hot tap water or water heated slightly in a microwave instead.
Why does my ice maker work but the water dispenser does not?
This indicates the water supply to the freezer is active, but the narrow tube leading to the external dispenser is blocked by ice. The ice maker uses a different path or timing mechanism that remains unaffected.
How can I stop my water line from freezing again?
Prevent recurrence by using the dispenser every few days, keeping freezer temperatures at 0°F, and replacing water filters every six months. Installing a water line heater kit helps in cold environments.
What should I do if the water still does not flow after thawing?
If thawing fails, check for a faulty water inlet valve, a defective control board, or low water pressure. You may need to test these components with a multimeter or call a professional technician.
Key Takeaways for Fixing Your Frozen Water Dispenser
Fixing a frozen water dispenser is usually a quick task if you use the right approach. The internal hydro-thawing method using a syringe and hot tap water is the safest and most effective solution for most homeowners. Avoid high heat sources like boiling water or high-setting hairdryers to prevent permanent damage to your refrigerator.
Take preventive measures such as regular usage, filter replacement, and temperature checks to stop the issue from returning. If you face recurring freezes, consider installing a water line heater kit or inspecting your door seals. By following these steps, you can restore clear water flow and avoid costly service calls.


