
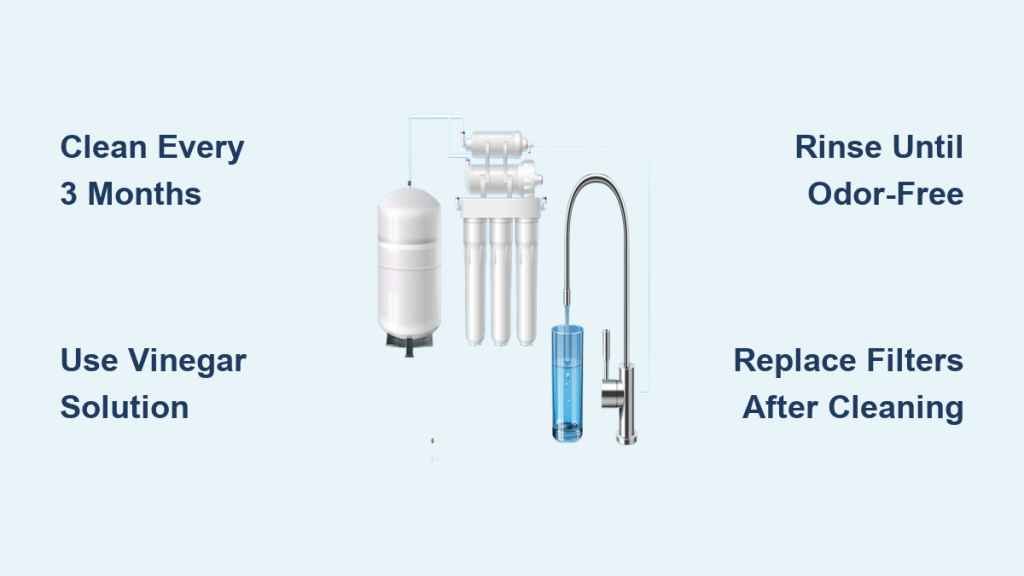
Does your water dispenser deliver liquid with a strange taste or cloudy appearance? These signs indicate it is time to clean your water dispenser filter and internal system immediately. Mineral deposits and biological contaminants accumulate over time to compromise both water quality and machine performance.
This guide provides a complete walkthrough for sanitizing top-load, bottom-load, and bottleless units using safe household supplies. You will learn exact cleaning intervals, required tools, and step-by-step procedures to restore fresh, safe drinking water to your home or office.
Determine the Correct Cleaning Schedule for Your Unit
Neglecting regular maintenance allows harmful bacteria and mineral scale to build up inside your machine. The warm, dark environment of the internal reservoir creates perfect conditions for mold and algae growth.
Why Waiting Too Long Risks Your Health
Water dispensers require cleaning every three months under normal usage conditions. High-traffic areas like offices may need cleaning every one to two months to prevent contamination. If you notice an odd smell or slow flow, you must clean the system immediately regardless of the schedule.
Adjust Frequency Based on Usage Patterns
Units used infrequently still need attention every six months to prevent stagnation. Always perform a full cleaning cycle when you replace a water bottle or filtration system. Ignoring these intervals leads to persistent odors and potential health hazards from microbial growth.
Gather Essential Supplies for Safe Cleaning
Using the wrong chemicals can damage internal components or leave toxic residues in your drinking water. Distilled white vinegar is the most effective agent for killing microbes and dissolving mineral deposits safely.
Recommended Cleaning Agents and Tools
- Distilled white vinegar (primary cleaning agent)
- Clean 5-gallon empty water bottle (for top-load models)
- Hot tap water
- Microfiber cloths
- Soft bottle brush or cleaning brush
- Cotton swabs for valves and crevices
- Drain plug wrench (if applicable to your model)
Avoid Harmful Chemicals and Harsh Scrubbers
Never use bleach or strong sanitizers as they can damage parts and leave lingering tastes. Avoid abrasive cleaners on exterior surfaces to prevent scratching the finish. Stick to mild dish soap only for removable external parts like spigots and drip trays.
Prepare Your Dispenser Safely Before Starting
Rushing into the cleaning process without proper preparation can cause electrical hazards or damage the heating element. Safety must be your first priority before applying any liquids to the system.
Unplug and Allow the Hot Tank to Cool
Always unplug the dispenser from the wall outlet before beginning any work. Turn off energy-saving switches and wait at least 30 minutes for the hot water tank to cool completely. Cleaning a hot reservoir risks severe burns or cracking the tank due to thermal shock.
Drain All Remaining Water from the System
Remove the water bottle or disconnect the water line depending on your model type. Dispense water from both hot and cold taps until no liquid comes out. Open the rear drain plug if your unit has one to ensure the system is completely empty.
Execute Cleaning Steps for Top-Loading Models
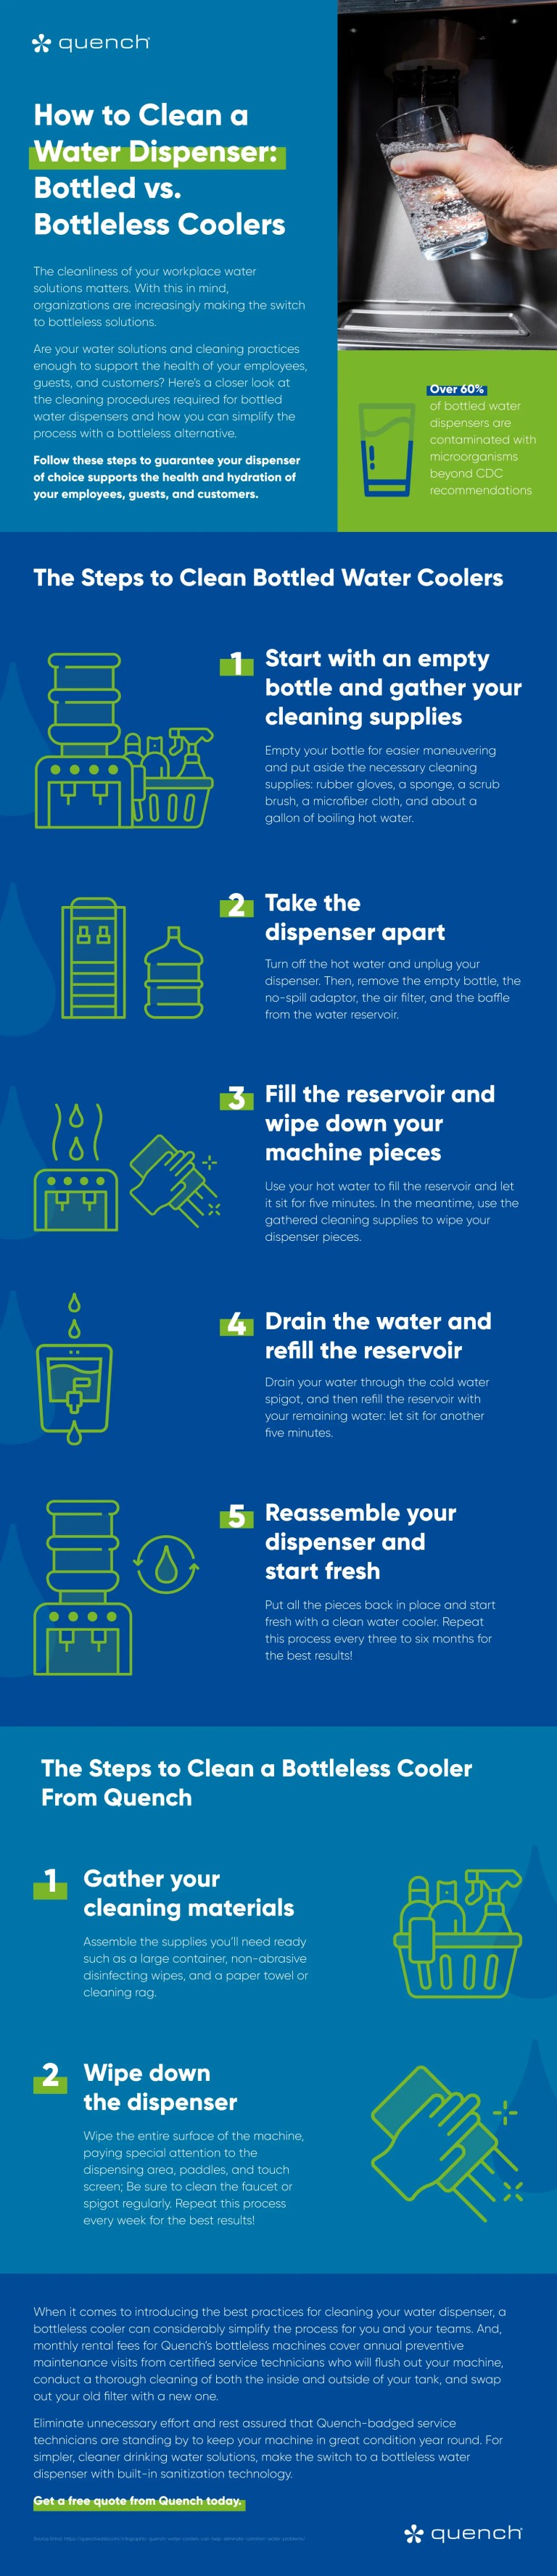
Top-loading dispensers allow you to use the water bottle itself to circulate the cleaning solution through the internal tubes. This method is efficient and requires minimal disassembly of the main unit.
Mix and Apply Vinegar Solution
Combine two cups of distilled white vinegar with hot tap water in your clean 5-gallon bottle. Alternatively, use a ratio of one part vinegar to four parts water for lighter maintenance needs. Place this solution-filled bottle onto the dispenser inverted position.
Circulate Solution and Soak Internal Components
Plug the unit back in and turn the hot water switch to the ON position to assist sanitization with heat. Keep the cold switch OFF to save energy while the solution fills the reservoirs. Let the mixture sit for 10 to 15 minutes, or up to 60 minutes for heavy buildup.
Flush Tubing and Scrub Accessible Reservoir Areas
Dispense the vinegar solution through both hot and cold taps to clean the internal tubing thoroughly. Open the drain plug to remove leftover liquid if your model allows access. Use a bottle brush to scrub the interior walls if the opening is large enough to reach.
Rinse Until No Vinegar Odor Remains
Fill the 5-gallon bottle with clean hot water and load it onto the dispenser to flush the system. Repeat this rinsing process until at least two gallons have passed through the machine. The water is ready only when you cannot smell any vinegar scent.
Maintain Bottom-Loading Units Effectively

Bottom-loading models require direct access to the reservoir since the water bottle sits in a lower compartment. The cleaning process involves pouring the solution directly into the internal tanks.
Access and Fill the Internal Reservoir
Unplug the unit and disconnect the water line from the bottle housing area. Remove the reservoir lid and pour a mixture of half gallon vinegar and half gallon water directly inside. Let this solution sit for 15 minutes to dissolve deposits effectively.
Pump Solution Through Taps and Wipe Compartment
Dispense the cleaning mixture from both hot and cold faucets multiple times to sanitize all lines. Use a microfiber cloth dampened with vinegar to wipe the inside of the bottle storage compartment. This prevents mold growth in the area where the water bottle sits.
Rinse Thoroughly and Reconnect Water Line
Flush the system with fresh water at least two times to remove all cleaning solution traces. Reconnect the water line securely and install a new water bottle. Plug the unit in and wait 25 minutes for the water to reach proper temperatures.
Service Bottleless Point-of-Use Systems
Bottleless dispensers connect directly to your plumbing and rely on internal filters for purification. These units require strict adherence to filter replacement schedules alongside regular cleaning.
Follow General Cleaning and Flushing Protocols
Unplug the unit and drain remaining water just like other models. Soak internal parts in vinegar solution and flush the system through the taps. Clean the spigots and exterior surfaces using the methods described for other unit types.
Replace Filters After Every Cleaning Cycle
You must install a new filter set after cleaning a bottleless unit. Old filters harbor trapped contaminants that cleaning alone cannot remove. Change these filters every six to eight months depending on your household usage volume.
Flush New Filter to Remove Carbon Fines
Run several cycles of water through the new filter before drinking. This process clears out carbon fines and initial tastes from the fresh filter media. Discard the first few glasses to ensure your water tastes clean and fresh.
Sanitize Spigots Valves and Puncturing Needles
Small components like spigots and valves often get overlooked but harbor significant bacterial growth. These areas require direct attention to prevent re-contamination of your clean reservoir.
Remove and Soak Detachable Parts
Detach spigots, water guards, and puncturing needles if your model design allows it. Soak these parts in warm vinegar solution or mild soapy water for 10 to 15 minutes. This loosens any stuck-on residue or biofilm.
Scrub Crevices and Dry Completely
Use a soft brush to clean spigot exteriors and cotton swabs dipped in vinegar for valve openings. Pay special attention to puncture points where mold often hides. Dry all parts completely with a clean cloth before reassembly to prevent immediate bacterial regrowth.
Wipe Exterior Surfaces and Drip Trays
The outside of your dispenser collects germs from hands and environmental dust daily. Regular wiping keeps the unit looking new and prevents dirt from entering the system.
Clean Exterior Weekly with Damp Cloth
Wipe down the entire exterior weekly using a damp microfiber cloth. Focus on handles, spigot areas, and drip trays as these are high-touch points. This simple habit reduces the spread of germs in your home or office.
Treat Stubborn Stains with Baking Soda Paste
Mix baking soda with water to create a paste for stubborn mineral rings or spots. Gently rub the paste onto the stain and wipe clean with a damp cloth. Never use abrasive scrubbers that could scratch the plastic finish.
Verify Cleanliness and Reassemble Correctly
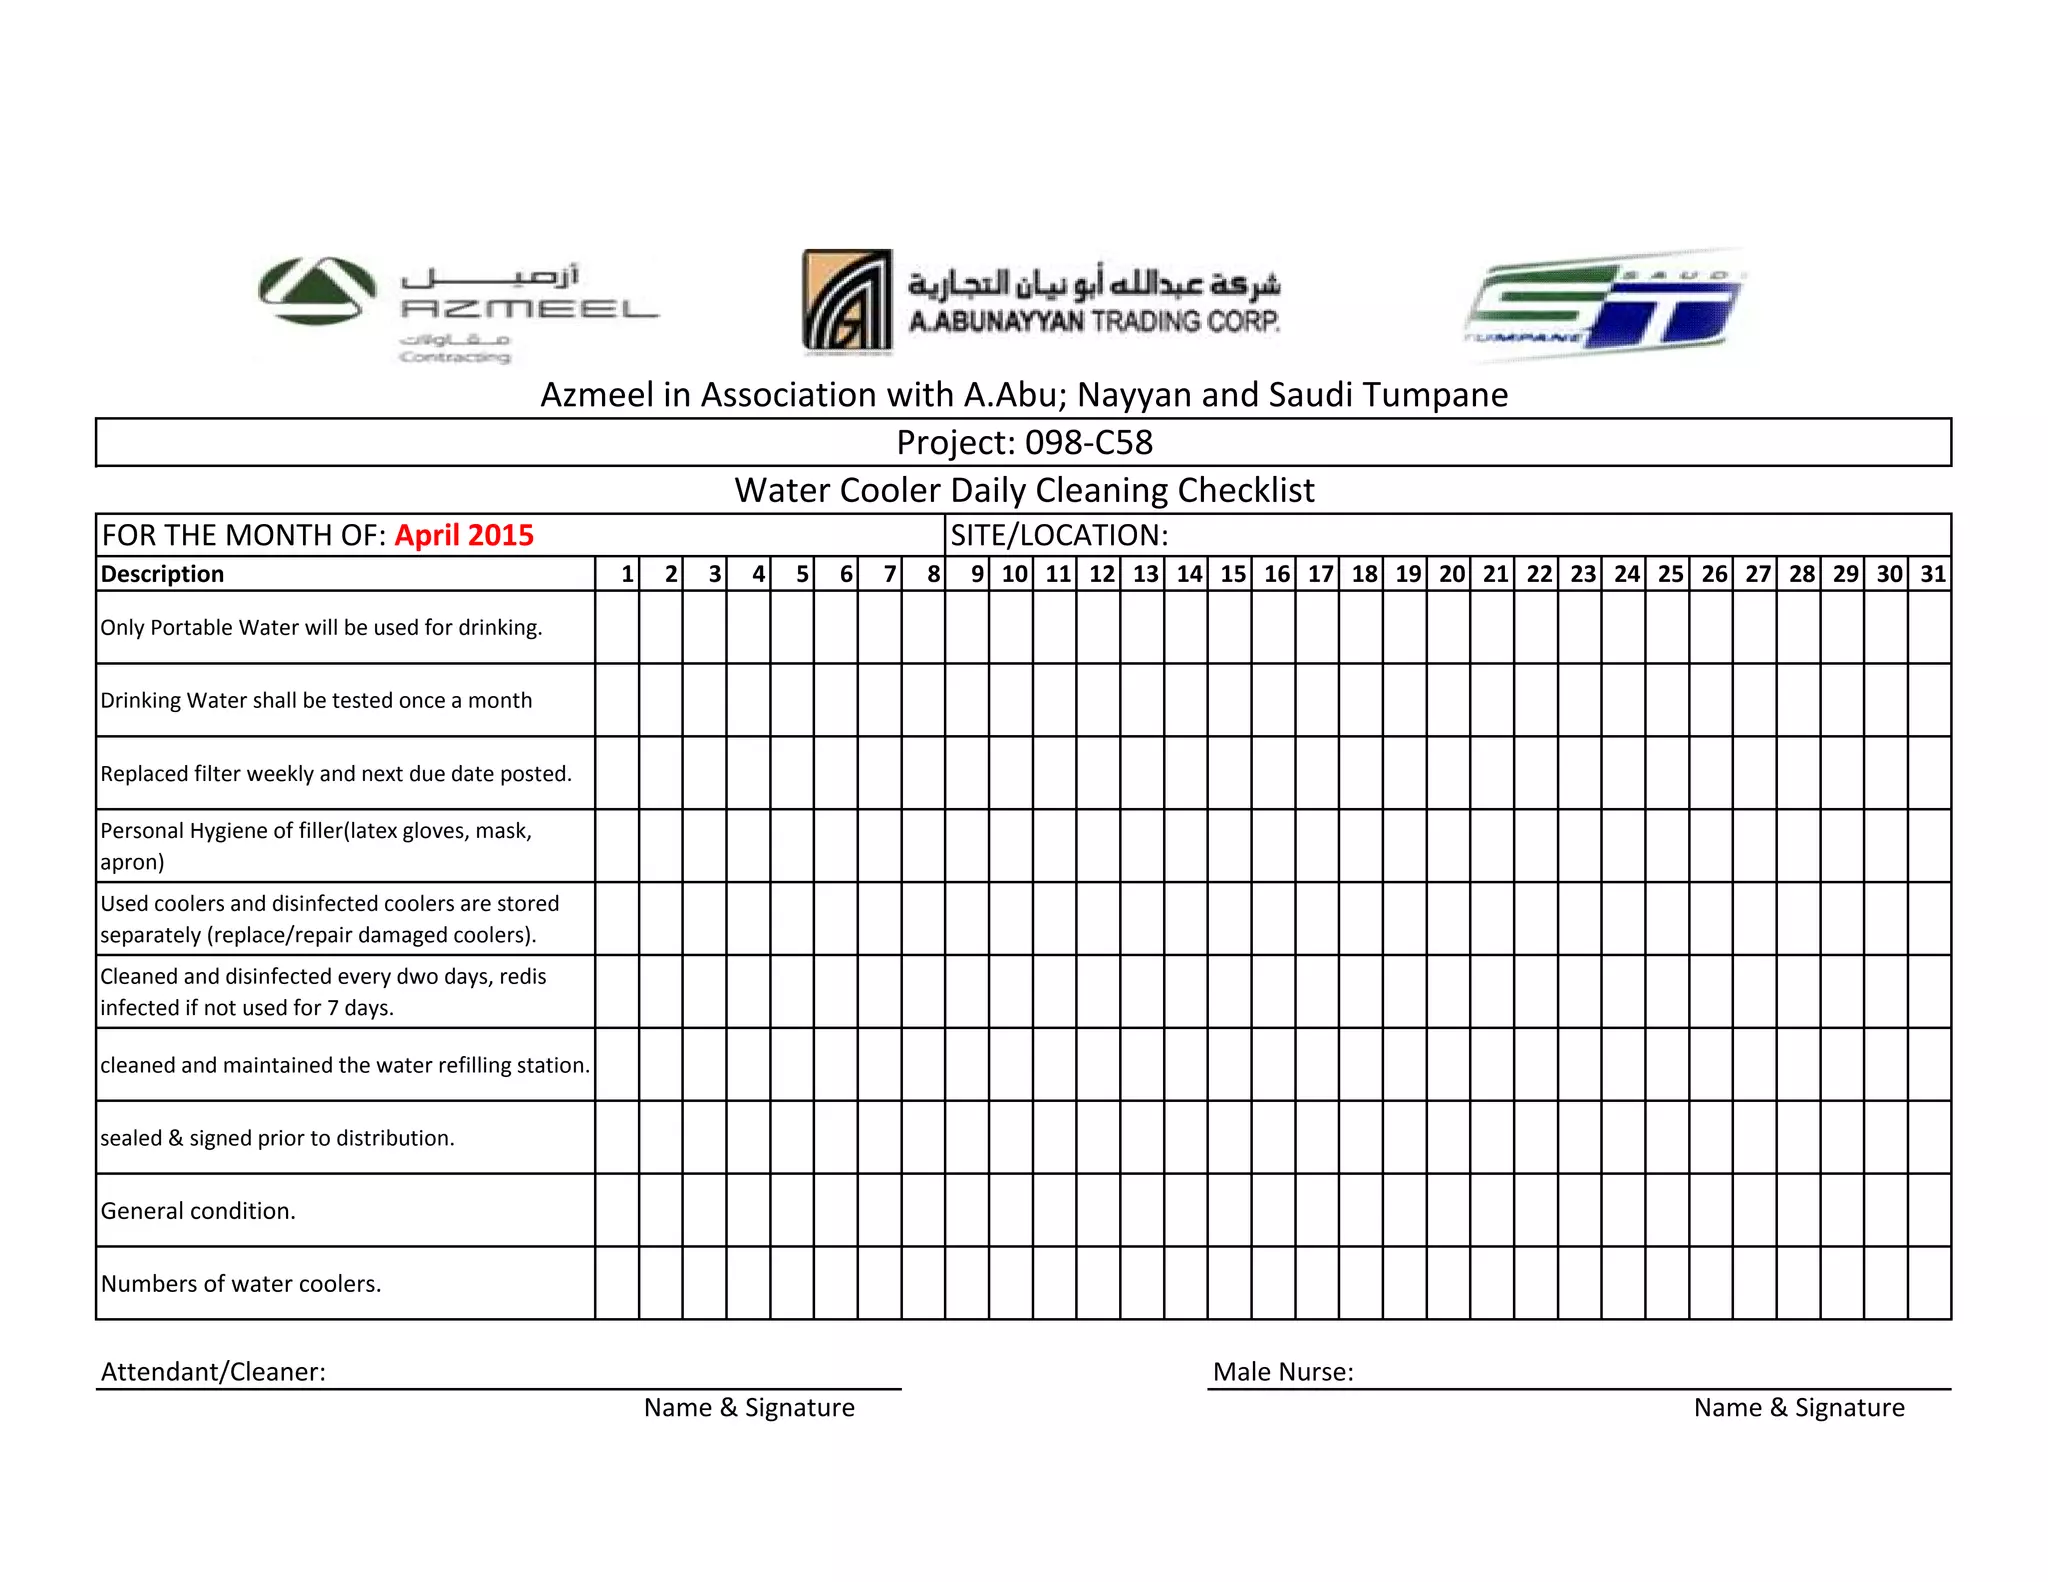
Proper verification ensures no cleaning agents remain in your drinking water. Skipping this step can result in unpleasant tastes and potential stomach upset.
Test Water for Residual Smells and Clarity
Dispense a glass of water and smell it carefully for any vinegar scent. If you detect any odor, continue flushing the system with fresh water immediately. The water should be completely clear and odorless before you consider the job done.
Restore Power and Wait for Temperature Stabilization
Reinstall all drain plugs, spigots, and guards securely. Plug the unit back in and turn on the switches. Allow approximately 25 minutes for the water to heat and cool properly before regular use.
Prevent Future Buildup and Contamination
Consistent preventive measures reduce the frequency of deep cleaning sessions. Small habits can significantly extend the life of your dispenser and maintain water quality.
Keep Unit Away From Direct Heat Sources
Place your dispenser away from direct sunlight, radiators, or stoves. Heat encourages algae growth and forces the cooling system to work harder. A cool, shaded location helps maintain efficient operation.
Wipe Spigot Area After Each Bottle Change
Make it a habit to clean the spigot and neck area every time you swap bottles. This simple step blocks most external contaminants from entering the system. Promptly replace empty bottles to avoid air stagnation inside the unit.
Frequently Asked Questions About Cleaning Water Dispenser Filters
How often should I clean my water dispenser filter?
You should clean your water dispenser filter and system every three months under normal use. High-traffic environments may require cleaning every one to two months to prevent bacterial growth.
Can I use bleach to clean my water dispenser?
No, you should avoid using bleach as it can damage internal parts and leave harmful residues. Distilled white vinegar is the recommended agent because it kills bacteria without toxic side effects.
What ratio of vinegar to water works best for cleaning?
A mixture of two cups of vinegar with hot water in a 5-gallon bottle works well for top-loaders. For direct reservoir cleaning, a 50/50 mix of vinegar and water provides strong sanitizing power.
How do I know if my water dispenser needs cleaning?
Signs include cloudy water, strange odors, off-tastes, or slow dispensing flow. Visible residue around the spigot or inside the reservoir also indicates immediate cleaning is necessary.
Do bottleless dispensers need filter replacement after cleaning?
Yes, you must replace filters in bottleless units after cleaning to ensure no trapped contaminants remain. Old filters can reintroduce bacteria into your freshly cleaned system.
Key Takeaways for Maintaining a Clean Water Dispenser Filter
Regular maintenance of your water dispenser filter ensures safe, great-tasting water for your family or employees. Cleaning every three months with distilled white vinegar removes harmful bacteria and mineral deposits effectively. Always rinse thoroughly and replace filters on schedule to maximize the lifespan of your unit.
Start your next cleaning session by gathering vinegar and microfiber cloths today. Follow the specific steps for your model type to restore your dispenser to peak performance immediately.



