
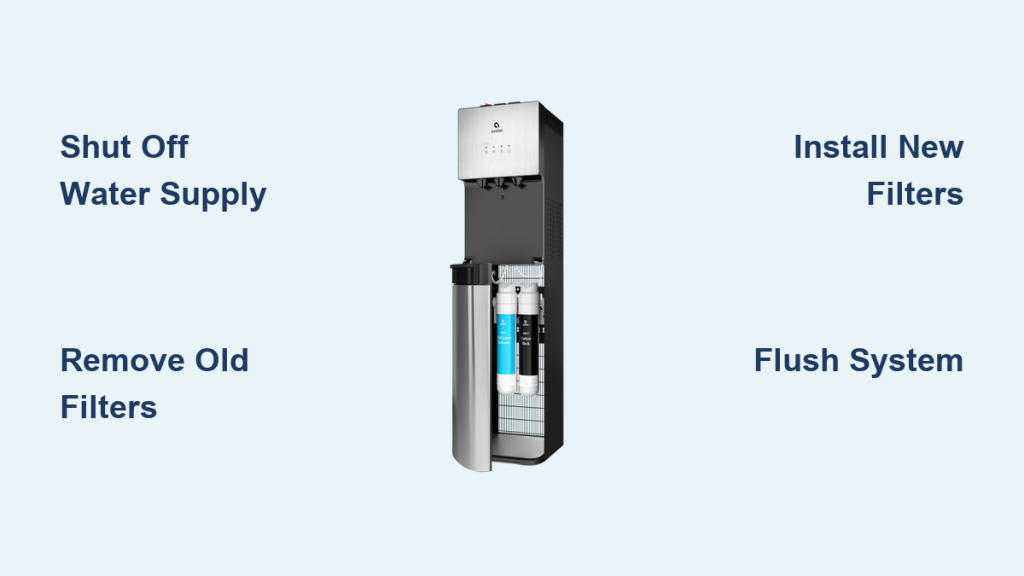
Is your Avalon water cooler dispensing slow, cloudy, or bad-tasting water? You likely need to learn how to change Avalon water dispenser filter cartridges before contaminants build up or flow rates drop significantly. Ignoring the recommended six-month replacement window can compromise the NSF-certified protection against lead, chlorine, and bacteria that your family relies on daily.
This guide walks you through the exact steps to replace both sediment and carbon block filters safely and correctly. You will discover how to identify your specific model, depressurize the system to prevent spills, install new A4FILTER or A5FILTER units, and flush air properly to ensure clean water immediately.
Identify Your Specific Avalon Model Number
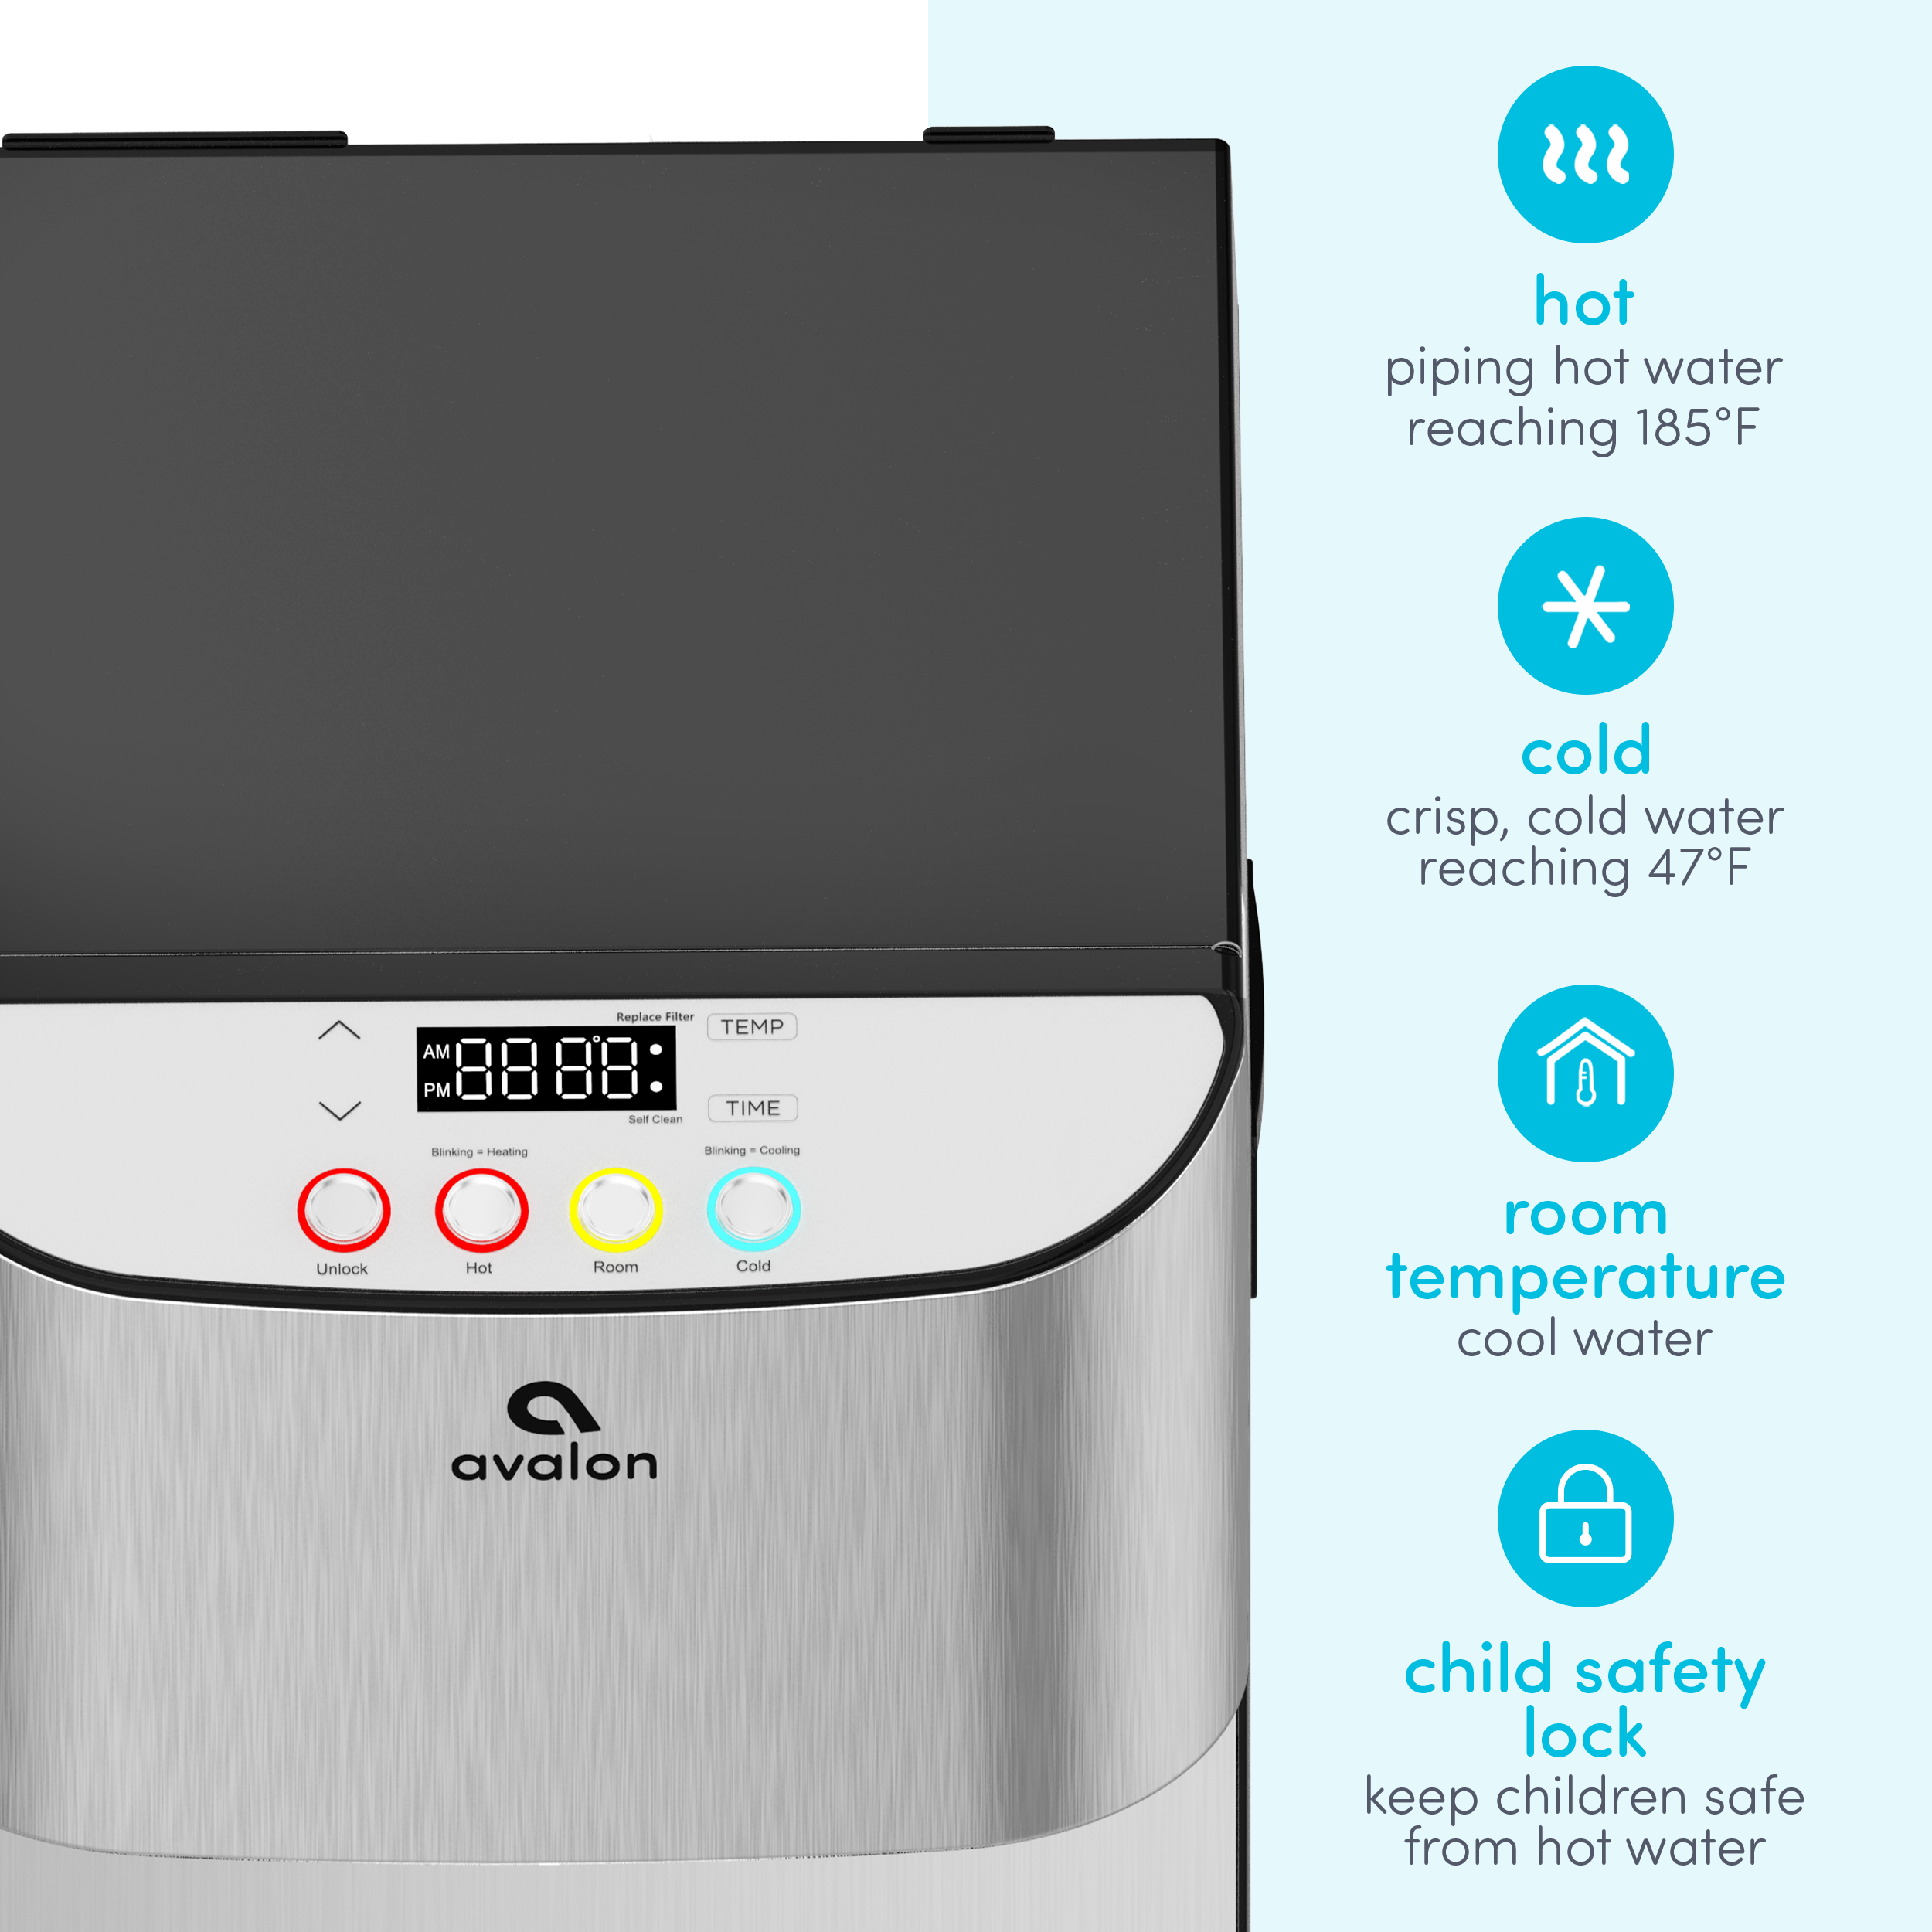
Not every Avalon unit uses the same filtration system, so confirming your model is the first critical step. Most bottleless coolers like the A1 through A14 series, including the A13CT and A6 Self-Cleaning models, utilize a dual-filter setup requiring two distinct cartridges. Check the label on the back or side of your dispenser to verify it requires the A4FILTER or A5FILTER dual cartridge configuration.
Verify Dual-Filter System Requirements
Your unit must have two internal filter slots to use the standard replacement procedure described here. Bottled water coolers often differ from bottleless point-of-use systems, so ensure your machine connects directly to a water line and houses two cylindrical filters behind an access panel.
Download Your Specific User Manual
Visit the official support page to download the manual for your exact model number. These documents provide diagrams showing the precise location of filter housings and any unique locking mechanisms specific to your unit year.
Shut Off Water Supply and Release Pressure
Safety is paramount when working with water lines, so you must isolate the system before removing any components. Failing to cut the water source can result in significant spraying and water damage to your floor or cabinetry.
Turn Off the Main Water Valve
Locate the shutoff valve connected to your water line, which is typically found under the sink or near the base of the unit. Rotate this valve clockwise until it stops completely to cut off all water flow to the dispenser.
Drain Remaining Line Pressure
Press the cold water lever on the dispenser and hold it until water stops flowing entirely. This action depressurizes the internal lines and filter housings, minimizing the amount of water that spills out when you detach the old cartridges.
Disconnect Electrical Power
Unplug the unit from the wall outlet or switch off the power at the source. This prevents the heating or cooling elements from activating while the water supply is interrupted, protecting internal components from damage.
Remove Old Filters Without Spilling Water
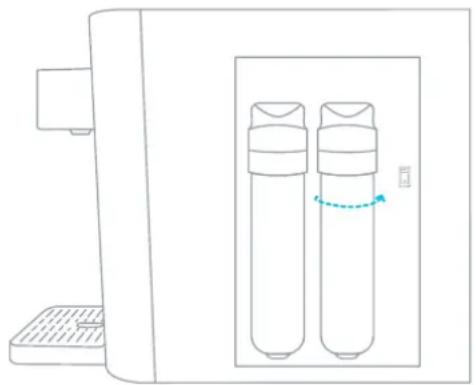
With the system depressurized and powered down, you can now access and extract the used filter cartridges. Have a small towel or shallow bowl ready to catch any residual water dripping from the housing.
Open the Filter Access Compartment
Lift or swing open the top filter door, usually located at the rear upper section of the unit. Inside, you will see two cylindrical filter cartridges positioned side by side or stacked vertically depending on your model.
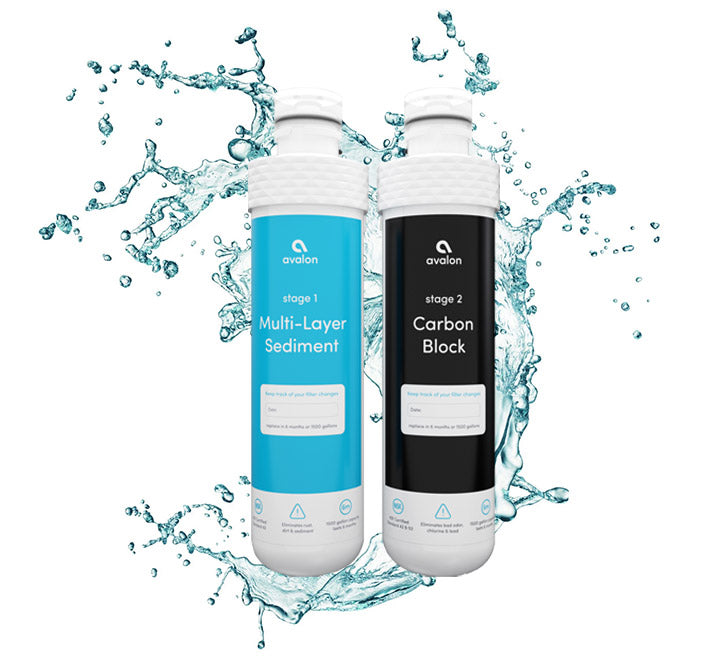
Distinguish Between Filter Stages
Identify the two distinct filter types before removal to ensure correct reinstallation later.
* Stage 1: Sediment filter, often white or blue-tipped, which removes particles.
* Stage 2: Activated carbon block filter, usually black or gray, which improves taste.
Twist and Extract Cartridges
Grasp the first filter firmly and rotate it counter-clockwise about a quarter to half turn until it unlocks. Pull the filter straight down and out of the socket, then repeat the process for the second filter.
Warning: Never force a filter if it feels stuck. Double-check that you are rotating counter-clockwise, as forcing it can crack the housing head.
Install New Avalon Filters Correctly
Proper installation ensures a tight seal and effective filtration, so follow these steps carefully to avoid leaks or bypass issues. Using genuine Avalon A4FILTER or A5FILTER packs guarantees NSF 42 and 53 certification standards are met.
Prepare New Filter Cartridges
Remove only the external plastic caps or protective wraps from the new filters. Do not remove any internal rubber gaskets or seals, as these are essential for creating a watertight connection within the housing.
Insert the Sediment Filter First
Align the new sediment filter with the first housing slot, matching any alignment marks on the filter head. Push the filter up firmly into the socket and rotate it clockwise until it clicks or stops moving.
Insert the Carbon Block Filter Second
Repeat the installation process with the activated carbon block filter in the second slot. Push up and rotate clockwise to lock it securely in place, ensuring both filters sit flush against the housing head.
Confirm Secure Locking Mechanism
Gently tug down on each installed filter to verify it is locked in position. If a filter moves or wobbles, reseat it immediately, as loose filters cause leaks and allow unfiltered water to bypass the media.
Flush System and Restore Power Properly
Flushing the system is a non-negotiable step that removes air pockets and carbon fines from the new filters. Skipping this step may result in sputtering taps or dark water in your first few glasses.
Restore Water Supply Slowly
Turn the main water shutoff valve back on gradually while watching the filter heads closely. If you see any dripping at the connection points, tighten the filters slightly, but avoid over-tightening which can damage the O-rings.
Run Cold Water for Three to Five Minutes
Open the cold water tap and let it run continuously for at least three to five minutes, or about one to two gallons of water. This process clears trapped air bubbles and flushes out loose carbon particles that naturally occur in new carbon block filters.
Note: It is normal for the initial water to appear cloudy or contain black specks. This carbon residue is harmless and will clear completely after flushing.
Reconnect Power and Test Functionality
Plug the unit back in and wait for the tank to refill and resume normal heating or cooling cycles. Test both hot and cold taps to ensure steady flow, clear water, and no remaining leaks around the filter area.
Maintain Optimal Filter Performance Schedule
Consistent maintenance protects your health and extends the life of your water dispenser. Adhering to the recommended schedule ensures the carbon media does not become saturated and release trapped contaminants back into your water.
Adhere to Six-Month Replacement Cycle
Replace your filters every six months regardless of how good the water tastes. After this period, the activated carbon becomes saturated and may begin “dumping” previously trapped lead or bacteria back into your drinking water.
Monitor Flow Rate and Taste Changes
If you notice a significant drop in water pressure or a change in taste before six months, replace the filters immediately. High-usage environments like offices or gyms may reach the 1,500-gallon capacity limit well before the time-based deadline.
Use Only Certified Genuine Filters
Always purchase NSF 42 and 53 certified A4FILTER or A5FILTER packs directly from authorized sources. Third-party filters may not fit correctly, leading to leaks or failure to remove harmful contaminants like cysts and heavy metals.
Automate Deliveries with Subscription Service
Never forget a filter change again by utilizing the automated delivery options available from the manufacturer. This ensures you always have a spare set on hand when the six-month mark arrives.
Select Your Preferred Delivery Frequency
Choose a delivery schedule that matches your usage patterns, such as every three or six months. The six-month option aligns perfectly with the recommended replacement cycle for most households.
Activate Subscribe and Save Program
Visit the official website to set up a recurring order, which often includes free shipping and priority support benefits. Your payment method is only charged when the filters ship, and you can cancel the subscription at any time.
Troubleshoot Common Post-Installation Issues
Even with careful installation, minor issues can occur that are easily resolved with basic troubleshooting steps. Understanding these common problems saves you time and prevents unnecessary service calls.
Address Cloudy Water After Flushing
If water remains cloudy after flushing two gallons, check that both filters are fully seated in their sockets. You may need to flush the system for up to five minutes if the carbon fines are particularly dense in the new batch.
Resolve Low Water Flow Rates
Ensure the main water supply valve is fully open and that both filters are installed in the correct order. Check the water line for kinks or bends that might restrict pressure to the dispenser unit.
Fix Leaks at Filter Heads
Turn off the water supply immediately if you spot leaking around the filter connections. Reseat the filters by twisting them counter-clockwise and then clockwise again, ensuring the O-rings are clean and properly aligned.
Understand Warranty Coverage and Support Options
Protecting your investment involves understanding the warranty terms and knowing where to find help if issues arise. Proper registration and adherence to guidelines ensure you remain eligible for support.
Register Your Unit Within 30 Days
Activate your one-year limited warranty by registering your product on the official website within 30 days of purchase. This warranty covers defects in materials and workmanship but requires timely registration to remain valid.
Utilize the Risk-Free Trial Period
Avalon offers a 30-day risk-free trial for new customers who are unsatisfied with their dispenser performance. Contact customer support within this window to arrange a refund or replacement if the unit does not meet your needs.
Access Professional Customer Support
Reach out to the support team via email for assistance with filter installation or bulk orders.
* General Support: support@avalonh2o.com
* Sales Inquiries: sales@avalonh2o.com
* Manuals and Service: Avalonh2o.com
Frequently Asked Questions About Changing Avalon Water Dispenser Filter
How often should I change my Avalon water dispenser filter?
You should replace both filters every six months or after filtering 1,500 gallons of water, whichever comes first. Sticking to this schedule ensures the activated carbon does not become saturated and release trapped contaminants back into your drinking water.
Why is my water cloudy after changing the filter?
Cloudy water or black specks are normal immediately after installation due to loose carbon fines from the new block filter. Running the cold water tap for three to five minutes will flush these particles out and clear the water completely.
Can I use third-party filters in my Avalon dispenser?
It is strongly recommended to use only genuine NSF 42 and 53 certified A4FILTER or A5FILTER packs. Third-party filters may not seal properly, leading to leaks, or fail to meet the strict safety standards required to remove lead and bacteria effectively.
What happens if I do not change the filter on time?
Delayed replacement can cause the carbon media to become saturated, potentially releasing trapped lead, bacteria, and bad tastes back into your water. Additionally, clogged filters significantly reduce water flow rate and strain the internal pump system.
Do I need special tools to change Avalon filters?
No special tools are required to change Avalon water dispenser filter cartridges. The process is tool-free and involves simply twisting the old filters counter-clockwise and the new ones clockwise until they lock into place.
Where can I find my Avalon model number?
Locate the model number on the label found on the back or side of your water dispenser unit. Common models using the dual-filter system include the A1 through A14 series, A13CT, and A6 Self-Cleaning units.
Key Takeaways for Changing Your Avalon Water Dispenser Filter
Changing your Avalon water dispenser filter is a simple, ten-minute task that ensures your family drinks safe, great-tasting water free from harmful contaminants. By following the correct shutdown procedure, installing genuine filters in the right order, and flushing the system thoroughly, you maintain the integrity of your NSF-certified filtration system.
Set a calendar reminder for your next six-month replacement or activate a subscription service to stay on track automatically. Regular maintenance prevents bacterial buildup, maintains optimal water flow, and protects your health by ensuring your water remains free of lead and chlorine.



