
Struggling to lift a heavy jug often leads to back pain or messy spills when you try to change a water dispenser bottle. A standard 5-gallon unit weighs 40 pounds, so using the wrong technique can cause real injury.
This guide teaches you safe lifting methods, proper hygiene steps, and how to install your new jug without leaks. You will learn to replace your water source quickly while protecting your health and your floor.
Prepare the Replacement Area for Success

Proper preparation prevents accidents before you even touch the heavy bottle. Setting up your space correctly reduces physical strain and ensures the water stays clean.
Wait Until the Reservoir Is Low
Replace the bottle only when the current one is empty or nearly empty. Swapping too early causes overflow as new water floods an already full reservoir. Listen for sputtering from the spigot to know the ideal time to act.
Set Up a Sturdy Support Surface
Place a strong chair or table right next to the dispenser. This platform lets you rest the heavy bottle during the lift to reduce back strain. Use it to break the movement into two easier steps: floor to chair, then chair to dispenser.
Wash Hands and Clean the Jug
Clean your hands with soap before handling the new bottle or dispenser interface. Wipe the exterior of the new jug, especially the neck and cap, with soapy water. This removes dust or bacteria picked up during storage to prevent contamination.
Remove the Empty Bottle Without Injury
Lifting a 40-pound object requires specific body mechanics to avoid serious back injury. Follow these steps to remove the empty jug safely.
Use Proper Lifting Form
Stand close to the dispenser with your feet shoulder-width apart. Grip the handle with one hand and support the side with the other. Squat using your legs instead of your back and lift straight up while keeping the bottle close to your body.
Avoid Face Contact and Sudden Movements
Tilt your head slightly away as you pull the empty bottle free. Residual water may drip or splash during removal. Do not jerk the bottle out because a smooth motion protects the dispenser’s internal spike.
Store the Empty Jug Correctly
Set the empty bottle aside in a designated return area. Most suppliers collect empties on delivery day. Keep them upright and covered if you store them for more than a day to minimize dust exposure.
Install the New Water Bottle Correctly
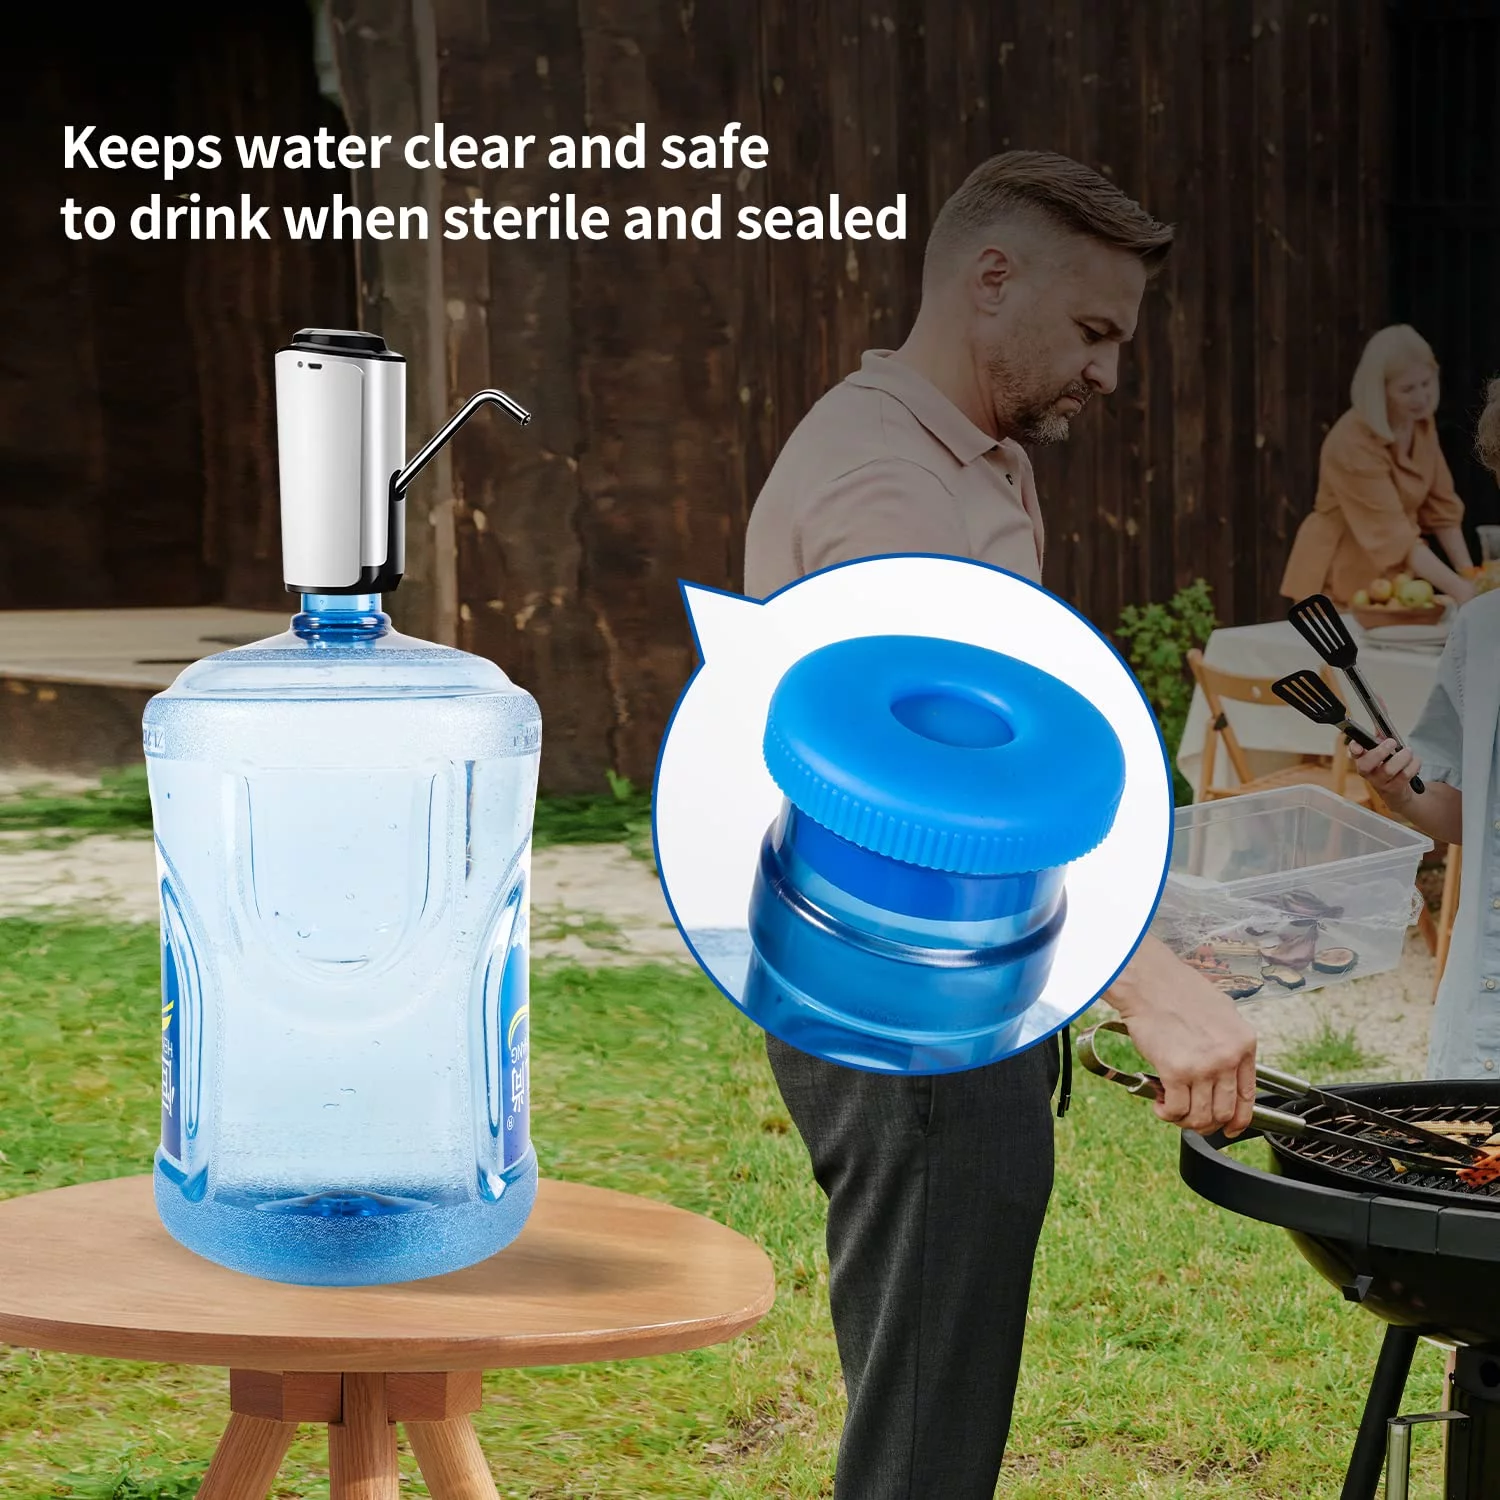
Installing the new jug requires care to ensure the seal breaks properly and water flows freely. Follow this sequence for a leak-free installation.
Remove the Sanitary Seal First
Peel off the germ-free seal on the cap before lifting the bottle. This foil or plastic wrap ensures the water stays uncontaminated until use. Never install a sealed bottle because doing so blocks water flow and prevents puncture.
Lift Using Leg Strength Only
Squat down and grip the neck with one hand while cradling the base with the other. Engage your legs to lift the bottle onto your support chair. Pause if needed, then repeat the lift from the chair to the dispenser while hugging the bottle close.
Position at a 45-Degree Angle
Place the bottle upside down at a 45-degree angle first for smoother water flow. This allows air to escape gradually as water begins to fill the reservoir. Once flow starts, gently push it upright to seat it fully.
Push Down to Activate Flow
Press the bottle down firmly so the dispenser spike punctures the cap. If your unit has a water guard adapter, this mechanism seals the connection and prevents leaks. You may hear a slight pop which confirms the seal is broken and water is flowing.
Verify Installation Success Immediately
Testing the system right away confirms that your installation was successful. These checks help you catch issues before they become major problems.
Test Both Spigots for Flow
Run a cup of water from both the cold and hot taps immediately. This clears air from the lines and confirms proper flow throughout the system. If no water comes out, double-check that the seal was removed and the cap was punctured.
Watch for Normal Bubble Activity
It is normal to see bubbles in the reservoir for the first 10 to 15 seconds. They form as air escapes during the filling process. If bubbling continues beyond 20 seconds, the bottle may have a pinhole or crack.
Check for Leaks and Replace if Needed
Remove the bottle immediately if water drips from the base or bubbles persist. Inspect it for damage, especially near the bottom, and contact your supplier for a replacement. Using a cracked jug risks floor damage and contamination.
Follow Safety and Ergonomics Rules
Adhering to ergonomic principles protects your spine when you handle heavy loads. These rules are essential for anyone changing a water dispenser bottle regularly.
Use Correct Lifting Posture
Always bend at the knees, keep your back straight, and lift with your legs. Holding 40 pounds with poor form can cause serious back injury. Keep the bottle centered and avoid twisting while carrying it.
Get Help if the Weight Is Too Much
Ask for assistance if lifting 40 pounds is too difficult for you. Never risk injury alone. Consider switching to 3-gallon bottles, which weigh about 25 pounds and are easier to handle.
Use the Chair Method Regularly
Even strong individuals benefit from the two-stage lift using a chair. The chair reduces the height you must lift the bottle at once, making the task safer and more manageable.
Store Bottles Properly Before Use
Correct storage maintains water quality and prevents microbial growth before installation. Follow these guidelines to keep your spare jugs safe.
Keep in a Cold, Dark Place
Store unused bottles in a cool, dark area to prevent algae growth. Sunlight exposure, even through windows, can promote microbial development inside clear plastic jugs.
Elevate Off the Floor
Never place bottles directly on the floor. Concrete or tile floors can harbor bacteria and moisture that transfer to the bottle. Use a shelf or pallet to keep them elevated and clean.
Clean Before Installation
Even sealed bottles can collect dust while in storage. Wipe down the exterior with a damp, soapy cloth before installing. This simple step ensures no contaminants drip into the dispenser.
Troubleshoot Common Issues Quickly
Knowing how to fix common problems saves time and prevents water waste. Use these solutions to address typical installation issues.
No Water Flow? Check the Seal
If water does not dispense, the most common cause is a missing or incomplete removal of the germ-free seal. Remove the bottle and inspect the cap. Peel off any remaining plastic or foil, then re-install and press down firmly.
Excessive Splashing? Replace Sooner Next Time
Splashing occurs when the reservoir is still full. Always wait until the current bottle is empty. If you must replace early, drain the reservoir completely before installing the new one.
Persistent Bubbling? Look for Cracks
Continuous bubbles indicate a compromised bottle. Remove it and examine the sides and base for tiny holes or stress fractures. Return damaged jugs to your supplier for replacement.
Water Tastes Off? Clean the Dispenser
Stale or musty taste often comes from biofilm buildup in the reservoir. Clean the dispenser every 6 months with a vinegar-water solution, rinse thoroughly, and sanitize before reuse.
Frequently Asked Questions About Changing Water Dispenser Bottles
How much does a standard 5-gallon water bottle weigh?
A full 5-gallon water jug weighs approximately 40 pounds. This significant weight requires proper lifting techniques to avoid back injury. If this is too heavy, consider using 3-gallon alternatives.
Why does my new water bottle bubble continuously?
Continuous bubbling usually indicates a pinhole or crack in the plastic bottle. Normal bubbling stops after 10 to 15 seconds. Remove the defective bottle immediately to prevent leaks.
Can I store water bottles on the floor before use?
No, you should never store bottles directly on the floor. Floors harbor bacteria and moisture that can contaminate the jug. Store them on a shelf in a cold, dark place instead.
What should I do if no water comes out after installation?
Check if the germ-free seal was fully removed and if the cap was punctured. Ensure you pushed the bottle down firmly to engage the spike or adapter mechanism.
How often should I clean my water dispenser?
You should clean the dispenser every 6 months to prevent biofilm buildup. Use a vinegar-water solution to sanitize the reservoir and rinse thoroughly before the next use.
Key Takeaways for Changing Your Water Dispenser Bottle
Changing a water dispenser bottle safely requires preparation, proper lifting form, and attention to hygiene. By using a chair as a support surface and lifting with your legs, you protect your back from the 40-pound load. Always inspect the bottle for cracks if bubbling persists and store spare jugs in a cool, elevated place.
Take action today by checking your current storage area and ensuring you have a sturdy chair ready for your next replacement. Following these steps guarantees clean water and a pain-free experience every time you refill your dispenser.