

Your Brio water dispenser display is likely flashing after a power outage or initial setup, leaving you unsure how to reset the time. You need a clear guide on how to change clock on Brio water dispenser units without hunting for a lost manual or guessing button functions.
This article details the exact four-step sequence to enter setup mode, adjust minutes and hours, and lock your settings permanently. You will learn the specific button combinations required to stop the blinking display and ensure your unit shows the correct time immediately.
Enter Time Setup Mode on Your Brio Unit

Starting the process correctly is vital because the system ignores short presses to prevent accidental changes during normal use. You must locate the specific control buttons on your panel to trigger the configuration state successfully.
Press and Hold Up and Down Buttons Simultaneously
Find the Up and Down buttons on your control interface, which are distinct from the Hour or Minute keys. Press both buttons at the exact same time with firm, steady pressure to initiate the command sequence.
You must maintain this pressure for a full 3 seconds without releasing early. The system requires this specific duration to distinguish the setup command from a standard operating input.
Confirm Blinking Display Indicates Setup Mode
Watch the digital screen closely as you hold the buttons, waiting for the numbers to start blinking rapidly. This visual cue confirms the dispenser has exited normal operation and entered the time-setting configuration mode.
Release both buttons immediately once the blinking begins to prepare for minute adjustment. If the display remains static, you likely released the buttons too soon or failed to press them simultaneously.
Adjust Minutes on Brio Dispenser Display

The system defaults to minute adjustment first, allowing you to set the precise minutes before moving to the hour value. This sequential design ensures you do not accidentally overwrite your hour settings while fine-tuning the minutes.
Hold Minute Button to Increment Digits
Locate the Minute button on your control panel, often found near the digital readout or labeled clearly. Press and hold this button down to begin increasing the minute value displayed on the screen.
The digits will increase by one every second while you hold the button, allowing rapid movement through the 0 to 59 range. This rapid increment feature lets you reach your target time quickly without repetitive tapping.
Release at Exact Current Minute Value
Watch the counter closely and release the button the moment the display matches the current minute. For example, if the time is 11:05, let go of the button exactly when the screen shows 05.
Avoid scrolling past your target number because correcting an overshoot requires cycling through the entire minute range again. The system registers your selection immediately upon release, so timing is critical for accuracy.
Set the Hour on Brio Dispenser Interface
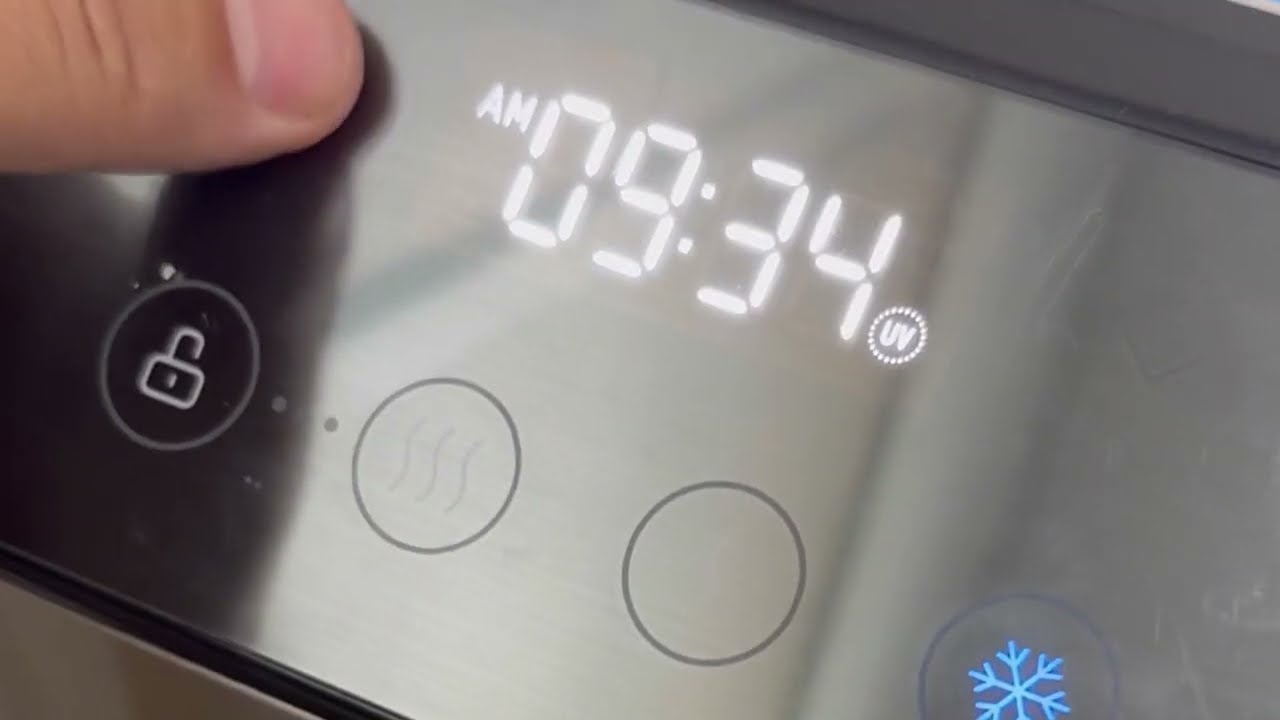
Once the minutes are locked in, you must manually switch the active field to adjust the hour value. This step prevents conflicts between the two time settings and ensures the dispenser knows which number you are editing.
Press Hour Button to Switch Active Field
Tap the Hour button once to shift the editing focus from minutes to hours. You will see the hour digits begin to blink or highlight, indicating they are now ready for modification.
Do not hold this button down, as a single press is all that is needed to change the mode. Holding it might cause the hours to start scrolling immediately, which can make hitting the exact number difficult.
Scroll to Match Current Hour
Use the Hour button to scroll through the available numbers until the correct hour appears. Each press advances the value by one, so continue pressing until the display matches the current time, such as 11 for 11 a.m.
Pause briefly between presses to ensure the display stabilizes and you do not miss your target number. The system supports standard time formatting, so select the number that corresponds to your local time zone.
Save and Lock the New Time Settings
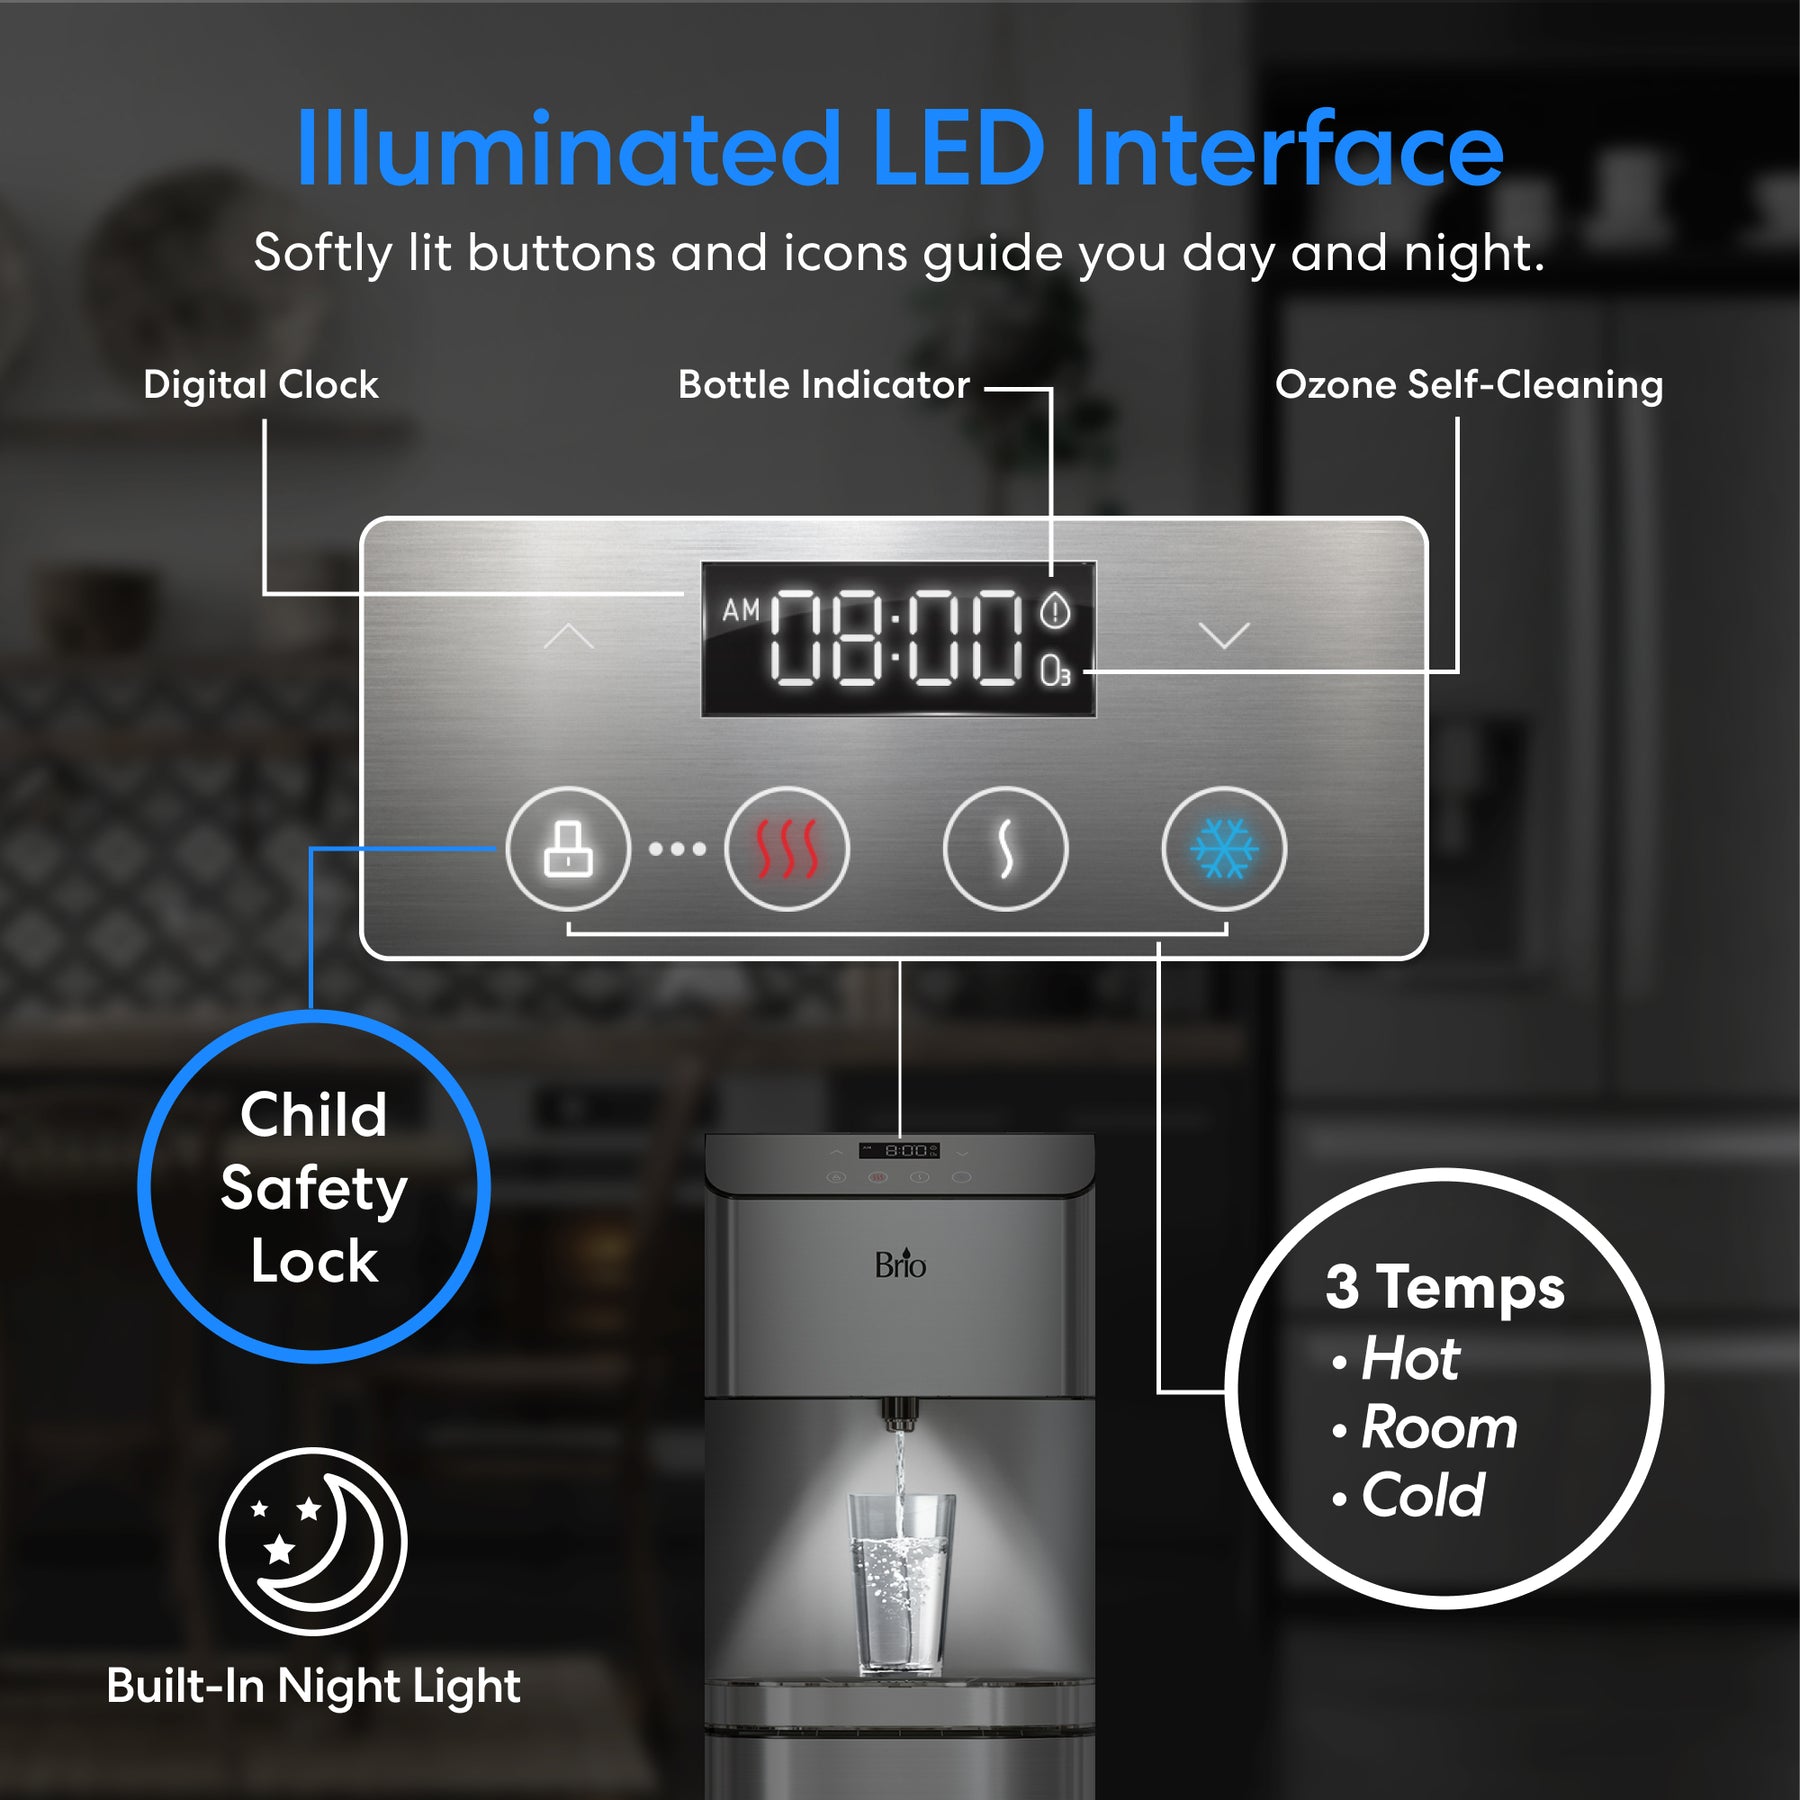
Finishing the setup requires a final confirmation step to store your changes in the dispenser’s memory. Skipping this step will leave the unit in setup mode, and your new time settings will not take effect.
Press Lock Button to Save Configuration
Press the Lock button to finalize your changes and exit the setup mode completely. This single action performs two essential functions: it saves the new time data and returns the unit to normal operation.
There is no separate save or exit key, so the Lock button is your only method to commit the changes. Ensure you press it firmly to guarantee the signal is received by the control board.
Verify Static Display Shows Correct Time
Observe the digital screen to confirm it has stopped blinking and shows a steady, static image. A non-blinking display indicates the clock is now running normally with your newly configured time settings.
Double-check that the hour and minute values are accurate and that the AM or PM indicator is correct. If the time is still wrong or the screen continues to blink, repeat the entire process from the beginning.
Troubleshooting Common Clock Setup Issues
Users sometimes encounter difficulties when learning how to change clock on Brio water dispenser models due to timing or button errors. Understanding these common pitfalls can help you resolve issues quickly without frustration.
Display Does Not Blink After Holding Buttons
If the screen remains static after your attempt, you likely did not hold the Up and Down buttons for the full 3 seconds. Try again with a timer or count slowly to ensure you meet the activation latency requirement.
Ensure you are pressing both buttons simultaneously rather than one after the other. Uneven pressure or staggered timing will prevent the system from recognizing the entry command.
Time Resets After Power Outage
Some users find the clock reverts to a default state after a prolonged power loss or unplugging event. This behavior suggests the unit relies on continuous power to maintain the clock setting without an internal battery backup.
You will need to repeat the setup procedure every time the unit loses power completely. Keep this guide accessible so you can restore the correct time quickly whenever an outage occurs.
Frequently Asked Questions About Brio Clock Settings
What happens if I release the Up and Down buttons too early?
If you release the buttons before the 3-second mark, the display will not blink, and the unit will remain in normal mode. You must hold them for the full duration to trigger the setup sequence successfully.
Can I adjust the hours before setting the minutes?
No, the system forces you to set the minutes first before allowing access to the hour settings. You must complete the minute adjustment step before pressing the Hour button to switch fields.
How do I know if the time is saved correctly?
The display will stop blinking and remain static once the time is saved. A steady screen confirms that the Lock button successfully stored your settings in the dispenser’s memory.
Does this method work for all Brio water dispenser models?
This procedure applies to models featuring the specific Up, Down, Minute, Hour, and Lock button configuration described. Consult your specific user manual if your control panel layout differs significantly from these instructions.
Why does the minute counter move so fast when I hold the button?
The system increments digits every second to allow quick navigation through the 0 to 59 range. This design eliminates the need for repetitive tapping when setting times far from the current value.
Key Takeaways for Changing Your Brio Dispenser Clock
Mastering how to change clock on Brio water dispenser units requires precise timing and a clear understanding of the button sequence. Remember to hold the Up and Down buttons for exactly 3 seconds, set your minutes first, adjust the hours next, and always press Lock to save.
Verifying that the display stops blinking is the final proof that your settings are active and secure. Keep these steps handy for future power outages or daylight saving time changes to ensure your dispenser always shows the correct time.



