If your reverse osmosis system is producing water with a musty smell, strange taste, or cloudy appearance, the problem might not be your filters. Your RO storage tank can harbor bacterial growth and biofilm even when water reads 0 TDS, especially after periods of non-use or system maintenance. Cleaning and sanitizing your reverse osmosis tank is a crucial but often overlooked step in maintaining pure, safe drinking water.
This guide covers both bladder tanks common under sinks and atmospheric tanks used in whole-house systems. You’ll learn the exact steps to sanitize each type safely, which products to use, how often to clean, and what warning signs to watch for. By the end, you’ll know exactly how to clean your reverse osmosis tank and keep your water tasting fresh.
Identify Your RO Tank Type
Bladder Tanks vs Atmospheric Tanks
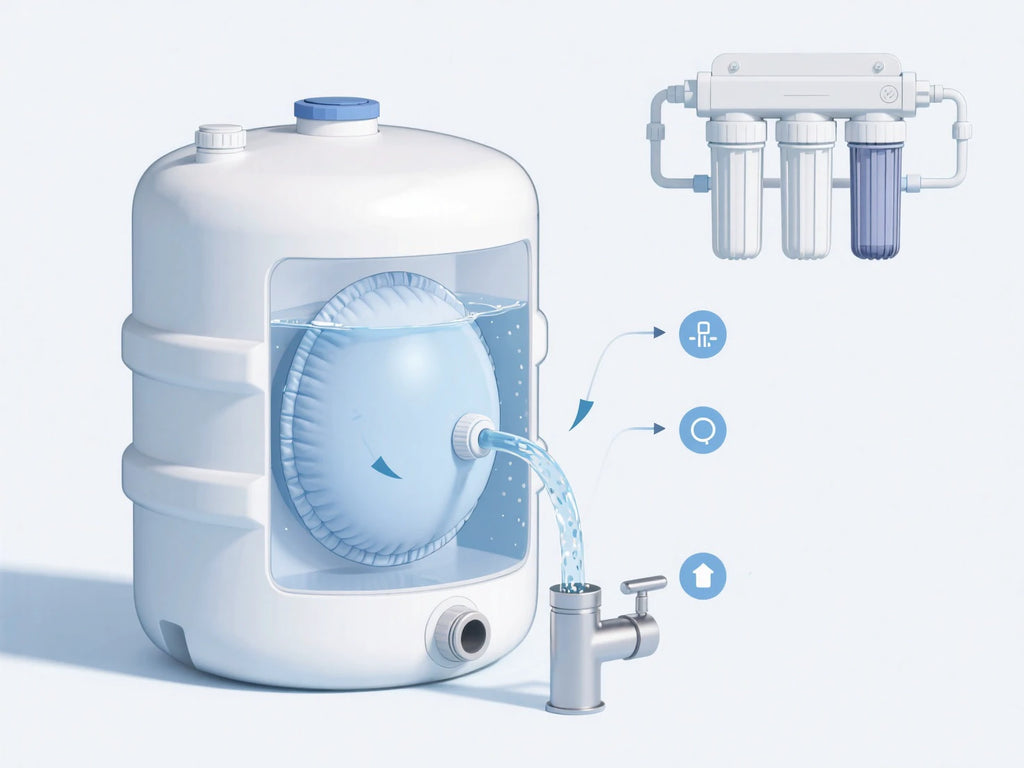
Most homes use bladder tanks, which are sealed pressurized units holding 3 to 4 gallons of water. These tanks rely on an internal air bladder to push water out when you open the faucet. Because they are fully enclosed, you cannot open them for cleaning. Sanitization must be done indirectly by circulating disinfectant through the plumbing system.
Atmospheric tanks are large open-top vessels used in commercial or whole-house RO systems. These tanks hold 165 or more gallons and sit at ambient pressure. They often have removable lids or inspection ports that allow direct access for scrubbing and deep cleaning.
If your tank is under your sink and connects to a small faucet, it is a bladder tank. If it is part of a whole-house system with a large storage vessel, it is likely atmospheric.
Why Cleaning Methods Differ
Bladder tanks require indirect sanitization because opening them destroys the internal bladder. Solution circulates through the plumbing into the tank. Atmospheric tanks allow direct internal access, so you can scrub, rinse, and soak the interior surfaces. Using the wrong method can damage components or leave contamination behind.
Signs Your RO Tank Needs Cleaning
Musty Smell or Bad Taste
The most common sign of contamination is a musty, swampy, or wet dog odor in the water. This usually indicates bacterial growth or biofilm inside the tank. Even if the RO membrane removes dissolved solids, it does not stop microbes from multiplying in stagnant water.
A plastic-like, metallic, or stale taste that persists after filter changes often points to a contaminated tank rather than the filters themselves. A saturated post-carbon filter is the second most common cause of bad taste, so replace it first if you have not recently.
Cloudy or Milky Water
If your water looks cloudy or milky and does not clear within a few minutes, it could signal microbial bloom or biofilm shedding. Temporary cloudiness is usually just trapped air, but persistent haze after 24 hours suggests contamination.
Low Water Output or Sputtering
A rapidly depleting tank or pulsating flow from the faucet may seem like a pressure issue, but it can also stem from biofilm restricting water flow or disrupting bladder function. Always rule out low air pressure first by checking when the tank is completely empty.
Prolonged Inactivity
If your RO system has been shut off for more than two weeks, stagnant water creates an ideal environment for bacteria. Sanitize before restarting even if the water previously tasted fine.
Best Sanitizers for RO Tanks
Use Only Food-Safe Disinfectants
Never use harsh chemicals like ammonia, drain cleaners, or scented products. Only non-toxic, potable-water-safe sanitizers should be used to avoid health risks and component damage.
Unscented Household Bleach
Unscented household bleach with 5 to 6 percent sodium hypochlorite is the most effective and widely recommended sanitizer for RO tanks. It kills bacteria, viruses, and biofilm quickly.
For bladder tanks, use 1 to 2 teaspoons per gallon of system volume. For atmospheric tanks, use 2 cups per 100 gallons of capacity. Soak time is 15 to 30 minutes for bladder tanks and 6 or more hours for atmospheric tanks.
Bleach destroys RO membranes and degrades carbon filters. Always remove them before sanitizing. Never mix bleach with vinegar, ammonia, or acids as this creates toxic chlorine gas.
Hydrogen Peroxide
Three percent hydrogen peroxide is an excellent alternative, especially for aquariums, reef tanks, or sensitive users. It breaks down into water and oxygen, leaving no harmful residue. Use it as a final rinse after bleach to eliminate chlorine odor. Soak for 1 hour, then flush completely. It is safe for membranes and filters, so no need to remove them.
White Vinegar
Five percent white vinegar helps remove mineral buildup but does not disinfect. It is useful as a pre-rinse for hard water scale before using bleach. Do not rely on vinegar alone because it will not kill bacteria or biofilm.
Commercial Sanitizers
Products like SaniSystem come in pre-measured packets and are NSF-certified for potable water systems. Simply pour into the first filter housing and circulate. This eliminates guesswork and provides consistent dosing.
How to Sanitize a Bladder RO Tank
Shut Off and Drain the System
Close the main water supply valve to the RO system. Open the RO faucet and let all water drain out. Leave the faucet open to ensure full depressurization. The tank must be completely empty before proceeding because any remaining water dilutes the sanitizer.
Remove Filters and Membrane
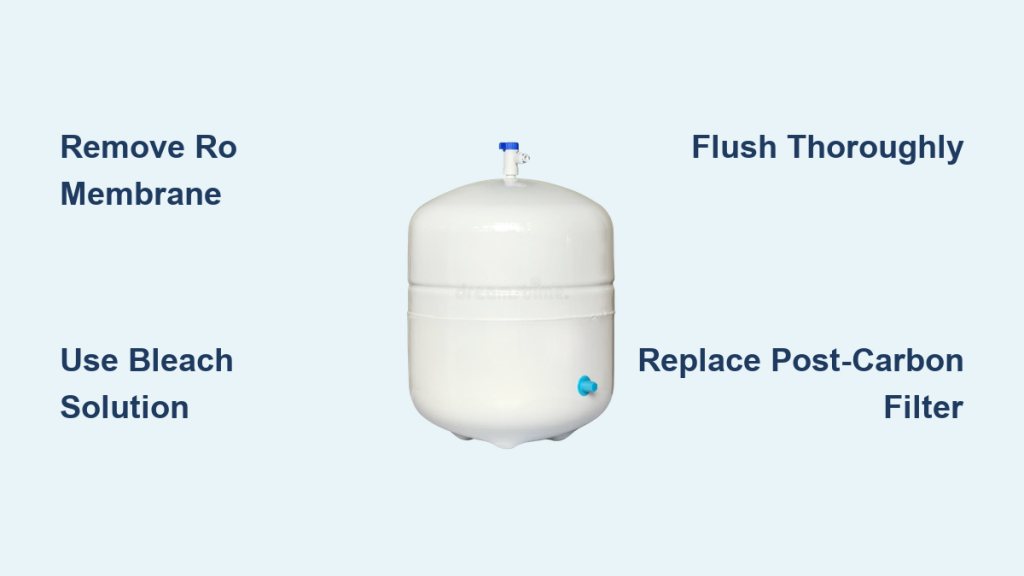
Remove the sediment filter, carbon filters, RO membrane, and post-carbon filter. Set them aside on a clean towel. Never expose the RO membrane to bleach because it will be permanently damaged.
Mix and Introduce Sanitizing Solution
Combine 1 to 2 teaspoons of unscented bleach per gallon of water. Pour the solution into the first pre-filter housing using a funnel. Reinstall the empty housing without filters.
Alternatively, use a SaniSystem packet or other NSF-certified sanitizer per the product instructions.
Circulate and Soak
Briefly turn on the water supply just enough to push the solution into the tank. Immediately shut off the water. Let the solution soak for 15 to 30 minutes. Optionally, gently rock the tank if accessible to help the solution coat the inner bladder.
Flush the System
Open the RO faucet and drain the tank completely. Refill with fresh water, then drain again. Repeat 2 to 3 times. Use chlorine test strips to confirm 0 ppm free chlorine at the faucet.
Reinstall Components
Reinstall the RO membrane, pre-filters, and post-carbon filter. Close the faucet. Turn on the water supply. Let the system refill completely. Discard the first full tank of water. Best practice is to run two full tanks before drinking to ensure all residues are gone.
How to Clean an Atmospheric RO Tank
Shut Down and Drain the Tank
Turn off the water supply and power to the delivery pump. Open the drain valve at the bottom and let the tank empty completely. Use a wet/dry vacuum or sump pump to remove residual water and sediment.
Remove Sediment and Debris
Scoop or vacuum out visible sludge, scale, or biofilm from the bottom and walls. Even small amounts can harbor microbes. This step is critical because organic debris shields bacteria from disinfectants.
Scrub Interior Surfaces
If your tank has an inspection port or removable lid, use a long-handled brush or low-pressure water jet to scrub walls, seams, and fittings. Focus on corners and crevices where biofilm builds up. Rinse thoroughly and vacuum out rinse water.
Disinfect with Bleach Solution
Add 2 cups of unscented bleach per 100 gallons of tank capacity. A 165-gallon tank needs 3.3 cups. A 500-gallon tank needs 11 cups. Refill the tank to full capacity with clean water. Open downstream valves to circulate chlorinated water through plumbing. Let the solution soak for at least 6 hours, preferably overnight.
Flush and Rinse
Drain all chlorinated water. Do not discharge into gardens or septic systems. Refill with clean water and drain again. Repeat 2 to 3 times. Use chlorine test strips to verify 0 ppm free chlorine before reconnecting.
Restart the System
Reconnect all plumbing. Power on the delivery pump. Run 1 to 2 full RO cycles before using the water. Open house taps to flush residual chlorine from household lines.
Prevent Contamination After Cleaning
Replace the Post-Carbon Filter
Even after sanitizing, a saturated post-carbon filter can reintroduce bad taste or odor. Always replace it after cleaning, especially if it has not been changed in 6 to 12 months. The post-carbon filter is the number one cause of taste issues post-cleaning, not the tank.
Flush Thoroughly
Never skip the final flush. Residual bleach or sanitizer can damage system components, cause health concerns, and leave unpleasant taste. Use test strips to confirm sanitation is complete.
Use a Final Peroxide Rinse
For aquariums, reef tanks, or medical use, fill the tank with 1.5 percent hydrogen peroxide solution. Soak for 1 hour, then flush completely. This ensures zero chemical residue and neutral taste.
Maintenance Schedule for Long-Term Health
Sanitize Annually
Once per year is standard for most systems. Every 6 months if the system sits idle frequently, the tank is exposed to light or dust, or you live in a warm climate. The ideal time is during annual filter and membrane replacement.
Check Tank Air Pressure
Ideal pressure is 7 to 10 psi when the tank is completely empty. Check every 6 to 12 months using a bike tire gauge. Add air with a hand pump if low. Release air if over-pressurized.
If water appears at the air valve, the bladder is ruptured and the tank must be replaced.
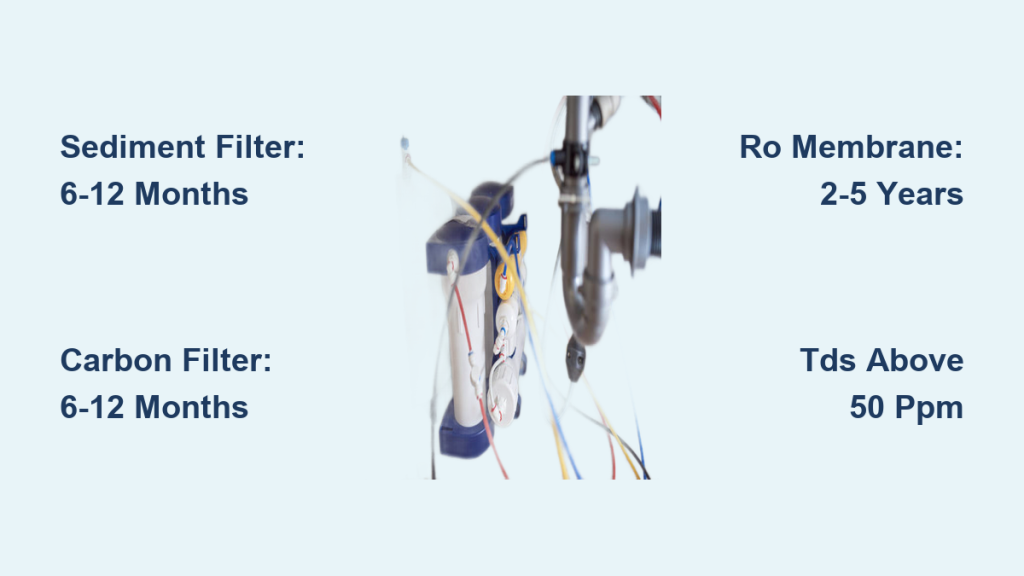
Replace Filters on Schedule
Replace the sediment filter every 6 to 12 months to prevent clogging. Replace the carbon filter every 6 to 12 months to remove chlorine and protect the membrane. Replace the RO membrane every 2 to 3 years or if TDS rises more than 10 percent. Replace the post-carbon filter every 6 to 12 months for final taste polishing.
Troubleshoot Common Post-Cleaning Issues
Still Smelling Bad
The most likely cause is a saturated post-carbon filter. Replace it first. If the problem persists, replace the RO membrane.
Cloudy Water After Cleaning
Trapped air usually clears in minutes. Persistent cloudiness likely means residual biofilm. Repeat sanitization.
Low Water Flow
Check air pressure when the tank is empty. If low, add air to 7 to 10 psi. If still low, inspect for clogged filters or faulty check valve.
Water at Air Valve
This means the bladder is ruptured. The tank must be replaced.
Special Use Cases and Tips
Tanks with ATO Pumps or Vents
Auto top-off systems often have ventilation slots that allow dust and microbes to enter. Clean every 6 months. Store the tank in a closed cabinet. Consider using an air purifier nearby.
Clear Tanks Exposed to Light
Light promotes algae and bacterial growth. Store in a dark location. Never place under cabinet lighting or near windows.
For Aquarium or Reef Tank Users
Avoid bleach if possible. Use vinegar or peroxide instead. Perform extra flush cycles. Test water for odor and TDS before use.
Reactivating Idle Systems
If your system has been idle for more than a year, replace all filters and membrane. Sanitize with 10 percent bleach solution. Flush thoroughly. Consider a new system if restoration cost exceeds replacement.
Frequently Asked Questions About Cleaning RO Tanks
How often should I sanitize my RO tank?
Once per year is standard. Sanitize sooner after 2 or more weeks of disuse, repairs, or noticeable taste or odor changes.
Can I sanitize without removing the RO membrane?
No. Bleach irreversibly damages thin-film composite RO membranes. Always remove the membrane before sanitizing.
Is bleach safe for drinking water systems?
Yes, when used correctly. Use unscented household bleach with 5 to 6 percent sodium hypochlorite. Follow proper dilution. Flush until 0 ppm chlorine is confirmed. Municipalities use the same chemical for public water disinfection.
Can I use vinegar instead of bleach?
No, for disinfection. Vinegar removes scale but does not kill bacteria or biofilm. Use it as a pre-rinse, but bleach or NSF sanitizer is required for sanitization.
What if I still smell something after cleaning?
Likely causes include a saturated post-carbon filter, a fouled or expired RO membrane, or residual chlorine not fully flushed. Replace the post-carbon filter first. If the issue remains, replace the membrane.
Can I use hydrogen peroxide to sanitize my RO tank?
Yes, especially as a final rinse after bleach. Use 1.5 to 3 percent solution. Soak for 1 hour, then flush completely. It breaks down into water and oxygen, making it safe for sensitive applications.
Key Takeaways for Cleaning Your Reverse Osmosis Tank
Cleaning your reverse osmosis tank is essential for safety and taste, not just appearance. Whether you have a small under-sink unit or a large atmospheric system, annual sanitization prevents microbial risks and extends system life. Always remove the RO membrane before using bleach, flush until 0 ppm chlorine is confirmed, and replace the post-carbon filter after cleaning. With this routine, your RO system will deliver pure, great-tasting water for years.