
If your reverse osmosis system is producing slow water flow, strange tastes, or cloudy output, it’s likely time to change the filters. Knowing how to change reverse osmosis filters properly ensures clean, safe drinking water and extends the life of your system. This guide walks you through every step from shutting off the water to flushing the system using only the tools and information you need.
Replacing RO filters is not just about better tasting water. It protects the expensive membrane from clogging and prevents leaks. Most pre-filters should be changed every 6 to 12 months while the RO membrane lasts 3 to 5 years with proper maintenance. By following this guide, you will restore peak efficiency, avoid common mistakes, and keep your system running like new.
Shut Off Water and Depressurize
Before touching any filter, you must stop water flow and release pressure to prevent leaks or injury.
Close Supply and Tank Valves
Turn off the inlet water shutoff valve. This is usually a small white or blue quarter-turn valve on the 1/4-inch feed line. If your RO system supplies an ice maker, shut that valve too. Then close the valve on top of the storage tank by turning it 90 degrees so it is perpendicular to the tubing.
Drain System Pressure
Open the dedicated RO faucet and let it run until water stops. This depressurizes the system. Once flow reduces to a drip or stops completely, close the faucet.
Warning: Never remove filters without shutting off water and draining pressure. Doing so can damage fittings or cause sudden water spray.
Remove Old Filters Safely
With the system off and empty, you can now access and extract used filters in water flow order.
Access Filter Housings
Move the storage tank if it blocks access. Empty it fully by leaving the faucet open after shutdown. Support it with a brick or block. Never kink the tubing.
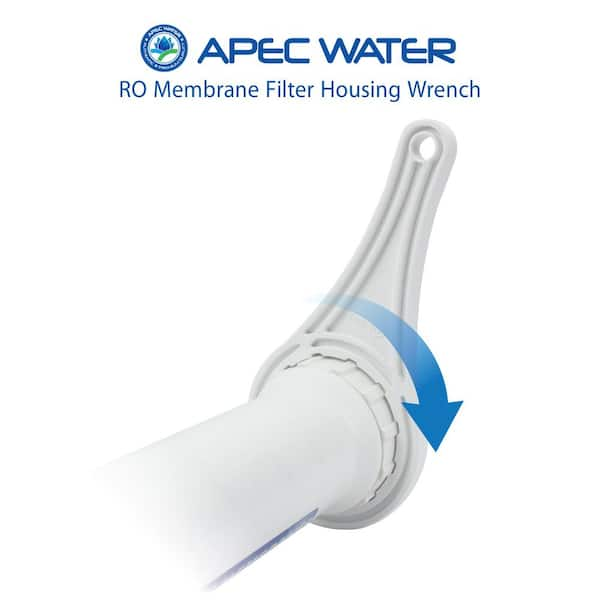
Unscrew and Extract Pre-Filters
Use a plastic spanner wrench to loosen each housing. Turn clockwise because many housings have reverse threading. Loosen just enough to unscrew by hand. Pull the old filter straight out and discard in regular trash.
Tip: Place a towel or tray underneath to catch residual water.
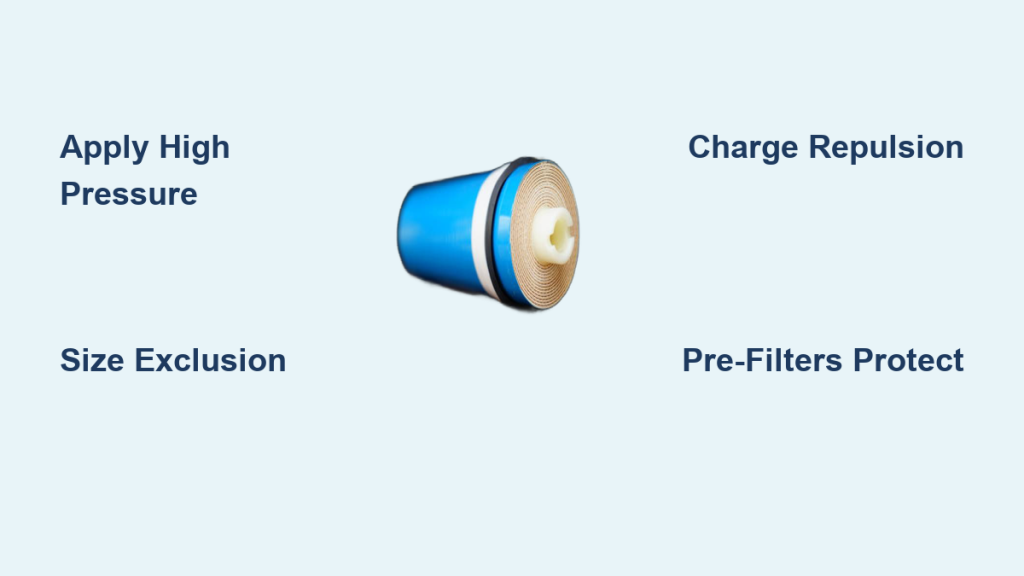
Replace RO Membrane
Unscrew the membrane housing cap with the spanner. If tight, use a closed-end wrench. Pull the old membrane straight out. Note that the blue fitting connects to the permeate line for the tank and the black fitting connects to the drain line. Keep orientation for reassembly. Do not remove the center core because it is structural.
Remove Post-Filter and Mineralizer
For systems with stages 5 to 6, release the side pop clips on the combined unit and snap out post-carbon and mineralizer filters. Remove end caps from the mineralizer cartridge for reinstallation.
Clean Housings and Inspect Parts
Prep components before installing new filters to prevent leaks and contamination.
Wash and Sanitize Canisters
Rinse housings with mild dish soap and water. For deep cleaning, use a diluted bleach solution of 1 teaspoon bleach per quart of water. Scrub gently, then rinse thoroughly.
Check O-Rings and Fittings
Inspect O-rings in each housing. Replace if cracked, dry, or misshapen. If intact, clean and reseat fully in grooves. Apply plumber’s grease or petroleum jelly to prevent leaks and ease future removal.
Use a toothpick to remove old Teflon tape from threads. Wipe down push-fit connectors and trim frayed tubing ends with scissors or a tubing cutter.
Install New Filters Correctly
Install replacements in flow order, matching stage labels and direction.
Insert Pre-Filters
- Stage 1 (Sediment): Insert the polypropylene filter into the first housing.
- Stage 2 (Carbon): Add the activated carbon filter. If directional, the rubber seal faces up.
- Stage 3 (Optional Carbon): Install the second carbon filter.
Hand-tighten housings with the spanner but do not over-tighten.
Insert RO Membrane
Remove protective caps from the new membrane. Insert with two O-rings facing forward toward the inlet. Push fully into housing. Reattach cap and secure with retaining clip. Hand-tighten the nut.
Never remove the internal core because it is not a plug.
Install Post-Filter and Mineralizer
For stage 5 (post-carbon), match the flow arrow to system direction, insert, and lock into housing. For stage 6 (mineralizer), insert elbows into cartridge ends. Connect from stage 5 output to the faucet. Match tubing colors: blue to blue and black to white.
Reassemble and Prevent Leaks

Secure all parts before restoring water.
Reconnect Tubing and Components
Ensure no kinks or sharp bends in lines. Push push-to-connect fittings fully until they click. Trim tubing ends if reseating for a clean seal. Rotate stage 5 housing so fittings face the rear, matching original setup.
Support Tank and Secure Lines
Reposition the storage tank without compressing tubing. Use gentle ties to secure loose lines and reduce vibration noise.
Restore Water and Flush System
Bring the system back online and purge air and carbon fines.
Turn On Water Supply
Slowly open the main water valve. Open the tank valve. Open the RO faucet and leave it open.
Flush Filters Thoroughly
New carbon filters release dust so flushing is essential. Let the faucet run until the tank empties, which takes 2 to 4 hours. The tank feels light when empty. Refill, then drain 2 to 3 full cycles. After final refill, let water run until flow drops to a trickle.
First water may look cloudy or taste odd. This clears after flushing. The second batch is safe to drink.
Check for Leaks and Test Performance
Verify your work to ensure long-term reliability.
Inspect All Connections
With water on, check filter housing seams, O-rings and push-fit joints, and membrane cap and drain line. If a leak appears, shut off water, re-tighten or reseat the fitting, and replace damaged O-ring or tubing.
Reset System
Some smart RO systems have a reset button. Press it to clear maintenance alerts or recalibrate sensors.
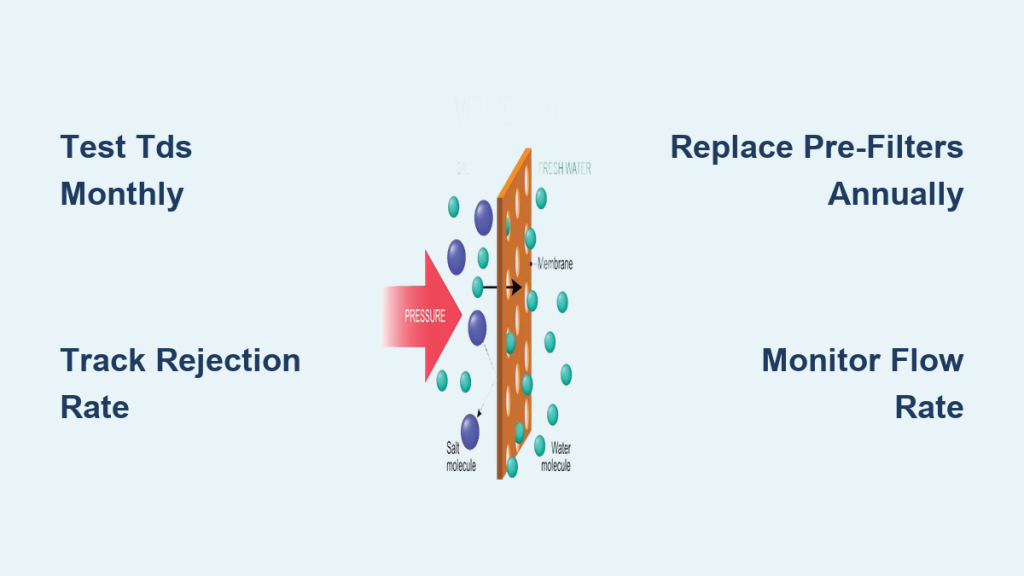
Follow Replacement Schedule
Stick to a maintenance plan to protect your investment.
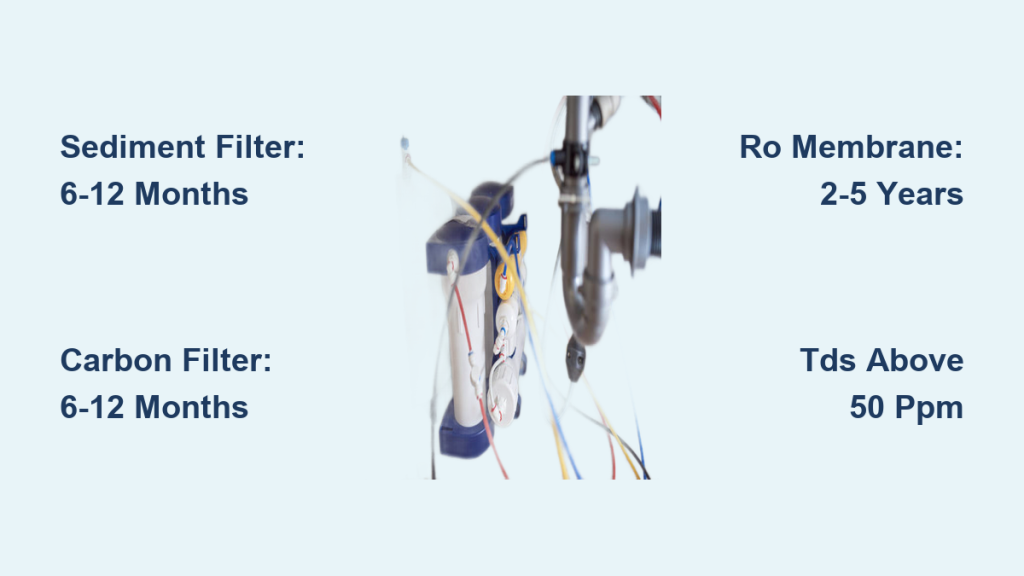
Standard Filter Lifespans
| Filter Type | Replace Every |
|---|---|
| Sediment (Stage 1) | 6 to 12 months |
| Carbon Pre-Filter (Stages 2 to 3) | 6 to 12 months |
| RO Membrane (Stage 4) | 3 to 5 years |
| Post-Carbon (Stage 5) | 12 months |
| Mineralizer (Stage 6) | 2 to 3 years |
Warranty Tip: Most brands require annual pre-filter changes to keep membrane warranties valid.
Troubleshoot Common Issues
Fix problems fast with these quick diagnostics.
Faucet Sputters or Sprays
Cause: Air trapped in lines. Fix: Run water for 5 to 10 minutes to purge air.
Low Water Flow After Change
Cause: Incomplete flush, air lock, or damaged membrane. Fix: Flush longer and check membrane seating.
Discolored or Bad-Tasting Water
Cause: Poor flushing or expired post-filter. Fix: Flush additional 10 minutes and confirm all filters are new.
Tank Will Not Fill
Cause: Closed tank valve, low air pressure, or faulty check valve. Fix: Open valve and check tank pressure. It should be 7 to 8 psi when empty.
Leaking Housing
Cause: Misaligned O-ring or loose cap. Fix: Re-seat O-ring, lubricate, and re-tighten.
Maximize System Longevity
Extend performance with smart habits.
Use Genuine or Compatible Filters
Stick to manufacturer-approved or verified compatible filters. Mixing untested brands can cause leaks or poor filtration.
Label Service Dates
Use a permanent marker to write the replacement date on each housing. This helps track schedule and supports warranty claims.
Keep Spares On Hand
Store a complete filter kit, especially in areas with hard water or sediment. This reduces downtime and prevents delays.
Upgrade for Well Water
If using well water, replace sediment filter every 3 to 6 months. Add a whole-house sediment pre-filter. Consider a booster pump if pressure is low.
Pro Tip: 80% of post-change leaks come from O-ring errors or incomplete tightening. Double-check every seal.
Frequently Asked Questions About Changing Reverse Osmosis Filters
How often should I change my RO filters?
Sediment and carbon pre-filters should be changed every 6 to 12 months. The RO membrane lasts 3 to 5 years. Post-carbon filters need annual replacement while mineralizers typically last 2 to 3 years.
Can I change just one filter at a time?
You can but it is not recommended. Replacing all pre-filters together maintains balanced system performance and protects the membrane. Most manufacturers suggest changing all pre-filters and the post-filter annually.
How long does it take to change RO filters?
The entire process takes 20 to 40 minutes for most under-sink systems. This includes shutting off water, removing old filters, installing new ones, and flushing the system.
Why does my water look cloudy after changing filters?
Cloudy water immediately after replacement is normal. New carbon filters release fine particles and manufacturing dust. Run water through the system for 2 to 4 hours until the tank empties and refills 2 to 3 times. The second batch is safe to drink.
Do I need to flush the system after changing filters?
Yes, flushing is critical. New carbon filters release fines that must be purged. Allow the tank to empty completely, then fill and drain 2 to 3 times. Run the faucet until flow drops to a trickle before drinking.
What happens if I do not change my RO filters on time?
Skipping replacements reduces water flow, degrades taste, and can clog the expensive RO membrane. It may also void your warranty since most manufacturers require annual pre-filter changes to maintain membrane coverage.
Key Takeaways for Changing Reverse Osmosis Filters
Changing reverse osmosis filters takes 20 to 40 minutes and pays off in cleaner water, faster flow, and longer system life. Always shut off water and depressurize before starting. Replace filters in flow order and match stage labels carefully. Flush thoroughly for 2 to 4 hours before drinking the first batch.
By following this guide, you have restored your RO system to peak performance. Stick to the replacement schedule, flush completely after each change, and inspect regularly for leaks. Enjoy pure, great tasting water for years to come.