

You press the paddle on your GE fridge and only a weak trickle comes out. A slow water dispenser ranks among the most common refrigerator complaints homeowners face. The good news is that most causes are simple to diagnose and fix without calling a technician.
This guide walks you through every documented cause of GE fridge water dispenser slow performance. You will learn how to identify the problem, perform the repair, and prevent it from happening again, often in under an hour.
Replace a Clogged Water Filter

A blocked water filter is the leading cause of slow dispensing in GE refrigerators. Sediment, chlorine, and minerals collect in the filter media over time, gradually restricting water flow.
Signs Your Filter Needs Replacement
• Water trickles out instead of flowing steadily
• Ice cubes appear smaller than usual
• You hear unusual sounds during dispensing
• A “Change Filter” or “Leak Detected” alert appears on the display
GE recommends replacing the filter every 6 months, even if water still flows. Partial clogs reduce pressure significantly before complete blockage occurs.
How to Replace the Filter
- Locate the filter (usually top-right inside the fridge or behind the kick plate)
- Press the release button or twist counterclockwise to remove the old filter
- Pull off the protective caps from the new filter
- Insert the new filter with the label facing forward
- Push or twist until it clicks into place
- Close the cover securely
After installation: Run water through the dispenser for 3 minutes to flush air and carbon particles from the system.
Pro Tip: Use only genuine GE filters such as the RPWFE or GWF models. Aftermarket versions may not seal properly or can trigger false leak alerts due to RFID chip issues.
Fix Improper Filter Installation
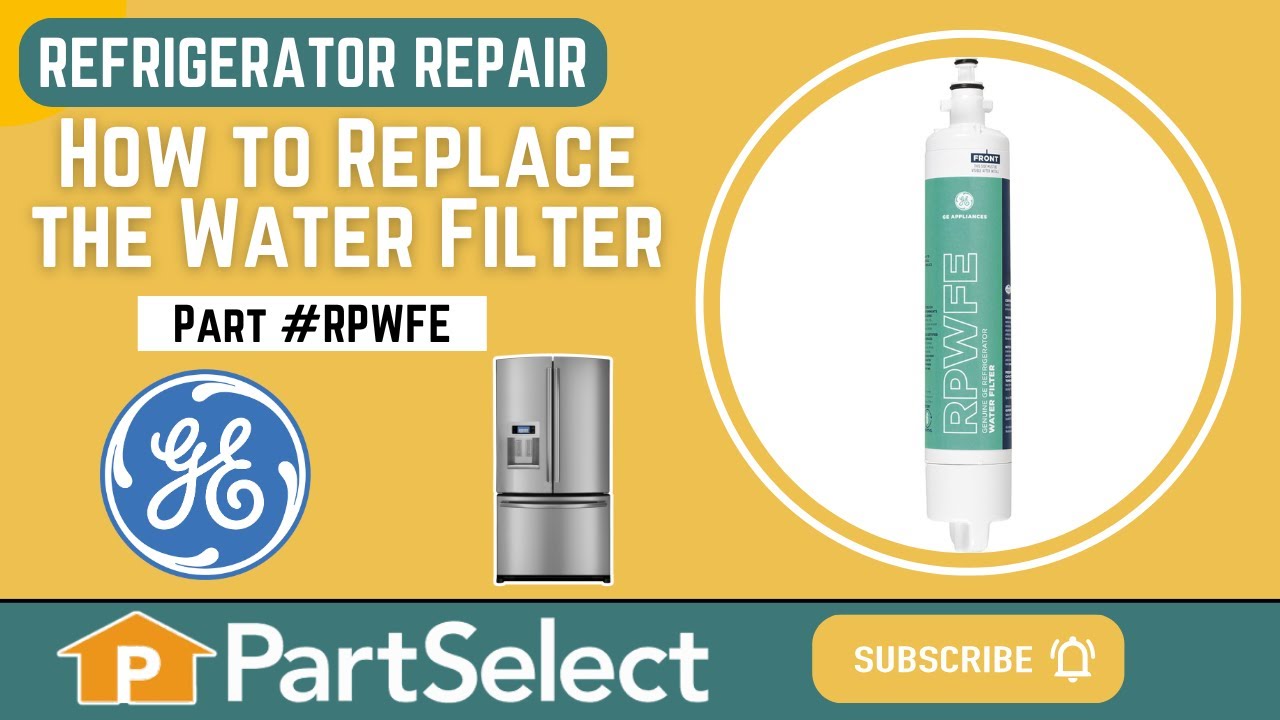
Even a brand new filter will not help if it sits loosely in the housing. A misaligned filter restricts flow or shuts off water entirely.
Correct Installation Steps
• Ensure the filter clicks fully into the housing with no gaps
• For RPWFE models, the front label must face you when installed
• Listen for the audible click to confirm proper seating
• If unsure, remove and reinsert the filter firmly
Why Proper Seating Matters
Improper installation can block the internal check valve, trigger a “leak detected” error from RFID miscommunication, or reduce flow by up to 90%.
Warning: Non-OEM filters often fail to activate the RFID chip, causing system errors even when they fit physically.
Thaw a Frozen Water Line
If your dispenser hums but no water comes out, and the ice maker still works, the water line inside the door is likely frozen.
Who Is at Risk
• Side-by-side models in the GSH and GSL series due to poor insulation
• Units located in garages or cold kitchens
• Fridges set colder than 0°F
Test for Ice Blockage
- Disconnect the water line at the bottom hinge where the door connects
- Press the dispenser button
- If water squirts from the fridge side, the blockage is inside the door
- Insert a zip tie into the dispenser nozzle. If it stops between 4 and 8 inches, ice is likely present
How to Thaw the Line
• Use a hair dryer on low heat for 10 to 15 minutes along the door edge
• Inject hot (not boiling) water into the nozzle using a syringe
• Avoid high heat that can warp plastic tubing
Prevent Future Freezing
• Install GE’s heater kit (WR49X10173)
• Keep the freezer temperature between 0°F and 5°F
• Raise the ambient temperature slightly during winter months
Expert Note: This frozen line issue is a known design flaw. GE released the WR49X10173 kit specifically to address recurring problems in side-by-side models.
Straighten a Kinked Supply Line
A bent or pinched water supply line behind the fridge can severely limit water flow to your dispenser.
Common Causes
• Fridge pushed too close to the wall
• Sharp bends in the tubing
• Sediment buildup inside the line
Fix in 5 Steps
- Pull the fridge out from the wall
- Close the shut-off valve under the sink or near the fridge
- Disconnect the line and drain it into a bucket
- Massage kinks out of the tube or replace it if damaged
- Reconnect and ensure 2 to 3 inches of clearance behind the fridge
Test the Supply Line
• Disconnect the line at the back of the fridge
• Place the end in a bucket
• Open the valve. You should see a strong, steady stream
• Weak flow indicates a household pressure issue or filter system problem
Check Water Pressure
Low water pressure causes slow dispensing even when the filter is clean and lines are clear.
Minimum Requirements
• 20 PSI to operate the water valve
• Ideal range: 20 to 125 PSI
• Below 20 PSI means insufficient pressure for proper function
Causes of Low Pressure
• Partially closed shut-off valve
• Whole-house filtration system such as reverse osmosis
• Private well with low output
• Municipal supply issues
How to Test
- Disconnect the supply line at the fridge
- Open the valve into a bucket
- Observe the flow strength
- If weak, test other faucets. If all are slow, call a plumber
Solutions
• Fully open the shut-off valve by turning it until it stops
• Install a pressure booster pump if needed
Note: Reverse osmosis systems often drop pressure below 20 PSI. Consider a dedicated fridge feed bypass to solve this issue.
Test the Water Inlet Valve

If the filter, lines, and pressure all check out but flow remains weak, the water inlet valve may be faulty.
Symptoms of Failure
• No water from the dispenser or ice maker
• Humming sound but no flow
• Valve does not click open
• Ice maker works but dispenser does not (likely a dual valve issue)
How to Diagnose
- Unplug the fridge
- Remove the rear lower panel
- Locate the valve behind the fridge near the water line entry
- Use a multimeter to test the solenoid:
• Set to ohms (Ω)
• Touch probes to terminals
• Good reading: 500 to 1,500 ohms
• Infinite resistance means the coil is dead
Replace the Valve
• Part cost: $30 to $80
• Disconnect power and water first
• Label wires before removing the old valve
• Snap in the new unit. No tools needed on most models
Never clean the diaphragm. Always replace the entire valve to prevent leaks.
Replace the Dual Water Valve with Flow Meter

On GE Profile models like the PVD28BYNFS, a dual water valve with flow meter (WR57X32000) controls both the dispenser and ice maker.
Why It Fails
• Internal clogging from sediment
• Worn seals
• Electrical failure
Symptoms
• Slow water and reduced ice production
• Both systems work weakly or intermittently
• Error codes related to water flow
Repair Order
- Replace the dual valve (WR57X32000)
- If no improvement, try the isolation valve (WR57X31999)
- Last resort: replace the filter manifold (WR17X31816)
Pro Tip: This is a common failure point. Many users report immediate improvement after replacement.
Inspect the Filter Manifold (Head)
The filter head, where the filter screws in, can fail independently of the filter itself.
Signs of Failure
• Slow flow persists after installing a new filter
• “Leak detected” error without an actual leak
• Cracked housing or stuck check valve
How to Check
- Remove the filter
- Inspect for cracks, warping, or debris
- Look for a stuck internal valve. It should move freely
- Shine a light through the housing. You should see an open passage
Replace If Needed
• Part: WR17X31816 (Water Filter Manifold)
• Cost: $70 to $200
• Moderate DIY difficulty requiring disconnection of water lines
Diagnose Control Board Issues
If the dispenser does nothing, with no lights or sounds, the control board may have failed.
Warning Signs
• No response when pressing buttons
• Clicking noise from the back of the fridge with no action
• Swollen capacitors with bulging or brown residue on the board
• Entire dispenser panel is dead
How to Test
- Open the rear access panel or remove the front dispenser cover
- Inspect the board for visible damage
- Press the dispenser and listen for a relay click
- No click indicates the board likely failed
Replace the Board
• Unplug the fridge
• Disconnect the wiring harness
• Remove the mounting screws
• Swap with an OEM replacement (plug-and-play)
• Cost: $150 to $300
Safety Note: Do not attempt to repair individual components. Replace the whole board.
Test the Micro Switch or Door Switch
Intermittent operation, where the dispenser works only when holding the door just right, points to a bad micro switch.
Symptoms
• Dispenser activates only when the door is fully closed
• Button works erratically
• Control thinks the door is open when it is not
How to Fix
- Access the switch behind the dispenser panel
- Use a multimeter to test continuity
- Press the plunger. It should show a closed circuit when pressed
- Replace if there is no continuity
Replacement Tips
• Part cost: $10 to $25
• Snaps in with no tools required
• Also check the door seal. Poor closure affects switch contact
Quick Check: Try pressing and holding the door firmly while dispensing. If it works, the switch or alignment is the issue.
Clean the Dispenser Nozzle and Valve
Debris can clog the nozzle or internal valve, causing water to dribble instead of flow.
How to Clean
- Remove the front cover using screws or clips
- Inspect the nozzle for mineral buildup
- Use a thin wire or pin to clear the opening
- Blow out the line with canned air or a compressor
- Wipe the internal valve with a damp cloth
Prevent Buildup
• Flush the system monthly with vinegar (1 cup through the dispenser)
• Use filtered water at the supply if hard water is an issue
Clear the Screen Filter at the Inlet Valve
A screen filter inside the water line connection can clog with sediment over time.
Why It Matters
• Allows a slow trickle after rest
• Flow starts strong then drops off
• Often missed during troubleshooting
How to Clean
- Shut off the water supply
- Disconnect the line at the inlet valve
- Remove the small mesh screen
- Rinse under tap water or soak in vinegar
- Reinstall and reconnect
Note: This screen protects the valve. Always reinstall it after cleaning.
Follow Model-Specific Fixes

Side-by-Side Models (GSH, GSL Series)
• High risk of frozen lines
• Install heater kit WR49X10173
• Keep freezer at 0°F to 5°F, not colder
Profile French Door (RPWFE Filters)
• Use only genuine GE filters
• Label must face front
• Non-OEM filters trigger false leak alerts
PFSF Models
• Reservoir can crack if too cold or empty
• Keep freezer stocked for thermal mass
• Monitor temperature closely
Older Adora and Arctica Models
• Ice chute flapper leaks cold air
• Cold air freezes the water line
• Replace the flapper if worn or cracked
Use Diagnostic Flow Tests
Step 1: Bypass the Filter
• Remove the filter
• Install the bypass plug that came with the fridge
• Press the dispenser
• Normal flow? The filter or filter head is the problem
Step 2: Test Inlet Valve Output
• Disconnect the line from the valve outlet
• Press the dispenser
• Strong flow? The issue is downstream
• No flow? The valve or power has a problem
Step 3: Isolate the Door Line
• Disconnect the line at the bottom of the door
• Press the dispenser
• Water from the fridge side means ice blockage in the door
• No water means the problem is upstream
Prevent Future Slow Dispensing
Maintenance Checklist
• Replace the filter every 6 months
• Keep the fridge 2 to 3 inches from the wall
• Clean condenser coils every 6 months
• Check door seals for tight closure
• Use genuine GE filters
• Install the heater kit if prone to freezing
• Set the freezer to 0°F to 5°F
Optimal Settings
| Component | Recommended |
|---|---|
| Refrigerator Temp | 37°F |
| Freezer Temp | 0°F to 5°F |
| Water Pressure | 20 to 125 PSI |
| Filter Life | 6 months |
When to Call a Professional
DIY repair is not always the right choice. Call a technician if:
• Whole-house water pressure is low (a plumber is needed)
• You feel uncomfortable working with electrical components
• Multiple systems fail after replacements
• The fridge is under warranty (DIY may void coverage)
Cost Tip: A service call starts at $150. Most parts cost less than half that amount.
Frequently Asked Questions About GE Fridge Water Dispenser Slow Flow
Why is my GE fridge water dispenser suddenly slow?
The most common cause is a clogged water filter. Filters collect sediment and minerals over time, restricting flow. Replace the filter every 6 months to prevent this issue.
Can a frozen water line cause slow dispensing?
Yes. Frozen lines are common in side-by-side GE models. The water tube inside the door can freeze, blocking flow. Thaw it with a hair dryer on low heat or install heater kit WR49X10173.
How do I know if my water inlet valve is bad?
Test the solenoid with a multimeter. A good valve reads 500 to 1,500 ohms. Infinite resistance means the coil is dead and the valve needs replacement. Cost is typically $30 to $80.
What water pressure does a GE fridge need?
GE refrigerators require a minimum of 20 PSI to operate the water valve. The ideal range is 20 to 125 PSI. Below 20 PSI, the valve will not open properly.
Do aftermarket water filters work in GE fridges?
Aftermarket filters may fit physically, but they often fail to activate the RFID chip in newer models. This triggers false “leak detected” errors. Use only genuine GE filters for reliable performance.
How long does it take to fix a slow water dispenser?
Most fixes take 30 to 60 minutes. Filter replacement takes about 5 minutes. Thawing a frozen line or replacing a valve may take up to an hour depending on your experience level.
Key Takeaways for Fixing Your GE Fridge Water Dispenser
Most GE fridge water dispenser slow issues come down to four common culprits. A clogged water filter is the top cause and takes just minutes to replace. Frozen water lines affect side-by-side models most often and respond well to the WR49X10173 heater kit. Low water pressure and kinked supply lines are quick supply-side fixes. Faulty inlet valves require multimeter testing but cost under $80 to replace.
Start with the simplest solution first: replace the filter and verify proper installation. If flow remains weak, work through the diagnostic tests in order. Document each repair and filter change to spot patterns over time. With basic tools and this guide, you can restore full water flow without paying for a service call.


