
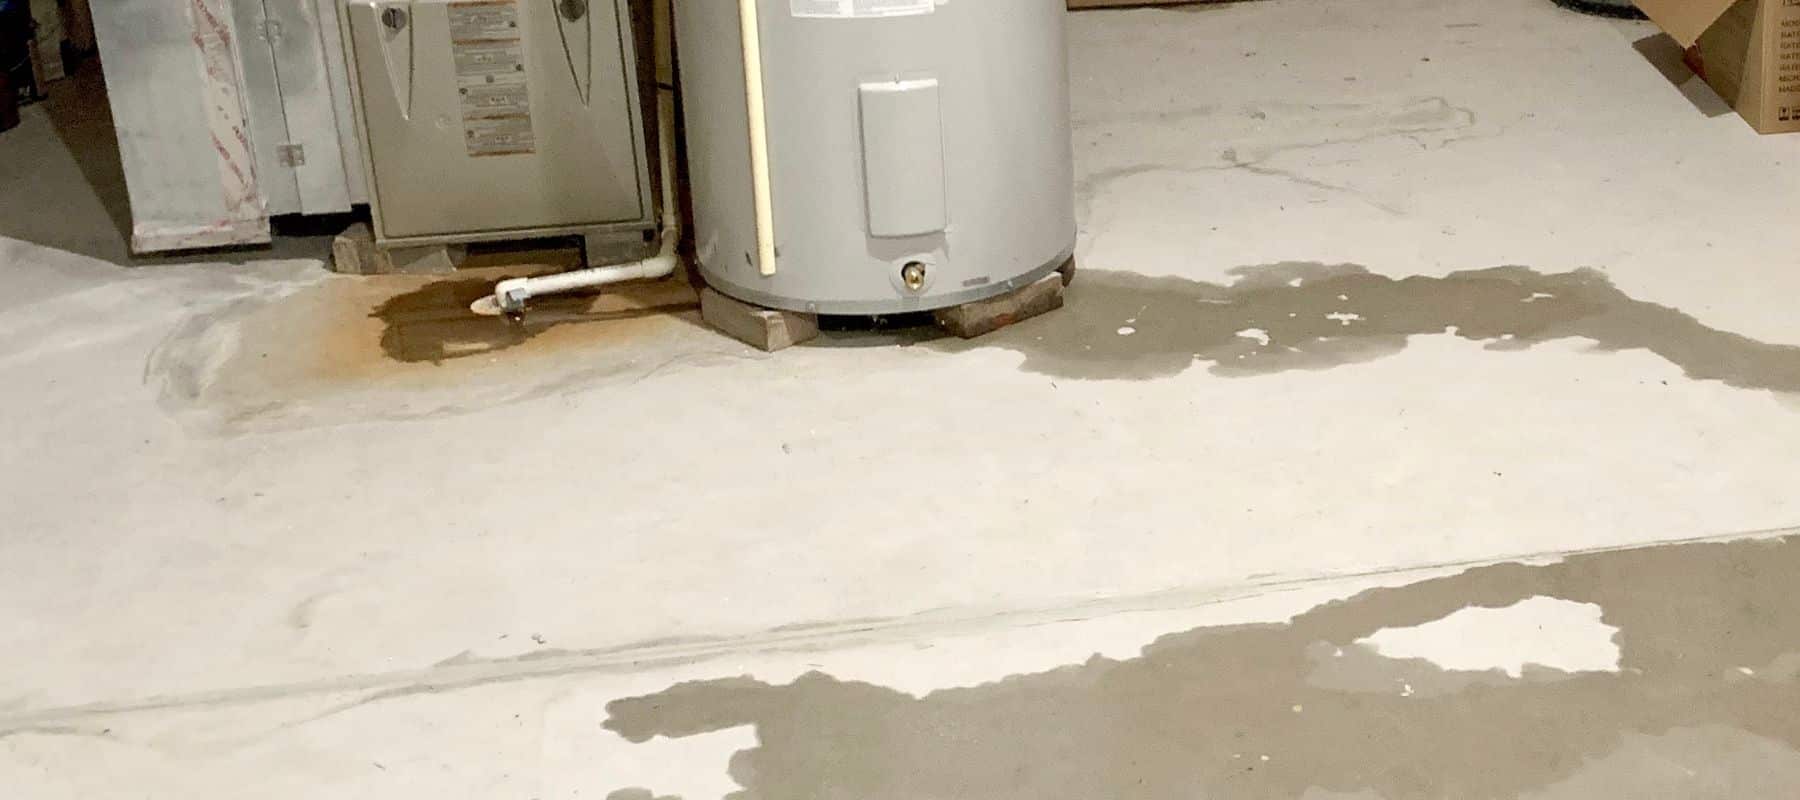
You wake up to a puddle near your water softener, and that slow drip could cost thousands in water damage or create dangerous electrical hazards. A water softener leak repair is not just about stopping water but protecting your entire home structure from mold and rot.
With 85% of U.S. homes battling hard water, these systems are essential yet prone to leaks after 10 to 15 years of service. This guide helps you pinpoint if the issue is condensation, a loose hose, or a cracked tank so you can apply the right fix immediately.
Distinguish Condensation From Actual Leaks
Cold water inside your tank often causes moisture to form on the exterior in humid basements, mimicking a dangerous leak. This sweating requires insulation rather than complex plumbing repairs, so accurate diagnosis saves time and money.
Perform the Dry Towel Test
Wipe the entire unit completely dry with a clean towel and wait 15 to 30 minutes without running any water. Check the surface carefully to see how the moisture reappears.
* Condensation: An even film of water forms across the tank surface.
* Actual Leak: Distinct drips emerge from joints, valves, or specific cracks.
✅ Fix: Install a foam insulating sweat jacket around the resin tank to stop moisture buildup caused by temperature differences.
Tighten Loose Hose and Fitting Connections

Loose or degraded connections represent the most common cause of water softener leaks and are often the easiest for homeowners to fix. Vibrations during the regeneration cycle gradually loosen fittings over time, leading to visible drips.
Secure Fittings Without Cracking Plastic
Use an adjustable wrench to gently tighten leaking connections at inlet hoses or bypass valves. You must shut off the water supply using the bypass valve and unplug the unit before starting any work.
1. Turn off the water supply via the bypass valve.
2. Unplug the unit to ensure electrical safety.
3. Gently tighten the leaking connection with a wrench.
4. Turn the water back on and inspect for remaining drips.
⚠️ Warning: Plastic fittings crack easily under pressure, so snug is enough and you should never force them.
Replace Dried O-Rings and Brittle Hoses
Rubber O-rings dry out and shrink after years of exposure to salt water, while brittle hoses develop micro-cracks that cause seepage. Look for flattened rings or hoses with white stress lines indicating failure.
* Shut off water and relieve pressure in the lines.
* Disconnect the hose and remove the old damaged O-ring.
* Lubricate the new O-ring with silicone grease, not petroleum.
* Reinstall and hand-tighten, then give a quarter-turn with a wrench.
🔹 Pro Tip: Keep a spare O-ring kit under $10 on hand since most brands use standard sizes for quick repairs.
Inspect the Brine Tank for Punctures and Overflows

Water pooling under the shorter brine tank usually indicates a puncture from maintenance accidents or an overflow due to mechanical failure. Both issues require immediate attention to prevent floor damage.
Replace Punctured Brine Tanks Immediately
Many homeowners accidentally punch holes in the brine tank while breaking salt bridges with screwdrivers or metal pipes. Temporary epoxy fixes fail under the pressure of a full tank, making full replacement necessary.
* Shut off water and power to the softener unit.
* Drain the brine tank completely before removal.
* Disconnect the brine line and float assembly carefully.
* Lift out the old tank and install the new replacement unit.
* Reconnect all lines and refill with fresh salt.
🛠️ Time: 45–60 minutes.
💰 Cost: $60–$120 for a new tank.
Fix Brine Tank Overflow Issues
If the tank overflows during regeneration, water spills onto the floor due to stuck floats, clogged lines, or power glitches. You must ensure the float rises and falls freely to stop excessive water intake.
* Remove the brine tank lid and check the float mechanism.
* Clean around the shaft if the float sticks or replace the assembly.
* Disconnect the drain hose and flush with vinegar to remove mineral clogs.
* Manually reset the control valve after any power outages.
Diagnose Top-of-Unit Control Valve Leaks
Leaking from the top of the unit usually means the control valve or internal rotor seal is failing. This area manages water flow and regeneration, making it a high-pressure zone prone to wear.
Address Cracked Valves and Failed Seals
Internal seals wear out after years of cycling, causing water to drip from the valve body or vent during regeneration. While minor external leaks might be DIY fixes, internal repairs often need professional tools.
* Look for water dripping specifically from the valve body.
* Note if leaks only occur during the regeneration cycle.
* Inspect the plastic housing for visible cracks or stress marks.
🔧 Best Move: Call a technician for internal rotor seal replacement to avoid improper reassembly. Valve rebuilds cost $150–$300 but save you from replacing the whole unit.
Assess Resin Tank for Critical Cracks
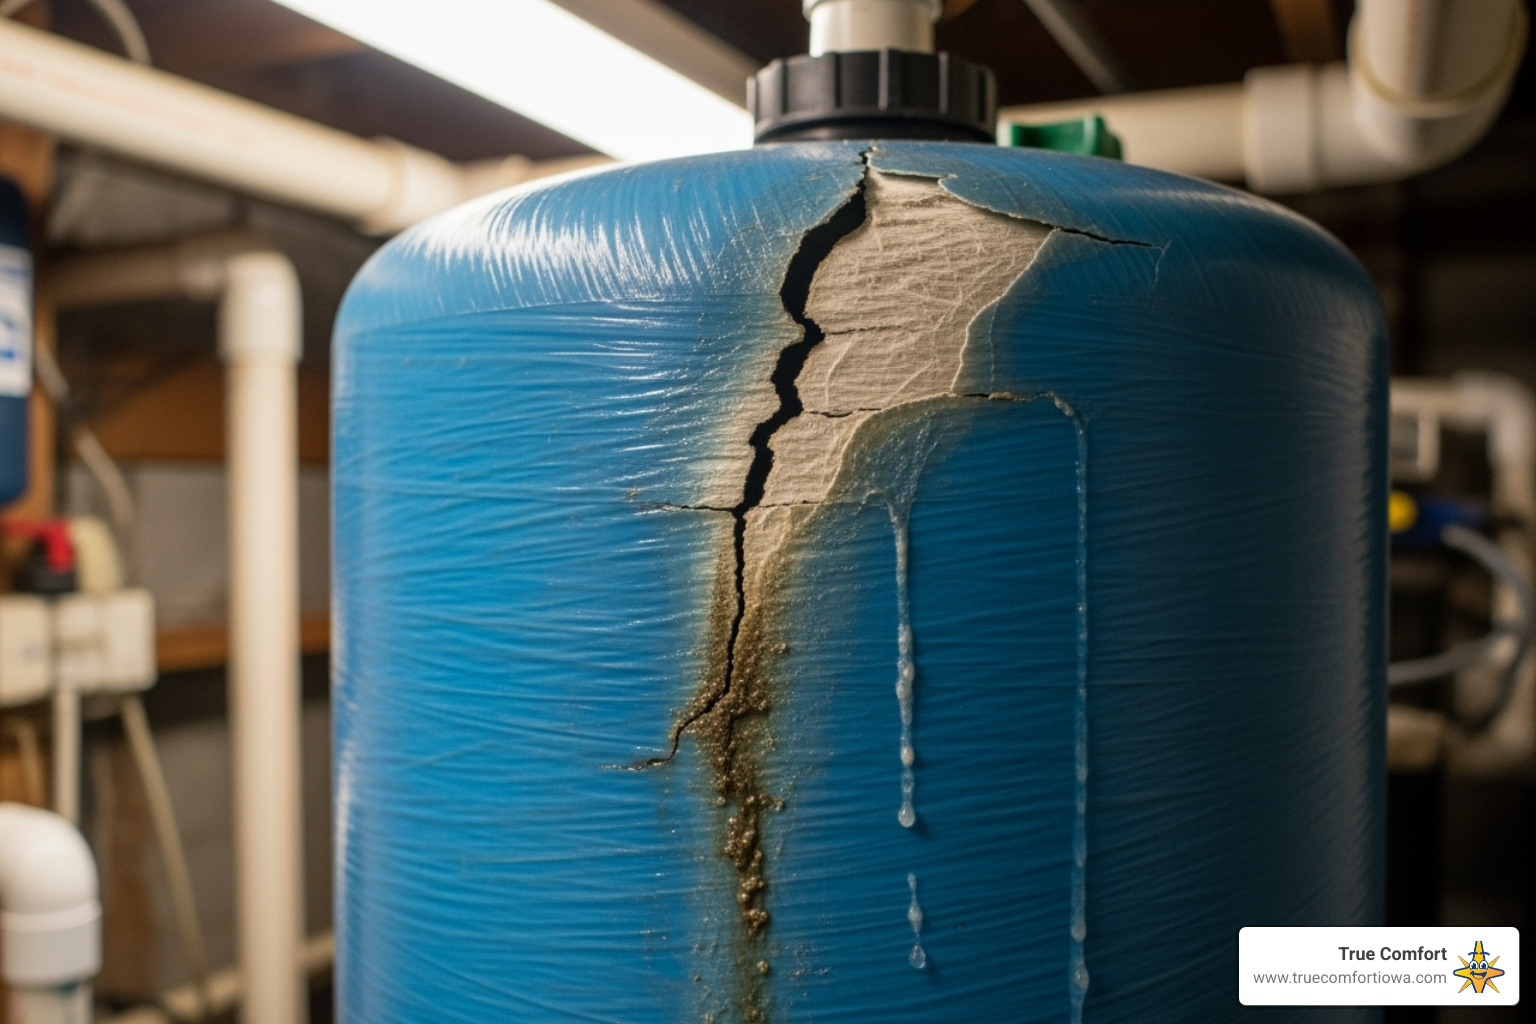
A leak under the tall resin tank signifies a cracked tank, which is a critical failure requiring immediate action. Plastic tanks become brittle over 10 to 15 years and can fracture from pressure or temperature swings.
Replace Cracked Resin Tanks Immediately
Water under the resin tank indicates the main vessel holding the resin beads has failed. No repair is possible for these cracks because epoxy or wraps will fail under system pressure.
* Technician disconnects all plumbing and wiring safely.
* Old resin beads are dumped and the interior is cleaned.
* A new tank is installed with fresh media and seals.
* The system is reprogrammed and tested for proper operation.
💸 Cost: $400–$800 depending on the model.
⏱️ Time: 2–4 hours for professional completion.
💡 Consider Upgrade: If your system is over 15 years old, replacing the entire unit may be more cost-effective than patching an aging system.
Resolve Bypass Valve and Drain Line Problems
Leaks near the floor often trace back to the drain line or bypass valve, which are common trouble spots for slow drips. Proper installation and maintenance of these components prevent backups.
Fix Bypass Valve Leaks Quickly
Worn O-rings in the bypass valve cause slow drips that often go unnoticed for months until significant damage occurs. Replacing these rings is a simple task that restores a watertight seal.
1. Turn the bypass handle to the bypass position.
2. Remove the valve cap which is usually hand-tightened.
3. Inspect O-rings for cracks or flattening signs.
4. Replace with identical-sized rings and test in service mode.
Clear Clogged Drain Lines
A blocked drain line causes water to back up and leak from the control valve during the regeneration cycle. Ensure the line has a continuous downward slope with no loops or sags.
* Disconnect the drain line from the control valve.
* Flush with hot water or compressed air to remove blockages.
* Reconnect with a proper downward slope to the floor drain.
* Verify a 6-inch air gap above the drain to prevent backflow.
Determine When to Call a Professional
Some repairs are beyond DIY capabilities and require a certified technician to ensure safety and proper function. Ignoring these signs can lead to catastrophic flooding.
Call a Pro If You See:
- Water under the resin tank indicating a crack.
- Leaks originating from the control valve body internals.
- Electrical issues like wet outlets or damaged cords.
- Recurring leaks after attempting DIY fixes.
- Systems older than 15 years with multiple failures.
📞 Emergency Sign: If water is actively flooding, shut off the main supply and call a plumber immediately to prevent structural damage.
Prevent Future Leaks With Regular Maintenance
The best water softener leak repair is the one you never need through simple monthly checks. Consistent maintenance extends your softener life to 20 years and prevents minor issues from becoming disasters.
Monthly Inspection Checklist
- Look for puddles or dampness around the base of the unit.
- Feel hoses for brittleness or signs of cracking.
- Wipe down tanks to spot condensation early.
- Check salt levels and keep them one-third to one-half full.
Salt and Tank Care Tips
Use high-purity salt to reduce sludge and clean the brine tank every 2 to 3 years. Replace O-rings every 5 years even if they look fine to prevent unexpected failures.
Frequently Asked Questions About Water Softener Leak Repair
Can I patch a cracked water softener tank myself?
No, you cannot patch a cracked tank because epoxy or wraps fail under system pressure. A cracked resin or brine tank requires complete replacement to ensure safety and function.
How do I tell if the water is condensation or a leak?
Wipe the tank dry and wait 30 minutes. If an even film forms, it is condensation. If distinct drips appear from joints or cracks, it is a real leak requiring repair.
Why does my water softener leak only during regeneration?
Leaks during regeneration often point to the control valve, drain line clogs, or high-pressure issues within the system. Check the drain line for blockages and inspect valve seals.
Is it worth repairing a 15-year-old leaking water softener?
Often no, as systems over 15 years old are prone to multiple failures. Replacing the entire unit is usually more cost-effective than paying for repeated major repairs.
What causes a brine tank to overflow onto the floor?
Overflow is typically caused by a stuck float valve, clogged injector, or power outage confusing the regeneration cycle. Clean the float mechanism and reset the timer to fix.
Key Takeaways for Successful Water Softener Leak Repair
Most minor leaks from loose fittings, worn O-rings, or condensation are easy DIY fixes that take under an hour. However, cracks in the resin tank or control valve internals demand professional replacement to prevent flooding.
Act fast when you spot water, as every hour of leakage increases the risk of mold and structural damage. Perform monthly inspections and replace aging components proactively to keep your system running leak-free for years.


