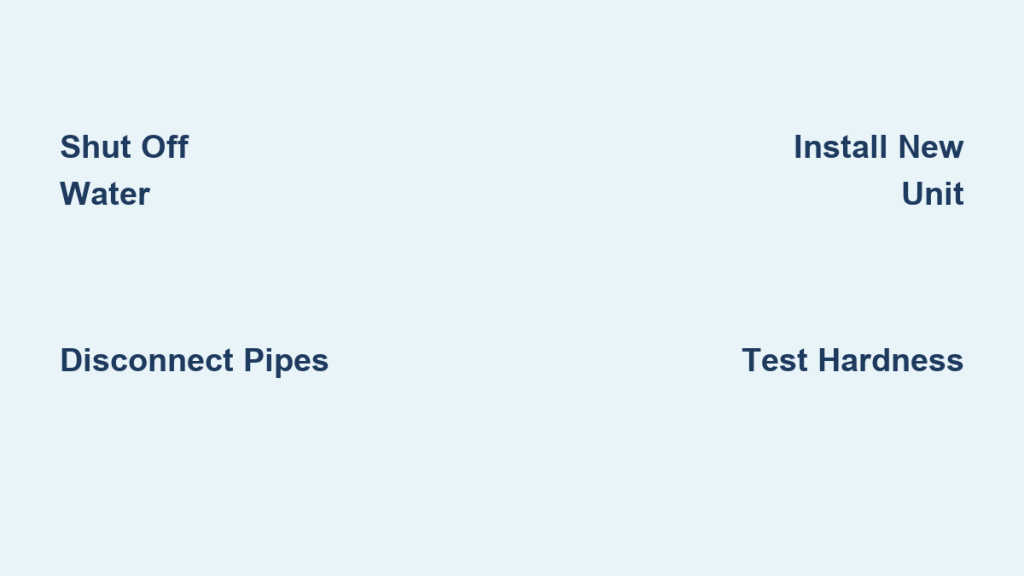
If your laundry feels stiff, soap refuses to lather, or chalky scale coats your faucets, you likely need to change a water softener that has reached the end of its life. These units typically last 10 to 15 years before efficiency drops significantly, making replacement smarter than constant repairs.
This guide walks you through removing your old unit, installing a new system, and programming it for flawless operation. You will learn essential safety steps, specific plumbing connections, and how to verify your water hardness levels immediately.
Identify Critical Signs Your Water Softener Needs Replacement
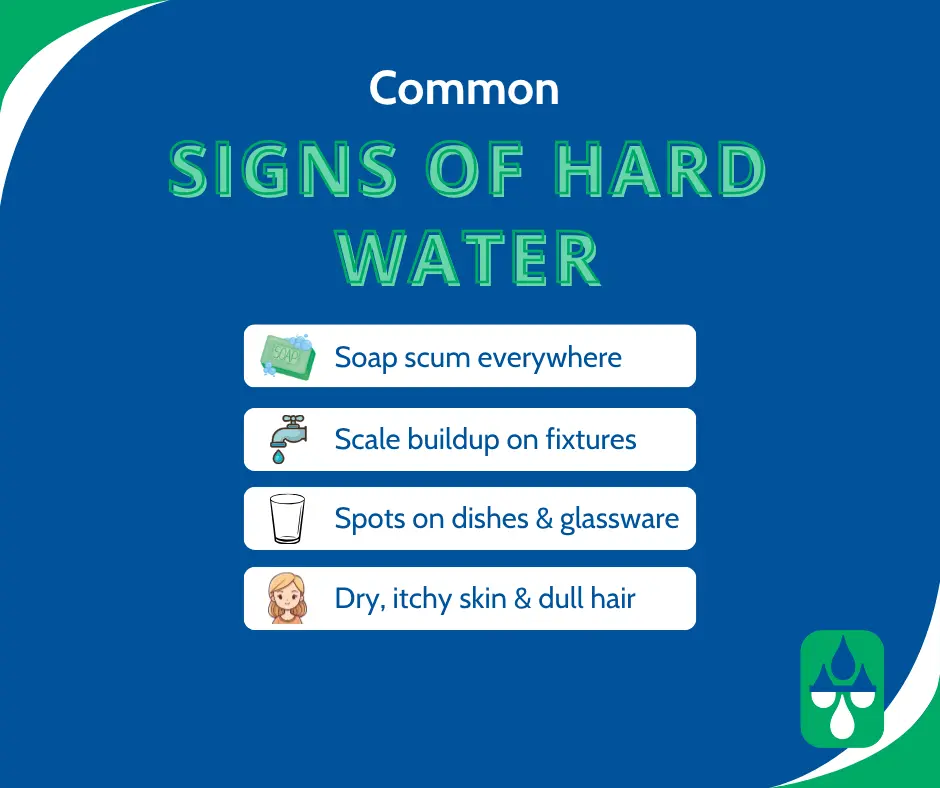
Ignoring a failing unit can lead to damaged appliances and wasted soap. Recognizing the specific symptoms of failure helps you decide when to act before major plumbing issues arise.
Detect Hard Water Symptoms in Your Home
You should look for physical evidence that minerals are no longer being removed from your supply.
* Soap fails to create bubbles in showers or sinks.
* White crusty deposits appear on glassware and shower doors.
* Clothes emerge from the wash yellowed or stiff to the touch.
* Water heaters and dishwashers require frequent repairs.
Evaluate Unit Age and Efficiency Loss
Water softeners lose about 1% to 2% of their efficiency every single year. A decade-old unit may only operate at 80% capacity, making it ineffective against hard water. If your system is over 10 years old and showing symptoms, buying a new unit is more cost-effective than replacing internal resin beds.
Plan Your Installation Site and Gather Necessary Tools

Proper planning prevents leaks and ensures your new system fits your home utilities perfectly. Skipping this step often leads to drainage issues or electrical hazards during installation.
Select the Optimal Location for Your Unit
Place the softener near the main water entry point to treat all household water before it reaches your heater. The site must be level, frost-free, and within 30 feet of a floor drain to handle regeneration discharge properly.
Verify Utility Requirements and Safety Specs
Your home must meet specific pressure and electrical standards for the unit to function safely.
* Water pressure must stay between 3 and 125 PSI.
* Flow rate needs a minimum of 3 gallons per minute.
* A grounded 120V electrical outlet is required nearby.
* Avoid using extension cords unless they are heavy-duty appliance ratings.
Collect Required Tools and Materials
Having everything ready prevents mid-installation delays and ensures secure connections.
* Adjustable wrench and pipe cutter
* Bucket and towels for water spillage
* Teflon tape and silicone grease
* Hose clamps and ½-inch drain tubing
* Crushed crystalline salt and non-scented bleach
Remove the Old Water Softener Safely
Shutting down and removing the existing system requires careful attention to water pressure and residual fluids. Following the correct order prevents flooding and protects your plumbing.
Shut Off Power and Isolate Water Supply
Safety is your priority before touching any pipes or wires.
1. Unplug the unit or switch off the circuit breaker.
2. Turn off the main water supply to the house.
3. Open a nearby faucet to relieve system pressure.
4. Set the bypass valve to “Bypass” mode to stop water flow.
Disconnect Plumbing and Drain Lines
Place a bucket under all connections to catch residual water that will spill out. Disconnect the brine line from the salt tank, remove the drain line leading to the floor, and detach the inlet and outlet water pipes.
Empty and Dispose of Old Components
Scoop out usable salt if it is not mushy or bridged. Drain the resin tank completely, as a full tank can weigh up to 100 pounds. Dispose of the old unit and resin according to local recycling regulations.
Install the New Water Softener System
Preparing the new unit correctly ensures a leak-free setup and proper alignment with your home plumbing. Precision during this phase saves hours of troubleshooting later.
Prepare Internal Components and Grommets
Install the rubber grommet on the back panel using a flathead screwdriver to seal the overflow line. Route the overflow hose through this grommet and remove any protective clips from the valve assembly. Lubricate all O-rings with silicone grease to prevent leaks.
Mount the Bypass Valve and Align Unit
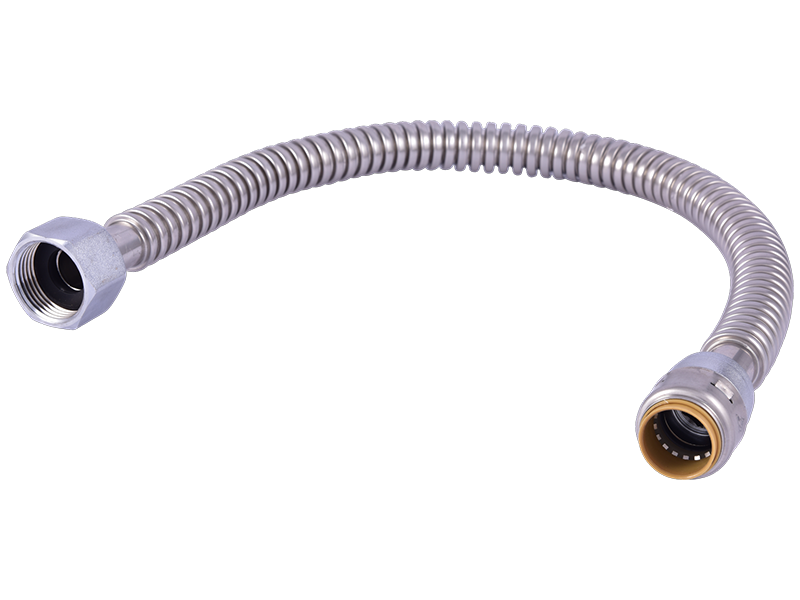
Keep the bypass valve in “Bypass” mode while you connect the plumbing. Connect the inlet to your main water supply and the outlet to your house plumbing using flexible stainless steel lines or SharkBite fittings. Ensure the unit sits square and level on the floor.
Connect Water Supply and Drain Lines
Most units have the inlet on the left and the outlet on the right. Wrap all threaded connections with three layers of Teflon tape and hand-tighten before snugging with a wrench. Attach the ½-inch drain hose to the discharge port with a hose clamp and route it to your floor drain with a downward slope.
Power Up and Program the Control Valve
Pressurizing the system slowly allows you to catch leaks before they cause damage. Programming the valve accurately ensures the resin bed regenerates at the correct time.
Pressurize System and Check for Leaks
Keep the bypass valve in “Bypass” mode and slowly turn on the main water supply. Inspect every connection for drips and tighten if necessary. Once dry, switch the valve to “Service” mode and run a cold faucet until water flows clear to remove air pockets.
Sanitize the Resin Tank and Plumbing
New resin and tanks require disinfection to ensure safe drinking and bathing water.
1. Pour 3 ounces of non-scented bleach into the brine tank.
2. Initiate a manual regeneration cycle by holding the recharge button.
3. Flush all faucets after 20 minutes to clear bleach from the lines.
Program Time and Hardness Settings
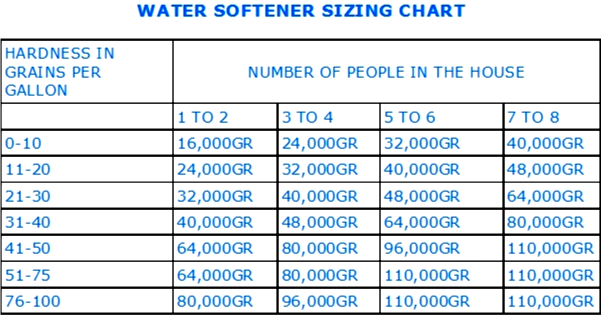
Enter the current time so regeneration occurs at your scheduled off-peak hour. Test your water hardness with strips and input the grains per gallon value. Select your salt type and set the salt level indicator to match the amount currently in your tank.
Verify Performance and Test Water Hardness
Testing confirms that your installation was successful and the unit is removing minerals effectively. Regular verification helps you catch programming errors early.
Conduct a Grain Hardness Test
Wait 24 hours before testing to allow the system to fully condition. Compare a sample from before the softener to a sample from after. A successful installation reduces hardness from 15 grains to 1 grain, achieving over 93% removal efficiency.
Perform Visual and Functional Checks
Ensure the brine tank water level drops after regeneration and refills before the next cycle. Confirm the overflow line remains dry during normal operation. Look for return of soft water effects like easy lathering and spot-free glassware.
Maintain Your New Water Softener for Longevity
Consistent maintenance extends the life of your investment and keeps your water quality high. Neglecting these tasks can lead to premature failure or poor performance.
Execute Monthly and Annual Tasks
Check salt levels monthly and refill before they get too low to prevent bridging. Use crushed crystalline salt instead of pellets to avoid clogging. Clean the brine tank annually to remove sludge and inspect O-rings for dryness.
Troubleshoot Common Performance Issues
If water is not soft, verify the bypass valve is in service mode and salt levels are adequate. Address leaking connections by reapplying Teflon tape or greasing O-rings. If taste issues persist, check that regeneration cycles are completing fully.
Frequently Asked Questions About Changing a Water Softener
How often should I replace my water softener?
Most units last between 10 to 15 years before efficiency drops significantly. If your unit is over a decade old and showing signs of hard water, replacement is usually more economical than repair.
Can I install a water softener myself?
Yes, if you have basic plumbing skills and the right tools. The process involves shutting off water, disconnecting pipes, and programming the new unit according to manufacturer instructions.
What type of salt works best for new systems?
Crushed crystalline salt is preferred over pellets because it dissolves easily and prevents bridging. Avoid using scented or iodized salt as these can damage the resin bed.
Why does my water taste salty after installation?
A salty taste usually means the regeneration cycle did not complete or the drain line is clogged. Check your settings and ensure the drain line has no kinks or blockages.
Do I need to sanitize the system after installation?
Yes, you must sanitize the new resin and tank with non-scented bleach during the first startup. This step kills bacteria and ensures your water is safe for household use.
Key Takeaways for Changing Your Water Softener

Replacing your water softener restores comfort to your home and protects expensive appliances from mineral damage. By following proper removal steps, ensuring leak-free connections, and programming your unit correctly, you secure years of reliable soft water.
Start by gathering your tools and verifying your site meets all utility requirements. Take your time during the plumbing phase to avoid leaks, and always test your water hardness after installation to confirm success.