Is your water softener failing to regenerate or leaving salt residue in your appliances? A blocked or leaking brine line often causes these issues by stopping saltwater from reaching the resin tank. Learning how to check brine line on water softener systems helps you fix fill problems and air leaks quickly.
This guide walks you through visual inspections, fitting repairs, and pressure tests to restore your system. You will discover how to clear blockages, seal air leaks, and prevent brine contamination in your drinking water supply.
Verify Brine Tank Water Levels First

Start your diagnosis by confirming the water level inside your brine tank. A dry tank often mimics a broken line when the issue is simply a lack of water to create brine.
Check Salt and Water Depth
Open the brine tank lid to inspect the interior conditions. The water level should sit just below the salt, typically between 8 and 14 inches deep.
- Add water manually with a pitcher if the tank appears dry.
- Initiate a manual regeneration cycle using your control panel.
- Watch to see if the tank refills automatically during the next scheduled cycle.
If the tank fills when you add water but fails to refill on its own, the problem likely lies in the fill mechanism rather than the line itself.
Monitor Water Flow During Regeneration
Run a manual regeneration and focus specifically on the brine fill stage. This phase usually lasts between 30 and 60 minutes depending on your model.
- Look through the brine tank for any incoming water streams.
- Trace the brine line from the control valve down to the float assembly.
No water flow? The blockage or failure is upstream in the fill injector, float valve, or brine line connection. Move to the next diagnostic phase immediately.
Inspect Brine Line Connection and Float Valve
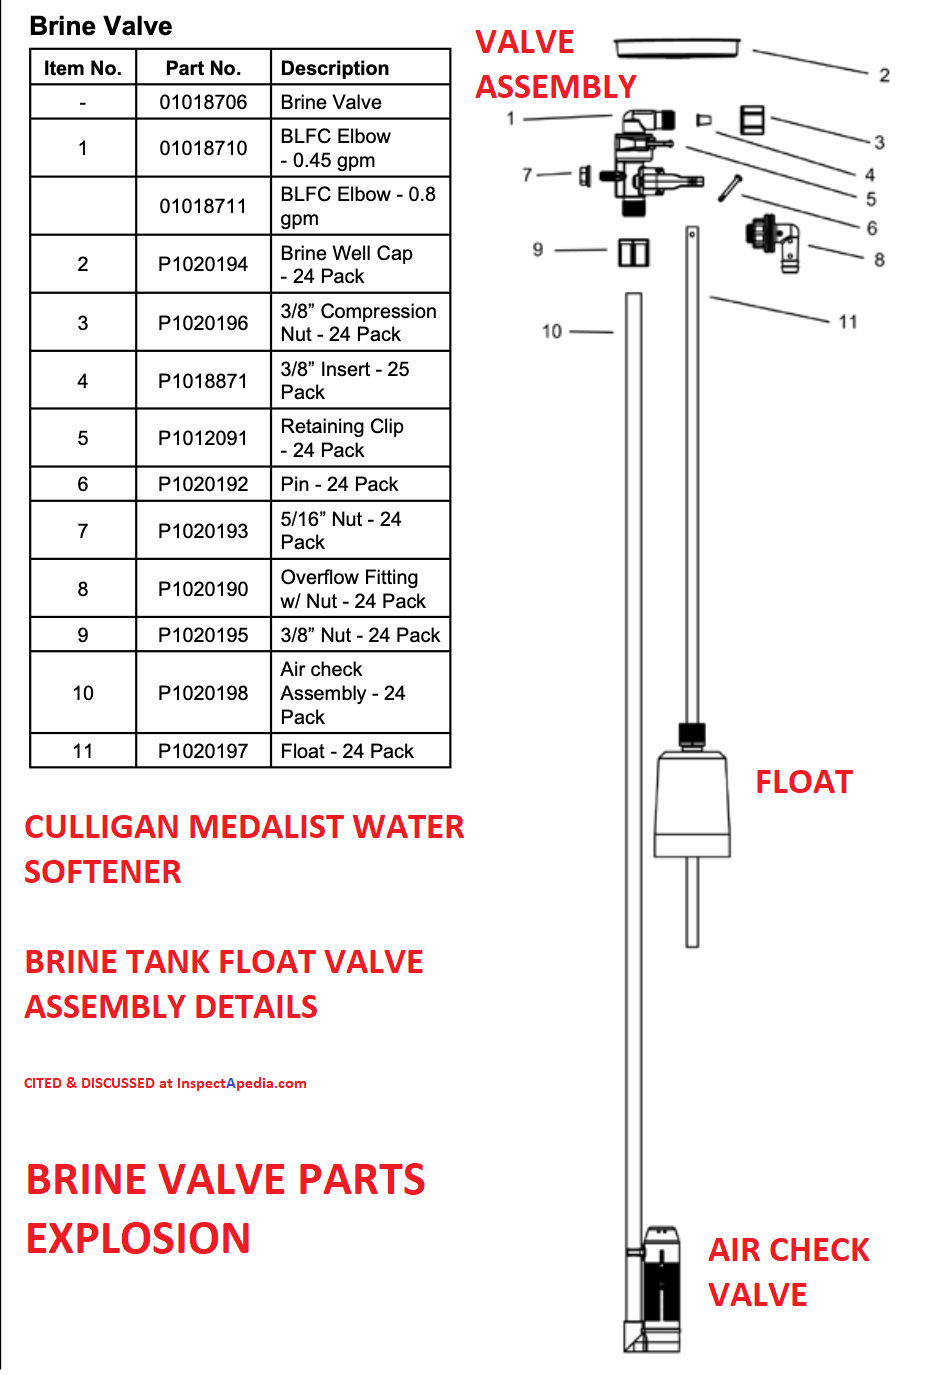
Loose or degraded connections at the float assembly are top reasons for brine line failure. You must ensure every seal is tight and functional.
Ensure Secure Fitting at Float Assembly
Disconnect the brine line from the float valve to examine both ends closely. Poor connections prevent proper water entry and pressure.
- Push the tube firmly until it clicks or seats completely.
- Check for cracks or wear on the tubing near the connection point.
- Apply food-grade silicone grease to the O-ring to prevent future leaks.
Reconnect the line and run a regeneration cycle to test the repair.
Test Float Valve Movement
The float must rise and fall freely to regulate water levels correctly. Restricted movement prevents proper brine draw and mimics line failure.
- Lift the float by hand and listen for water starting to flow.
- Release it and ensure the flow stops immediately.
If the float sticks, mineral buildup may be restricting movement. Remove the assembly, soak it in vinegar for 15 minutes to dissolve scale, then rinse thoroughly.
Clear Blockages in Line and Injector
Mineral deposits clog narrow passages over time and stop flow entirely. You need to clean both the line and the injector.
Disconnect and Flush the Brine Line
- Shut off power to the softener unit.
- Unplug the brine line at the float valve.
- Blow air through the line or flush with warm water.
- Use a pipe cleaner to clear stubborn debris.
Clean the Brine Fill Injector
This small component controls water entry into the brine tank and clogs easily.
- Locate the injector near the control valve behind a cap.
- Remove it with a screwdriver or wrench carefully.
- Soak in vinegar and scrub gently with a soft brush.
- Reinstall securely to ensure proper function.
Pro Tip: Clean the injector every six months to prevent clogs before they happen.
Diagnose Air Draw and Fitting Leaks
If your softener pulls air after using brine, the system is not sealed properly. Identifying when air enters helps locate the leak source.
Identify When Air Is Drawn
Air draw only after brine is gone is normal only if it stops quickly. Continuous air entry indicates a leak in the system.
- Watch the brine line during the brine draw cycle closely.
- Inspect connections at both ends if bubbles appear.
Air entering from the tank side? The leak is likely at the float assembly or air check valve.
Fix Jaco Fittings Properly
Jaco fittings rely on compression for a seal and are common at the control valve end. Failure here causes significant air leaks.
Signs of Failure
- No compression marks on the tube
- Tube slips out easily
- Corrosion on the insert or nut
Repair Steps
- Cut the tube back one inch to expose fresh plastic.
- Slide on the compression nut and insert.
- Insert the tube fully into the fitting.
- Tighten the nut securely.
Visual Cue: Compression marks should align just before the tube support.
Repair Legris Fittings Effectively
Legris fittings are push-to-connect types found on many modern tanks. They are easier to service but require precise insertion.
Troubleshooting Tips
- Tube not seated fully may leak under vacuum.
- Damaged ends prevent the O-ring from sealing.
Fix Method
- Press the release collar and pull the tube out.
- Cut one inch off the end to remove flattened sections.
- Reinsert the tube until it clicks firmly.
- Tug gently to confirm it is locked.
Warning: Never reuse a damaged tube end as resistance to airflow creates suction leaks.
Test Brine Line for Leaks Under Pressure
Skip waiting for a full regeneration cycle by testing the line directly. This method isolates the brine line and float assembly under operating pressure.
Perform a Manual Pressure Test
This quick test confirms line integrity in less than five minutes. It is an essential step when learning how to check brine line on water softener systems effectively.
Step-by-Step Procedure
- Set the control valve to Refill mode manually.
- Lift the float in the brine tank by hand while water flows.
- Hold it up for 30 seconds to pressurize the entire line.
What to Look For
- Water dripping from connections indicates a leak.
- Air being sucked into the line signals a vacuum breach.
- No leaks mean the line is intact and the issue may be internal.
If the line holds pressure, move to inspecting the injector or control valve timing.
Detect Brine Contamination in Drinking Water

Rare but serious issues involve brine leaking into your supply. This poses health risks and damages plumbing fixtures over time.
Recognize Warning Signs
Watch for specific indicators that brine is bypassing normal regeneration cycles. Early detection prevents major pipe damage.
- Salty taste in tap water
- White gritty residue in kettles
- Constant trickle from the drain hose
- Corrosion on brass angle stops
These signs indicate brine is entering the resin bed and potentially your drinking water.
Boil Test for Salt Residue
Compare raw and softened water to confirm contamination levels. This simple test reveals excessive salt presence.
Procedure
- Collect one cup of untreated hard water.
- Collect one cup of softened water.
- Boil each in separate pans until all water evaporates.
- Compare residue left behind.
Normal: Softened water has slightly more residue. Problem: If softened water leaves twice as much salt, brine is leaking in.
Diagnose Source of Contamination
Brine should not enter the system outside of regeneration. Worn control valve seals often cause this continuous flow issue.
Likely Causes
- Worn control valve seals allowing continuous flow
- Failed seal pack letting brine seep into resin bed
- Backflow due to improper drain line installation
Immediate Actions
- Shut off water supply to the softener.
- Replace the seal pack or rebuild the control valve.
- Inspect and clean the drain line air gap.
- Replace corroded plumbing fixtures.
Expert Note: Brine contamination often starts small but leads to major pipe damage over time.
Prevent Future Brine Line Problems
Regular maintenance beats emergency repairs every time. Spend five minutes each month to avoid big issues with your system.
Monthly Inspection Routine
Create a calendar reminder to check these key areas regularly. Consistent checks extend the life of your water softener.
- Check brine tank water level
- Inspect tubing for kinks or cracks
- Ensure float moves freely
- Look for leaks around connections
Write it on your calendar to stay consistent with maintenance.
Clean Key Components Every 6 Months
Schedule maintenance with filter changes or salt refills to keep components clean. Use only food-grade lubricants on seals.
| Component | Cleaning Method |
|---|---|
| Brine Line | Flush with warm water or vinegar |
| Brine Injector | Remove and soak in vinegar |
| Float Valve | Disassemble and rinse debris |
| Air Check Valve | Remove and blast with hose |
Use only food-grade lubricants on seals and O-rings.
Choose the Right Salt
Low-quality salt introduces debris like strings from bags which clog the air check valve. Selecting the right product matters.
- Use evaporated salt pellets for highest purity
- Avoid rock salt or iodized table salt
- Keep the tank three-quarters full to prevent bridging
Pro Tip: Store spare salt in a sealed container to reduce dust and moisture.
Troubleshoot Common Brine Line Issues Fast
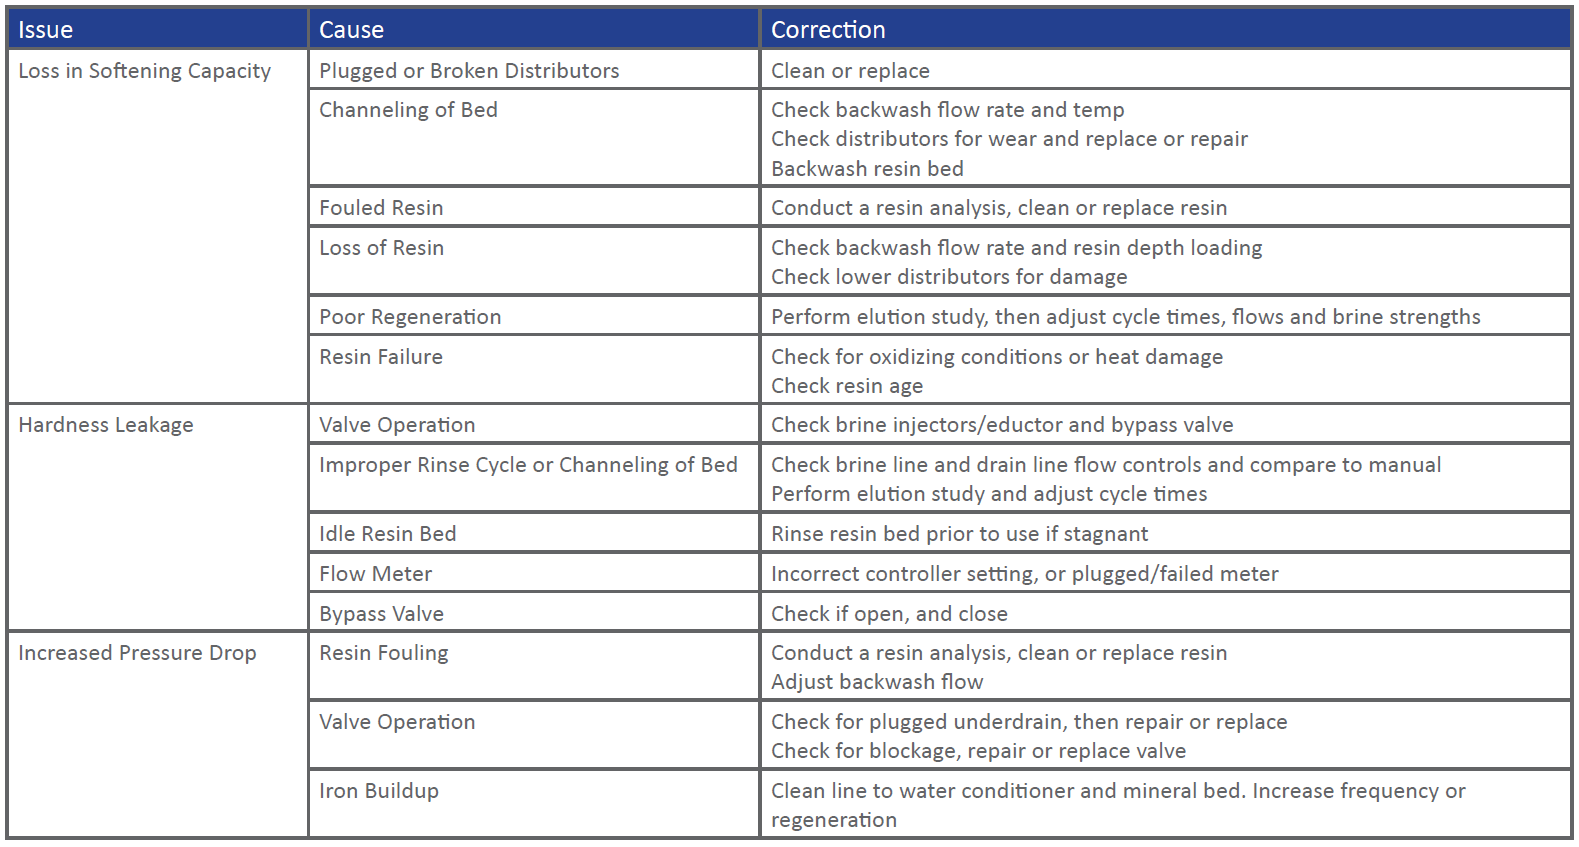
Use this quick-reference guide when problems arise with your water softener. These checklists help you diagnose issues rapidly.
Brine Tank Won’t Fill
Checklist:
* Is there water in the tank? Add water and test if not.
* Is water flowing during brine fill? Inspect float valve if no.
* Is the injector clogged? Remove and clean immediately.
Most Common Fix: Clean the brine fill injector.
System Drawing Air
Checklist:
* Does air enter only after brine is gone? Likely air check valve.
* Are fittings tight? Cut tube back one inch and reseat.
* Is there debris in the valve? Disassemble and rinse.
Quick Fix: Clean the brine valve assembly with a hose.
Salty Water or Constant Drain Flow
Checklist:
* Is the drain running nonstop? Worn seals are likely.
* Is there excessive residue in boiled water? Confirm contamination.
* Are brass fittings corroded? Replace immediately.
Critical Repair: Replace the control valve seal pack.
Frequently Asked Questions About Brine Line Diagnostics
Why is my brine tank not filling with water?
The tank may not fill due to weak seals at the connection, blockages in the line, or a faulty float valve. Manually add water to match the salt level and run a regeneration cycle to observe flow. If no water flows, disconnect the line to check for clogs.
What does it mean if the brine line draws air?
If the system draws air only after brine depletion, it indicates a failure in the air check valve or a leak in the fittings. Cut the tube back one inch, reseat the fittings, or clean the brine valve assembly of debris to fix this.
How do I test the brine line for leaks quickly?
Put the system in Refill mode and manually lift the safety float in the brine tank. This pressurizes the line and allows for immediate visual inspection of all connections without waiting for an automatic regeneration event.
Can a leaking softener introduce brine into drinking water?
Yes, worn control valve seals can cause water to flow continuously through the drain. If this interacts with the brine injector incorrectly, brine can enter the resin tank and your home supply, evidenced by a salty taste.
What maintenance prevents brine line issues?
Monthly inspections for clogs, periodic cleaning of the brine fill injector, and applying food-grade silicone grease to connections are essential. Keeping the salt tank free of debris prevents check valve malfunctions.
Key Takeaways for Checking Your Brine Line
Diagnosing brine line issues requires a systematic approach starting with water levels and moving to fitting inspections. Most problems stem from simple blockages, loose Jaco or Legris fittings, or a stuck float valve that you can fix yourself.
Regular maintenance like cleaning the injector and checking for air leaks prevents costly repairs and ensures your water stays soft. Perform a manual pressure test today to verify your line integrity and restore your system performance.