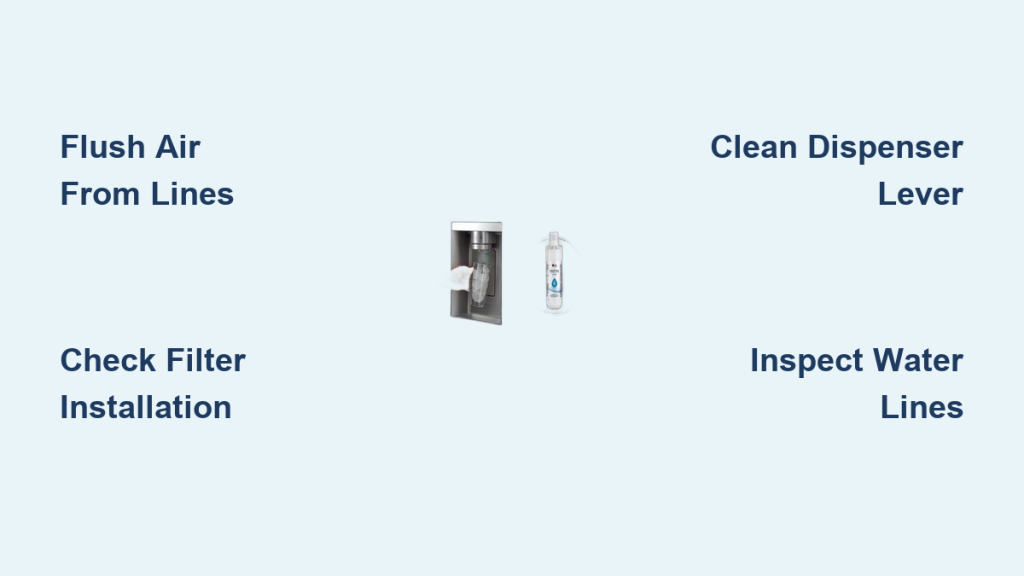
Water pooling under your LG refrigerator water dispenser dripping creates a slippery mess and risks serious water damage to your kitchen floor. This frustrating issue often stems from simple causes like air in the lines, a stuck lever, or an improperly seated water filter.
You can resolve most leaks by following a systematic diagnostic approach outlined in this guide. We will walk you through checking supply lines, flushing air pockets, cleaning mechanisms, and replacing faulty components to stop the leak permanently.
Identify the Exact Source of the Leak

Accurate diagnosis prevents wasted effort on unrelated parts. Water pooling on the floor differs significantly from moisture inside the fridge or dripping directly from the dispenser face.
Inspect the Floor and Base Area
Check the floor around the front and sides of the unit for standing water. Moisture collecting at the base often signals a loose connection or cracked line near the bottom. Dry the area completely and monitor it closely to see if water reappears.
Examine the Rear Water Supply Line
Pull the refrigerator away from the wall to access the back panel. Trace the water line from the wall valve to the fridge, feeling for moisture along its entire length. Look for kinks, cracks, or splits in the tubing.
Ensure the tubing is fully inserted into the quick-connect fitting. You should see only one black line on the tube. If two lines are visible, the connection is loose and requires reseating.
Check Interior and French Door Sections
For French door models, leaks below the left door often originate from the internal dispenser reservoir. Open the doors and inspect under crisper drawers or near the back wall for water accumulation. Also, check the ice bin, as melting ice can mimic a dispenser leak.
Flush Air from Water Lines to Stop Dripping
Air trapped in the system is a primary cause of sputtering and post-dispense dripping. This frequently occurs after installing a new filter or reconnecting a water line.
Dispense Multiple Gallons of Water
Place a large container under the dispenser and run water continuously. You must dispense two to three gallons to fully remove trapped air. Do not skip this step, as partial flushing leaves air pockets that cause erratic flow.
Monitor for Recurring Drips
Wait 10 to 15 minutes after flushing to check if dripping resumes. If the flow remains steady and stops immediately upon release, air entrapment was the culprit. If dripping continues, proceed to the next diagnostic step.
Fix a Stuck Dispenser Lever Mechanism
A lever that fails to spring back properly causes continuous water flow. Residue from sugary drinks or mineral buildup often jams the mechanism.
Activate Control Lock Before Cleaning
Press and hold the Lock Button on the control panel for 3 seconds until the lock icon appears. This disables the dispenser and prevents accidental activation while you work.
Clean the Lever Thoroughly
Pull and push the lever several times to loosen debris. Rub it side-to-side and wipe with a damp cloth and mild detergent. Never spray water directly onto the control panel. Use a soft brush if residue remains stubborn.
Test Lever Functionality
Hold the lock button for 3 seconds again to deactivate the lock. Press the lever to dispense water. It should release smoothly and stop immediately. If it sticks or water flows without pressing, the internal mechanism needs professional service.
Verify Ice Maker and Bin Status
Leaks often originate from the ice system rather than the water dispenser itself. Melting ice can overflow and create puddles that look like dispenser leaks.
Ensure Ice Maker Is Turned On
If the ice maker is off, ice in the bin will melt and potentially overflow. Turn the ice maker on unless you intentionally disabled it. If you must keep it off, empty the ice bin regularly to prevent accumulation.
Confirm Ice Bin Is Properly Seated
An improperly installed ice bin allows warm air into the freezer, accelerating ice melt. Remove and reinsert the bin until it clicks into place. Check that the ice door closes fully without obstructions.
Replace Damaged Ice Components
If the bin is cracked or the door will not stay closed, replacement is necessary. Use genuine LG parts to ensure compatibility and proper sealing.
Check Water Filter Installation and Seals

Improperly installed or outdated filters are among the most common causes of leaks. A poor seal allows water to bypass the filter housing.
Remove and Inspect the Filter
Locate the filter, usually in the upper corner of the fridge. Twist it counterclockwise to remove. Never pull it straight out. Examine the filter and housing for cracks, clogs, or worn seals. Replace the filter if it is over six months old.
Install a Genuine LG Filter
Align the new filter correctly and twist clockwise until it locks. Using non-LG filters can cause poor sealing due to incorrect dimensions. Always use a genuine LG replacement for the best fit.
Maintain a Replacement Schedule
Set a reminder to change the filter twice a year. This maintains water quality and prevents pressure issues that contribute to dripping.
Test Water Inlet Valve Function
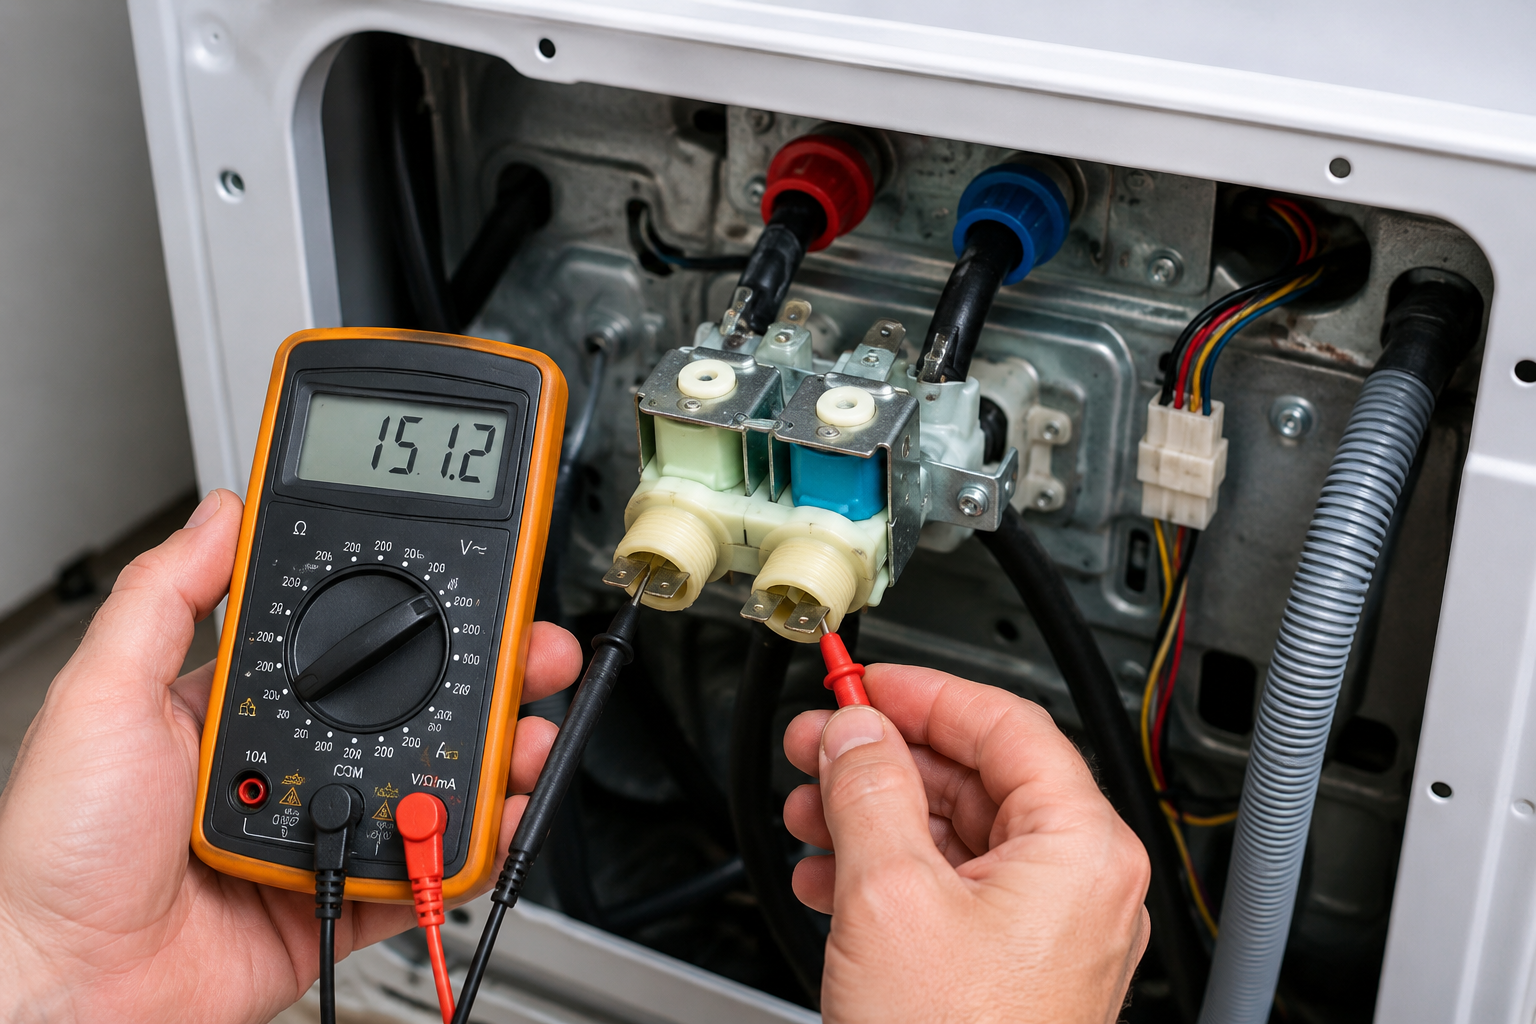
A faulty water inlet valve may fail to shut off completely, causing slow, persistent leaks. This component controls water flow into the refrigerator.
Locate the Valve at the Rear
Unplug the fridge and shut off the water supply. Remove the back panel to access the water inlet valve at the bottom rear. Look for water stains or mineral deposits indicating a leak.
Test Solenoids with a Multimeter
Set a multimeter to resistance (ohms). Disconnect the valve electrical connectors and test each solenoid. Compare readings to LG specifications. Infinite resistance means a failed coil, requiring valve replacement.
Replace the Valve if Defective
Disconnect water lines, noting that small connects to small and large to large. Install the new valve, ensuring hoses are fully seated with only one black line visible. Reconnect power and water, then test for leaks.
Inspect Door Gaskets and Seals
Damaged gaskets allow warm air entry, increasing condensation that can drip like a leak. Poor seals force the cooling system to work harder.
Perform the Paper Test
Close the door on a dollar bill or piece of paper. Try to pull it out. If it slides easily, the seal is weak. Repeat this test around the entire door perimeter.
Clean and Maintain Gaskets
Wipe seals with warm, soapy water monthly to remove food debris. If gaskets are cracked or torn, replace them immediately. A compromised seal increases moisture and energy usage.
Level the Refrigerator Properly
An unlevel fridge can misdirect water flow, causing overflow in the dispenser tray or drip pan. Proper leveling ensures gravity aids drainage.
Use a Level on the Top Shelf
Place a bubble level across the top of the refrigerator. Adjust the front leveling legs by twisting them. Turn clockwise to raise and counterclockwise to lower. Aim for perfect balance.
Recheck After Adjusting
Run the dispenser after leveling to observe if dripping stops. Even a slight tilt can affect drainage and water containment within the unit.
Examine Internal Dispenser Reservoir on French Door Models

The hidden reservoir in French door models is a frequent source of leaks if connections loosen. Accessing this area requires careful disassembly.
Access the Reservoir Safely
Remove the lower storage tray and lift off the tray mount. Unscrew the lower door cover with a Phillips screwdriver. Squeeze under the edges and pull the cover off, then gently pull out the dispenser reservoir.
Inspect and Re-seat Water Line
Check the tube connection to the reservoir. If two black lines are visible on the tubing, it is not fully inserted. Press the collet and push the tube in until only one line shows.
Reassemble with Care
Reinsert the reservoir and align the left-side tab on the door cover. Snap it back into place, then reinstall the tray mount and storage bin. Test the dispenser to confirm the leak is resolved.
Address Water Pressure Issues

Incorrect water pressure disrupts dispensing and causes splash or dribble. Both high and low pressure can create leaking behaviors.
Evaluate Home Water Pressure
Ideal pressure for LG refrigerators is 20 to 125 psi. Pressure below 20 psi causes weak flow and dripping. Pressure above 125 psi can damage seals and valves. Use a pressure gauge on an outdoor spigot to test.
Install a Pressure Regulator if Needed
If pressure is too high, install a whole-house regulator. For low pressure, check for clogged filters or closed valves. Consult a plumber if the issue persists.
Replace Damaged Water Supply Lines
Cracked or kinked lines must be replaced immediately. Never attempt to repair them with tape or sealants.
Shut Off Saddle Valve Immediately
If you find damage, turn off the water supply at the wall. Disconnect the line and replace it with a new braided stainless steel or high-quality plastic tube.
Use Correct Tubing Size
Ensure the new line matches the original diameter. Reconnect securely, verifying the one black line rule at fittings.
Never DIY Repair a Water Line
Sealants and tape fail under pressure. A temporary fix can lead to major flooding. Replace the entire line to ensure safety.
Know When to Call a Professional
Some issues require expert tools and training beyond basic troubleshooting. Recognizing these limits saves time and prevents further damage.
Persistent Leaks After Troubleshooting
If you have flushed lines, replaced the filter, checked the valve, and leveled the unit but water still drips, contact LG support. Internal tubing or control board issues may be at fault.
Mechanical Failures or Electrical Tests
If the dispenser lever is broken, the inlet valve solenoid is faulty, or you are uncomfortable using a multimeter, professional service is recommended.
Request Repair Through LG
Visit the official LG support site to schedule a technician. While waiting, turn off the saddle valve and activate the control lock to prevent further leaks.
Frequently Asked Questions About LG Refrigerator Water Dispenser Dripping
Why does my LG dispenser drip after changing the filter?
Air trapped in the lines usually causes this issue. You must dispense two to three gallons of water to flush the system completely. Ensure the filter is twisted clockwise until it locks tightly.
How do I know if my water line connection is loose?
Inspect the fitting where the tube enters the valve. If you see two black lines on the tube, it is not fully seated. Push the tube in until only one line is visible.
Can low water pressure cause my dispenser to leak?
Yes, low pressure can cause water to dribble rather than flow in a solid stream, leading to missed trays and perceived leaks. Ensure your home pressure is between 20 and 125 psi.
What should I do if the dispenser lever sticks?
Activate the control lock, then clean the lever with a damp cloth and mild detergent. If it remains stuck after cleaning, the internal mechanism likely requires professional replacement.
How often should I replace my LG water filter?
Replace your water filter every 6 months. Old filters can clog or fail to seal properly, leading to leaks and reduced water quality.
Key Takeaways for Fixing Your LG Refrigerator Water Dispenser Dripping
Stopping an LG refrigerator water dispenser dripping requires methodical troubleshooting starting with simple fixes. Most leaks result from air in the lines, a stuck lever, or an improperly seated filter, all of which you can resolve quickly.
Regular maintenance, such as replacing filters every six months and keeping gaskets clean, prevents future issues. If basic steps fail, inspect the water inlet valve and supply lines before calling a professional technician.