Water pooling under your refrigerator is more than a mess; it is a warning sign of a failing seal or loose connection. If your LG fridge water dispenser is leaking, you likely face a fixable issue like trapped air, a clogged filter, or a misaligned ice bin. Ignoring this problem invites mold growth, floor damage, and potential electrical hazards inside your kitchen.
This guide walks you through diagnosing and stopping the leak using simple tools and proven methods. You will learn to flush air pockets, check water pressure, and replace faulty valves without calling a technician. Follow these steps to protect your home and restore your appliance to perfect working order.
Flush Air Pockets From Water Lines
Trapped air often causes dripping immediately after you install a new filter or connect the fridge. This air creates sputtering that forces water out of the dispenser niche rather than into your glass.
How to Purge the System
- Place a large pitcher or bowl directly under the dispenser nozzle.
- Press and hold the water button to dispense 2 to 3 gallons continuously.
- Wait 5 to 10 minutes after flushing to see if the dripping stops.
If the leak persists after this process, the issue lies elsewhere in the system.
Pro Tip: Perform this task early in the day since dispensing several gallons takes time and patience.
Inspect Ice Maker Settings and Bin Placement
A malfunctioning ice maker can create meltwater that drains into the dispenser area, mimicking a water line leak. Warm air entering the compartment accelerates this melting process significantly.
Verify Ice Maker Switch Status
If the switch is off but ice remains in the bin, the ice will melt and overflow.
* Locate the switch inside the freezer or on the control panel.
* Ensure it is set to On for normal operation.
* If you must keep it off, empty the ice bin completely to prevent buildup.
Check Ice Bin Alignment
A misaligned bin allows warm air to enter and melt the ice contents.
* Pull the bin out and reinsert it firmly until it clicks.
* Confirm the compartment door closes fully without gaps.
* Replace the bin if you see cracks or warping.
Clean a Stuck Dispenser Lever
A lever that fails to spring back causes constant water flow even after you release it. Sticky residue from drinks often gums up this mechanism over time.
Steps to Free the Lever
- Enable Control Lock: Press and hold the Lock button for 3 seconds until the icon appears.
- Free the Mechanism: Push the lever in and out rapidly 10 to 15 times to dislodge debris.
- Wipe Clean: Use a damp cloth with mild soap, avoiding the electronic control panel.
- Disable Lock: Hold the Lock button for 3 seconds again and test the dispenser.
If the lever still sticks or leaks, internal damage likely requires professional repair.
Warning: Never force the lever. If it feels broken, stop immediately and schedule service.
Verify Water Pressure Levels
Incorrect water pressure affects how water flows through the dispenser and ice maker. Both high and low pressure create distinct leaking symptoms you can identify easily.
Identify Pressure Symptoms
- High Pressure: Causes water to spray out of the tray and onto the floor.
- Low Pressure: Leads to dribbling from the fill tube instead of a clean stream.
Solution:
* Attach a water pressure gauge to the supply line.
* LG recommends 20–125 psi, with an ideal range of 40–60 psi.
* Adjust your home’s pressure regulator if readings fall outside these limits.
Replace or Reinstall the Water Filter

A clogged, old, or poorly seated filter ranks among the top causes of dispenser leaks. Improper installation often breaks the seal required to contain water flow.
Remove and Inspect the Filter
- Locate the filter in the upper right or left corner inside the fridge.
- Twist counterclockwise to remove without pulling hard.
- Check for dark water stains, cracks, or swelling on the old unit.
- Replace the filter every 6 months regardless of appearance.
Install a Genuine LG Filter
Non-OEM filters often lack the precise dimensions needed for a tight seal.
1. Insert the new genuine LG filter into the housing.
2. Twist clockwise until it clicks securely into place.
3. Run water for 1 to 2 minutes to prime the system.
Watch closely for leaks at the housing after installation. If it drips, remove and reseat the filter carefully.
Examine Door Gaskets for Condensation
A damaged seal lets warm air into the fridge, forming condensation that pools like a leak. This moisture often mimics a dispenser failure when the real issue is the door seal.
Perform the Paper Test
- Close a dollar bill or piece of paper in the door firmly.
- Try to pull it out while the door is closed.
- If it slides out easily, the gasket is not sealing properly.
Fix:
* Clean the gasket with warm, soapy water to remove debris.
* Dry the seal thoroughly before closing the door.
* Replace the gasket if you find cracks or tears.
Note: French door models are especially prone to gasket wear due to frequent use.
Clean or Replace the Dispenser Tray
The tray under the dispenser can crack, warp, or clog with mold, causing overflow onto the floor. Regular cleaning prevents slime buildup that blocks drainage.
Remove and Inspect the Tray
- Gently pull the tray straight out from the niche.
- Empty any standing water and clean with vinegar and water.
- Check for cracks, warping, or clogged drain holes.
- Replace the tray if you find any damage.
Reinstall the tray so it sits flush and level with the dispenser area.
Level the Refrigerator Properly
A tilted fridge causes water to spill from the drip tray or dispenser niche instead of flowing correctly. Even a slight angle redirects water flow onto your floor.
Adjust Front Legs
- Place a level on top of the fridge to check alignment.
- Twist clockwise on the legs to raise a corner.
- Twist counterclockwise to lower a corner.
- Recheck until the unit is perfectly level.
Do not skip this step, as improper leveling causes many recurring leaks.
Inspect Water Supply Line Connections

Leakage at the back of the fridge often points to a loose or damaged water line connection. Visual inspection of the fitting reveals most insertion errors.
Find the One Black Line
At every push-fit connector, verify the tube insertion depth visually.
* The plastic tube should show only one black ring where it enters the fitting.
* If two rings show, the line is not fully seated and will leak.
Fix:
1. Press the collet (white plastic ring) around the tube firmly.
2. Push the line deeper into the fitting until only one line shows.
3. Release the collet and listen for a click.
Check for Line Damage
Run your fingers along the entire length of the tube to feel for issues. Look for:
* Cracks or splits
* Kinks or bulges
* Moisture at joints
If damaged, turn off the saddle valve immediately and replace the line.
Diagnose French Door Reservoir Leaks
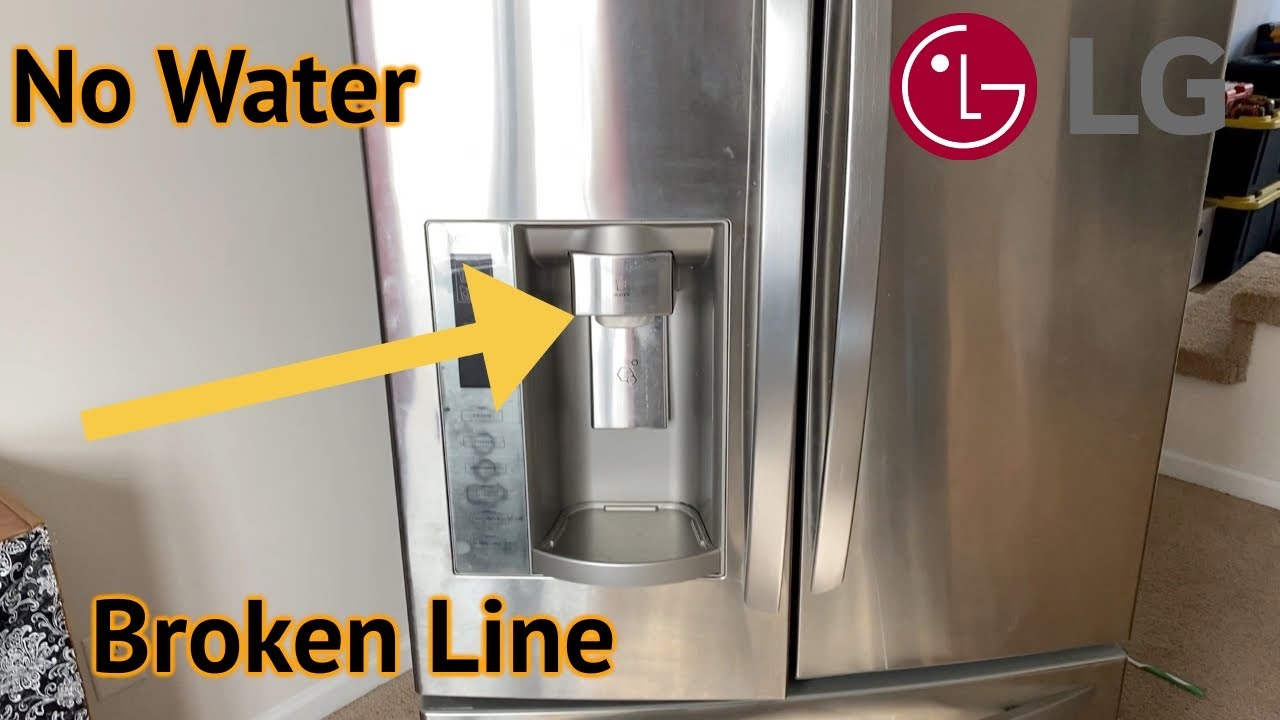
In LG French door models, leaks inside the left door usually mean a loose reservoir connection. This specific issue creates “phantom” leaks that confuse many owners.
Access the Reservoir
- Remove the lower door storage tray completely.
- Lift the tray mount firmly to release it.
- Remove the Phillips screw at the bottom of the door liner.
- Pull off the lower door cover to expose the reservoir.
Reconnect the Water Line
- Gently pull out the dispenser reservoir to access the connection.
- Check the water line connection for the one black line rule.
- Push the tube fully into the fitting if two lines are visible.
- Reinsert the reservoir and snap the cover back in place.
Pro Tip: This fix resolves most mysterious leaks in French door models.
Replace the Water Inlet Valve

If all else fails, the water inlet valve located at the back bottom may be cracked or malfunctioning. This component controls all water entry into your refrigerator.
Shut Off Power and Water
- Unplug the refrigerator from the wall outlet.
- Turn off the water supply valve completely.
- Wear gloves and eye protection for safety.
Remove the Old Valve
- Pull out the lower drawer or remove the back access panel.
- Locate the valve with two solenoids and water lines.
- Disconnect electrical plugs by pressing clips and pulling gently.
- Remove water lines by pressing the collet and pulling each tube free.
Install the New Valve
- Use a genuine LG or compatible valve for your model.
- Attach the water lines and ensure each tube is fully seated.
- Reconnect electrical connectors until they click firmly.
- Wipe the area dry and reinstall panels and drawers.
Test for Leaks
- Turn the water supply back on slowly.
- Plug in the fridge and monitor the valve.
- Watch the valve area for 15 minutes for any signs of leakage.
- If no leaks appear, the repair is complete.
Expert Note: Use a multimeter to test solenoid resistance if you suspect electrical failure. Normal range is 200–500 ohms.
Know When to Call a Professional
Some issues go beyond simple DIY fixes and require expert attention. Seek service if the dispenser lever remains stuck after cleaning or if the water line is cracked. You should also call a pro if internal components like the drain pan or defrost system are suspected.
Until help arrives:
* Turn off the water supply immediately.
* Empty the ice bin to prevent melting.
* Keep the dispenser locked to stop flow.
Prevent Future Leaks
Avoid repeat problems with a consistent maintenance schedule. Regular checks save you from costly water damage repairs down the road.
Replace Filter Every 6 Months
Set a calendar reminder to change filters regularly. Old filters restrict flow and cause pressure imbalances that lead to leaks.
Wipe Dispenser Monthly
Prevent sticky residue with a quick clean using a damp cloth. This keeps the lever mechanism free from gummy buildup.
Inspect Connections Quarterly
Check water lines and fittings at the back for moisture or looseness. Early detection prevents major flooding events.
Keep Doors Sealing Tight
Clean gaskets and perform the paper test twice a year. A tight seal prevents condensation that mimics leaks.
Frequently Asked Questions About LG Fridge Water Dispenser Leaking
Why does my LG fridge dispenser drip after changing the filter?
Air trapped in the lines often causes dripping after filter changes. You must flush 2 to 3 gallons of water through the system to remove air pockets. Wait 10 minutes after flushing to see if the leak stops.
How do I know if my water pressure is causing the leak?
High pressure causes water to spray out, while low pressure causes dribbling. Use a gauge to check that your home pressure is between 40–60 psi for ideal operation. Adjust your regulator if readings fall outside this range.
What does it mean if I see two black lines on the water tube?
Seeing two black lines means the water line is not fully seated in the fitting. Press the collet ring and push the tube deeper until only one black line is visible to stop the leak.
Can a dirty dispenser lever cause continuous leaking?
Yes, sticky residue from drinks can prevent the lever from springing back. Clean the lever with mild soap and water while the control lock is enabled to fix this issue.
How often should I replace my LG water filter?
Replace your water filter every 6 months to maintain proper flow and prevent clogs. Using genuine LG filters ensures a proper seal and prevents housing leaks.
Key Takeaways for Fixing Your LG Fridge Water Dispenser Leaking
Most LG fridge water dispenser leaking issues stem from simple causes like air pockets, loose connections, or old filters. By flushing the system, checking the one black line rule, and replacing filters every six months, you can stop most leaks yourself. Regular maintenance of gaskets and levers prevents future problems effectively.
Focus on these actionable steps to protect your kitchen from water damage today. If basic troubleshooting does not resolve the issue, shut off the water supply and contact a professional technician for advanced repairs.