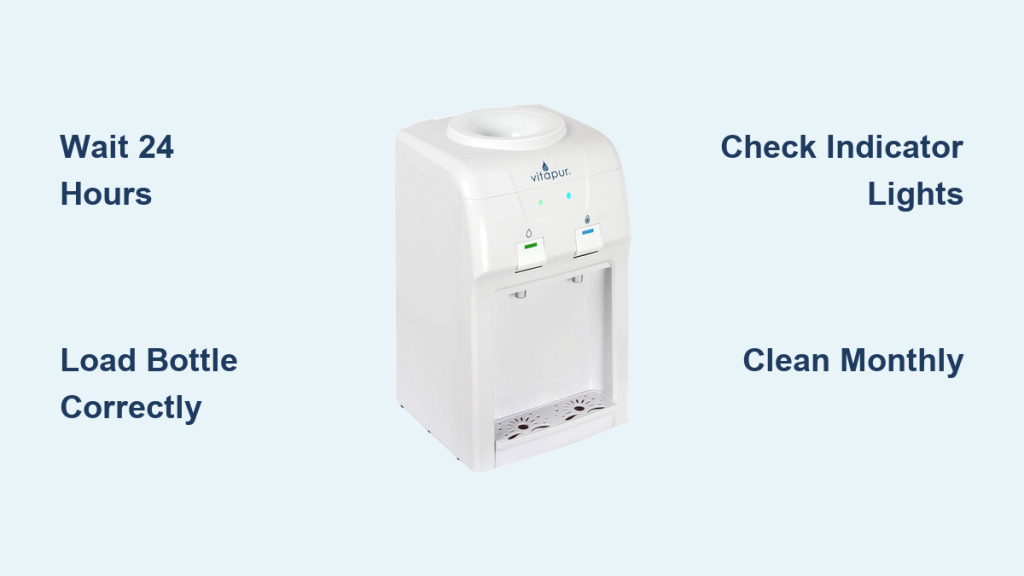
You just unboxed your new Vitapur unit but hesitate to plug it in because you fear damaging the cooling system. Many users skip the critical 24-hour settlement step required for compressor models which leads to permanent cooling failure. This guide explains exactly how to use Vitapur water dispenser models safely from initial setup to daily operation.
You will learn specific loading techniques for bottom and top-loading units along with essential cleaning protocols. Follow these expert steps to ensure your dispenser provides clean cold or boiling water efficiently for years to come.
Prepare Your Unit Before First Use
Proper preparation prevents mechanical failure and ensures your water tastes fresh from the very first pour. Skipping these initial steps can void warranties or ruin internal components permanently.
Allow 24 Hours for Coolant Settlement
Compressor-based models require a resting period before you connect power.
* Leave the unit upright and unplugged for a full day after delivery.
* This allows internal refrigerants to settle after shipping vibration.
* Ignoring this rule often causes the cooling system to fail immediately.
* Countertop semiconductor models benefit from settling but are less sensitive.
Pro Tip: Use this waiting period to wipe down the exterior and locate your cleaning supplies.
Select an Optimal Location
Place your dispenser on a flat surface away from direct sunlight or heat sources.
* Maintain at least 4 inches of clearance behind the unit for airflow.
* The rear panel houses vents that need open space to prevent overheating.
* Avoid placing the unit near stoves or radiators to maintain cooling efficiency.
* Ensure the floor can support the weight of a full 5-gallon bottle plus the machine.
Load Water Bottles by Model Type
Vitapur offers three distinct designs that each require a specific bottle installation method. Using the wrong technique can cause leaks or prevent water flow entirely.
Install Bottles in Bottom-Loading Units

These models hide the bottle in a base cabinet to reduce lifting strain.
* Open the front door to reveal the curved bottle adapter inside.
* Place your 3-gallon or 5-gallon bottle directly onto the tilted adapter.
* Close the cabinet door firmly until the side latch secures the bottle.
* The internal valve engages automatically to draw water without manual priming.
Visual Cue: Watch for the blue “Cold” light to turn solid indicating water is flowing.
Position Bottles on Top-Loading Models
Top-loaders require you to lift the jug and align it with the puncture spike.
* Lift the bottle and lower it carefully onto the top spike mechanism.
* Allow the weight of the jug to puncture the seal and start water flow.
* Check that the bottle sits evenly to prevent air locks or uneven draining.
* Monitor the water level visually since the jug remains exposed on top.
Master the Lid Alignment Mechanism
Many users struggle with the lid because it requires precise rotational alignment.
* Rotate the lid slowly while lifting slightly to find the release point.
* Look for the “Open” and “Close” arrows to guide your movement.
* Press down gently and turn until you hear a distinct click locking it in place.
* Never force the lid as this can break the internal plastic tabs permanently.
Set Up Countertop Dispensers
Compact units offer plug-and-play simplicity for small offices or kitchens.
* Place the water bottle on the top spike just like standard top-loaders.
* Plug the unit into a standard electrical outlet immediately.
* Press the designated button for cold or room temperature water.
* Enjoy whisper-quiet operation thanks to semiconductor cooling technology.
Dispense Water Safely and Efficiently
Understanding the control panel prevents accidents and ensures you get your desired water temperature instantly.
Interpret Color-Coded Buttons

Vitapur uses intuitive colors to distinguish between temperature options clearly.
* Red Button: Dispenses hot or boiling water on select models.
* Blue Button: Provides chilled water for immediate refreshment.
* White Button: Delivers room temperature water for cooking or pets.
* Always use heat-safe containers when pressing the red hot water button.
Activate the Child Safety Lock
All models with hot water feature a mechanical lock to prevent burns.
* Twist the small switch near the hot button to the locked position.
* The red button will remain inactive until you unlock it manually.
* Engage this lock whenever children are present in the room.
* Twist back to unlock only when you are ready to dispense hot water.
Monitor Indicator Lights for Status
LED lights provide real-time updates on your dispenser heating and cooling status.
| Light Color | Status Meaning | Required Action |
|---|---|---|
| Solid Red | Hot water ready | Safe to dispense |
| Flashing Red | Heating in progress | Wait for solid light |
| Solid Blue | Water is cold | Ready to dispense |
| Yellow | Low water level | Replace bottle soon |
| Green | Power on | Normal operation |
Clean and Maintain Your Dispenser
Regular sanitization prevents bacterial growth and keeps your water tasting pure and fresh.
Perform Monthly Cleaning Cycles
Unplug the unit and remove the water bottle before starting any cleaning process.
* Remove the drip tray and wash it with mild soap and warm water.
* Drain the internal reservoir using the drain screw on the back panel.
* Mix equal parts white vinegar and water to create a sanitizing solution.
* Pour the solution into the reservoir and let it sit for 20 minutes.
Sanitize Internal Components Thoroughly
Run the vinegar solution through both hot and cold taps to clear internal lines.
* Use the included tube brush to scrub the puncture spike or inlet valve.
* Rinse the system three to five times with clean water until smells vanish.
* Wipe down the exterior with a microfiber cloth to remove fingerprints.
* Allow the unit to air dry completely before reinstalling a water bottle.
Expert Note: Use the official Vitapur cleaning kit for a biodegradable solution that kills E. coli effectively.
Replace Filters on Schedule
Models with built-in filtration require timely filter changes to maintain water quality.
Follow Filter Replacement Timelines
Different filter types have varying lifespans based on usage volume.
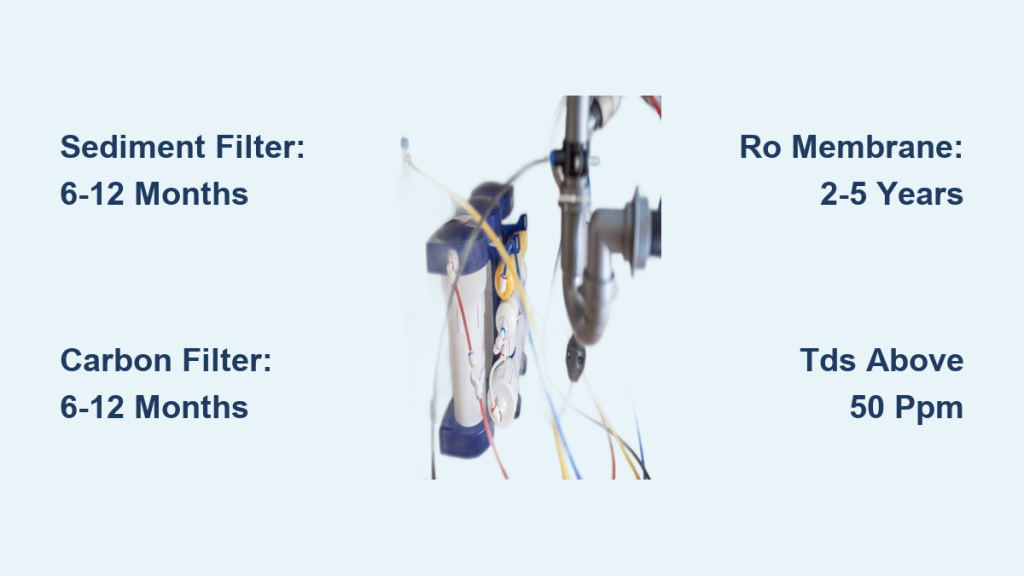
* Replace sediment and carbon block filters every 6 months.
* Change reverse osmosis membranes every 2 to 3 years depending on use.
* Swap out pitcher-style filters every 2 months for best results.
* Check your specific manual for flow rate indicators or usage timers.
Troubleshoot Common Issues Fast
Most performance issues stem from simple user errors that you can fix quickly.
Resolve Cooling Problems
If your water is not getting cold check these common causes first.
* Verify you waited the full 24 hours before plugging in the unit.
* Ensure the blue indicator light is solid and not flashing continuously.
* Move the dispenser away from heat sources if the room is very hot.
* Wait 5 to 10 minutes for compressor models to reach ice-cold temps.
Fix Slow or Spurting Water Flow
Air locks or misaligned bottles often cause irregular water dispensing.
* Center the bottle on the spike for top-loading models carefully.
* Ensure the cabinet door is fully closed on bottom-loading units.
* Check the yellow low water light to see if the bottle is empty.
* Open and close the lid slowly to release any built-up suction pressure.
Stop Leaks at the Base
Water pooling underneath usually indicates a full drip tray or loose connection.
* Empty the drip tray immediately if it appears full or overflowing.
* Tighten the drain plug securely after performing your monthly cleaning.
* Reseat the water bottle to ensure a proper seal on the puncture point.
* Wipe the area dry and monitor for 10 minutes to confirm the leak stops.
Frequently Asked Questions About Vitapur Water Dispensers
Why is my Vitapur dispenser not cooling the water?
The most common cause is plugging the unit in immediately after delivery. Compressor models must sit upright and unplugged for 24 hours to let the coolant settle. If you skipped this step the cooling system may be permanently damaged.
How often should I clean my Vitapur water dispenser?
You should clean and sanitize your dispenser every 1 to 3 months or whenever you change bottles if the unit has been idle. Regular cleaning prevents bacteria buildup and ensures your water tastes fresh without odors.
Can I use any brand of water bottle with my Vitapur dispenser?
Yes these dispensers work with standard 3-gallon and 5-gallon bottles from major brands. Ensure the bottle neck size is standard so it fits the puncture spike or adapter correctly without leaking.
What does the flashing red light mean on my dispenser?
A flashing red light indicates the heating element is currently warming the water. Wait until the light turns solid red before attempting to dispense hot water to ensure it has reached the proper temperature.
How do I open the lid on my top-load Vitapur model?
Rotate the lid slowly while lifting slightly until the internal arrows align with the housing. Do not force it as the tabs must line up perfectly to release the suction lock mechanism.
Key Takeaways for Using Your Vitapur Water Dispenser
Mastering how to use Vitapur water dispenser units starts with patience during the initial 24-hour settlement period. Proper loading techniques for your specific model type prevent leaks and ensure smooth operation daily.
Regular cleaning and timely filter replacements will keep your water safe and tasting great for years. Follow these steps to avoid common pitfalls and enjoy reliable hot and cold water whenever you need it.