
You just installed your Brio unit, but the digital display keeps flashing the wrong time. Knowing exactly how to set clock on Brio water dispenser models ensures your machine runs on the correct schedule for heating and cooling cycles.
This guide details the specific button sequences for both dedicated control panels and dual-function dispensing models. You will learn to enter setup mode, adjust hours and minutes accurately, and lock your settings to prevent accidental resets.
Activate Time Setup Mode on Your Unit
Every Brio model requires a specific button combination to enter the configuration state. This universal first step prepares the digital display to accept manual time inputs.
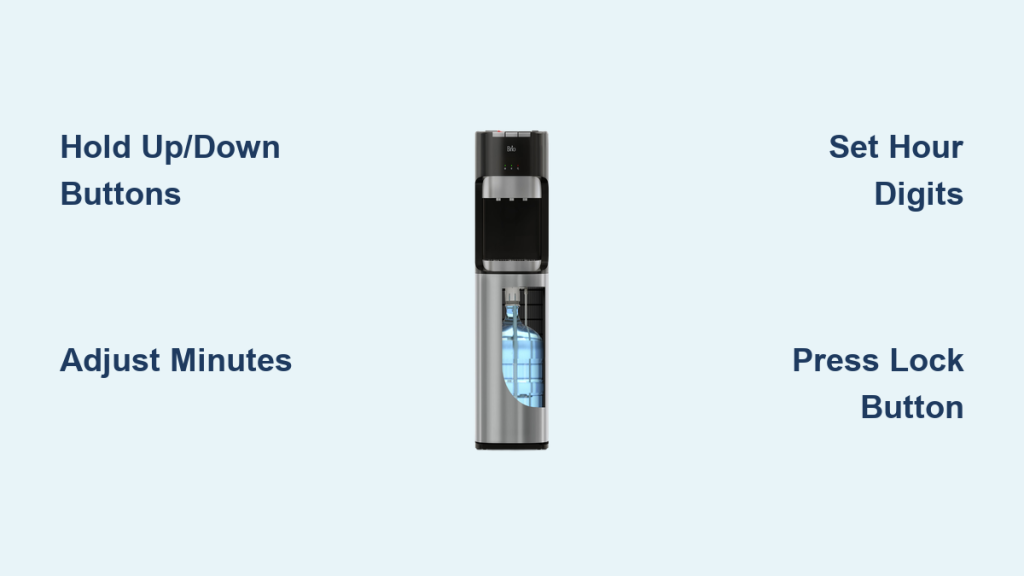
Hold Up and Down Buttons Simultaneously
Locate the up and down arrow buttons on your control panel. Press and hold both buttons at the same time for exactly three seconds.
The numbers on the clock display will start blinking once the system recognizes the command. This blinking signal confirms the dispenser is ready for you to adjust the time.
If the display remains static, ensure the unit is fully powered on. Some users attempt this step before the machine completes its initial boot cycle, causing the controls to remain unresponsive.
Release the arrows immediately after the blinking starts. Waiting too long may cause the system to exit the setup mode automatically as a safety precaution.
Configure Minutes Using Method One
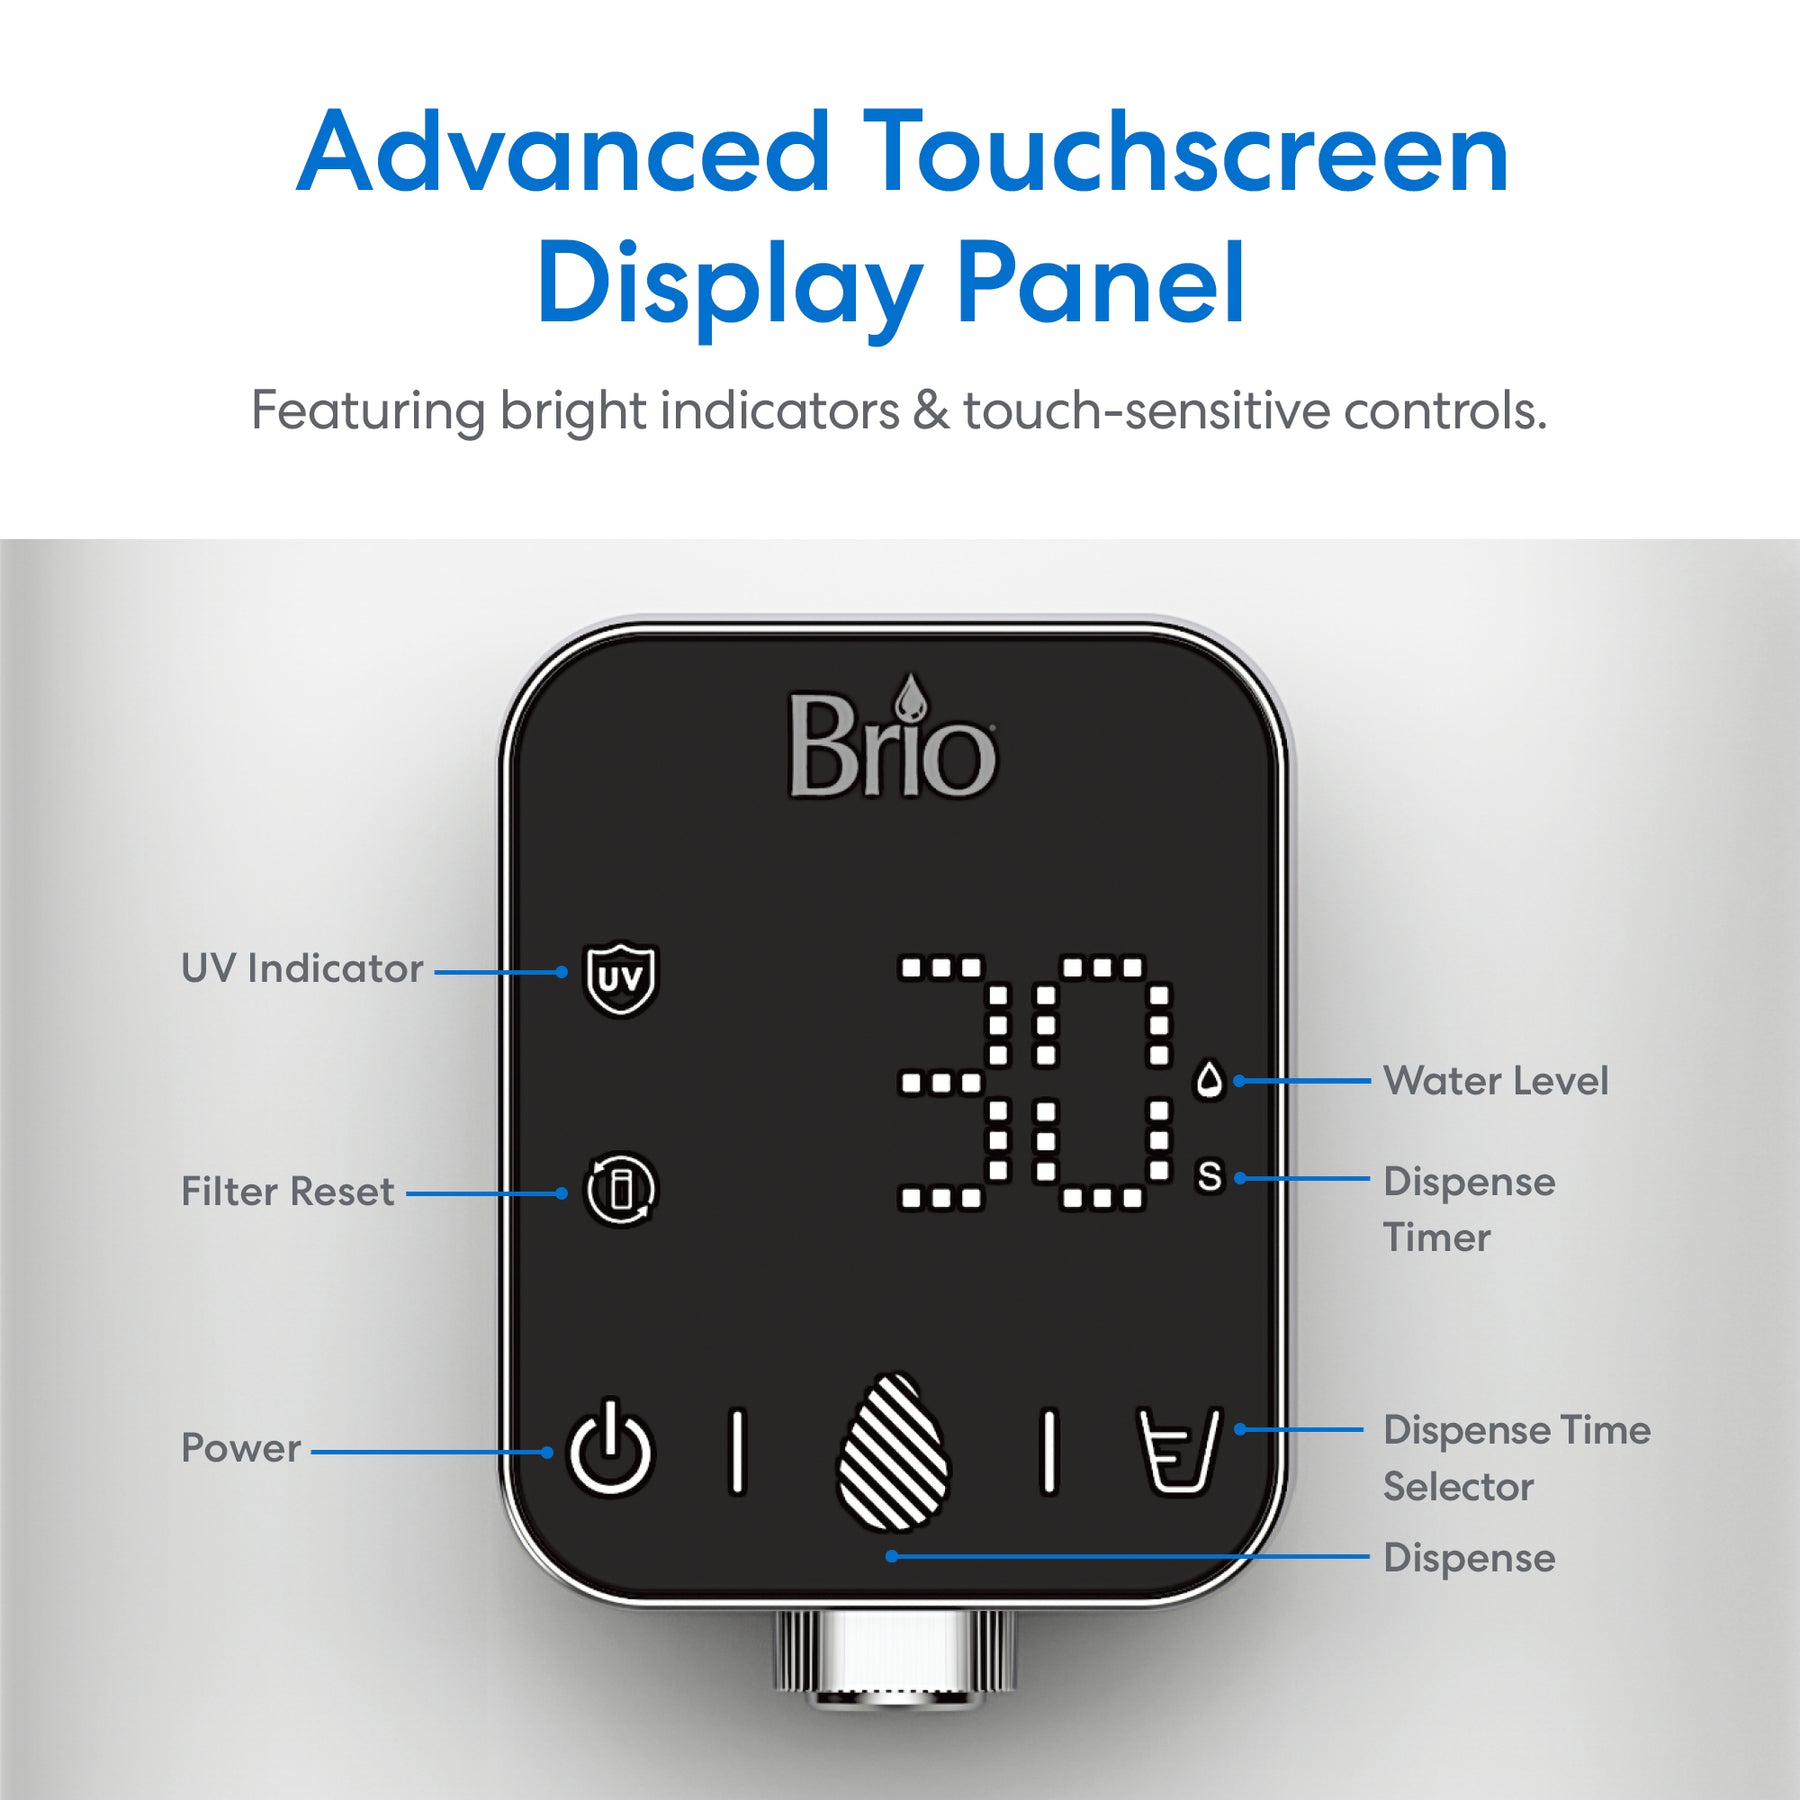
Some Brio dispensers feature dedicated buttons for time management. This method applies if your panel includes specific labels for minutes and hours.
Use the Minute Adjustment Button
Press the button labeled minute adjustment to begin changing the value. Hold this button down to scroll through the numbers rapidly.
Continue holding until the display shows the correct minute for your current time zone. For example, if it is 2:15, scroll until you see 15.
The system does not require you to toggle between AM and PM manually. The internal clock auto-detects the period based on the hour value you enter later.
Release the button once the correct minute appears. The display will continue blinking, indicating the system is waiting for you to set the hour.
Configure Minutes Using Method Two
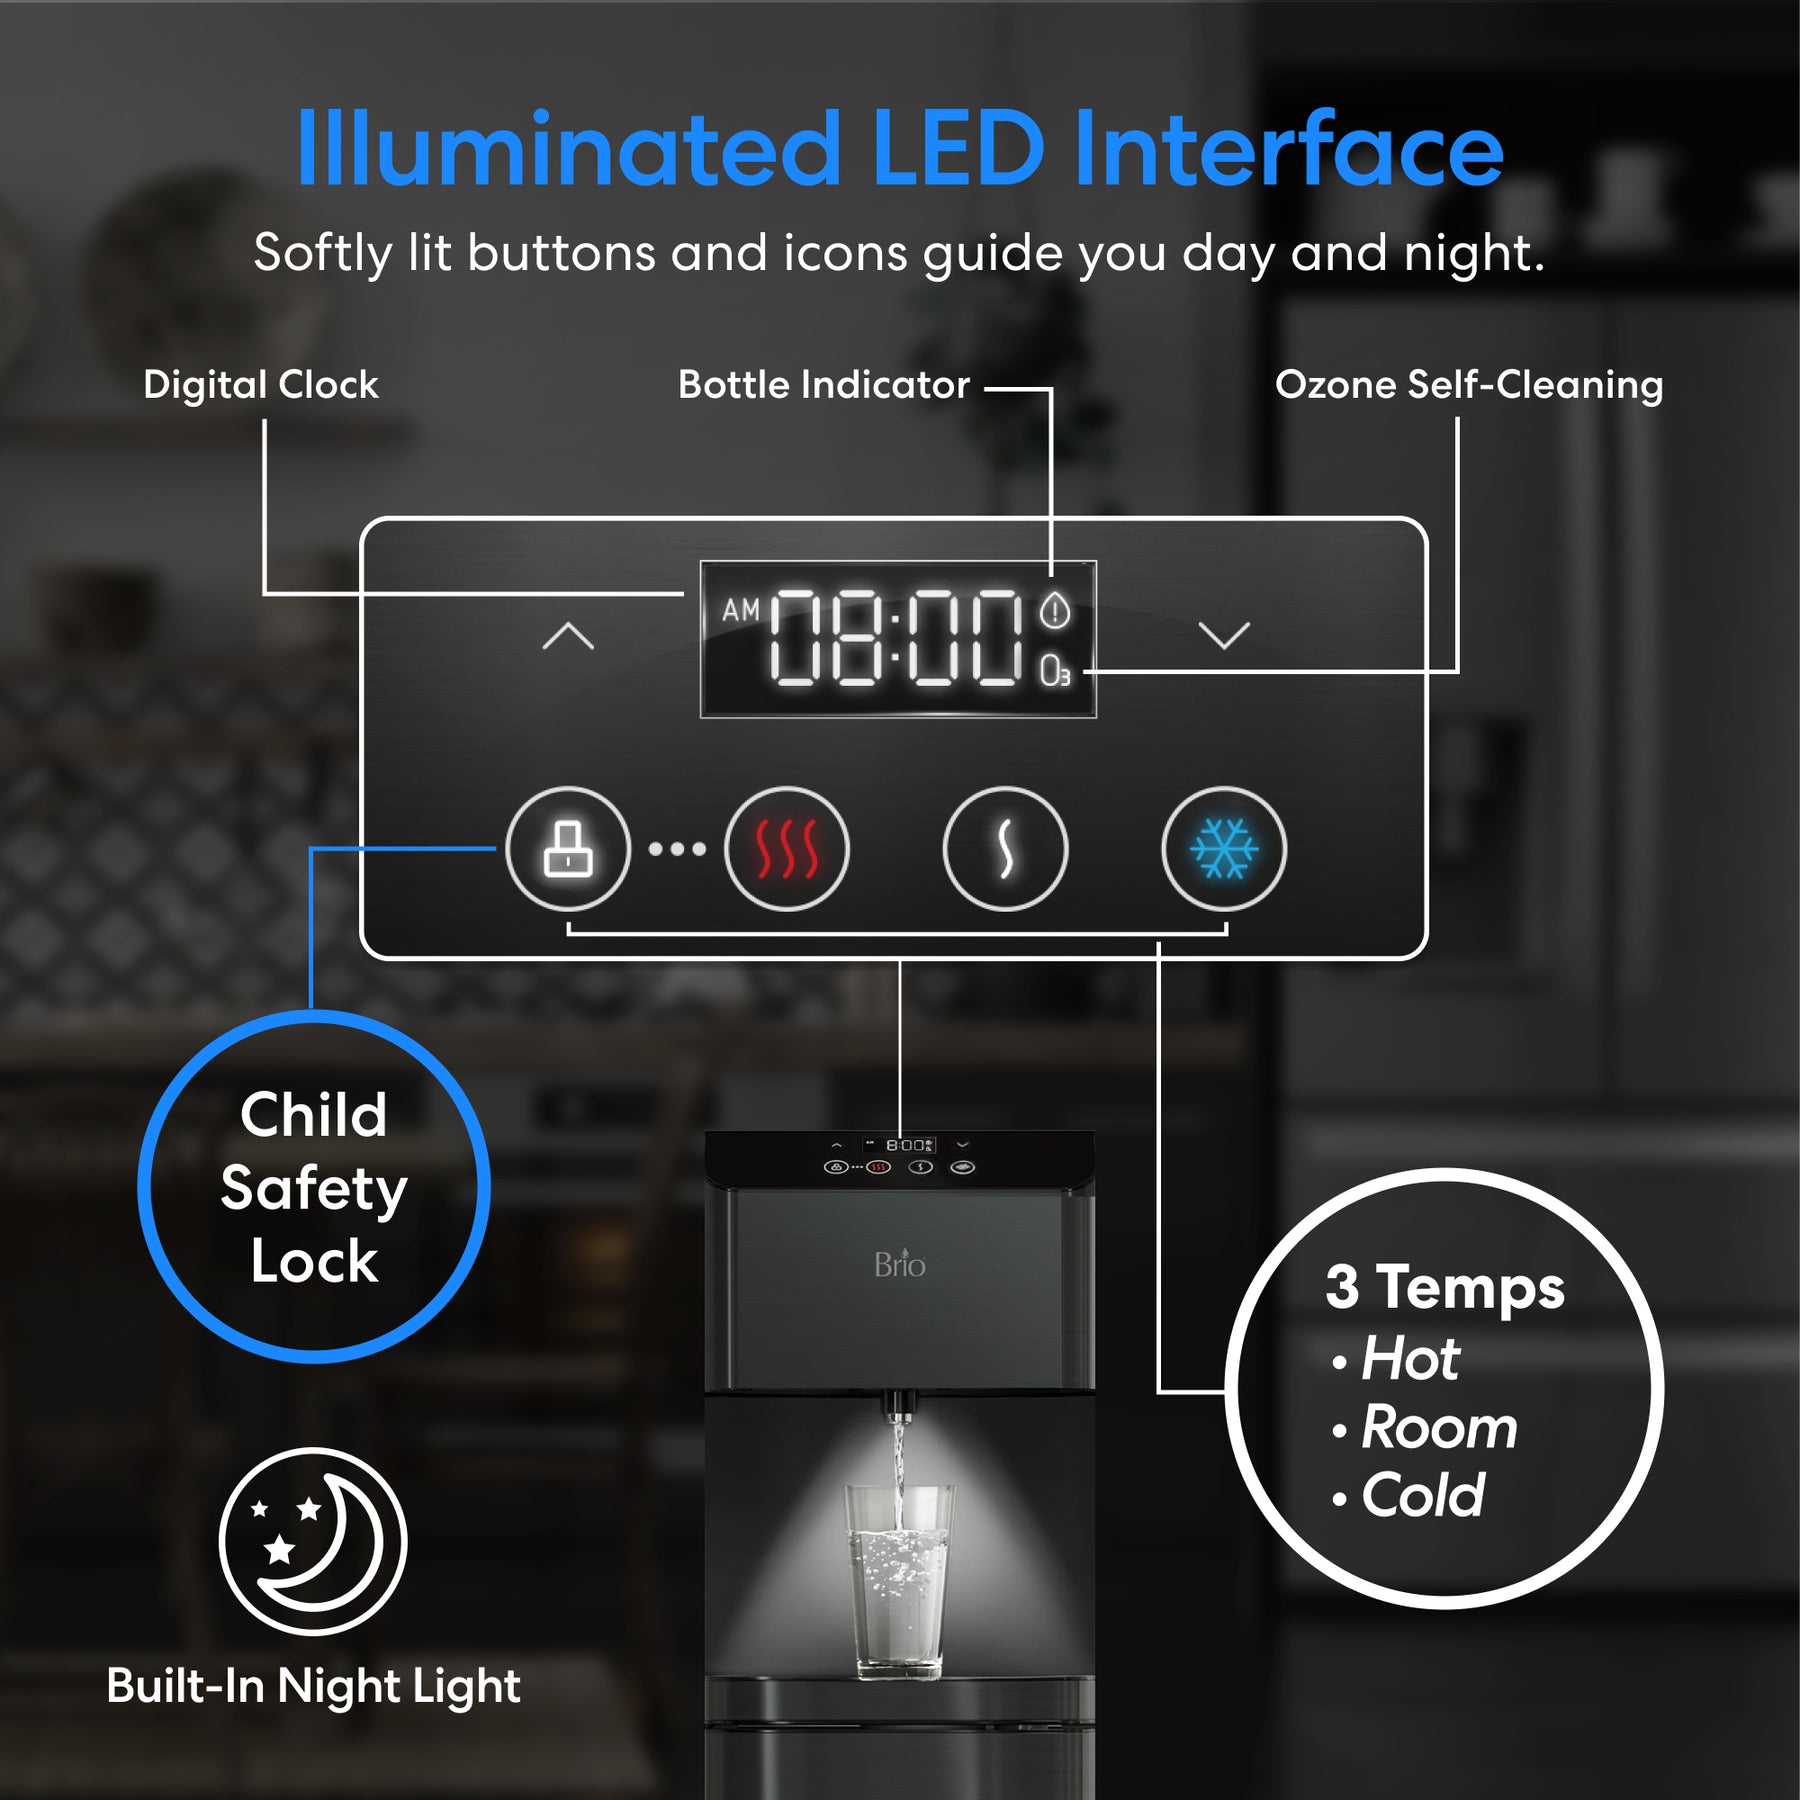
Other models save space by repurposing the water dispensing buttons for clock setup. This method applies if your panel lacks dedicated time buttons.
Press the Cold Water Button
Press the cold water button once to switch the blinking cursor to the minute digits. This action selects the minute field without dispensing any water.
Use the up and down arrow buttons to adjust the minute value. Tap the arrows repeatedly or hold them to change the number quickly.
Remember that the cold water tap will not release liquid during this specific setup mode. It functions strictly as a selector for the digital clock interface.
Stop adjusting when the display matches the current minute. The system remains in setup mode until you proceed to adjust the hour digit.
Adjust the Hour Display Correctly

Once the minutes are accurate, you must shift focus to the hour setting. The button you press depends on your specific control panel layout.
Switch to Hour Mode Button
On units with dedicated controls, press the hour mode button to shift from minutes to hours. The hour digits on the screen will now blink.
Use the same button to increment or decrement the hour value. Scroll until the display shows the correct hour, such as 3 for 3:00 PM.
The system recognizes the 12-hour format automatically. You do not need to perform extra steps to indicate morning or evening times.
Tap Hot Water Button for Selection
On models using dispensing buttons, press the hot water button to move the blinking indicator to the hour digits. This selects the hour field for editing.
Use the up and down arrows to scroll to the correct hour. The hot water tap will not dispense liquid while the clock is in this setup state.
Pro Tip: If the hour jumps from 12 directly to 1, your model uses a 12-hour clock. Verify the AM or PM indicator on the screen after saving to ensure accuracy.
Save and Lock Your Clock Settings
Finalizing the configuration prevents the time from drifting or resetting unexpectedly. The saving method varies slightly between the two control types.
Press Lock Button to Confirm
For models with dedicated controls, press the lock button once the correct time appears. The blinking on the display will stop immediately.
This action locks the time and prevents accidental changes from curious children or passing elbows. The setting remains stored even if the power flickers.
If the time continues blinking, try holding the lock button for one full second. Some units require a slightly longer press to register the save command.
Release Buttons to Save Time
On models without a lock button, simply release all buttons after setting the hour. The system saves the time automatically after 2 to 3 seconds of inactivity.
No confirmation light or sound will occur. Watch the display closely to ensure the blinking stops, which indicates the new time is saved.
If the time resets to the default, you may have released the buttons too quickly. Repeat the process and wait a full five seconds before touching any controls.
Identify Your Specific Brio Model Type

Determining your control scheme early prevents confusion during the setup process. Different Brio series use distinct button layouts.
Check for Dedicated Clock Buttons
Inspect your control panel for specific labels. Look for buttons marked minute adjustment, hour mode, and lock.
If these exist, your unit uses Method One. These models often feature more advanced digital interfaces with additional status indicators.
Look for Dual-Function Dispense Buttons
Examine the panel if you only see hot, cold, up, and down buttons. Your unit likely uses Method Two.
In this version, the hot and cold buttons double as time selectors only during setup. The display is typically simpler with fewer dedicated controls.
Try holding the up and down buttons first. If the clock blinks, proceed with the method that matches your visible buttons.
Troubleshoot Clock Setup Issues
Even with correct steps, external factors can interfere with the process. Use these solutions if the clock behaves unexpectedly.
Clock Won’t Enter Setup Mode
If the display refuses to blink after holding the arrows, check your power source. Ensure the dispenser is plugged in and the outlet is active.
Confirm the water bottle is installed and the cabinet door is closed. Some models disable control functions until they detect water presence.
Wait at least 30 seconds after powering on before trying again. The internal computer may still be initializing its systems.
Time Resets After Power Loss
Some basic models lack memory retention for the clock during outages. If the time resets frequently, consider using a surge protector with battery backup.
Recheck the time daily if precision matters for your office schedule. Models with non-volatile memory will restore the last saved time automatically.
Display Stays Blinking After Setup
A continuously blinking clock often means the save command was missed. On Method One units, press and hold the lock button for two seconds.
On Method Two units, repeat the setup and wait five seconds after releasing all buttons. Do not touch any controls during this waiting window.
Prevent Common Setup Mistakes
Avoiding simple errors ensures a smooth setup experience. These frequent pitfalls often cause frustration for new owners.
Don’t Skip Bottle Installation
Always install a full water bottle before attempting to set the clock. The control system often remains inactive without water detection.
Attempting setup without a bottle may result in unresponsive buttons. The machine prioritizes water safety over time configuration.
Avoid Rushing the Hold Time
Many users release the up and down buttons too early. The three-second hold is critical for the system to recognize the command.
Count slowly using a timer if necessary. A quick press usually triggers a different function or does nothing at all.
Don’t Confuse Buttons With Functions
Remind household members that the hot and cold buttons change roles during setup. Pressing them expecting water will alter the time instead.
Misuse can cancel the setup process entirely. Wait until the blinking stops before using the dispenser for water.
Complete Initial Dispenser Setup Checklist
Proper clock setup is just one part of installing your new dispenser. Follow these steps to ensure full functionality.
Install Water Bottle Properly
Slide a full 3- or 5-gallon bottle into the cabinet securely. Push it all the way in and close the door until the latch engages.
The dispenser will not pump water or activate temperature systems until the door is closed. This safety feature prevents dry running.
Prime the System Correctly
Place a cup under each tap and dispense at least 4 cups (1 liter) of water. This removes air from the internal lines and ensures proper flow.
Priming helps the system stabilize temperature readings. Accurate temperatures are essential for the indicator lights to function correctly.
Power On and Test Indicators
Turn the On/Off switch to On and plug in the unit. The blue light indicates cooling, while the red light indicates heating.
Wait until both lights turn off, which means target temperatures are reached. This process usually takes 10 to 15 minutes before finalizing clock setup.
Maintain Accurate Time Display
Regular maintenance keeps your dispenser running efficiently. A correct clock helps track filter changes and usage patterns.
Check Time Weekly
Even properly set clocks can drift over time. Verify accuracy once a week, especially if your model lacks memory retention features.
Adjust the time immediately if you notice a discrepancy. Consistent timekeeping helps with scheduling maintenance tasks.
Clean Buttons Regularly
Dust and spills can make buttons sticky or unresponsive. Wipe the control panel weekly with a damp cloth and mild soap.
Never spray cleaner directly onto the display or buttons. Moisture intrusion can damage the internal electronics.
Update After Daylight Saving
Manually adjust the clock when daylight saving time begins or ends. Brio dispensers do not auto-update for seasonal time changes.
Follow the same setup steps outlined earlier to make this adjustment. It takes less than a minute to update manually.
Frequently Asked Questions About Setting Brio Dispenser Clocks
Why won’t my Brio clock stop blinking?
The blinking indicates the unit is still in setup mode. You must press the lock button on dedicated models or wait five seconds without touching buttons on dual-function models to save.
Does the Brio dispenser automatically adjust for daylight saving time?
No, Brio water dispensers do not have an automatic daylight saving feature. You must manually reset the clock using the up and down arrow buttons when the time changes.
Can I set the clock without a water bottle installed?
Technically yes, but it is not recommended. The system may disable controls if it does not detect water, and proper priming is required before regular use anyway.
What happens if I press the wrong button during setup?
Pressing the wrong button may change the wrong digit or exit the setup mode. If this happens, simply hold the up and down arrows again to restart the process.
Do I need to set AM and PM separately?
No, you do not. The system uses a 12-hour format and auto-detects AM or PM based on the hour value you select during the setup process.
Key Takeaways for Setting Your Brio Water Dispenser Clock
Setting the clock ensures your dispenser operates on the correct schedule for heating and cooling cycles. Whether your model uses dedicated adjustment buttons or repurposes the hot and cold controls, the process always begins by holding the up and down arrows for three seconds.
Remember to install your water bottle and prime the system before finalizing your time settings. This simple maintenance step guarantees your how to set clock on Brio water dispenser efforts result in a fully functional machine ready for daily use. Keep this guide handy for future reference whenever daylight saving time arrives or power outages occur.



