
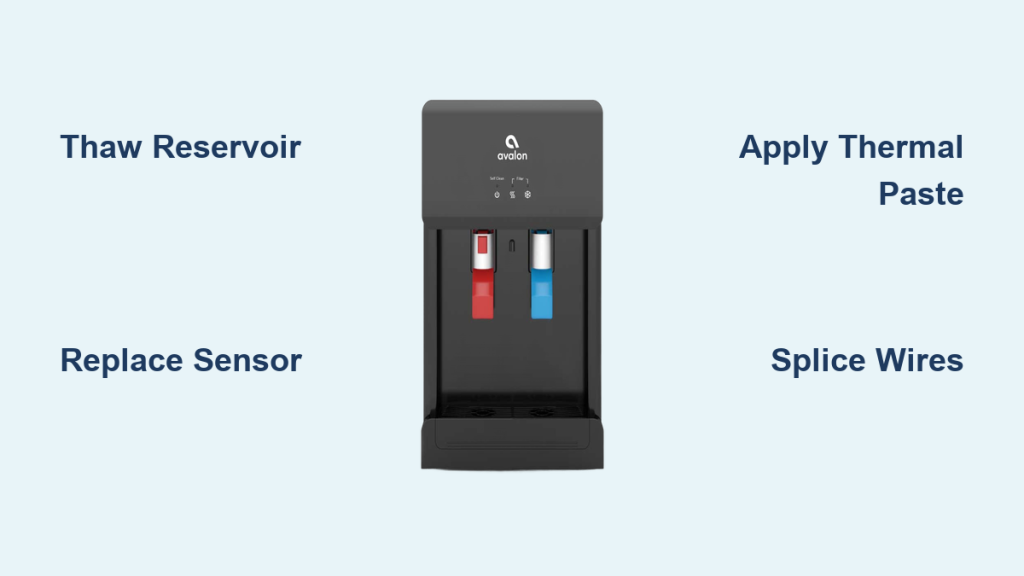
Your Avalon water dispenser stops dispensing cold water while the hot tap still works perfectly. This specific symptom usually means a frozen reservoir caused by a failed temperature sensor is blocking the flow.
This guide details a complete Avalon water dispenser repair that you can finish in under two hours. You will learn to verify the ice blockage, splice in a new sensor, and restore full cooling function for about fifteen dollars.
Verify Frozen Reservoir Before Disassembly
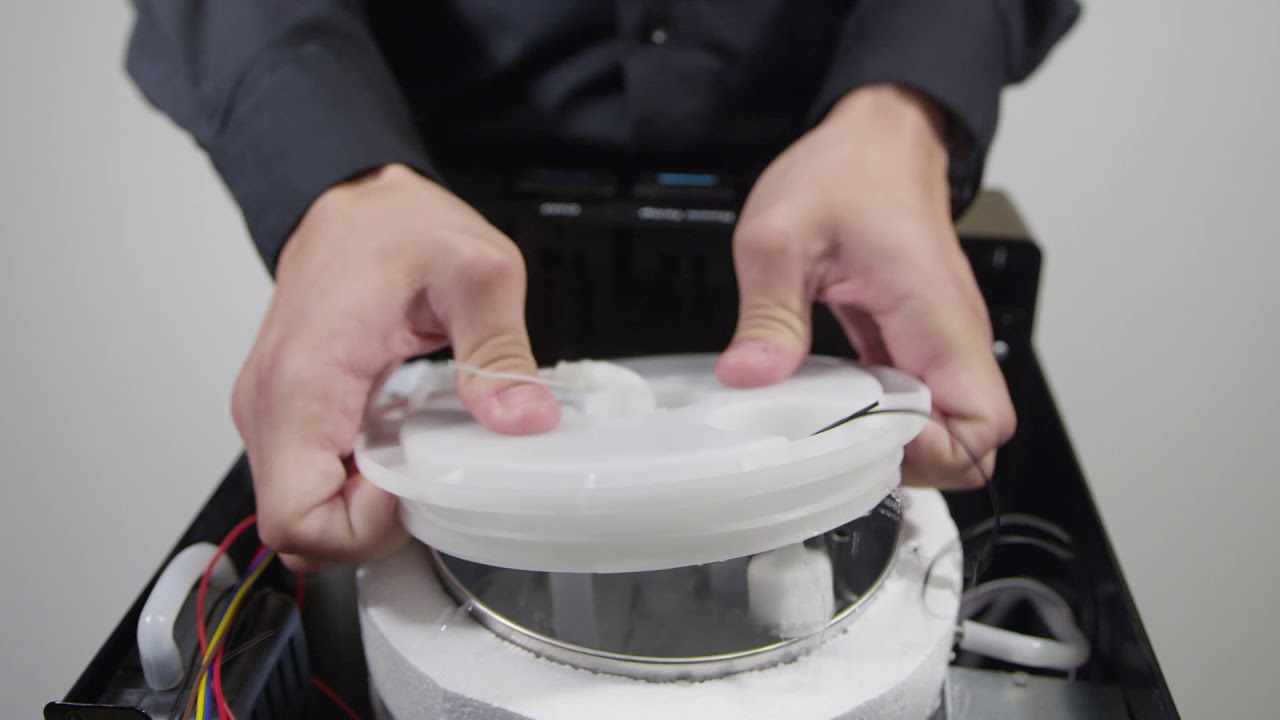
You must confirm the root cause before taking any screws out. A simple thaw test distinguishes between a mechanical failure and a simple ice blockage.
Perform the Two-Day Thaw Test
Turn off the cooling switch located on the back of your unit. Unplug the machine completely and let it sit undisturbed for two to three days. Do not use hair dryers or heat guns to speed up this process.
Plug the unit back in after the waiting period and try the cold tap. If water flows freely now, your reservoir was frozen solid, confirming a bad temperature sensor caused the issue.
Why Hot Water Still Functions
The heating and cooling systems in your dispenser operate on independent circuits. A failure in the cooling sensor does not impact the heating element or its thermostat.
If your hot water dispenses normally, you know power is reaching the unit correctly. This isolates the fault specifically to the cooling side components.
Gather Specific Tools and Replacement Parts
Success depends on using the correct replacement components. Generic sensors work well, but you must apply thermal paste for accurate readings.
Essential Replacement Components
You need a generic temperature probe sensor pack, which costs around ten dollars online. These packs usually contain five sensors, giving you spares for future issues.
Thermal conductive paste is the second critical item, costing about five dollars at local hardware stores. This paste ensures full contact between the new probe and the metal thermal well.
Required Hand Tools for Repair
Gather these standard tools before starting your Avalon water dispenser repair project:
* Wire strippers
* Electrical tape
* Scissors
* Packing tape
* Small Phillips and flathead screwdrivers
Warning: Do not attempt to replace the entire probe housing. You only need the sensor wire from the replacement pack for this fix.
Power Down and Access Internal Components
Safety is your top priority when working with electrical appliances. Always disconnect power before accessing internal wiring.
Remove Rear Panels Safely
Unplug the dispenser and flip the cooling switch to the off position. Remove the two screws holding the rear lid in place. Slide the lid backward to release a hidden clip and set it aside.
Inside the unit, locate the small black plastic cover and remove its four securing screws. Take out two side screws and two bottom screws to free the inner chassis completely.
Watch for Grommet: A small rubber grommet may fall out during this step. Keep it safe as you will need it for reassembly.
Expose Insulation and Reservoir Area
Pull the back panel forward slightly to gain access to the interior components. Look for the white styrofoam insulation that is split in half and held by tape.
Cut the center tape binding the foam halves together. Peel back the side tape securing the wire harness to fully expose the water reservoir and sensor area.
Extract Reservoir and Replace Faulty Sensor
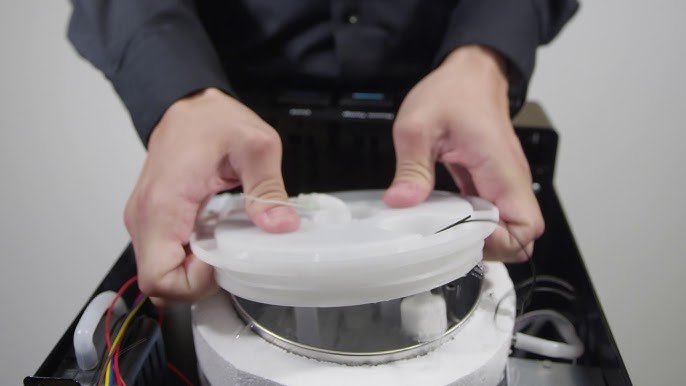
Now you can access the core component causing your cooling failure. Handle the reservoir gently as it fits tightly within the chassis.
Remove Water Reservoir Carefully
Lift and wiggle the reservoir gently to loosen it from its position. Do not force it if it feels stuck, as you might crack the plastic.
Once loose, disconnect the electrical connector leading to the reservoir wiring. Set the reservoir aside on a clean surface to begin sensor replacement.
Locate and Extract Old Temperature Probe
Find the gray adhesive pad situated behind the reservoir area. Peel this back carefully to reveal the thermal well, a metal sleeve holding the probe.
Gently pull the old sensor out of the well. Keep the wire attached initially so you can study the connector type and wire length for your splice.
Visual Cue: The tip of the old probe will look clean or frosty, confirming it was exposed to freezing temperatures for too long.
Install New Sensor With Thermal Paste
Apply a pea-sized amount of thermal conductive paste to the tip of your new sensor. Use the included spatula to spread it evenly over the tip.
Insert the new probe fully into the thermal well until it seats completely. Ensure it goes in straight to avoid damaging the well walls.
Secure Probe Using Packing Tape
The original gray adhesive pad will not stick again after removal. You must use packing tape to hold the new probe firmly in place.
Wrap the tape around the probe and reservoir body to secure it. This prevents the sensor from pulling out during the reassembly process.
Expert Note: Without secure placement, the sensor gives false readings and freezing will return within days.
Splice Wires and Reconnect Electrical System

The new sensor connector likely will not match your unit. A direct wire splice ensures a reliable electrical connection.
Realign Insulation Panel First
Line up the two halves of the styrofoam insulation before splicing wires. Tape the edges securely to restore the thermal barrier, leaving the center open for now.
Execute Y-Split Wire Connection
Cut the new sensor wire near its connector and strip both ends to expose the silver strands. Create a Y-split splice using this method:
1. Twist the ends of the old and new wires together tightly.
2. Fold half of the twisted bundle back on itself.
3. Twist again to lock the joint securely.
Repeat this process for the second wire to complete the circuit. This double-twist method creates a strong mechanical bond that resists pullout.
Why Y-Split: This technique prevents wire pullout better than simple twisting methods.
Insulate Joints and Reconnect Harness
Wrap each spliced connection tightly with electrical tape to prevent shorts. Then wrap both wires together for added strain relief and protection.
Plug the spliced wire into the unit internal connector. Ensure it clicks or seats fully, then tuck excess wire neatly into the chassis.
Reassemble Unit and Test Cooling Operation
Put everything back together in reverse order of removal. Verify that all screws are tight and panels are flush.
Reattach Internal Components
Slide the back panel into place carefully. Reinstall the black internal cover with its four screws and replace the rear lid with its two screws.
Reinsert the rubber grommet if it was removed earlier. Confirm all wires are clear of moving parts and the insulation is sealed properly.
Power On and Verify Cold Water Flow
Plug the unit in and flip the cooling switch back on. Wait thirty to sixty minutes for the system to stabilize before testing.
Test both the cold and cool water dispensers to ensure flow returns. Water should flow freely and begin chilling within one to two hours.
Success Signal: Water flows freely and chills within the expected timeframe.
Failure Sign: No flow after two hours means you should repeat the thaw test or inspect your splice.
Prevent Future Freezing Issues
A proper repair lasts for years, but small oversights cause repeat failures. Follow these tips to ensure long-term success.
Apply Thermal Paste Every Time
Never skip the thermal paste application during installation. Air gaps insulate the sensor, causing false low readings and continuous cooling cycles.
Even a thin, even layer makes the difference between accuracy and failure. This step is non-negotiable for proper function.
Avoid Improper Adhesive Substitutes
Superglue, zip ties, or regular tape will not replace proper thermal contact. The sensor must sit flush in the well and stay fixed permanently.
Only packing tape has proven effective for long-term holding without damaging components. Stick to this method for best results.
Monitor Cooling Cycles Regularly
Listen for the compressor cycling on and off after the repair. A healthy unit runs for ten to fifteen minutes, then shuts off when water reaches temperature.
If the compressor runs nonstop, the sensor may be loose or poorly spliced. Immediate attention prevents another freeze-up.
Compare Repair Cost Versus Replacement
Fixing the sensor yourself costs about fifteen dollars total. A new Avalon or Primo dispenser costs over two hundred dollars.
| Item | Cost |
|---|---|
| Temperature Sensor (5-pack) | $10 |
| Thermal Conductive Paste | $5 |
| Total Repair Cost | $15 |
| New Unit Cost | $200–$300 |
This repair saves over ninety percent of the replacement cost. One repair kit can fix multiple units over time, offering incredible long-term value.
Final Notes on Avalon Water Dispenser Repair

This fix works on Avalon and Primo water dispensers with identical reservoir designs. If your model has separate hot and cold switches plus a rear cooling toggle, it is likely compatible.
When This Fix Does Not Apply
If no water flows after a full three-day thaw, the issue is different. You might have a clogged water line, failed pump, or internal valve failure.
These issues require different diagnostics and are outside the scope of this guide. Stick to the thaw test first to rule out ice blockage.
Frequently Asked Questions About Avalon Water Dispenser Repair
How long does an Avalon water dispenser repair take?
The actual repair work takes under two hours once the unit is thawed. You must allow two to three days for the initial thaw test to confirm the diagnosis.
Can I use regular tape instead of packing tape?
No, regular tape often fails to hold the probe securely in the thermal well. Packing tape provides the necessary strength and durability for this specific application.
Why is thermal paste required for the new sensor?
Thermal paste eliminates air gaps between the sensor and the metal well. Without it, the sensor reads temperatures incorrectly, causing the unit to freeze again.
Will this fix work on Primo brand dispensers?
Yes, this method applies to Primo models that share the same reservoir and sensor configuration as Avalon units. Check for similar rear switch layouts to confirm.
What if cold water still does not work after repair?
If flow does not return, check your wire splice connections for tightness. Ensure the sensor is fully seated in the thermal well with adequate thermal paste.
Key Takeaways for Successful Avalon Water Dispenser Repair
Your Avalon water dispenser repair is a manageable project that saves significant money. By replacing the faulty sensor and using thermal paste, you restore full cooling function quickly.
Remember to perform the thaw test first to confirm the frozen reservoir diagnosis. Use packing tape to secure the new probe and execute a solid Y-split wire connection.
Take action today by ordering the sensor pack and thermal paste. Your cold water is just one repair away from being fully restored.


