If your reverse osmosis system just spit out cloudy water or barely trickled after installation, you are not alone. That is why purging an RO system is a non-negotiable step, especially right after setup or filter replacement. Skipping it risks drinking chlorinated water, clogged lines, or poor filtration. This guide walks you through every critical step: when to purge, how long to run it, and how to verify your system is truly ready.
You will learn the exact procedures for preparing your system, executing the correct purge duration based on your situation, and verifying that your water is safe to drink. Whether you are installing a new GE, Whirlpool, or generic four-post RO unit, these steps ensure clean, safe drinking water flows from day one.
Prepare the RO System for Purging
Before opening any valves or turning on the faucet, ensure the system is correctly prepped. This prevents leaks, pressure issues, and contamination during the purge.
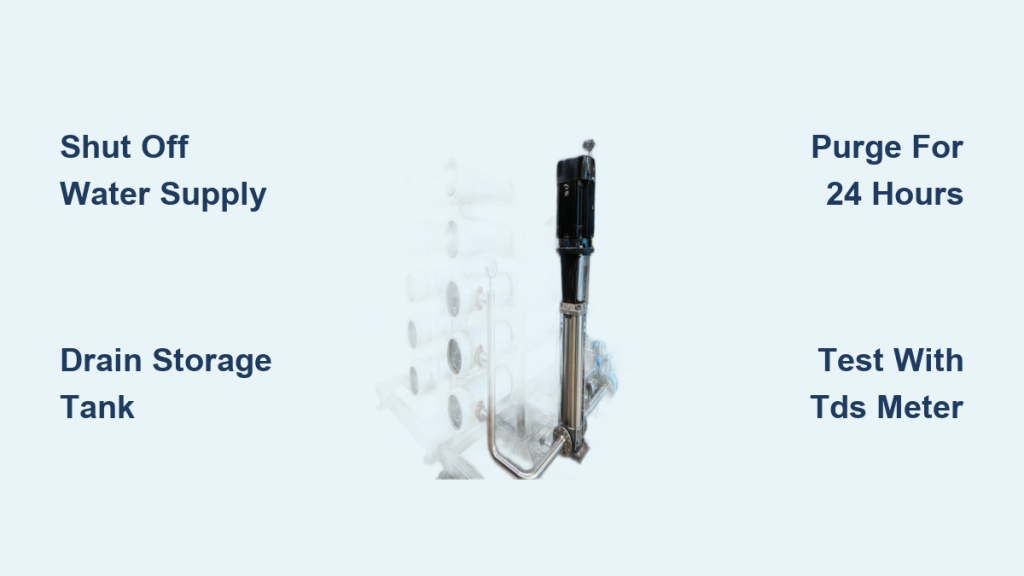
Shut Off the Water Supply
Close the cold-water shut-off valve feeding the RO system. Confirm the flow is stopped by briefly opening the RO faucet. If water still runs, double-check the valve position. Never pressurize the system while working on fittings.
Drain Existing Water
Open the RO faucet and let the storage tank empty completely. This clears old water and creates space for fresh flow during purging. Wait until the stream stops, which may take 1 to 2 minutes. Once drained, close the faucet.
Check Storage Tank Air Pressure
For systems with a pressurized storage tank, verify the internal bladder pressure. Use a pressure gauge on the tank air valve, similar to a tire. The ideal range is 8 to 10 psi, with 9 psi as the target. If below 7 psi, use a hand pump to add air in short bursts. Over-pressurizing above 12 psi can damage the bladder. Reapply Teflon tape, 2 to 3 wraps, to the fitting if removed during inspection.
Warning: An underinflated tank reduces water output. An overinflated one may burst. Always check pressure before first use or after service.
Sanitize Before Purging If Required
Some manufacturers, like GE, require sanitizing new systems with bleach. This kills bacteria but introduces chlorine that must be fully flushed. Only perform this step if your model instructions specify it.
Add Bleach to the Storage Tank
Use the 1 ml calibrated eyedropper often included with GE units. Draw 1 ml of household bleach and release it into the yellow tube. Repeat two more times for a total of 3 ml. Do not exceed this amount, as excess bleach is toxic and harder to remove.
Insert the yellow tube fully into the tank connection port so bleach flows into the tank, not pooling at the top. A secure fit ensures complete delivery.
Caution: 3 ml of bleach is potent. Never use scented or thickened bleach. Always label tools used for this process to avoid cross-contamination.
Reconnect and Pressurize Safely
Reattach the yellow hose securely. Slowly open the water supply valve to pressurize the system. To release air from household plumbing, open main faucets in the kitchen and bathroom until water flows steadily, then close them.
Inspect all RO connections for leaks. A brief spurt from the air-gap faucet is normal during initial pressurization. If leaks persist, shut off water and tighten fittings slightly. Do not over-torque.
Execute the Correct Purge Cycle
The purge duration depends on whether bleach was used. Follow the correct timeline to ensure safety and performance.
24-Hour Continuous Purge for Sanitized Systems
If bleach was added, a 24-hour purge is mandatory. This fully dilutes and removes chlorine residues.
- Leave the RO faucet open the entire time.
- Allow water to flow as a slow trickle, not a full stream.
- Do not consume any water during this period.
- After 24 hours, close the faucet.
This process flushes bleach from the tank, lines, and membrane. Even trace chlorine can damage the RO membrane over time and pose health risks if ingested.
User Tip: Collect purged water in buckets for non-potable uses, watering plants, cleaning floors, or flushing toilets. At a trickle of 1 gallon per 10 minutes, you will use about 144 gallons, costing roughly $1.44 in California. Even at higher flow, cost remains low compared to system value.
Shorter Purge for Filter Changes Without Sanitization
When replacing filters without bleach, a full 24-hour purge is not required, but some flushing is still essential.
- Purge for 2 to 8 hours to remove air and loose carbon fines.
- One user reported clear water after 8 hours post-carbon filter change.
- Alternatively, run the system 2 hours with faucet closed, then open and drain until flow slows to a drip.
This clears manufacturing dust and prevents black specks in your drinking water. While not as strict as bleach purging, skipping this step risks reduced flow and poor taste.
Verify System Readiness After Purging

After purging, confirm your RO system is safe and functional before drinking the water.
Inspect All Connections for Leaks
Check all fittings, drain lines, and connections. Look under the sink and around the storage tank. Even a slow drip can lead to water damage over time. Monitor during the first refill cycle.
Test Water Quality with a TDS Meter
Use a TDS meter to verify filtration performance. Always test RO water first to avoid contaminating the probe with tap water.
How to Test:
1. Fill a clean glass with RO water.
2. Insert the meter and wait for the reading to stabilize.
3. Compare with untreated tap water from the main faucet.
TDS Interpretation:
- 0 to 50 ppm: Ideal, safe to drink
- 50 to 100 ppm: Acceptable, monitor and check filters soon
- 100 to 200 ppm: Marginal, investigate the cause
- Above 200 ppm: Contaminated, do not drink and service the system
Example: If tap water reads 221 ppm, RO water should be 5 ppm or lower. A reading above 50 ppm may indicate improper purge, old membrane, or incorrect installation.
Install Filters Correctly Before Purging
Improper filter installation can sabotage purging and filtration. Follow the correct sequence and technique.
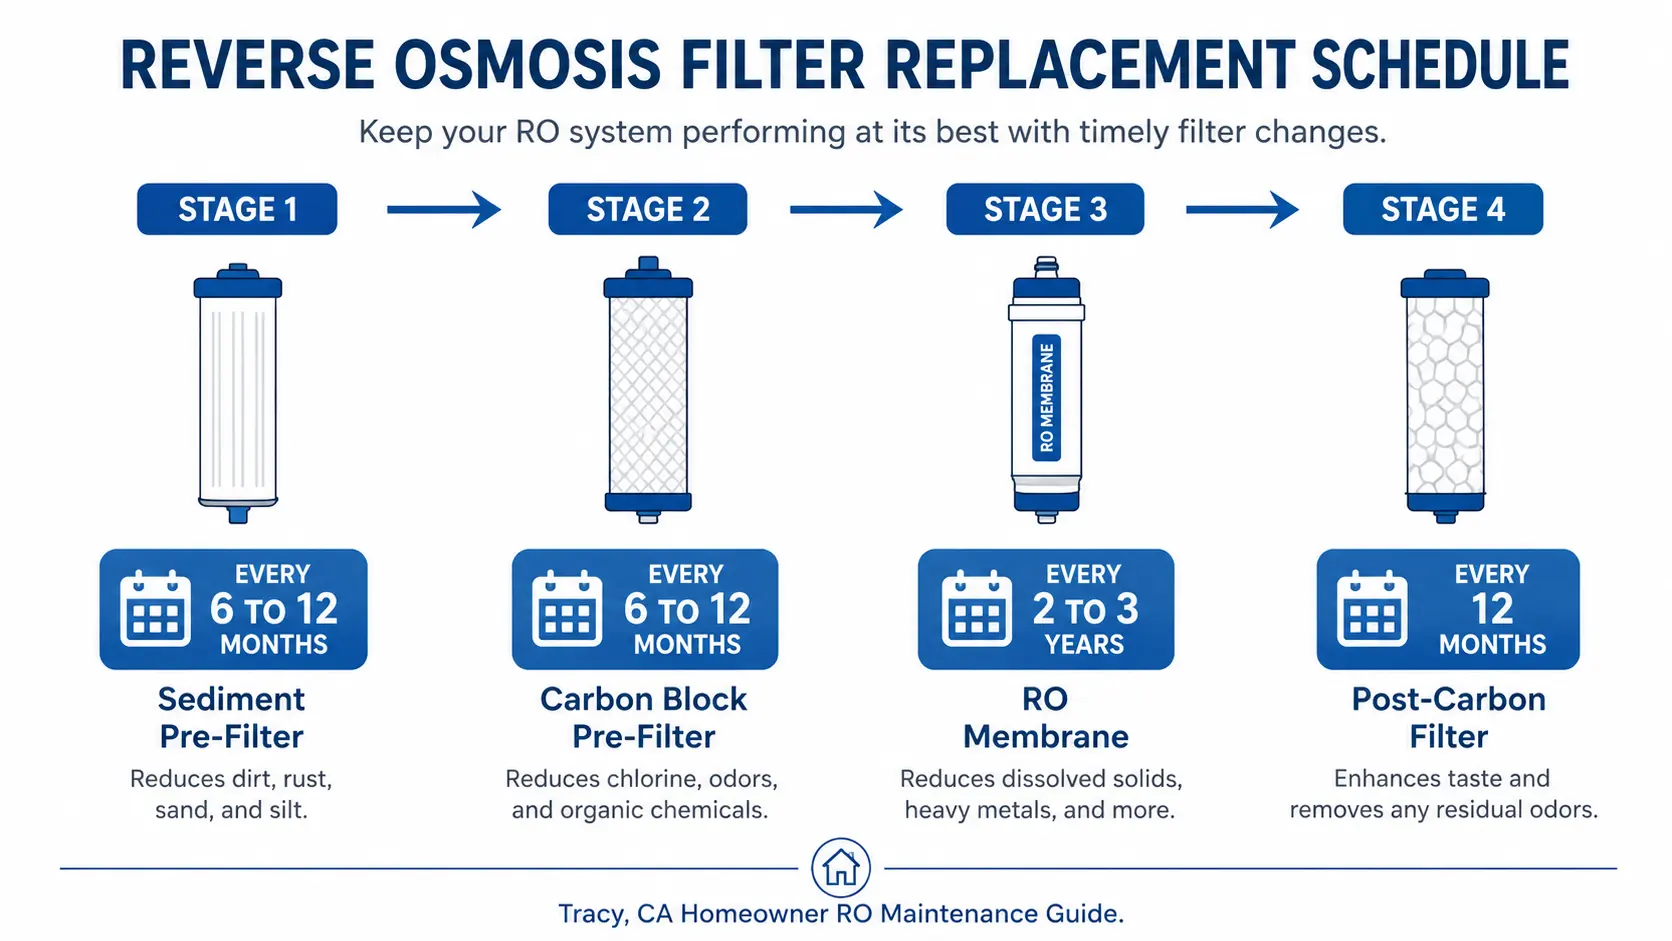
Four-Post RO Filter Order
From left to right:
– Sediment filter: Removes sand, rust, particles
– Carbon filter: Reduces chlorine, odor, taste
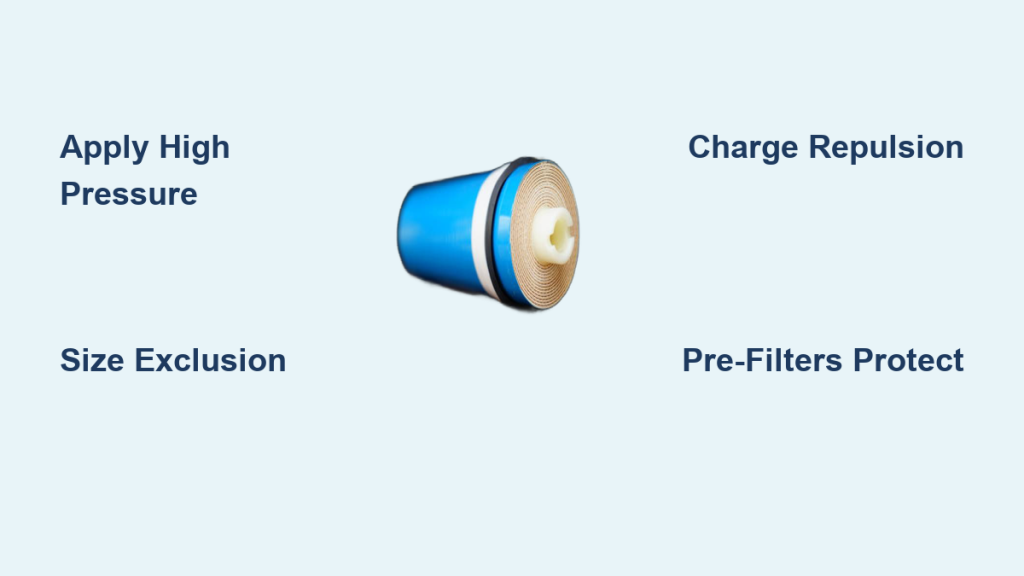
– RO membrane: Removes dissolved solids, the key filtration stage
– Polishing carbon filter: Final taste enhancement
Filter Installation Best Practices
- Screw canisters hand-tight only. Over-tightening can crack housings.
- Ensure O-rings are seated and undamaged before inserting filters.
- Push canisters fully into the base until they click or seat flush.
- Never touch filter media. Oils from your skin can degrade performance.
Connect Tubing and Fittings Properly
Correct line routing ensures proper pressure, flow, and drainage.
Key Connections for Four-Post Systems
- Back 3/8 inch fitting: Connects to storage tank, ensures tank fills and pressurizes
- Front 3/8 inch fitting: Connects to RO faucet, delivers purified water
- Drain line: Connects to flow controller, match flow rate to membrane such as 50 GPD
Note: If your system includes a battery-powered UV light or monitor, connect the cable last. Keep it unwound and tucked into the side compartment to avoid strain.
Address Common Purge Concerns
Users often question purge duration and necessity. Here is what you need to know.
Is 24 Hours Really Necessary
Yes, if bleach was used. Three milliliters of chlorine must be fully diluted and removed to prevent health risks and membrane damage. Manufacturers do not benefit from wasted water. The 24-hour rule is based on safety testing.
For non-sanitized systems, 2 to 8 hours is often enough to clear air and particles. However, always follow your model manual.
Can You Skip Purging After Filter Change
Not recommended. Even without bleach, air pockets reduce flow, loose carbon fines cause black specks, and manufacturing dust affects taste. A short purge prevents these issues. Think of it as resetting the system.
How to Reduce Water Waste During Purge
Do not let purged water go down the drain. Use buckets to collect and reuse it for plants, mopping, or toilets. Direct flow with a hose to outdoor landscaping. Time the purge overnight or during work hours to minimize disruption. Every drop saved helps, especially in drought-prone areas.
Final Checks and Maintenance After Purging
Before declaring your RO system ready, complete this final checklist.
Post-Purge Readiness Checklist
- Water supply is fully open
- Storage tank pressure is 8 to 10 psi
- All filters are hand-tight with O-rings in place
- Tank, faucet, and drain lines are correctly connected
- Bleach if used is fully purged
- 24-hour or appropriate purge is complete
- RO faucet is closed after purge
- No leaks observed during pressurization
- TDS test shows RO water at 50 ppm or lower, ideally 5 ppm or lower
Ongoing Maintenance Tips
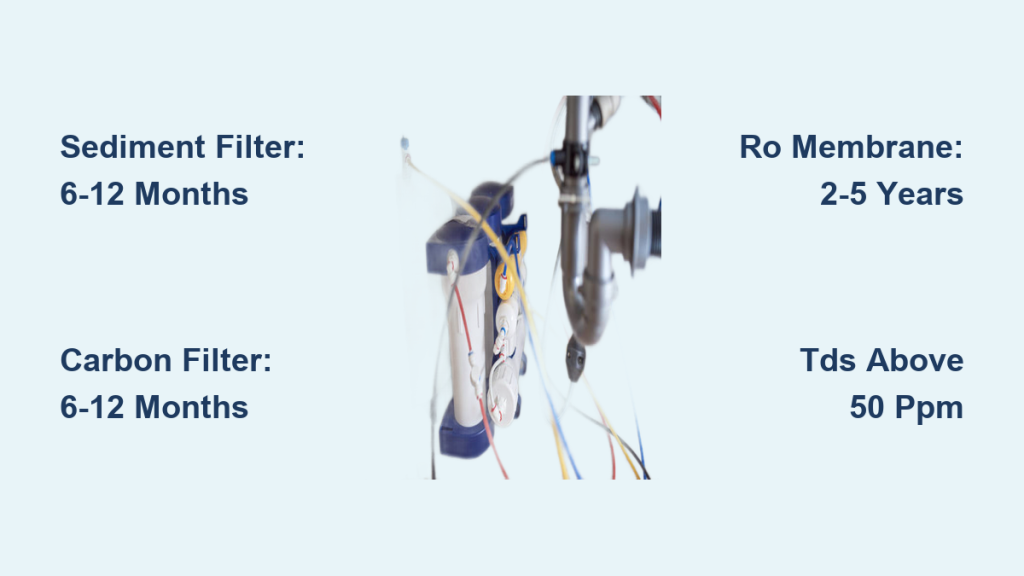
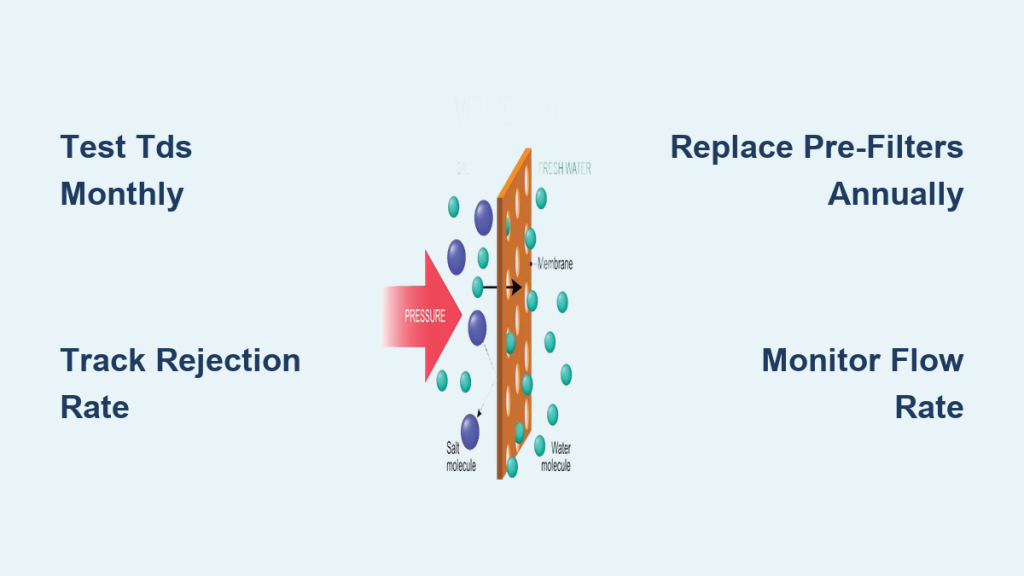
- Test TDS monthly to monitor membrane health
- Replace filters on schedule: sediment and carbon every 6 to 12 months, RO membrane every 2 to 3 years, polishing carbon every 12 months
- Re-purge after every service, even simple filter swaps
Regular purging and maintenance keep your RO system delivering clean, safe water for years.
Frequently Asked Questions About Purging Reverse Osmosis Systems
How long does it take to purge a reverse osmosis system?
For sanitized systems with bleach, purge continuously for 24 hours. For routine filter changes without sanitization, 2 to 8 hours is typically sufficient.
Why is my RO system producing cloudy water after installation?
Cloudy water usually indicates trapped air or loose carbon fines. A proper purge cycle clears these particulates. If cloudiness persists after purging, check filter installation and O-ring placement.
Can I drink the water during the purge cycle?
No. Do not consume any water from the RO faucet during the purge period, especially if bleach was used. The water may contain chlorine or particulates that are not safe to drink.
What happens if I skip purging my RO system?
Skipping purging can result in delayed or weak water flow, discolored or foul-smelling water, elevated TDS readings, and risk of consuming harmful residues such as chlorine. It also shortens the lifespan of the RO membrane.
How do I know when my RO system is fully purged?
Close the faucet after the purge duration elapses. Verify system readiness by checking for leaks and testing water with a TDS meter. RO water should read 50 ppm or lower, ideally 5 ppm or lower, compared to your tap water.
How much water is wasted during a 24-hour purge?
At a slow trickle rate of 1 gallon per 10 minutes, approximately 144 gallons are used over 24 hours. This costs roughly $1.44 at average California water rates. Collect the water for non-potable uses to minimize waste.
Key Takeaways for Purging Your Reverse Osmosis System
Purging is not optional. It is essential for ensuring your RO system delivers clean, safe drinking water. Whether you are installing a new system or replacing filters, taking the time to purge correctly protects your health and your investment. The 24-hour purge is mandatory after sanitization with bleach to fully remove toxic residues. For routine maintenance without sanitization, a 2 to 8 hour purge clears air and particles effectively.
Always verify system readiness by checking for leaks and testing water quality with a TDS meter. RO water should measure 50 ppm or lower. Regular maintenance, including monthly TDS testing and scheduled filter replacements, keeps your system performing at its best for years to come.