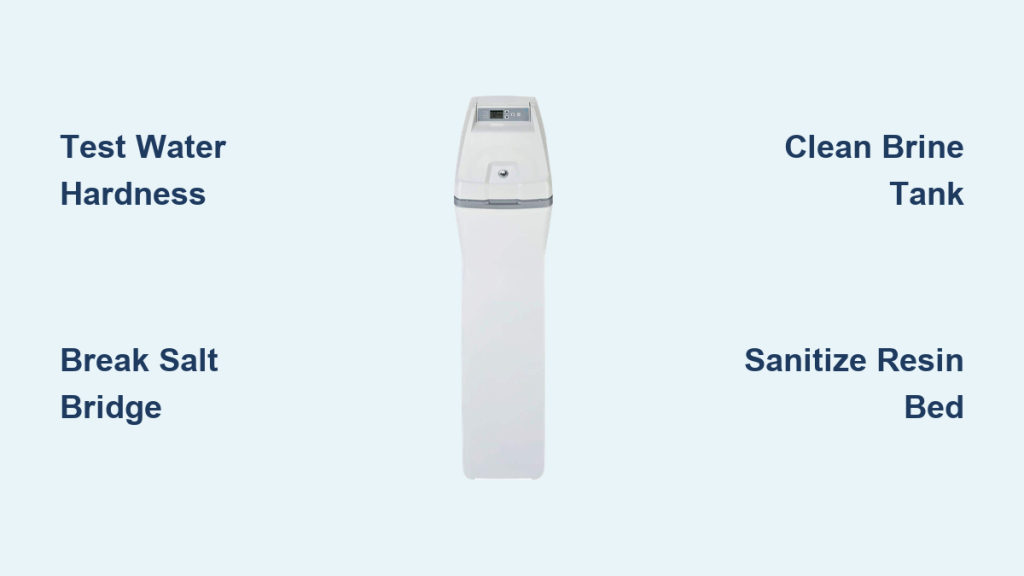
If your GE water softener fails to produce soft water, you likely face sticky skin, poor soap lather, or scaling fixtures. Neglecting this essential appliance leads to salt bridges, sludge buildup, and bacterial growth that cripple performance.
This guide explains exactly how to clean GE water softener units by diagnosing issues, breaking salt crusts, and sanitizing resin beds. Follow these steps to restore efficiency and avoid costly replacements.
Diagnose Why Your GE Water Softener Fails
Confirm whether dirt or mechanical dysfunction causes your hard water issues before attempting a deep clean. A failing unit often mimics a dirty one, so accurate diagnosis saves time and effort.
Test Water Hardness Accurately
Use a chemical test kit to verify if your water is truly hard or if the system functions correctly.
1. Fill a clear cup with exactly 25 mL of hot tap water.
2. Add 5 drops of hardness indicator solution from a pool test kit.
3. Observe the color change carefully.
– Bright pink means soft water and a working system.
– Faint red or no change indicates hard water requiring cleaning.
– Blue or green confirms successful softening after maintenance.
Run the tap for one to two minutes before sampling to flush stagnant lines.
Check Critical Failure Signs
Investigate these common issues if your water tests hard.
* Power supply: Ensure the unit is plugged in and the outlet functions.
* Bypass valve: Verify the handle is set to OUT rather than BYPASS.
* Blending valve: Turn this clockwise until fully closed to stop untreated water mixing.
* Low salt: Refill if the tank is below one-third full and press RECHARGE.
Ignoring these simple checks can make your cleaning efforts completely ineffective.
Remove Salt Bridges in Brine Tank
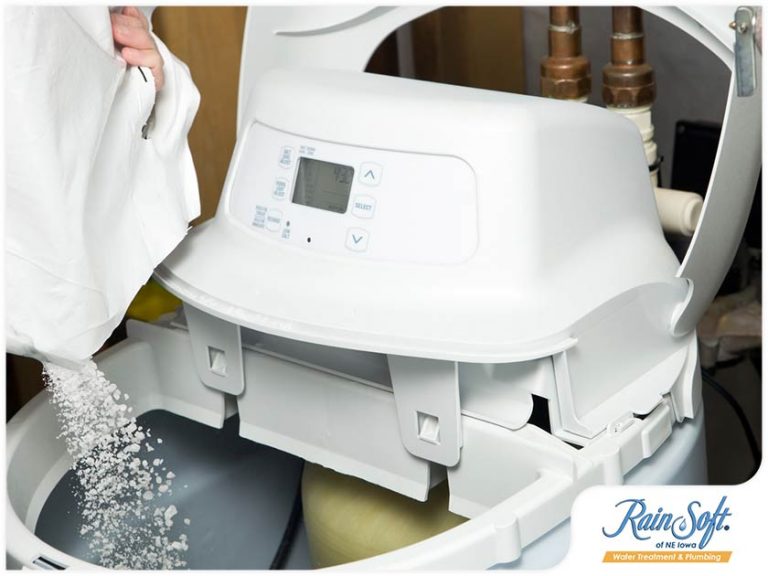
Salt bridging is the leading cause of regeneration failure in GE units. A solid crust forms above the water line, preventing brine creation and stopping the softening cycle.
Spot the Salt Bridge Symptoms
Look for these specific signs to identify a bridge.
* The salt level remains static for weeks despite usage.
* Water sits at the bottom but does not dissolve the salt.
* The unit fails to run a regeneration cycle even with high salt levels.
Break the Bridge Safely
Follow these steps to clear the blockage without damaging your tank.
1. Turn off power and shut off the water supply to the unit.
2. Tap the tank gently with a rubber mallet to loosen the crust.
3. Insert a broom handle or wooden stick into the salt to break it from above.
– Never use metal tools as they can scratch the tank lining.
4. Remove all salt with a bucket and reuse only dry, unclumped pellets.
5. Inspect the brine well and inlet tube for clogs and flush with clean water.
For recurring bridges in older metal tanks, drilling a small vent hole prevents pressure buildup.
Deep Clean the Brine Tank Thoroughly
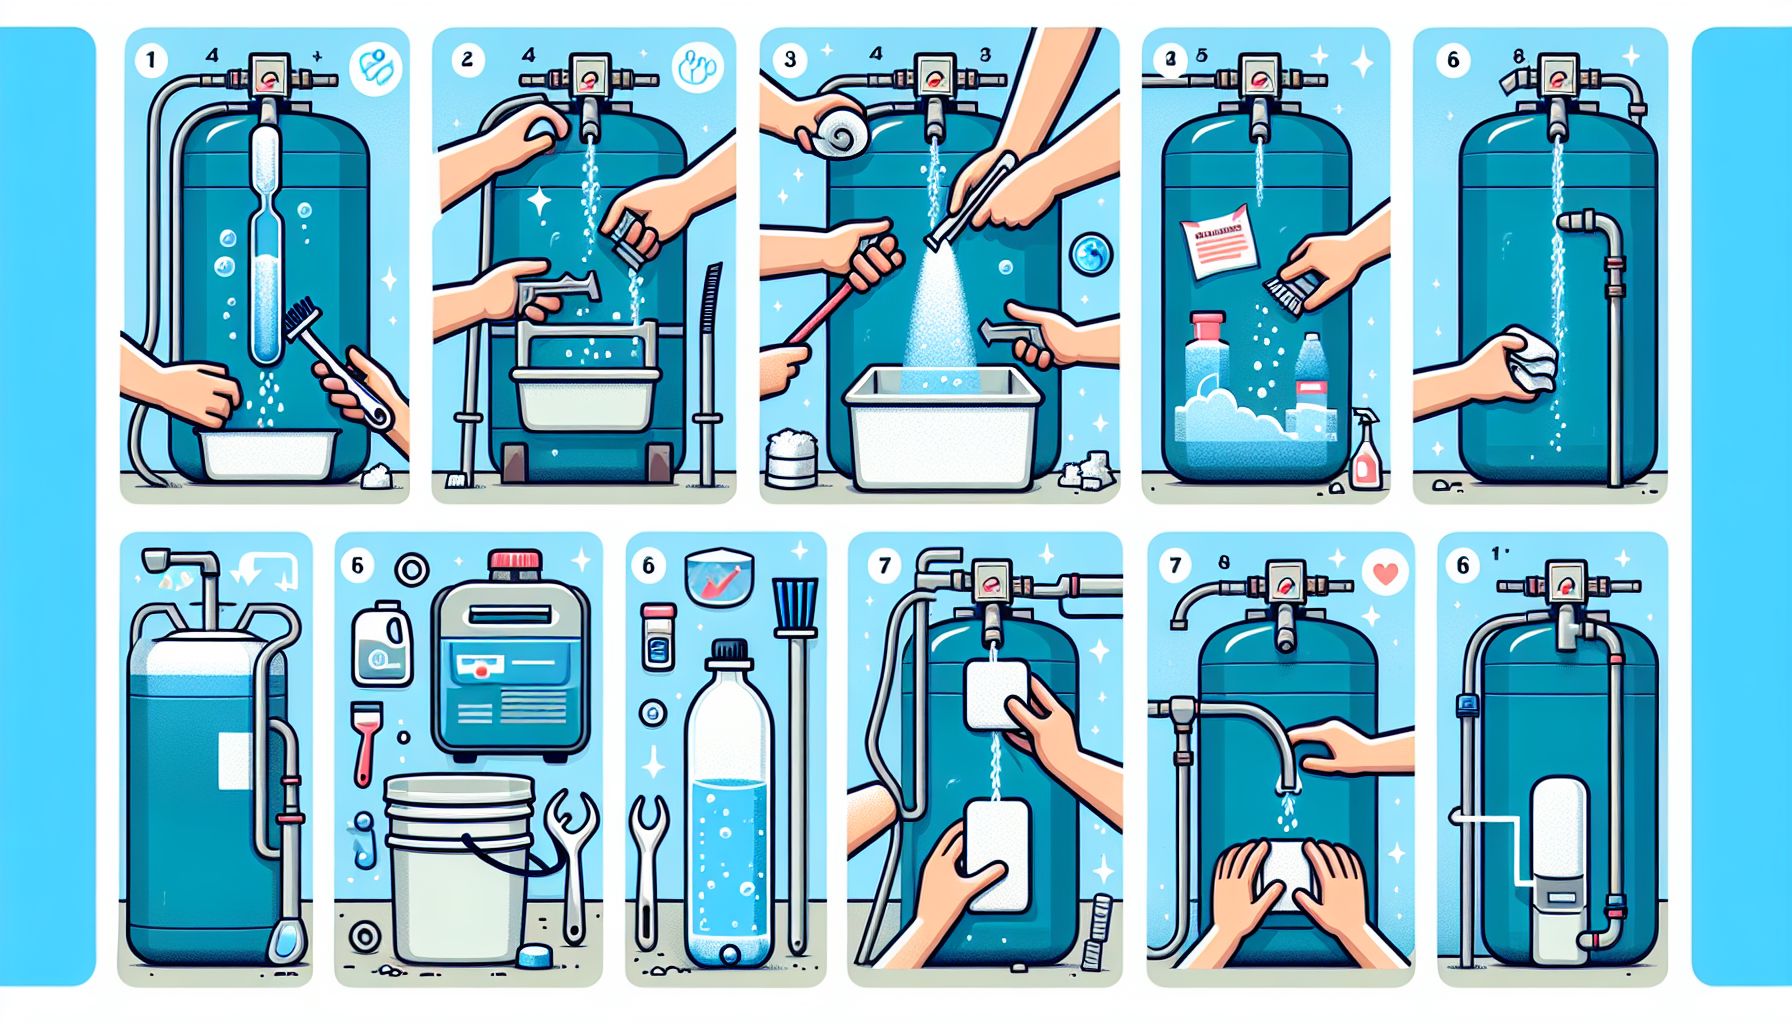
Sludge and mineral buildup reduce efficiency significantly. You should clean the brine tank every 12 months or whenever visible residue appears.
Empty and Soak the Tank
- Let salt deplete naturally or scoop it out manually.
- Fill the tank with water up to the top of the internal tower.
- Soak for 2 to 4 hours to dissolve hardened deposits.
– Do not overflow, as water must stay below the control head.
Drain and Scrub Residue
- Pump out water using a submersible pump and garden hose.
– Use a large container to bail manually if no pump is available. - Agitate remaining sludge with a wooden stick to loosen it.
- Wipe down walls with a soft cloth and avoid abrasive scrubbers.
- Dispose of salty water away from plants since it kills roots.
Refill and Restart System
- Add fresh salt to half or three-quarters full.
- Do not overfill because this encourages new bridges to form.
- Turn power and water back on to reactivate the unit.
- Trigger a manual regeneration to flush the entire system.
Clean and Sanitize the Resin Bed
Resin beads lose effectiveness when coated with iron, calcium, or bacteria. Cleaning the resin bed annually ensures peak performance and extends unit life.
Choose the Right Cleaner
Select a cleaning agent based on your specific water issues.
* Super Iron Out: Best for heavy iron and mineral deposits.
* Universal water softener cleaner: Good for routine annual maintenance.
* White vinegar: A mild solution for light buildup when mixed 1:1 with water.
* Diluted bleach: Use only if recommended by GE for sanitizing.
Avoid mixing chemicals or using CLR, as these can permanently damage the resin.
Perform Resin Cleaning Steps
- Mix solution: Combine 1 cup of Super Iron Out with ½ gallon of cold water in a clean container.
– The mixture will fizz, which is normal. - Pour into brine well: Remove the cap and add the mixture directly.
– Spills into the salt are safe and effective. - Start regeneration:
– Digital models: Press and hold RECHARGE.
– Mechanical timers: Rotate the dial to begin the cycle. - Let the full cycle complete, which takes 45 to 60 minutes.
- Flush lines by running tap water for 1 to 2 minutes afterward.
This process pulls cleaner through the resin, dissolving trapped minerals and restoring capacity.
Maintain Critical Components Regularly
Cleaning the tank and resin is not enough. You must inspect key mechanical parts to keep the system running smoothly.
Inspect Nozzle and Venturi
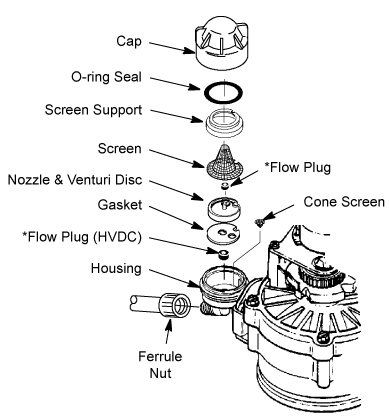
The venturi creates suction to draw brine, and blockages here stop regeneration.
1. Turn off power and water before disassembly.
2. Disassemble the unit according to your owner’s manual.
3. Check for debris in passages, scratches, or misaligned gasket holes.
4. Clean parts with warm water and a soft brush.
5. Reassemble carefully to ensure seals are seated properly.
Replace damaged parts immediately to prevent system failure.
Check Valves and Settings
- Bypass valve: Keep in the OUT position during normal use.
- Blending valve: Ensure it is closed clockwise unless adjusting hardness.
- Hardness setting: Use MODE/SET to match your water’s grains per gallon.
- Settings too low allow hard water to slip through.
- Settings too high waste salt and water.
Update the salt level indicator on digital models after every refill.
Prevent Future Softener Problems
Proactive habits prevent ninety percent of softener failures and extend system life.
Refill Salt the Right Way
- Never refill until salt drops to one-third or halfway.
- First fill only: Fill the tank completely the very first time.
- Use evaporated salt pellets and avoid rock salt due to impurities.
- Dust in pellets is normal, so do not filter it out.
Schedule Annual Maintenance
| Task | Frequency |
|---|---|
| Test water hardness | Monthly |
| Check salt level | Monthly |
| Inspect for bridging | Every 3 to 6 months |
| Clean resin bed | Annually |
| Deep clean brine tank | Annually |
| Replace pre-filter | Every 6 to 12 months |
Set calendar reminders to stay on track with these tasks.
Handle Special Conditions Effectively

Specific environmental factors require additional attention to maintain performance.
Prevent Freezing in Cold Spaces
If installed in a garage, insulate the room or use heat tape on pipes. Keep the unit powered because running systems resist freezing better than dormant ones. Never drain completely unless winterizing permanently.
Stop Bacterial Growth and Odors
Stagnant brine can grow sulfur-smelling bacteria that affect water quality.
1. Sanitize with bleach solution by mixing ¼ cup household bleach in 1 gallon of water.
2. Pour into the brine well and run a full regeneration cycle.
3. Flush system with clean water afterward.
Repeat this process during annual cleaning if you notice any strange smells.
Clean External Fixtures from Scale
Hard water leaves calcium behind even with a working softener, affecting your faucets and showerheads.
Remove Lime and Calcium Buildup
- Soak showerheads and faucet aerators in a CLR solution mixed 1:1 with water.
- Wear gloves because CLR is corrosive to skin.
- Use a toothbrush to scrub screens and nozzles gently.
- Reassemble and flush with water.
This prevents low pressure and improves overall water flow in your home.
Final Tips for Cleaning Your GE Water Softener
Maintaining your system is far cheaper than replacing it. DIY cleaning costs under $10 compared to $1,500 to $3,000 for a new unit. Annual resin cleaning adds years to your softener while high-purity salt reduces sludge. Monitor visually for mushy salt, odors, or failed tests, and take action immediately.
A clean GE water softener delivers silky water, cleaner laundry, and protected appliances. By following these steps yearly, you avoid surprises and maintain efficiency. Do not wait for failure, so clean it, test it, and trust your system today.
Frequently Asked Questions About Cleaning GE Water Softeners
How often should I clean my GE water softener resin bed?
Experts recommend cleaning the resin bed at least once per year to remove iron and mineral deposits. This annual maintenance rejuvenates trapped capacity and extends the life of your unit significantly.
What causes salt bridges in my water softener?
Salt bridges form when salt cakes together at the top of the tank, often due to overfilling, high humidity, or poor-quality salt. This crust prevents water from dissolving salt, stopping the brine creation needed for regeneration.
Can I use bleach to clean my water softener?
You can use diluted bleach specifically for sanitizing the brine tank against bacteria if recommended by GE. Mix ¼ cup of household bleach with one gallon of water and run a full regeneration cycle.
Why is my water still hard after cleaning the softener?
Check if the bypass valve is set to OUT, the power is on, and the hardness setting matches your water supply. Incorrect settings or a blocked venturi assembly can also prevent proper softening even after cleaning.
What type of salt is best for GE water softeners?
Use high-purity evaporated salt pellets or cubes to minimize sludge and bridging. Avoid rock salt because it contains impurities and debris that clog the system and reduce efficiency.
How do I know if my water softener is working?
Perform a hardness test using 25 mL of water and 5 drops of indicator solution. A bright pink color indicates soft water, while a red tint or no change means the system needs attention.