
Your fridge water dispenser dripping constantly can ruin kitchen floors and waste gallons of water daily. Most homeowners blame the front lever, but the real culprit often hides behind the unit.
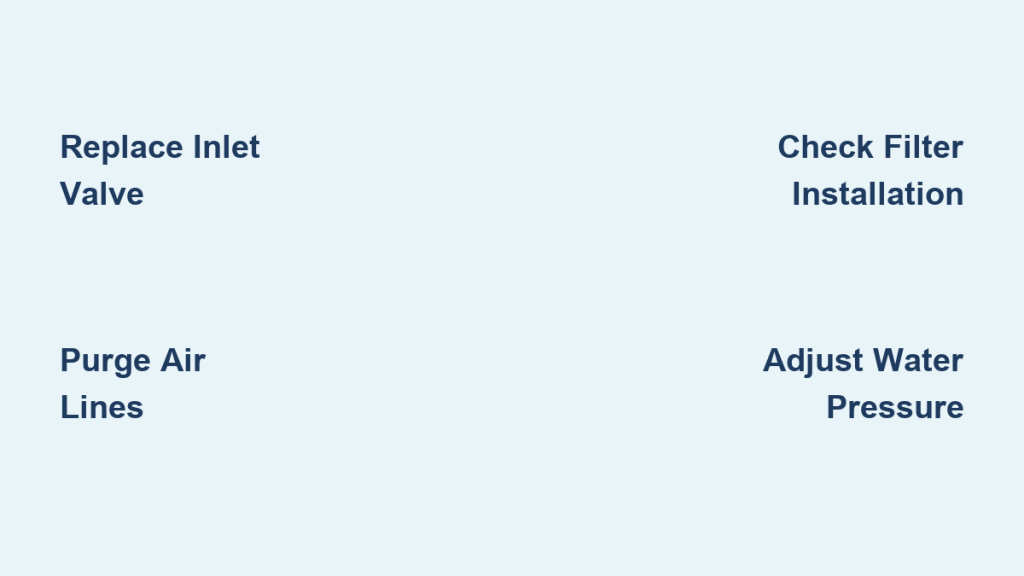
This guide reveals how to fix a dripping dispenser by replacing the water inlet valve, purging air lines, and adjusting pressure settings. You will learn specific steps to stop leaks without calling an expensive technician.
Replace the Faulty Water Inlet Valve

A failing water inlet valve causes most continuous dripping issues in refrigerators. The internal seals wear out over time, allowing water to seep through even when the dispenser is off.
Locate and Identify the Correct Valve
The valve sits at the back of the fridge where the main water line connects. It controls flow to both the ice maker and the water dispenser. You will often find two valves, so you must trace the small clear hose from the dispenser to find the right one. Common part numbers include X7FQC1 or 2188746, though universal valves under $20 work for most brands.
Shut Off Power and Water Supply
Unplug the refrigerator and turn off the water supply at the wall shutoff valve before starting. Test the dispenser to ensure no water flows, which confirms the supply is safely cut. Pull the unit away from the wall and remove the rear access panel using a screwdriver. Set all screws aside in a safe place to avoid losing them.
Disconnect and Prepare Water Lines
Inspect the three water lines connected to the valve carefully. You will see a gray line from the filter, a large clear line to the ice maker, and a small clear line to the dispenser. Cut exactly ¼ inch off the end of each hose to remove any nicks or flattened edges that cause leaks. Use sharp scissors or a utility knife to ensure clean, straight cuts for a perfect seal.
Reconnect Using Compression Fittings
Attach each line securely using the correct compression fittings for your model. Insert the brass insert into the gray inlet hose first, then slide on the nut and tighten by hand. Push the large and small clear lines fully into their ports before securing them with their respective nuts. Ensure every hose is fully seated before tightening, as over-tightening can crack the plastic fittings.
Test for Leaks After Installation
Restore power and water to the unit, then dispense two to three gallons to purge air from the system. Watch all connections at the valve closely for any beads of moisture forming under pressure. If no leaks appear, tuck the hoses neatly, reattach the back panel, and monitor the area for 24 hours.
Pro Tip: Universal valves are reliable and cost-effective. Match the hose diameters exactly rather than worrying about brand-specific labels.
Purge Air Trapped in Water Lines
Air trapped in the lines causes sputtering and post-dispense dripping, especially after filter changes. This issue is common in new installations or after maintenance work.
Recognize Air-Related Dripping Symptoms
Water spurts unevenly or drips for more than five seconds after you stop dispensing. This problem usually follows a water filter replacement or new refrigerator setup. Repairs involving line disconnection also introduce air into the system.
Flush the System Completely
Place a large pitcher under the dispenser and run water continuously until the flow is smooth. You will see bubbles and hear sputtering at first, which indicates air leaving the lines. You must dispense a minimum of two to three gallons to clear the system fully. In some cases, it may take up to a full day of regular use to remove all air.
Note: A few seconds of dripping immediately after dispensing is normal. Hold your glass under the spout for three to five seconds to catch these residual drops.
Avoid Coupler Connection Issues
Check the water line under the door hinge cover for proper seating. If the plastic coupler is bent or not fully inserted, air can enter the system repeatedly. Re-seat the connector firmly or replace it if you see any damage.
Fix Improper Water Filter Installation

Using the dispenser without a filter or with one that is not locked causes leaks. Proper installation ensures a tight seal and prevents particles from damaging internal components.
Install the Filter Correctly
Remove the old filter and insert the new one according to the arrow markings. Turn or push the filter until it clicks or locks firmly into place. If the filter feels loose, it is not sealed properly and will cause dripping.
Never Run Without a Filter
Dispensing water without a filter allows sediment to enter the system and damage valves. Always ensure a filter is installed before using the dispenser. To test your installation, remove the filter and try dispensing water. If water flows freely, the housing was not sealed before, so reinstall and lock it tight.
Use Recommended Filter Brands
Stick to manufacturer-suggested filters to ensure proper fit and flow rates. Off-brand filters may not seal correctly, leading to leaks around the housing. Using the correct filter prevents pressure issues that cause dripping.
Adjust Water Pressure Issues

Both high and low water pressure can cause dripping, but they present different symptoms. Diagnosing the pressure level helps you apply the correct fix.
Diagnose High Water Pressure
Water sprays forcefully or overshoots the glass if the pressure is too high. This excessive force causes splashing that looks like a leak from the dispenser. Install a pressure-reducing valve at your home’s main line or under-sink supply to fix this. Ideal fridge pressure ranges between 40 and 60 psi.
Identify Low Water Pressure Signs
A slow dribble that misses the tray often stems from low pressure. Causes include a clogged water filter, a reverse osmosis system connection, or a frozen water line. Symptoms include hollow ice cubes, reduced ice production, and weak dispenser flow. Replace the filter or install a booster pump if you use a reverse osmosis system.
Test pressure: Use a $10 pressure gauge on the supply line to get an accurate reading.
Clean or Replace Stuck Dispenser Lever
A lever that does not spring back keeps the valve open, causing constant dripping. Dirt and debris often block the mechanism from returning to its resting position.
Unlock and Clean the Lever
Disable the controls using the Control Lock feature on your panel. On most LG and Samsung models, hold the Lock button for three seconds to activate this. Clean around the lever with a damp cloth and mild detergent to remove sticky residue. Avoid spraying water directly on the control panel to prevent electrical damage.
Test Lever Return Action
Release the lock and press the lever to see if it snaps back immediately. If it sticks or feels stiff, the internal switch is likely damaged. You will need to replace the lever assembly or microswitch if cleaning does not solve the problem. This is a moderate DIY job or best left to a technician.
Check Ice Bin and Door Alignment
Leaks from the dispenser area may actually come from melting ice due to warm air entering the freezer. Proper alignment prevents this secondary cause of dripping.
Reinstall Ice Bin Properly
Ensure the ice bin is fully seated in its compartment. A misaligned bin prevents the freezer door from sealing tightly, letting in warm air that melts ice. This melted water often drips from the dispenser chute.
Confirm Door Closure
Check that the ice maker compartment door closes completely every time. If left ajar, humid air enters and causes rapid melting and overflow. Verify the ice maker status to ensure it is either on or the bin is empty.
Maintain Filters and Prevent Clogs
Neglected maintenance causes dripping and poor performance over time. Regular care prevents flow restrictions and pressure buildup.
Replace Filter Every Six Months
Set a calendar reminder to change the filter twice a year. Change the filter when the indicator light turns on, the water tastes off, or flow slows noticeably. A clogged filter reduces pressure, leading to dribbling and overflow issues.
Clean Exterior and Interior Surfaces
Wipe the dispenser with a damp cloth weekly to remove grime. Use a mild vinegar solution for deeper cleaning to disinfect and prevent mold growth. Avoid abrasive cleaners that can damage plastic seals or finishes.
Address Environmental and Drain Issues
Sometimes the drip is not from the dispenser but from condensation or internal drainage problems. These environmental factors mimic dispenser leaks.
Test Door Seal Integrity
A failing gasket lets warm, humid air into the fridge, causing condensation that pools and leaks. Perform the dollar bill test by closing the door on a bill. If it slides out easily, the seal is weak and needs replacement.
Clear Blocked Defrost Drain
Water from defrost cycles should drain to a pan at the bottom of the unit. If the drain behind the back panel is clogged with ice or debris, water backs up and leaks. Unplug the fridge for eight to twelve hours to thaw ice, then flush the drain with warm water.
Inspect Drain Pan Condition
The drain pan located under the fridge collects defrost water. Over time, it can crack, rust, or become clogged with debris. Pull out the pan, clean it thoroughly, and check for holes. Replace the pan if you find any damage.
Diagnose Frozen Water Line

If no water comes out or only a trickle appears, the supply line may be frozen. This blockage causes upstream leaks and dispenser failure.
Signs of a Frozen Line
Look for no water from the dispenser and an ice maker that is not producing ice. These symptoms often follow a recent defrost cycle or temperature adjustment. The line may be frozen solid inside the freezer compartment.
Thaw the Line Safely
Unplug the fridge for eight to twelve hours to allow natural thawing. Alternatively, use a hair dryer on low heat, but never apply direct high heat to plastic lines. After thawing, check internal temps to ensure they are 37°F for the fridge and 0°F for the freezer.
When to Call a Technician
Some issues go beyond simple DIY fixes and require professional expertise. Seek help if the defrost drain is deeply clogged or evaporator coils are frosted over. Call a pro if water leaks near electrical components or if you suspect refrigerant issues. Never open sealed refrigerant lines yourself, as only certified technicians should handle these systems.
Frequently Asked Questions About Fridge Water Dispenser Dripping
Why does my fridge water dispenser keep dripping after every use?
The most common cause is a failing water inlet valve with worn internal seals. Air trapped in the lines or improper water pressure can also cause post-dispense dripping. Replacing the valve or purging the lines usually fixes the issue.
How do I stop my refrigerator water dispenser from leaking?
Start by replacing the water inlet valve at the back of the unit. Ensure your water filter is locked in place and purge air from the lines by dispensing two to three gallons. Check that water pressure is between 40 and 60 psi.
Can a clogged filter cause the water dispenser to drip?
Yes, a clogged filter restricts flow and causes low pressure, leading to slow dribbling. It can also cause improper sealing if not installed correctly. Replace your filter every six months to prevent this.
What causes air to get trapped in fridge water lines?
Air enters the system during water filter replacement, new installation, or line repairs. It causes sputtering and dripping until purged. Dispensing several gallons of water clears the air from the lines.
Is it normal for a water dispenser to drip for a few seconds?
Yes, a few seconds of dripping immediately after dispensing is considered normal. Hold your glass under the spout for three to five seconds to catch these residual drops. Continuous dripping indicates a mechanical problem.
Key Takeaways for Fixing Your Fridge Water Dispenser Dripping
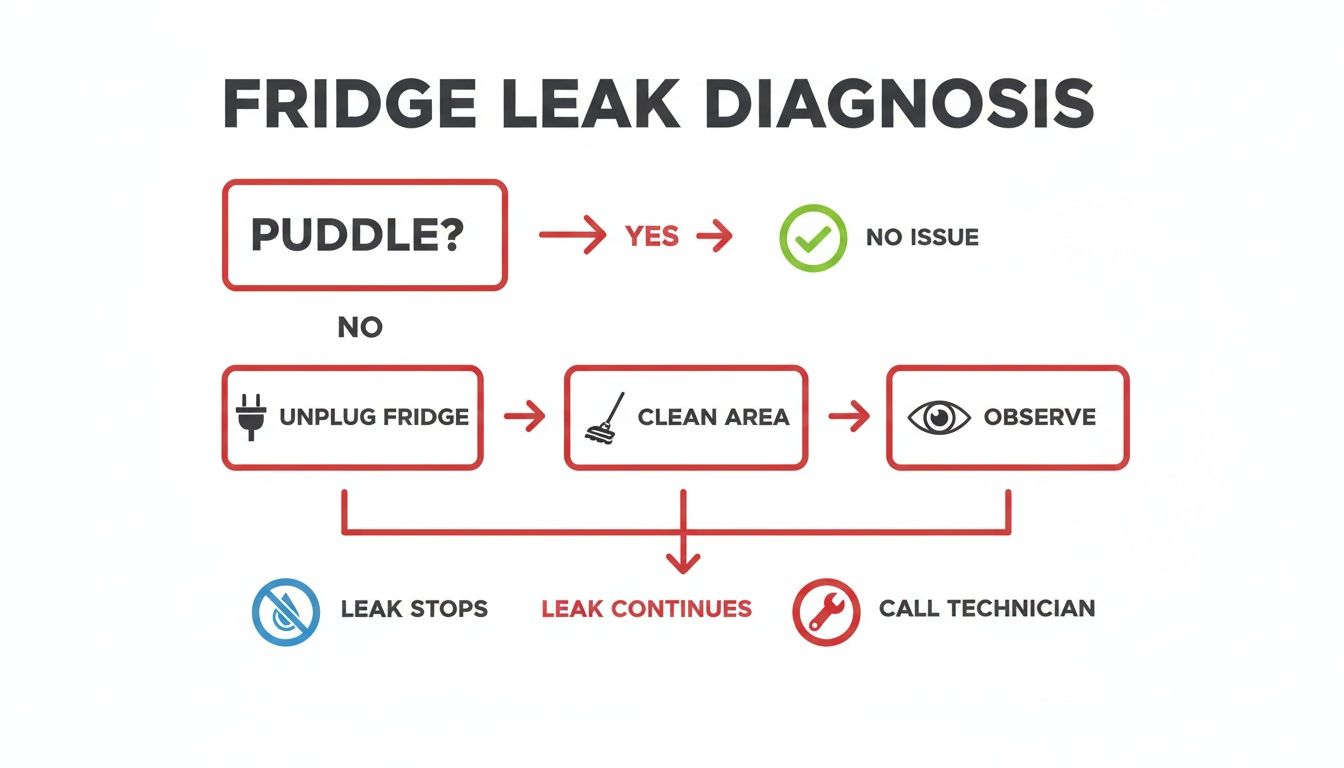
Most fridge water dispenser dripping issues stem from a faulty water inlet valve, trapped air, or pressure problems. Replacing the valve and purging the lines solves the majority of these leaks effectively. Regular filter changes and proper installation prevent future dripping incidents.
Start your repair by checking the water inlet valve at the back of your refrigerator. Follow the steps to replace seals or the entire valve to stop continuous leaks. If the valve is fine, purge air from the lines and verify your water pressure settings.


