
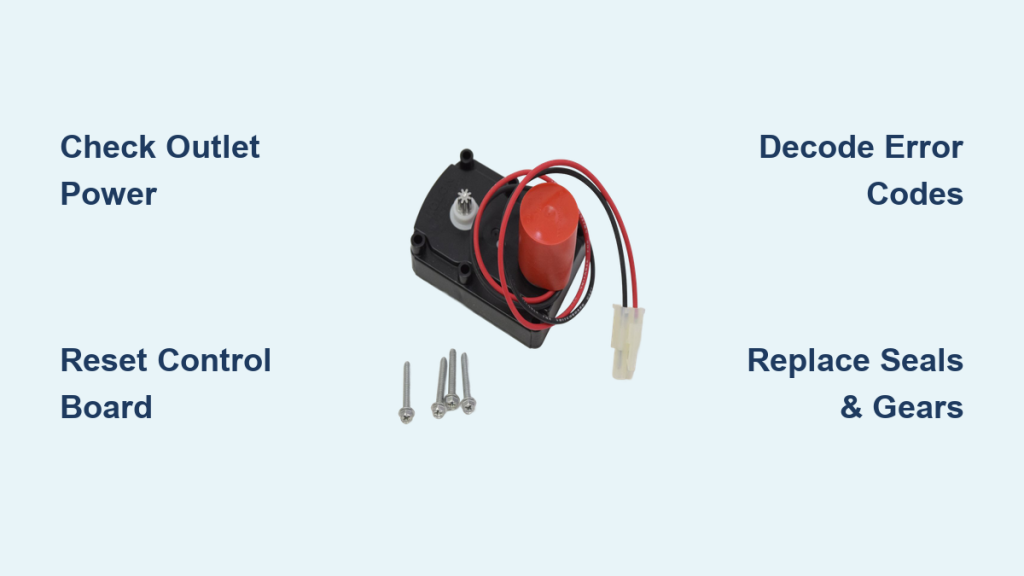
You wake up to stiff laundry and spotty dishes only to find your water softener display is blank or flashing an error code. You press regenerate but hear only a faint click or total silence because the water softener motor is not working. This failure stops the cleaning cycle immediately and leaves your home vulnerable to hard water damage.
Most motor issues stem from power loss or a mechanical jam rather than a burnt-out unit. You can often fix this by checking your outlet or clearing a stuck valve before calling a pro. This guide walks you through testing power sources and decoding error messages. We will also show you how to replace worn seals to get your system running smoothly again.
Verify Power Supply and Reset the System

Over half of all reported motor failures are actually simple power interruptions. You must confirm electricity is reaching the unit before investigating mechanical parts. A tripped breaker or loose plug can mimic a dead motor perfectly.
Check Outlet Voltage and Circuit Breakers
Plug a lamp or phone charger into the same outlet powering your softener. If the device does not turn on the outlet is dead. Check your electrical panel for a tripped breaker especially if the unit is in a garage or basement. Reset the breaker if needed but call an electrician if it trips again immediately.
Inspect Transformer and Power Cords
The small black transformer box converts high voltage to safe levels for your motor. Unplug it and look for cracks or burn marks on the casing. Feel the unit after plugging it back in since a warm transformer indicates life while a cold one suggests failure.
Reset the Control Board
A blank screen often means the system needs a hard reset to clear glitches.
1. Unplug the unit from the wall for 30 seconds.
2. Plug the power cord back in firmly.
3. Reset the time of day on the display.
4. Press the “Regen” or “Recharge Now” button.
If the display lights up and you hear humming the issue was a temporary power surge. Move to wiring checks if the screen remains dark despite a working outlet.
Decode Error Codes E1 Through E4
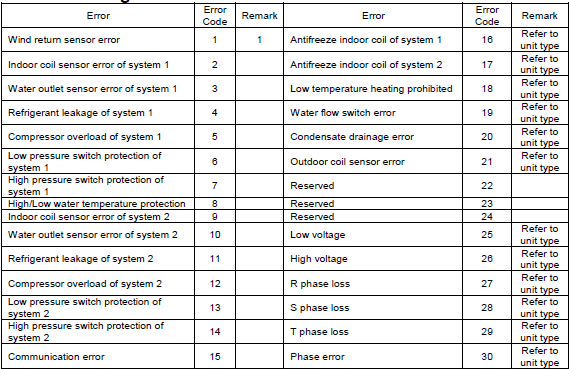
Digital controllers use specific codes to tell you exactly why the water softener motor is not working. Ignoring these codes can lead to complete motor burnout.
E1 and E2 Position Switch Errors
These codes mean the motor started but lost contact with the position switch. The switch tells the controller when the valve has rotated to the next stage.
* Loose wires in the harness connecting the motor
* Corroded pins inside the connector plugs
* Complete failure of the internal position switch
Open the control head cover and inspect the wiring harness. Reconnect any loose plugs or replace the harness if wires are frayed.
E3 High Torque and Valve Jamming
An E3 code signals that the motor detected excessive resistance while trying to turn. The internal valve is stuck and the motor cannot force it open. This often happens due to swollen seals or mineral buildup on the piston. Unplug the unit immediately to save the motor from burning out.
E4 Motor Inoperative Status
This code indicates the motor received the start signal but did not respond at all. Possible causes include dead windings inside the motor or a failed control board sending no voltage. Listen closely during a manual cycle since a silent motor with power applied usually needs replacement.
Diagnose Mechanical Jamming and Clicking Noises
A clicking or grinding sound means the motor is trying to work but physically cannot turn the valve. This mechanical resistance is a common reason a water softener motor is not working properly.
Identify Stalled Motor Sounds
Stand next to the unit during a forced regeneration cycle to listen carefully. Rapid clicking means the motor pulses but cannot overcome friction. A loud hum without rotation indicates high torque from a jam. Total silence suggests no power or a dead motor.
Locate Sources of Internal Resistance
Common culprits include stripped plastic gears in the drive assembly or a swollen rotor seal. Debris like salt mush or broken resin beads can also block the piston path. Check your brine tank for salt bridges that might restrict water flow and cause back pressure.
Replace Rotor and Seal Kits
Replacing the rotor and seals is the most effective fix for E3 errors and jamming.
1. Put the system in bypass mode and shut off the water supply.
2. Relieve pressure by opening a nearby faucet.
3. Remove the control head from the resin tank.
4. Disassemble the valve noting the order of parts.
5. Install new rotor seals and lubricate with food-grade silicone grease.
6. Reassemble the unit and restore water flow.
This process typically takes 30 to 60 minutes and restores smooth operation.
Test Regeneration Cycle Stages Manually

A failing motor disrupts the five-stage cleaning cycle. You can confirm motor function by forcing a manual regeneration and observing each step.
Force Manual Regeneration Mode
Initiate a “Recharge Now” cycle and watch the display progress. You should hear water rushing during backwash and a gurgling sound during brine draw. If the cycle stalls at a specific point the motor likely failed to advance the valve to the next position.
Check for Lack of Brine Draw
If salt levels remain high the motor may not have rotated to the brine position. However do not assume motor failure yet since a clogged injector can cause similar symptoms. Clean the venturi and nozzle with vinegar to rule out blockages before replacing parts.
Monitor Drain Flow Patterns
Continuous water flowing to the drain suggests the valve did not seal after regeneration. No flow during backwash indicates the motor failed to shift the valve open. These visual cues help distinguish between a motor issue and a simple seal leak.
Inspect Internal Gears and Drive Components
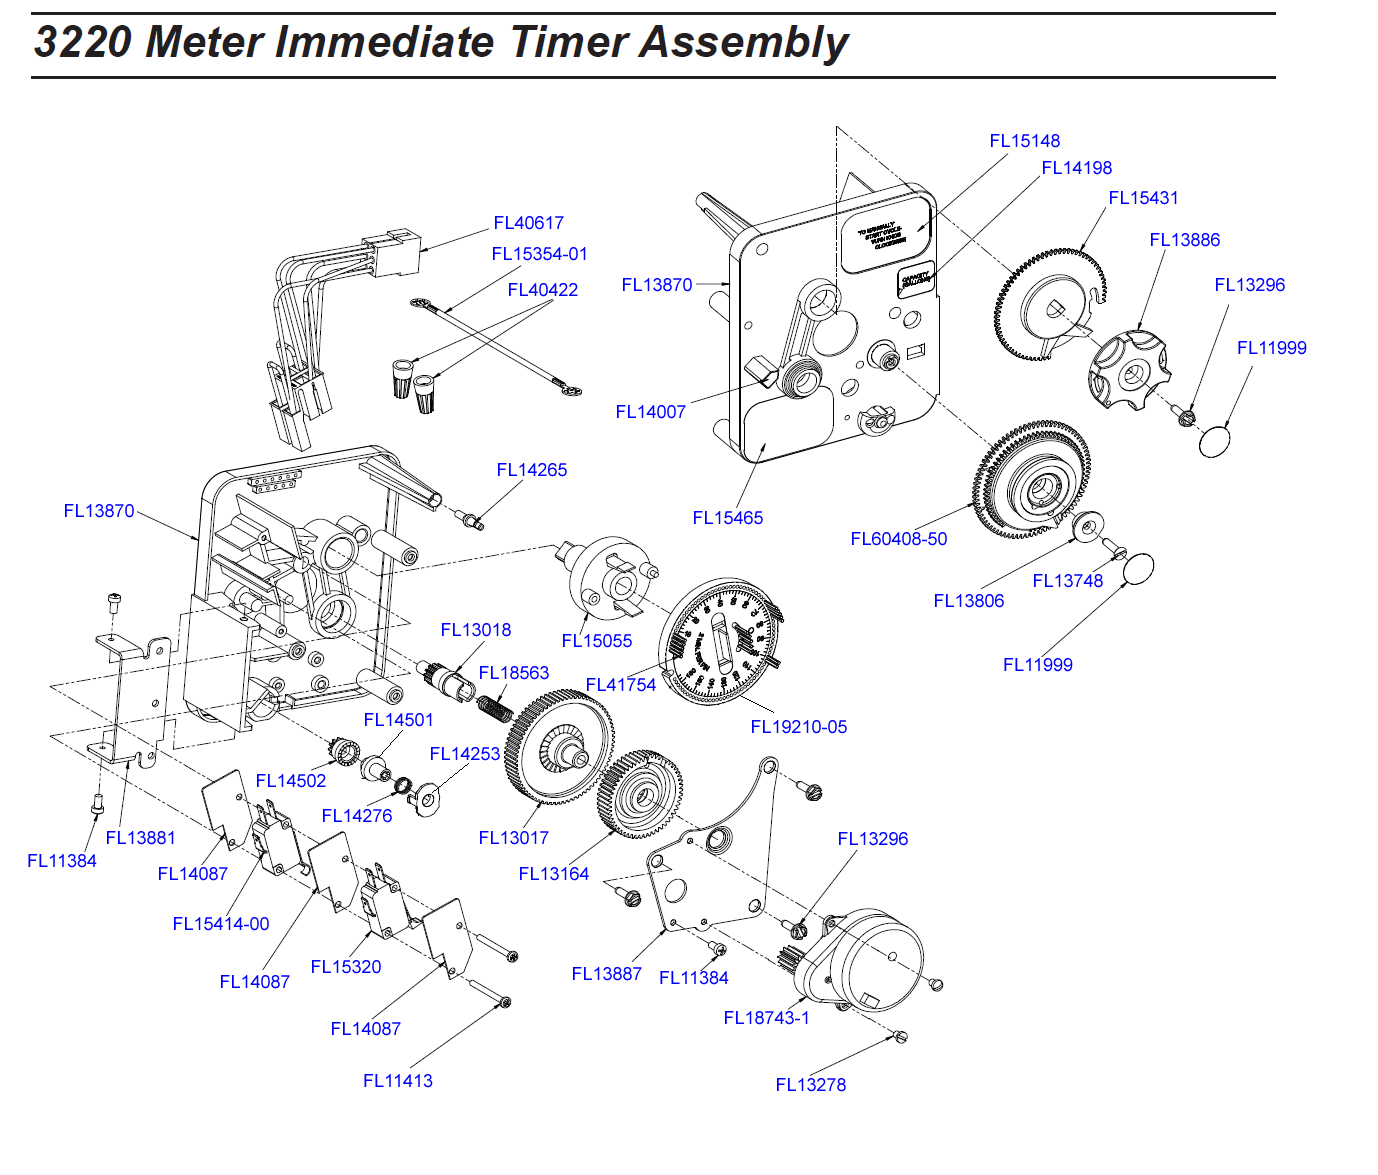
If power and jamming checks pass you must look inside the control head. Worn internal parts often prevent the motor from transferring force to the valve.
Examine Gears for Stripping
Remove the motor cover and inspect the gear train. Plastic gears often strip in older units preventing rotation. Broken gear teeth can lodge in the mechanism and cause further jamming. Replace the gear pack or entire motor assembly if damage is visible.
Check Piston Movement and Seals
The piston directs water flow and must move freely. With power off try turning the piston by hand to feel for resistance. If it feels stiff clean it with white vinegar or replace the assembly if coated in sludge.
Remove Debris from Valve Body
Sediment or resin beads can block the piston path entirely. Flush the valve body with water and use tweezers to remove debris. Never use metal tools inside the valve as scratches cause leaks.
Replace Failed Motor and Control Parts
Once you identify the faulty component replace it immediately to prevent further damage. Do not attempt to patch broken electrical parts.
Install New Motor Unit
Replace the motor if windings are open or it fails to hum. Match the model number and voltage exactly to your original unit. Disconnect the wiring harness remove mounting screws and install the new motor. Reconnect wires ensuring correct polarity.
Swap Defective Control Boards
A blank display with confirmed power indicates a fried control board. Take a photo of wire positions before disconnecting anything. Unscrew the old board and install the new one following your photo reference.
Upgrade Injectors and Nozzles
Even with a working motor a clogged injector stops the cleaning process. Replace these parts every three to five years using the correct size for your water hardness. Twist out the old nozzle and screw in the new one with Teflon tape.
Prevent Future Motor Failures
Regular maintenance extends the life of your motor and prevents unexpected breakdowns.
Use High Quality Salt Pellets
Rock salt leaves debris that clogs valves and increases friction. Use evaporated salt pellets or solar crystals for cleaner operation. Avoid iodized table salt as it corrodes metal parts quickly.
Clean Resin Bed Annually
Iron and manganese coat resin beads and restrict flow. Use a resin cleaner every six to twelve months to dissolve buildup. This reduces back pressure and strain on the motor during regeneration.
Maintain Proper Brine Tank Levels
Keep water levels three to six inches below the salt line. Too much water indicates a stuck float valve while too little prevents brine creation. Check levels monthly and add salt before the tank is one-third full.
Know When to Replace the Whole Unit
Sometimes repair costs exceed the value of an aging system. Recognizing upgrade triggers saves money in the long run.
Identify Upgrade Triggers
Replace your unit if it is over 10 to 15 years old or requires frequent repairs. Recurring motor failures or a crumbling resin bed suggest total system fatigue. Newer models offer smart features and better efficiency.
Consider Smart System Upgrades
Modern units feature demand-initiated regeneration and Wi-Fi monitoring. These systems save water and salt by regenerating only when needed. They also provide alerts on your phone if the water softener motor is not working.
Emergency Steps for Commercial Systems
Commercial motor failure risks expensive boiler scaling and operational downtime. Immediate action is required.
Execute Immediate Bypass Procedure
Shut off the water supply and flip bypass valves to bypass mode. Unplug the softener and tag it out of service. This prevents hard water from entering critical industrial equipment.
Contact Professional Service
Commercial valves handle high flow rates and require precision rebuilding. Do not attempt complex internal repairs yourself. Schedule quarterly inspections to monitor seals and motor function proactively.
Frequently Asked Questions About Water Softener Motors
Why is my water softener motor clicking but not turning?
Clicking indicates the motor is receiving power but cannot overcome mechanical resistance. This usually means the internal valve is jammed or the gears are stripped. Unplug the unit immediately to prevent burning out the motor windings.
What do E1 E2 and E3 error codes mean?
These codes signal issues with the position switch wiring or high torque from a jammed valve. E1 and E2 relate to switch communication while E3 means the motor detected excessive resistance. Clearing the code requires fixing the underlying mechanical or electrical fault.
How do I reset my water softener motor?
Unplug the unit for 30 seconds then plug it back in. Reset the time of day and press the regenerate button. If the display remains blank check your outlet and transformer before assuming the board is dead.
Can a clogged injector cause motor failure?
A clogged injector does not stop the motor directly but creates back pressure that strains the system. This can lead to jams that trigger high torque errors. Clean the venturi and nozzle regularly to maintain smooth operation.
When should I replace the motor versus the whole unit?
Replace just the motor if the unit is under 10 years old and the valve body is intact. If your system is over 15 years old or has recurring issues replacement is more cost-effective. Newer models offer better efficiency and reliability.
Key Takeaways for Fixing Your Water Softener Motor
A water softener motor not working is often a fixable issue involving power supply or mechanical jams. Start by checking your outlet and resetting the system before opening the valve. Most failures result from stuck valves or worn seals that you can replace with basic tools.
Address error codes immediately to prevent permanent motor damage. Regular maintenance like using quality salt and cleaning the resin bed extends system life significantly. If your unit is old or requires frequent repairs consider upgrading to a modern efficient model today.


