Does your water feel gritty or leave stubborn spots on dishes despite having a softener? Mineral buildup often clogs the resin bed, making your system work harder while delivering poor results.
You can fix this quickly by learning how to use water softener cleaner to dissolve calcium and iron deposits. This guide details the exact steps to apply liquid cleaners, perform deep resin restoration, and maintain your system for years of reliable service.
Verify System Readiness Before Application
Proper preparation ensures the cleaning solution circulates effectively through your entire system. Skipping these checks can lead to wasted product and incomplete cleaning cycles.
Check Salt Levels in the Brine Tank
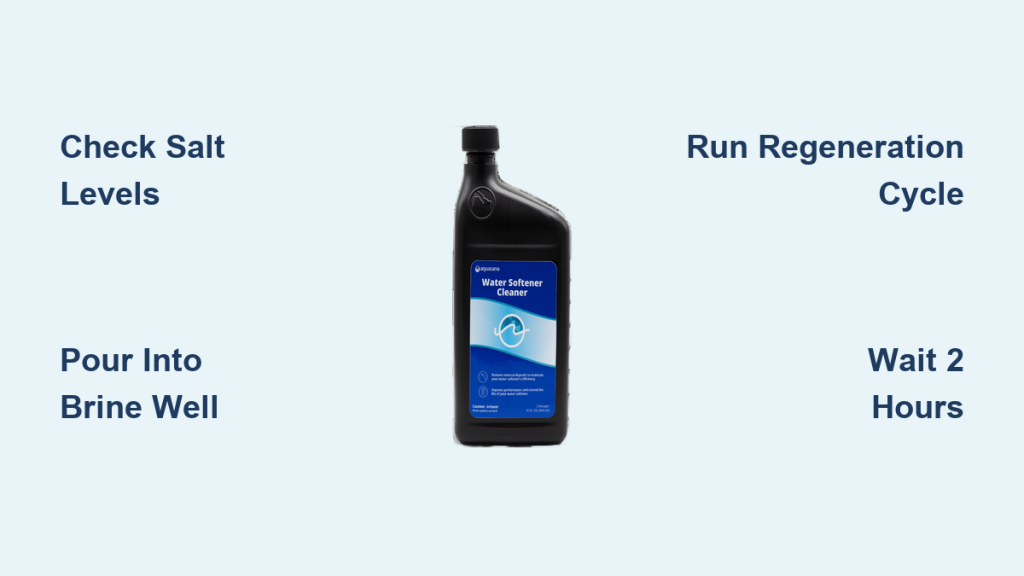
Your salt level must be below half full before you add any cleaner. Pouring solution into a full tank prevents proper mixing with the brine. If your tank is nearly empty, that is perfect, but do not add fresh salt until the cycle finishes.
Schedule During Low Water Usage
Start the process at night or when no one is home. The regeneration cycle takes about two hours and cannot be interrupted without leaving residue behind. Running showers or washing machines during this time stops the flush cycle prematurely.
Locate the Brine Well Inside the Tank
Find the three-inch wide tube standing vertically inside your salt tank. This is the brine well where you will pour the cleaner. Remove the cap from this tube, or pour directly into the tank if your model lacks a specific well.
Apply Liquid Water Softener Cleaner Correctly

Routine maintenance requires a standard 16-ounce bottle of acid-based cleaner. Brands like Whirlpool, EcoPure, and Morton follow this same effective application method.
Pour the Full Bottle Into the Well
- Remove the cap from the brine well tube.
- Empty the entire 16-ounce bottle directly into the well.
- Replace the cap securely to prevent spills.
Pro Tip: Never mix different brands of cleaners in one cycle. Stick to one specific product to ensure chemical compatibility.
Trigger the Manual Regeneration Cycle
You must force the system to draw the cleaner through the resin bed immediately.
- Digital Models: Press and hold the “Recharge” or “Regenerate” button for three seconds.
- Mechanical Timers: Rotate the dial manually to the regeneration position.
The system will now pull the cleaning mixture through the resin beads to flush out accumulated minerals.
Wait Two Hours Before Using Water
Do not use any softened water for at least two hours after starting the cycle. This waiting period allows the backwash, brine draw, and rinse stages to complete fully. Using water too soon traps contaminants back in the resin bed.
Perform Deep Resin Cleaning for Iron Buildup
High iron content or severe performance drops require a stronger treatment than standard liquid cleaners. Use a resin restorer like Super Iron Out every 12 to 18 months for these situations.
Mix the Resin Restorer Solution
- Pour half a gallon of cold water into a clean bucket.
- Add one cup of resin cleaner powder or concentrate.
- Stir until the mixture dissolves completely.
Expect some fizzing or foaming as the acid reacts with the minerals. This is a normal chemical reaction.
Pour the Mixture Into the Brine Well
Remove the brine well cap and slowly pour your mixed solution inside. Spilling a little into the surrounding salt is acceptable since the regeneration cycle will flush it out. Ensure you pour slowly to avoid overflowing the well.
Run the Full Regeneration Sequence
Press the “Recharge” button once on digital units or turn the timer dial on mechanical models. Let the system run its complete course without interruption. You should notice improved water quality within 24 hours as the resin bed clears.
Identify Signs Your Softener Needs Cleaning
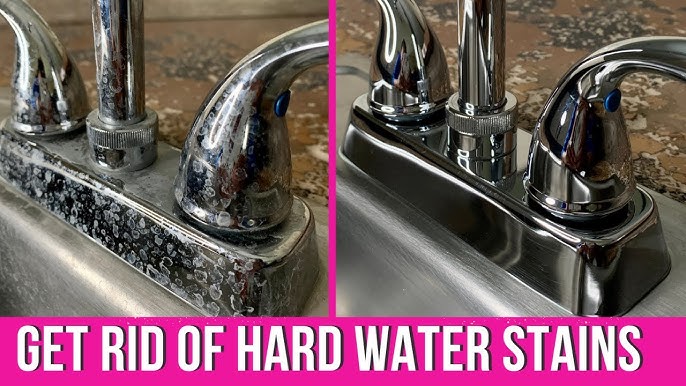
Do not wait for total system failure before taking action. Recognizing early warning signs helps you maintain consistent water quality.
Hard Water Returns Despite Salt Usage
If water feels gritty or leaves scale on fixtures, your resin beads are likely coated. This coating prevents the ion exchange process from removing hardness minerals effectively.
Water Pressure Drops Suddenly
Clogged resin beads restrict water flow through the tank. Check your plumbing first, but if pressure is low only at soft water taps, cleaning is likely required.
System Regenerates Too Frequently
Your softener may cycle more often than programmed to compensate for reduced capacity. This extra work indicates the resin bed is struggling to function efficiently.
Unpleasant Odors or Cloudy Water
A rotten egg smell or cloudy appearance often signals bacterial growth or heavy iron buildup. A deep clean with a restorer product helps eliminate these issues effectively.
Visible Salt Bridging or Mushing
Inspect your brine tank monthly for hard crusts or sludge. These blockages stop brine creation and prevent cleaners from distributing properly throughout the system.
Resolve Salt Bridging and Mushing Issues

Fixing salt problems is essential before applying any cleaner. These blockages stop the brine from forming, rendering the cleaning cycle useless.
Break a Salt Bridge Gently
- Turn off power and water to the softener unit.
- Use a wooden broom handle to gently push down on the salt crust.
- Tap the tank sides to help collapse the broken pieces.
- Restart the system and run a regeneration cycle.
Warning: Never use metal tools to break bridges. Metal can puncture the tank liner and cause costly leaks.
Remove Salt Mushing Sludge
- Drain the brine tank using a wet or dry vacuum.
- Scoop out the remaining sludge with a plastic container.
- Rinse the interior with warm water and mild dish soap.
- Wipe the tank dry and refill with fresh, high-quality salt.
Select the Right Salt to Reduce Maintenance
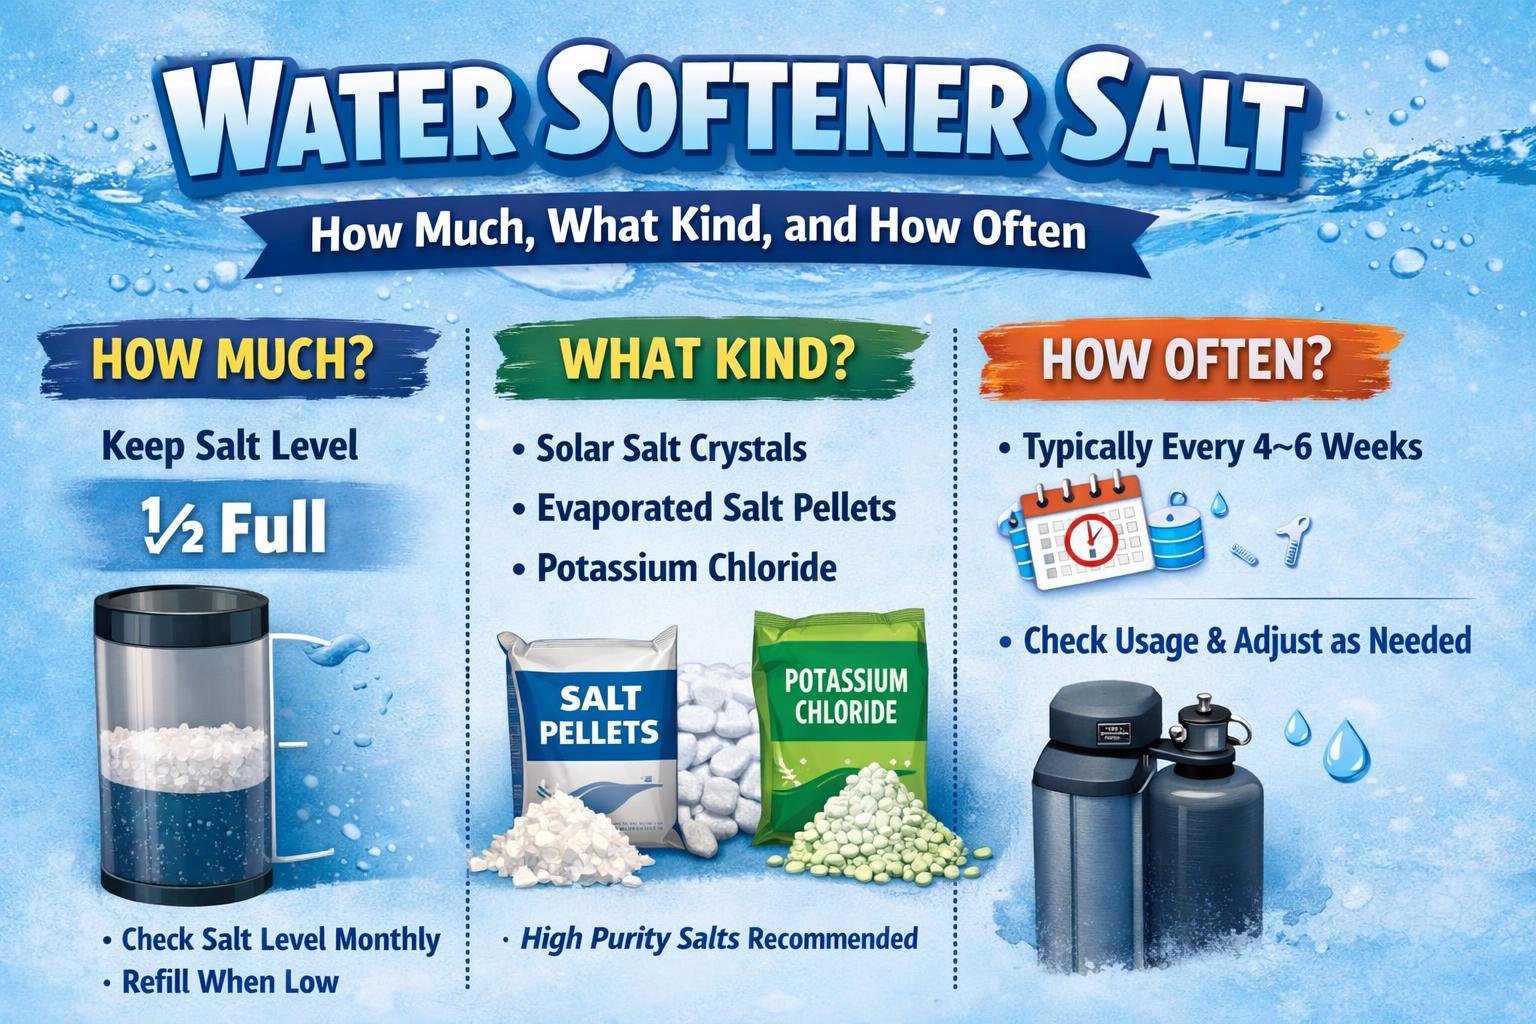
Your choice of salt directly impacts how often you need to clean your system. Better salt means less residue and fewer blockages.
| Salt Type | Cleaning Frequency | Residue Level | Best Use Case |
|---|---|---|---|
| Rock Salt | High | High | Budget users willing to clean often |
| Solar Salt | Moderate | Medium | Balanced cost and performance needs |
| Evaporated Salt | Low | Minimal | Best long-term choice for purity |
| Potassium Chloride | Low | Low | Sodium-free diets and sensitive skin |
Evaporated salt pellets are highly recommended. They dissolve cleanly and minimize buildup, which significantly cuts down on required maintenance.
Extend Warranty Coverage With Regular Cleaning
Many manufacturers offer extended warranties if you prove regular maintenance. Using specific cleaners can double or triple your coverage period.
Whirlpool and EcoPure Warranty Details
Whirlpool models like WHES30 and WHES40 extend from one year to five years with regular cleaner use. EcoPure models EP31 and EP42 offer similar extensions. You must register your unit online and keep receipts of your cleaner purchases.
Whirlpool WHESFC Extended Coverage
The WHESFC model can receive up to a 10-year warranty extension. This requires consistent use of the manufacturer-recommended cleaner and proper registration. Keep all purchase records safe for verification.
Troubleshoot Common Post-Cleaning Problems
Sometimes issues persist even after a cleaning cycle. Here is how to diagnose and fix common lingering problems.
Water Still Feels Hard After Cleaning
Check for undetected salt bridging that blocked the brine draw. Verify you used the correct amount of cleaner and that the regeneration cycle completed fully. If problems continue, your resin beads may be exhausted and need replacement.
System Fails to Regenerate
Ensure the power cord is connected and the display is active. Confirm you held the recharge button long enough, usually three seconds. On mechanical models, check that the timer dial aligns correctly with the regeneration setting.
Odors Persist After Treatment
Persistent smells may indicate bacterial growth that standard cleaners missed. Some resin cleaners include disinfectants, but you might need a hydrogen peroxide flush if your system is compatible.
Know When to Call a Professional
DIY cleaning solves most issues, but some problems require expert attention. Do not hesitate to contact a specialist if basic troubleshooting fails.
Seek Help for Complex Failures
Contact a professional if water quality does not improve after two cleaning attempts. You should also call for help if you notice leaks, strange noises, or error codes on the display. A specialist can test resin capacity and diagnose internal valve failures.
Frequently Asked Questions About Water Softener Cleaner
How often should I use water softener cleaner?
You should use a liquid water softener cleaner every 3 to 4 months for routine maintenance. If your water has high iron content, perform a deep resin cleaning with a restorer product every 12 to 18 months.
Can I pour cleaner directly into the salt tank?
Yes, you can pour cleaner directly into the salt tank if your system lacks a brine well. Ensure salt levels are low so the cleaner mixes properly with the water during the next regeneration cycle.
Is it safe to use water while the cleaner is working?
No, you should avoid using softened water for at least two hours after starting the cycle. Using water interrupts the backwash and rinse stages, which can leave contaminants trapped in the resin bed.
Will water softener cleaner damage my plumbing?
No, these cleaners are acid-based but formulated to be safe for plumbing and resin beads when used as directed. They dissolve mineral deposits without harming the internal components of your system.
Do I need to turn off my water supply to add cleaner?
You generally do not need to turn off the water supply for routine liquid cleaner application. However, you must turn off power and water if you are manually breaking salt bridges or scrubbing the brine tank.
Key Takeaways for Using Water Softener Cleaner
Maintaining your system with regular cleaning prevents costly repairs and ensures consistent water quality. Remember to apply cleaner every few months, fix salt bridges immediately, and keep records for warranty extensions.
Start your next maintenance cycle tonight by checking your salt levels and pouring in a fresh bottle of cleaner. Your appliances, skin, and plumbing will thank you for the proactive care.