

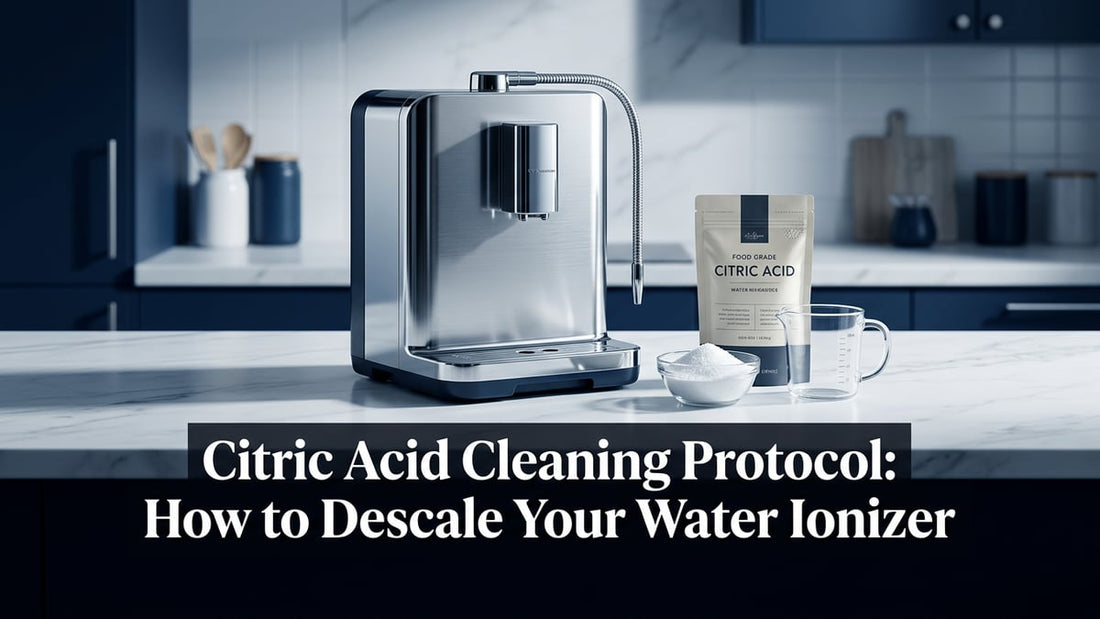
Hard water buildup and bacterial residue silently degrade your water dispenser, causing slow flow, strange tastes, and lukewarm output. The solution is using citric acid crystals for cleaning water dispenser systems to dissolve limescale and sanitize internal parts safely.
This guide explains exactly how to use food-grade citric acid to restore your machine without harsh chemicals. You will learn the correct dosage, step-by-step application methods, and maintenance schedules backed by real user data.
Select the Best Citric Acid Product for Your Unit

Choosing the right format ensures effective cleaning without wasting product or leaving residue behind. Your specific needs determine whether bulk powder or pre-measured packets are the better choice.
Match Product Format to Usage Frequency
Frequent users benefit from large containers while occasional cleaners prefer precision packets.
* For frequent users: Buy 2 lb bulk jars like Viva Doria or Nutricost for long-term value.
* For convenience: Use model-specific packets such as 30g for Enagic SD501 or 50g for A3F coolers.
* For dual-purpose homes: Opt for food-grade, Kosher, or Non-GMO certified options like Rani.
Prioritize Purity and Safety Certifications
Not all citric acid products are safe for drinking water appliances. You must select options labeled specifically for food or potable water use.
* Choose food-grade certification to ensure safety.
* Look for Non-GMO, Gluten-Free, or Kosher labels as indicators of high purity.
* Select USA-made or globally sourced brands like H2o Labs or Active Citric Acid.
Avoid industrial-grade powders or unlabeled products as they may contain impurities unsafe for potable water systems.
Prepare Safety Measures Before Cleaning
Proper preparation prevents electrical accidents and ensures a thorough clean throughout the unit. Follow these steps before introducing any cleaning solution.
Disconnect Power Supply Immediately
Unplug the dispenser before touching any internal parts to eliminate electrical hazards. This critical step protects you while handling water and accessing internal tanks.
Gather Required Cleaning Supplies
Collect all necessary items before starting the process to avoid interruptions.
* 85 grams of citric acid crystals or specific packet instructions
* Hot water (not boiling) for mixing the solution
* Clean cloths or paper towels for wiping surfaces
* Mild cleaner or 70% isopropyl alcohol for the exterior
* Funnel for mess-free pouring into tanks
Drain Water and Access Internal Components
Clear the system of standing water to expose key areas for treatment. This step ensures the cleaning solution contacts all scaled surfaces directly.
Open Service Panel and Remove Tank
Locate the lower service door and open it carefully. Remove the external water tank to gain full access to the internal chambers and drain valve.
Empty Residual Water Completely
Lift the top lid and find the rear drain valve. Open the valve fully to drain all remaining water from both hot and cold lines.
Wipe Down Accessible Surfaces
Use a damp cloth to clean inner walls near fill points, the float mechanism, and the drain valve housing. This removes loose debris before the chemical treatment begins.
Apply Citric Acid Solution to Tanks

Target both temperature zones to eliminate scale in all internal pathways effectively. Proper application ensures the solution reaches every corner of the system.
Mix Concentrated Cleaning Solution
Dissolve 85 grams of citric acid in about 1 to 2 cups of hot water. Stir until fully dissolved since heat speeds up this process significantly.
Pro Tip: Never use cold water alone because heat enhances the descaling power of the acid.
Fill Hot and Cold Tanks Separately
Pour half the solution into the hot water tank and the other half into the cold water tank. This dual-fill method ensures complete coverage of all internal surfaces affected by mineral buildup.
Agitate Manually for Better Coverage
Use paper towels to wipe the stainless steel tank walls and float assembly while the solution is present. This physical scrubbing loosens scale already softened by the acid.
Activate Thermal Descaling Cycle
Heat activates the citric acid and accelerates its reaction with limescale deposits. This step is essential for heavy buildup that cold solutions cannot remove.
Set Temperature to Maximum Heat
Adjust the thermostat to 100°C (212°F) and allow the system to run continuously. Wait until the hot water indicator turns off to confirm the cycle is complete.
This cycle typically lasts 10 minutes but may extend slightly depending on unit size and scale thickness.
Understand the Chemical Reaction
Citric acid reacts with calcium carbonate to form soluble calcium citrate, water, and carbon dioxide. Heat increases this reaction rate by up to 5 times, making it essential for thick limescale layers.
Drain and Rinse Thoroughly to Remove Residue
Residual acid causes a sour taste so complete rinsing is non-negotiable for good water quality. Skip this step at your own risk of bad-tasting water.
Drain the Cleaning Solution Completely
Open the drain valve again and empty both tanks fully. Do not skip this step because the used solution contains dissolved minerals and bacteria.
Rinse 2–3 Times with Fresh Water
Refill the system with clean tap or purified water for each rinse cycle.
1. Refill with clean water avoiding ice-cold temperatures post-heat cycle.
2. Let the water sit for 1 to 2 minutes inside the tanks.
3. Drain the water fully through the valve.
Warning: Using cold water immediately after heating risks thermal shock to plastic tanks.
Check for Residual Odor
Smell the tank after the final drain to detect any citrus or sour aroma. Repeat rinsing if you detect any scent and only proceed when the tank is odor-free.
Perform Final Sanitization Cycle
Eliminate lingering microbes with a final boiling water cycle to ensure hygiene. This step kills remaining bacteria and ensures safe internal surfaces.
Run High-Temperature Flush
Refill both tanks with fresh water and heat to boiling point one more time. Allow the water to cool then drain it completely to finish the sanitization process.
Reassemble Unit and Test Performance
Restore the unit to its normal state and verify proper function before regular use. Careful reassembly prevents leaks and ensures optimal operation.
Reinstall Components Securely
Reattach the water tank securely and close the top lid tightly. Confirm all seals are seated properly because leaks often stem from misaligned gaskets.
Inspect for Leaks Carefully
Visually check joints, valves, and tank connections for any signs of moisture. Look for drips after reassembly and disassemble to inspect O-rings if leaks appear.
Clean Exterior and Dispense Test Water
Finish with a polished look and a functional check to ensure everything works correctly. A clean exterior prevents dust from entering internal components.
Wipe Down with Safe Cleaner
Use either dishwashing spray diluted in water or 70% isopropyl alcohol for the exterior. Wipe with a soft cloth and avoid abrasive pads that scratch surfaces.
Dry thoroughly to prevent moisture from entering electrical compartments.
Dispense Hot and Cold Water
Press both buttons to verify temperature and taste performance.
* Verify temperature: Hot water should reach near-boiling while cold should be chilled.
* Taste test: Water must be neutral with no sour, metallic, or chemical aftertaste.
Repeat rinse cycles if the taste is still off.
Follow Recommended Maintenance Schedule
Prevent future issues with timely cleaning to maintain optimal performance. Regular maintenance extends the life of your appliance significantly.
Clean Every 3–6 Months
Adjust your schedule based on usage and water hardness levels.
* Every 3 months: High-use units or hard water areas.
* Every 6 months: Low-use environments or soft water regions.
Signs you need cleaning sooner: Reduced water flow, longer heating times, unusual pump noise, or metallic taste.
Extend Appliance Life Consistently
Regular descaling prevents clogged pumps, overheated heating elements, and biofilm formation. Users report 5+ year lifespans with consistent citric acid maintenance.
Troubleshoot Common Post-Clean Issues
Fix problems quickly and safely if they arise after cleaning. Most issues stem from incomplete rinsing or improper reassembly.
Sour Taste After Cleaning
Cause: Incomplete rinsing left acid residue.
Fix: Perform 2–3 additional rinse-drain cycles with fresh water.
Leaks After Reassembly
Causes: Scale previously sealed a micro-crack, gasket not seated, or loose connections.
Fix: Recheck all seals, tighten fittings, and replace worn O-rings if needed.
No Hot Water After Cleaning
Possible causes: Thermostat reset required, power not restored, or pre-existing heating element failure.
Fix: Verify plug-in status, reset switch if available, or contact a technician.
Compare Citric Acid to Chemical Descalers
Choose the safest and most effective option for your home appliance. Citric acid offers distinct advantages over harsh chemical alternatives.
Why Citric Acid Wins
| Factor | Citric Acid | Chemical Descalers |
|---|---|---|
| Toxicity | Non-toxic, food-safe | Often corrosive, hazardous |
| Residue | None if rinsed | May leave harmful traces |
| Material Safety | Safe for stainless steel | Can corrode metals |
| Environmental Impact | Biodegradable | Harmful to aquatic life |
Expert Note: Sulfamic or hydrochloric acid-based cleaners work faster but require protective gear and extreme caution unsuitable for most home users.
Optimize Cleaning with Pro Tips
Maximize results and save time with these expert strategies. Small adjustments can make a big difference in cleaning efficacy.
Use Hot Water for Mixing
Always dissolve citric acid in hot water to improve solubility. This kickstarts the descaling reaction immediately upon application.
Stick to 85g for Standard Units
This dosage is proven effective for most 5-gallon bottom-loading dispensers. Adjust only if specified by your manufacturer instructions.
Store Powder Properly
Keep citric acid in an airtight container away from moisture. Clumping reduces effectiveness and makes measuring difficult.
Label Pre-Measured Portions
Pre-portion 85g bags for bulk users to ensure quick access. This eliminates the need for measuring at clean time.
Frequently Asked Questions About Citric Acid Crystals for Cleaning Water Dispensers
How much citric acid do I need to clean a water dispenser?
You need exactly 85 grams of food-grade citric acid crystals for a standard deep clean. Dissolve this amount in hot water to create a concentrated solution for both hot and cold tanks.
Can I use regular citric acid from the grocery store?
Yes, provided it is labeled as food-grade and safe for consumption. Look for certifications like Non-GMO or Kosher to ensure purity for drinking water appliances.
How often should I clean my dispenser with citric acid?
Clean your unit every 3 to 6 months depending on usage and water hardness. High-use units or those in hard water areas require cleaning every 3 months.
Will citric acid damage my water dispenser?
No, citric acid is safe for stainless steel tanks and plastic components when used correctly. It is less corrosive than harsh chemical descalers and biodegradable.
What if the water tastes sour after cleaning?
A sour taste indicates incomplete rinsing of the acid solution. Perform 2–3 additional rinse cycles with fresh water until the taste is neutral.
Is citric acid better than vinegar for cleaning dispensers?
Yes, citric acid is more effective against heavy limescale and leaves no lingering odor. It also rinses away more easily than vinegar without affecting water taste.
Key Takeaways for Using Citric Acid Crystals for Cleaning Water Dispensers
Using citric acid crystals for cleaning water dispenser units restores performance and ensures safe, great-tasting water. Remember to use 85 grams of food-grade acid, activate the solution with heat, and rinse thoroughly to avoid sour tastes.
Start your next maintenance cycle today by gathering your supplies and following this proven protocol. Regular cleaning every 3 to 6 months will extend your appliance’s life and keep your water pure.



